My grandmother passed down this authentic Italian sub recipe through whispered kitchen conversations and handwritten notes tucked into her recipe box. This isn’t just a sandwich—it’s a celebration of Italian-American tradition, crafted with generations of flavor expertise baked into every layer. The secret lies not in exotic ingredients, but in quality, patience, and understanding how each component plays its role in creating something truly magnificent.
Growing up in her kitchen, I learned that an authentic Italian sub is about balance: the perfect bread, properly cured meats, fresh vegetables, and a dressing that ties everything together with confidence. This recipe has fed our family gatherings, fueled construction workers, and impressed countless dinner guests who couldn’t believe such simplicity could taste so extraordinary.
Whether you’re preparing this for a casual lunch or a special occasion, this Italian sub recipe will transport you straight to a bustling Italian-American deli, where tradition meets craftsmanship on every sandwich made.
The History and Heart of Italian Subs
Italian subs emerged from Italian-American communities in the early 20th century, when Italian immigrants brought their culinary traditions to American cities like Philadelphia, New York, and Boston. What started as resourceful sandwich-making—combining affordable cured meats with fresh vegetables—evolved into an iconic sandwich that commands fierce regional loyalty and passionate debate about proper construction.
Grandma’s version draws from the Philadelphia tradition, where the Italian sub (often called a hoagie or grinder depending on your location) represents more than food; it represents heritage, hospitality, and the art of making something special from quality basics. The beauty of this recipe lies in its restraint—no unnecessary ingredients, no complicated techniques, just respect for each component.
Understanding the philosophy behind authentic Italian subs helps you appreciate why certain choices matter. This isn’t about following rules for their own sake; it’s about recognizing that generations of sandwich makers perfected this formula because it works. When you visit a culinary resource focused on traditional techniques, you’ll find that the best sandwiches share common principles: quality ingredients, proper ratios, and strategic assembly.
Essential Ingredients for Authenticity
The magic of grandma’s Italian sub recipe begins with ingredient selection. This isn’t the place to compromise or substitute; each item serves a specific purpose in the final flavor profile.
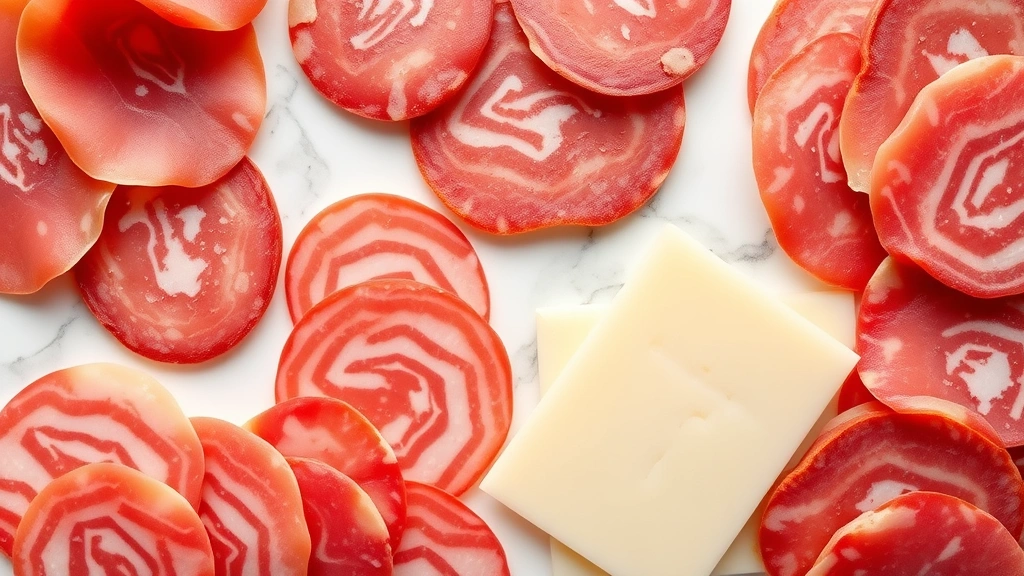
The Meats
- Capicola (Coppa): This spiced, air-cured pork is the soul of an authentic Italian sub. Look for thin slices with visible marbling. Avoid pre-packaged varieties when possible; ask your deli counter to slice it fresh.
- Mortadella: This finely ground pork sausage studded with fat provides richness and a subtle spiced flavor that distinguishes authentic versions from generic sandwich meats.
- Provolone: Sharp provolone, sliced thin, adds tangy complexity. Some prefer aged provolone for deeper flavor.
- Salami: Use Italian salami (genoa or soppressata), thinly sliced. This adds peppery notes and texture.
The Vegetables
- Roasted red peppers: Homemade or quality jarred versions, sliced into strips
- Fresh lettuce: Crisp iceberg or romaine, shredded
- Tomatoes: Ripe, properly sliced, not too thick
- Red onion: Thin slices for bite and color
The Essentials
- Extra virgin olive oil
- Red wine vinegar
- Dried oregano (preferably Italian)
- Salt and freshly ground black pepper
- Crushed red pepper flakes (optional but recommended)
If you’re interested in learning more about how to make homemade sauces, you’ll understand how the dressing component can elevate simple ingredients into something extraordinary.
Selecting and Preparing Your Bread
The bread makes or breaks an Italian sub. This is non-negotiable. Grandma always said, “A great sandwich is 40% bread, and she meant it.
What to Look For
You need a proper Italian sub roll or hoagie roll—something with a sturdy crust that won’t collapse under the weight of quality meats and toppings. The interior should be soft enough to eat comfortably but strong enough to contain everything without falling apart. A 12-inch roll is standard for a full sub; use 6-inch rolls for individual portions.
The best rolls come from Italian bakeries or quality local bakeries that make their bread fresh daily. Avoid plastic-bagged sandwich bread; it lacks the structural integrity and flavor you need. If your local bakery doesn’t have Italian sub rolls, ask if they can make them—many will accommodate the request.
Preparation Technique
Slice your roll lengthwise, but don’t separate the two halves completely. Create a hinge by leaving about half an inch of crust connecting the top and bottom. This keeps the sandwich together during assembly and eating.
Many home cooks skip this step, but grandma never did: gently scoop out some of the interior crumb from both sides. This serves two purposes. First, it creates space for your fillings so they distribute evenly without excessive height. Second, it prevents the bread from becoming soggy by reducing the absorbent interior. Don’t overdo it—you want structure, not a hollowed-out shell.
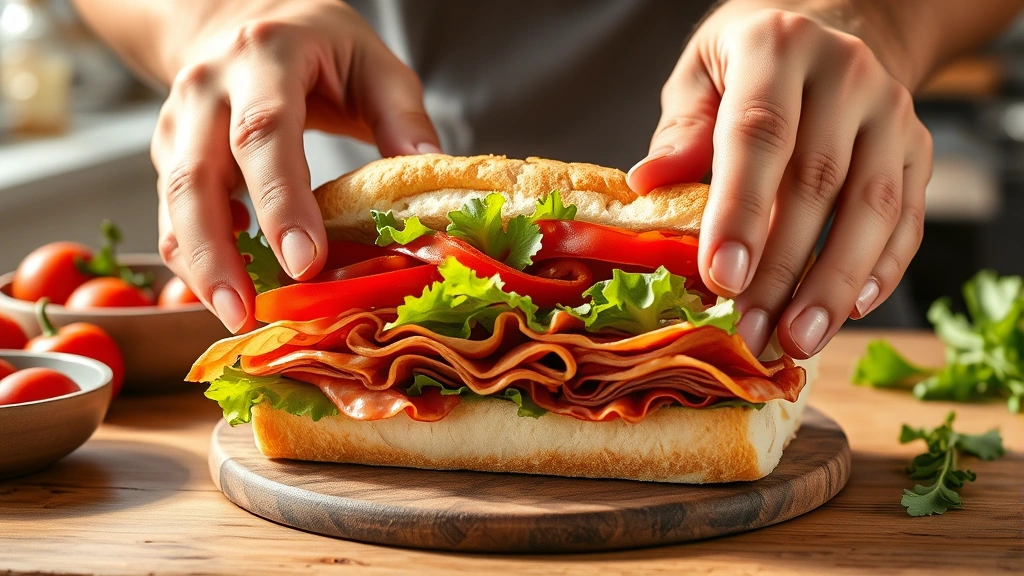
Building Your Sub Layer by Layer
Assembly order matters more than most people realize. This is where technique transforms ingredients into a cohesive experience.
Step 1: Apply the Dressing Foundation
Lightly brush or drizzle your dressing on both interior surfaces of the bread. Don’t oversaturate; you’re creating flavor, not making the bread soggy. A thin, even coat is all you need. This dressing layer acts as a moisture barrier and flavor base.
Step 2: Layer the Cheeses
Place your provolone slices on the bottom half of the roll. Slightly overlap them so you get provolone in every bite. The cheese acts as a second barrier against bread sogginess and provides flavor continuity.
Step 3: Add the Meats
Layer your meats in this order: salami first, then capicola, then mortadella. Fold each slice loosely rather than stacking them flat. This creates air pockets that make the sandwich easier to bite through and distribute flavors better. Slightly overlap the slices so you get multiple meats in most bites.
Step 4: Distribute the Vegetables
Add your roasted red peppers in an even layer. Then add lettuce, spreading it across the meat layer. Add tomato slices, slightly overlapping them. Finish with red onion slices. The vegetables add moisture, freshness, and textural contrast.
Step 5: Final Dressing and Seasoning
Add another light drizzle of dressing over the vegetables. Sprinkle with dried oregano and a small pinch of salt and pepper. The top half of the roll gets a light dressing application as well.
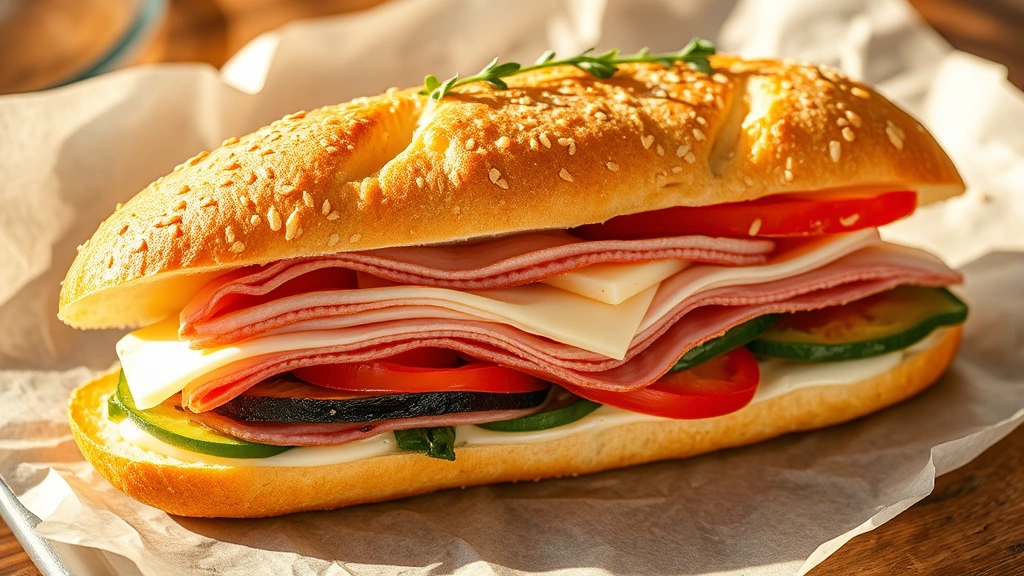
Step 6: Close and Rest
Press the top half down gently but firmly. Wrap the finished sandwich tightly in parchment paper or foil. This is crucial: let it rest for 15-20 minutes before cutting. This resting period allows the flavors to meld, the bread to stabilize, and the dressing to distribute evenly throughout.
The Magic Dressing Formula
Grandma’s dressing is deceptively simple, but this simplicity is precisely why it works. This is the component that ties everything together and elevates the sandwich from good to memorable.
The Recipe
- ¼ cup extra virgin olive oil
- 2 tablespoons red wine vinegar
- 1 tablespoon water
- 1 teaspoon dried oregano
- ½ teaspoon salt
- ¼ teaspoon freshly ground black pepper
- ⅛ teaspoon crushed red pepper flakes
- 1 small clove garlic, minced very fine (optional)
Preparation
Combine all ingredients in a small bowl or jar. Whisk thoroughly or shake vigorously for 30 seconds. The dressing should emulsify slightly, creating a cohesive liquid rather than separated oil and vinegar. Let it sit for 5 minutes before using. The flavors develop and deepen as it rests.
This dressing is best made fresh, but you can prepare it a few hours ahead. Store it in a sealed container at room temperature. If you’re interested in expanding your dressing repertoire, check out this guide on making homemade sauces that can complement various sandwiches.
The ratio of oil to vinegar (2:1) is critical. Too much vinegar makes the sandwich acidic and overpowering; too little and you lose the brightness that cuts through the richness of the meats and cheese. The oregano should be Italian oregano if possible—it has a more delicate, slightly sweeter profile than Greek oregano.
Pro Tips from Grandma’s Kitchen
These techniques, refined over decades, make the difference between a good sandwich and an exceptional one.
Temperature Matters
Serve your Italian sub at room temperature, never cold from the refrigerator. Cold dulls flavors and makes the meats taste waxy. If you’ve refrigerated your sub, remove it 30 minutes before serving to allow flavors to return to their full potential. If you’re making subs for a gathering, assemble them no more than 2 hours ahead, wrap them well, and keep them at room temperature.
Meat Quality is Non-Negotiable
Visit an Italian deli or quality butcher counter. Build relationships with the staff. Ask them which capicola they recommend, which mortadella is freshest. These professionals understand the product and can guide you toward the best options. The difference between supermarket deli meats and quality Italian deli meats is dramatic.
The Vegetable Selection
Use vegetables in season whenever possible. Summer tomatoes taste infinitely better than winter ones. If tomatoes aren’t good, reduce the amount or consider omitting them temporarily. Grandma never used bad tomatoes; she adjusted her recipe to the season. Similarly, roasted red peppers from a quality source (or homemade) taste far superior to cheap jarred versions.
Bread Sourcing
If you can’t find proper Italian sub rolls, consider visiting a nearby Italian neighborhood bakery. Many will mail order their bread or teach you how to make your own. The effort is worth it. For ideas on other traditional recipes, explore grandma’s recipe box for inspiration on traditional cooking methods.
The Pressing Technique
Some Italian delis press their finished subs in a panini press or under a hot brick for a minute or two. This is optional but creates a more cohesive sandwich. If you try this, ensure your bread doesn’t burn—medium heat for just 60-90 seconds is sufficient. The pressing melds the ingredients and slightly toasts the exterior.
Variations and Customizations
While grandma’s original recipe is perfection, understanding variations helps you adapt to personal preferences and ingredient availability.
The Vegetarian Version
Replace the meats with layers of roasted vegetables: eggplant, zucchini, mushrooms, and additional roasted red peppers. Add fresh mozzarella and marinated artichoke hearts. Use the same dressing and bread preparation. This version is surprisingly satisfying and honors the sandwich structure.
The Hot Pressed Version
Assemble your sub traditionally, then press it in a panini maker or on a griddle. The heat slightly melts the cheese and warms the meats, creating a different but equally delicious experience. Some people add a thin layer of marinara sauce to the hot version.
The Spicy Variant
Add a thin layer of hot cherry peppers or a small amount of spicy pepper spread to the dressing layer. Increase the crushed red pepper flakes. Use spicy capicola if available. This version appeals to heat-lovers while maintaining the sandwich’s integrity.
Regional Variations
Philadelphia versions often include additional hot peppers and less oregano. New York versions sometimes include a thin layer of mayonnaise mixed with the olive oil dressing. Boston versions (called grinders) might include additional vegetables like cucumbers. Understand that variations exist because different communities developed their own preferences—all can be authentic within their context.
When exploring traditional sandwich-making across cultures, you might enjoy learning about contemporary takes on classic recipes that honor tradition while allowing for innovation.
FAQ
Can I make Italian subs ahead for an event?
Yes, but with timing considerations. Assemble subs no more than 2-3 hours before serving. Wrap them tightly in parchment paper and keep them at room temperature. The bread will begin absorbing moisture after 3 hours, so timing is important. For larger events, assemble components separately and let guests build their own subs—this ensures optimal texture.
What’s the best way to store leftovers?
Italian subs don’t store well once assembled because the bread absorbs moisture and becomes soggy. If you have leftovers, disassemble them, wrap components separately, and refrigerate. You can reassemble with fresh bread the next day. Alternatively, wrap the whole sandwich tightly and eat it within 24 hours, understanding that texture will be compromised.
Can I freeze Italian subs?
Freezing is not recommended for assembled subs. The bread becomes tough, vegetables become mushy, and flavors don’t develop properly after thawing. However, you can freeze individual components: meats and cheese freeze well for up to a month, vegetables for shorter periods. Assemble fresh when you’re ready to enjoy.
What if I can’t find mortadella?
Mortadella is special, but if unavailable, substitute with Italian ham or additional capicola. The sandwich will still be delicious, though slightly different. Avoid American-style lunch meats; they lack the complexity you need. Ask your deli if they can order mortadella—many will.
Is mayo ever appropriate in an Italian sub?
Traditional Italian subs don’t include mayo, and grandma never used it. However, if you prefer it, add just a thin layer mixed with the olive oil dressing. Some people like a tiny amount, but it changes the sandwich’s character. Try the traditional version first before modifying.
How many people does one sub feed?
A 12-inch sub comfortably feeds 2 people as a main course or 3-4 people as part of a meal with sides. A 6-inch sub is a single serving. Adjust bread length based on your crowd and appetite.
What beverages pair best with Italian subs?
Traditional pairings include Italian sodas, ginger ale, or cold Italian wines like Pinot Grigio. Iced tea works well for casual settings. Avoid extremely acidic beverages that compete with the dressing flavors. Some people enjoy a simple Italian lager beer alongside their sub.
Can I make a hot version of this sub?
Yes. Assemble the sub traditionally, then wrap it in foil and warm it in a 350°F oven for 8-10 minutes until the cheese softens and the bread warms. Don’t overheat or the bread becomes hard. Some people add a thin layer of marinara or pesto to the hot version, though grandma’s traditional version stays true to the oil and vinegar dressing.


