
How to Make Praline: Expert Tips Inside
Pralines are a timeless confection that combines the rich, buttery flavors of caramelized sugar with the delicate crunch of nuts. Whether you’re a seasoned candy maker or a curious home cook, mastering the art of praline creation opens doors to elegant desserts, gourmet gifts, and impressive dinner party treats. This comprehensive guide walks you through every step of making perfect pralines at home, from selecting your ingredients to troubleshooting common issues.
The beauty of pralines lies in their versatility. These candied nuts can be enjoyed as standalone treats, crushed and sprinkled over desserts, or incorporated into chocolates and pastries. With the right techniques and a bit of patience, you’ll discover that making pralines is far more achievable than you might think. Our expert tips will help you avoid the pitfalls that catch most beginners and achieve professional-quality results in your own kitchen.
Understanding Pralines and Their Origins
Pralines have a fascinating history rooted in European confectionery traditions. The term “praline” actually refers to different things depending on your geography. In France and Europe, pralines are typically chocolate-coated fillings, while in the United States and particularly in New Orleans, pralines are candied nuts coated in caramelized sugar. This guide focuses on the American-style praline, which is the more accessible version for home candy makers.
The tradition of making pralines became particularly popular in New Orleans during the colonial period, where French and Spanish influences merged with local ingredients. Today, pralines remain synonymous with Southern hospitality and fine confectionery craftsmanship. Understanding this heritage helps appreciate why precision and technique matter so much when creating these delicate treats.
Essential Ingredients for Perfect Pralines
Creating outstanding pralines starts with quality ingredients. Unlike some desserts where substitutions work, pralines demand specific components to achieve the right texture and flavor profile. Here’s what you need:
- Granulated Sugar: Two cups forms the foundation of your praline coating. Use pure cane sugar for best results, as it crystallizes more predictably than alternatives.
- Brown Sugar: One cup adds depth and a subtle molasses flavor that distinguishes homemade pralines from commercial versions.
- Butter: Half a cup of unsalted butter provides richness and helps achieve the signature creamy texture. Unsalted allows you to control the salt content precisely.
- Heavy Cream: One cup contributes to the smooth, luxurious mouthfeel. Avoid ultra-pasteurized cream if possible, as it can affect texture.
- Pecans or Walnuts: Three cups of nuts, roughly halved. Pecans are traditional, but walnuts, almonds, or hazelnuts work beautifully too.
- Vanilla Extract: One teaspoon enhances flavor without overpowering the caramel notes.
- Sea Salt: A quarter teaspoon balances sweetness and elevates the overall flavor complexity.
The quality of your nuts significantly impacts the final product. Fresh nuts taste superior to stale ones, so check the harvest date if available. Store nuts in the refrigerator before use to preserve their flavor and prevent rancidity.
Equipment You’ll Need
Proper equipment ensures consistency and safety throughout the candy-making process. While praline making doesn’t require expensive gear, certain tools prove invaluable:
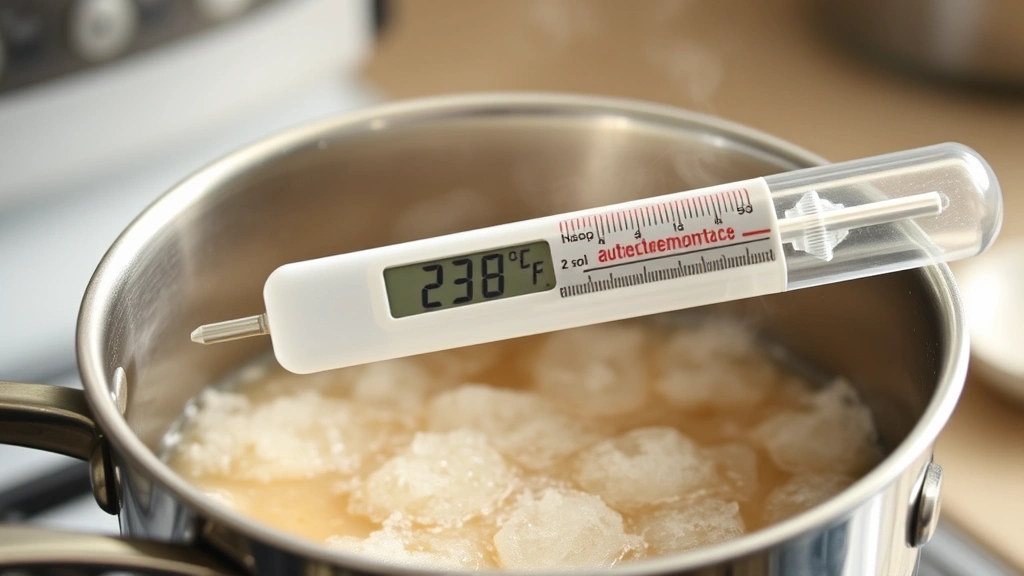
- Candy Thermometer: This is non-negotiable. A reliable thermometer reading to 300°F ensures you hit the exact temperatures required for proper caramelization.
- Heavy-Bottomed Saucepan: A 3 to 4-quart stainless steel or copper pan distributes heat evenly and prevents scorching.
- Wooden Spoon: Use for stirring and testing consistency. Avoid metal spoons, which conduct heat and can burn your hands.
- Baking Sheets: Line with parchment paper to prevent sticking and make cleanup easier.
- Parchment Paper: Essential for preventing pralines from adhering to your work surface.
- Silicone Spatula: Helpful for scraping down pan sides and transferring finished pralines.
- Cooling Racks: Allows air circulation around pralines for even cooling.
Step-by-Step Praline Recipe
Preparation Phase (10 minutes): Begin by preparing your workspace. Line two large baking sheets with parchment paper and arrange them near your cooking station. Measure out all ingredients and place them within arm’s reach. This mise en place approach prevents frantic searching once cooking begins. Preheat your oven to 300°F and spread your nuts on a baking sheet. Toast them for 8-10 minutes, stirring halfway through. This step intensifies their flavor and removes excess moisture, resulting in crunchier pralines. Remove from heat and let cool slightly.
Cooking Phase (20-25 minutes): Combine granulated sugar, brown sugar, butter, and cream in your heavy-bottomed saucepan. Stir over medium heat until the mixture reaches 160°F, approximately 5-7 minutes. At this stage, the sugar should completely dissolve and the mixture will appear smooth and glossy. Insert your candy thermometer, ensuring it doesn’t touch the pan bottom.
Continue cooking without stirring once the thermometer is in place. Stirring after this point can cause crystallization, which ruins the smooth texture. Watch the temperature climb steadily. Around 220°F, the mixture enters the soft-ball stage. Keep heating until it reaches 238°F, the firm-ball stage, which takes approximately 10-15 minutes from the 160°F mark.
Remove the pan from heat immediately when the thermometer reads 238°F. Working quickly but carefully, stir in the vanilla extract and sea salt. The mixture will bubble slightly as you incorporate these additions. Add your toasted nuts and stir vigorously for 30-45 seconds. The mixture will thicken noticeably as you stir, which is exactly what you want.
Depositing Phase (5-10 minutes): Using a wooden spoon or small ice cream scoop, quickly drop spoonfuls of the mixture onto your prepared parchment paper. Work rapidly, as the mixture hardens as it cools. If the mixture becomes too stiff to drop, briefly return the pan to low heat for 15-20 seconds, stirring constantly. Space pralines about 2 inches apart to allow them to set properly.
Allow pralines to cool completely at room temperature for at least 30 minutes before handling. They’ll firm up considerably as they cool, developing their characteristic slightly chewy interior with a firm exterior.
Temperature Control and Candy Making Science
Temperature is the single most important factor in successful praline making. The sugar syrup passes through distinct stages as it heats, each with specific characteristics. Understanding these stages prevents common mistakes and ensures consistent results.
The soft-ball stage (235-240°F) produces a mixture that forms a soft ball when dropped in cold water but flattens when removed from water. This is your target range for pralines. Going higher risks creating a harder, grainier texture, while staying too low results in sticky, overly soft pralines that won’t hold their shape.
Why does temperature matter so much? At different heat levels, sugar molecules arrange themselves differently, affecting crystal size and formation. At 238°F, you achieve the ideal balance: sugar crystals are small enough to create a smooth, creamy texture, yet large enough to provide pleasant mouthfeel. This is why a reliable thermometer isn’t optional—it’s absolutely essential.
One critical tip: avoid stirring the mixture after the thermometer is inserted. Agitation can trigger unwanted crystallization, creating a grainy, sandy texture instead of the smooth, glossy finish you want. The only exception is when adding the final ingredients like vanilla and salt, where vigorous stirring actually helps the mixture thicken properly.
Flavoring Variations and Creative Options
Once you master the basic praline recipe, endless flavor possibilities await. Here are expert-tested variations that maintain the essential praline structure while adding exciting dimensions:
- Bourbon Pralines: Replace the vanilla extract with 1 tablespoon of bourbon whiskey added after removing from heat. The alcohol cooks off, leaving a sophisticated depth.
- Spiced Pralines: Add 1 teaspoon of cinnamon, ½ teaspoon of nutmeg, and ¼ teaspoon of cayenne pepper along with the vanilla. The subtle heat complements the caramel beautifully.
- Maple Pralines: Substitute half the brown sugar with ½ cup of pure maple syrup. Use maple-flavored extract instead of vanilla for authentic flavor.
- Coffee-Glazed Pralines: Add 1 tablespoon of instant espresso powder dissolved in 1 tablespoon of hot water to the mixture before adding nuts. This creates a sophisticated, slightly bitter counterpoint to the sweetness.
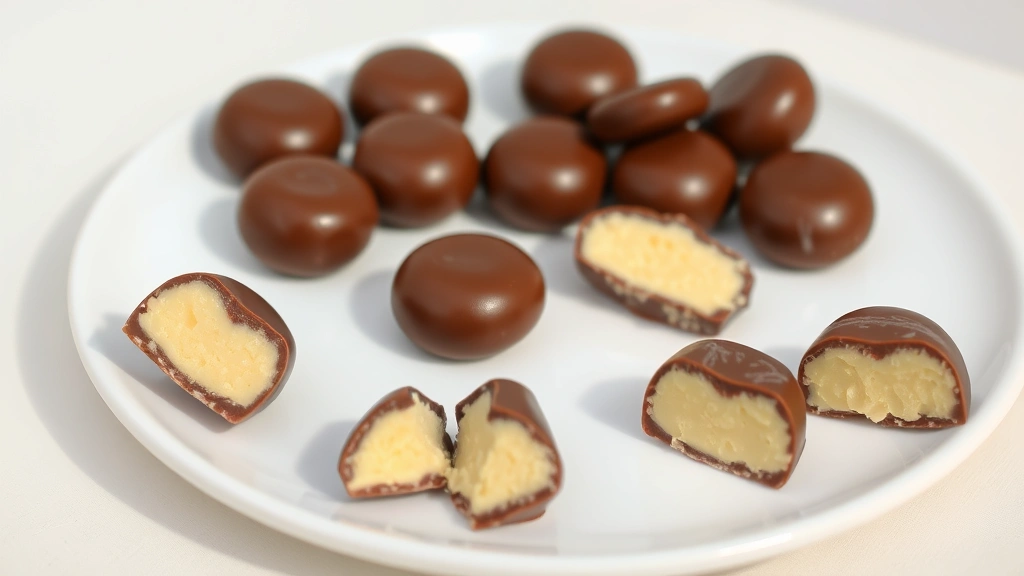
- Chocolate-Dipped Pralines: After pralines cool completely, melt 8 ounces of quality chocolate and dip the bottom half of each praline. Let chocolate set on parchment before serving.
When experimenting with flavors, remember that liquid additions can affect the final texture. If adding liquids beyond what’s already specified, reduce the cream by an equal amount to maintain proper ratios.
Storage and Shelf Life
Properly stored pralines maintain their quality for several weeks. Place cooled pralines in an airtight container, separating layers with parchment paper to prevent sticking. Store at room temperature away from direct sunlight and heat sources. Avoid refrigeration, which can cause the sugar coating to become sticky due to condensation.
Pralines stored this way remain fresh for 2-3 weeks. If you live in a particularly humid climate, add a food-safe silica gel packet to your storage container to absorb excess moisture. This prevents the pralines from becoming tacky.
For longer storage, freeze pralines in an airtight freezer container for up to 3 months. Thaw at room temperature for 1-2 hours before serving. The texture remains virtually unchanged after thawing, making freezing an excellent option for preparing gifts ahead of time or making large batches for special occasions.
Troubleshooting Common Problems
Grainy or Crystallized Pralines: This occurs when sugar crystals form during cooking. Prevention is key: avoid stirring after inserting the thermometer, ensure your pan is clean before starting, and cover the pan for the first 2-3 minutes of cooking to dissolve any sugar crystals on the sides. If crystallization begins, add a tablespoon of corn syrup to prevent it from spreading.
Pralines Too Soft or Won’t Hold Shape: Your mixture didn’t reach the proper temperature. Always double-check your thermometer’s accuracy by testing it in boiling water—it should read 212°F. If not, adjust your target temperature accordingly. Soft pralines indicate the mixture stayed below 238°F.
Pralines Too Hard or Brittle: Conversely, if you exceeded 240°F, the mixture became too firm. Next time, remove from heat at exactly 238°F. Hard pralines can still be salvaged by crushing them and using as a dessert topping or ingredient in comfort food recipes like ice cream or yogurt parfaits.
Mixture Hardens Before Depositing: If the mixture becomes too stiff to drop onto the parchment, briefly reheat over low heat for 15-20 seconds while stirring constantly. This softens the mixture without triggering crystallization. Work faster next time—practice improves your speed considerably.
Pralines Stick to Parchment: This usually indicates residual moisture on the paper. Ensure your parchment is completely dry before use. If sticking still occurs, you may have slightly exceeded the proper temperature, creating a stickier product. Use a thin metal spatula to gently lift pralines, or place the parchment in the freezer for 10 minutes to harden the candy further before removal.
If you enjoy sweet treats and candy making, you might also appreciate exploring venison chili recipe or other ground venison recipes for savory contrast. For those interested in specialized diets, carnivore diet recipes offer interesting cooking opportunities.
FAQ
Can I make pralines without a candy thermometer?
While technically possible using the cold-water test method, a reliable thermometer is strongly recommended. The cold-water test requires dropping small amounts of hot sugar into ice water and testing consistency, which is imprecise and potentially dangerous. Invest in an inexpensive candy thermometer—it costs $10-15 and dramatically improves your success rate.
What type of nuts work best for pralines?
Pecans are traditional and offer a buttery, slightly sweet flavor that complements caramel perfectly. Walnuts provide earthier notes, while almonds create a more delicate taste. Macadamia nuts produce exceptionally creamy pralines. Avoid nuts with strong flavors like pistachios, which can overpower the caramel. Always use fresh nuts for optimal results.
Why did my pralines turn out grainy?
Graininess results from unwanted sugar crystallization. This happens when you stir after inserting the thermometer, use a pan with residue, or use old sugar with moisture. Start with a clean pan, avoid post-thermometer stirring, and ensure all ingredients are fresh and properly measured.
Can I double the praline recipe?
Yes, but increase your pan size to a 5-6 quart capacity. Doubling requires more heat and time, so expect cooking to take 5-10 minutes longer. Monitor the temperature carefully, as larger batches heat less evenly. Ensure your thermometer can move freely without touching the pan bottom.
How do I prevent pralines from sticking to my teeth?
Pralines naturally stick slightly due to their chewy interior. If this bothers you, remove from heat at 240-242°F instead of 238°F, creating a firmer texture. Some people enjoy wrapping pralines in small pieces of wax paper for eating and gifting.
Can pralines be made dairy-free?
Yes, substitute heavy cream with full-fat coconut milk or oat cream in equal amounts. Use coconut oil or dairy-free butter instead of regular butter. The flavor profile changes slightly, but the texture remains similar. Test with a small batch first to ensure the dairy-free ingredients work with your thermometer readings.
What’s the difference between pralines and toffee?
Pralines are soft candies with nuts embedded in caramelized sugar, cooked to the firm-ball stage (238°F). Toffee cooks to the hard-crack stage (300-310°F), resulting in a brittle, snapping texture. Pralines have a chewy quality, while toffee is hard and crunchy throughout.
How can I make pralines shinier?
Add 1 tablespoon of light corn syrup to your sugar mixture at the beginning. Corn syrup prevents crystallization and creates a glossier finish. It also slightly increases shelf life by preventing moisture absorption.
Can I use brown sugar exclusively instead of mixing with granulated sugar?
Brown sugar contains molasses, which affects crystallization behavior. Using it exclusively can result in overly soft pralines. The combination of granulated and brown sugar provides the ideal balance of sweetness, color, and texture. Stick to the recommended ratio for best results.
What external resources help improve candy-making skills?
The Culinary Institute of America offers detailed candy-making guides and temperature charts. Serious Eats provides science-based explanations of candy-making chemistry. King Arthur Baking offers troubleshooting tips and ingredient recommendations. Candy Warehouse Blog features seasonal praline variations and storage tips.


