How to Craft a Minecraft Shield: Expert Guide to Building Your Ultimate Defense
A Minecraft shield is one of the most essential defensive tools you can equip in your survival adventures. Whether you’re facing hostile mobs in deep caves, preparing for PvP combat, or simply want to protect yourself during exploration, mastering the shield recipe is fundamental to your gameplay success. This comprehensive guide will walk you through everything you need to know about crafting shields, customizing them, and using them effectively in combat situations.
The shield has evolved significantly since its introduction to Minecraft, and understanding the nuances of its crafting recipe, enchantments, and tactical applications can dramatically improve your survival chances. From gathering the right materials to applying advanced customizations, we’ll cover every aspect of shield mastery that will elevate your Minecraft experience.
Understanding Shield Basics and Game Mechanics
Before you begin crafting your first shield, it’s important to understand what makes this item so valuable in Minecraft’s combat system. A shield is a defensive tool that you hold in your off-hand slot, blocking incoming damage from projectiles, melee attacks, and even explosion knockback. When actively blocking, you’ll see your character hold the shield in front of them, creating a protective barrier that significantly reduces incoming damage.
The shield’s effectiveness lies in its ability to negate damage from almost any source when properly positioned. Unlike armor, which reduces damage taken, a shield can completely prevent damage if you’re facing the correct direction. This makes it invaluable for both beginner and experienced players navigating dangerous terrain or engaging in combat. The shield’s durability decreases with each hit it blocks, but shields can be repaired using planks of the same wood type used in their crafting.
Understanding the mechanics of blocking is crucial for effective shield use. You need to hold down the right-click button (or your designated use key) to activate the shield. When activated, you’ll move slightly slower, but the protection is well worth the mobility trade-off. The shield can block damage from all directions if you’re facing the source of the damage, making positioning in combat incredibly important.
Gathering Required Materials for Your Shield
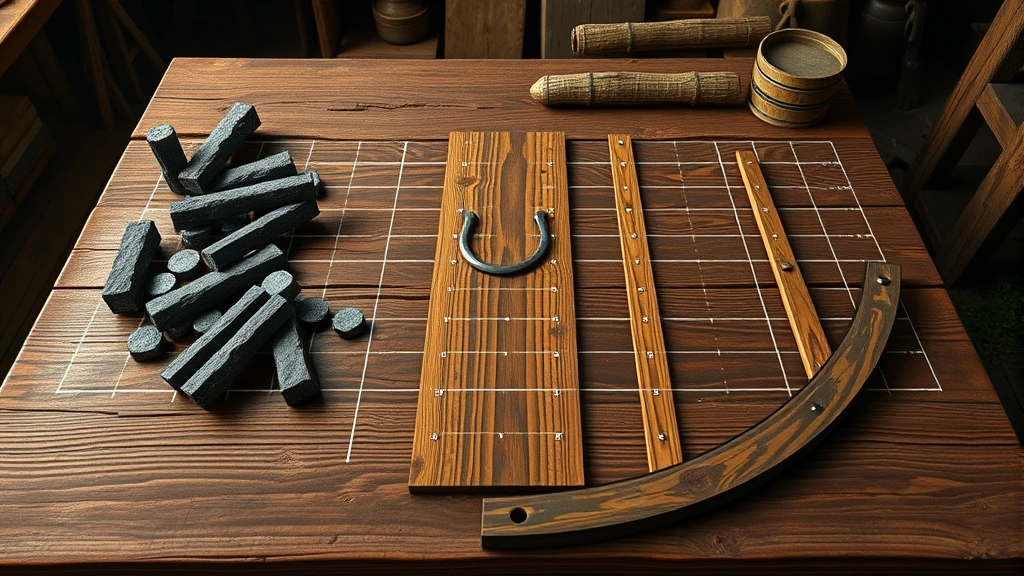
The Minecraft shield recipe requires specific materials that are relatively easy to obtain early in your survival world. Understanding where and how to gather these materials efficiently will speed up your crafting process and get you protected faster.
The primary material you’ll need is wooden planks. Any type of wooden planks will work—oak, spruce, birch, jungle, acacia, dark oak, mangrove, or cherry wood. The type of wood you use determines the visual appearance of your shield but doesn’t affect its functionality. You’ll need six wooden planks total for one shield. Wooden planks are obtained by breaking wood logs with an axe or hand, then placing the logs in your crafting inventory to convert them into planks.
The second essential material is an iron ingot
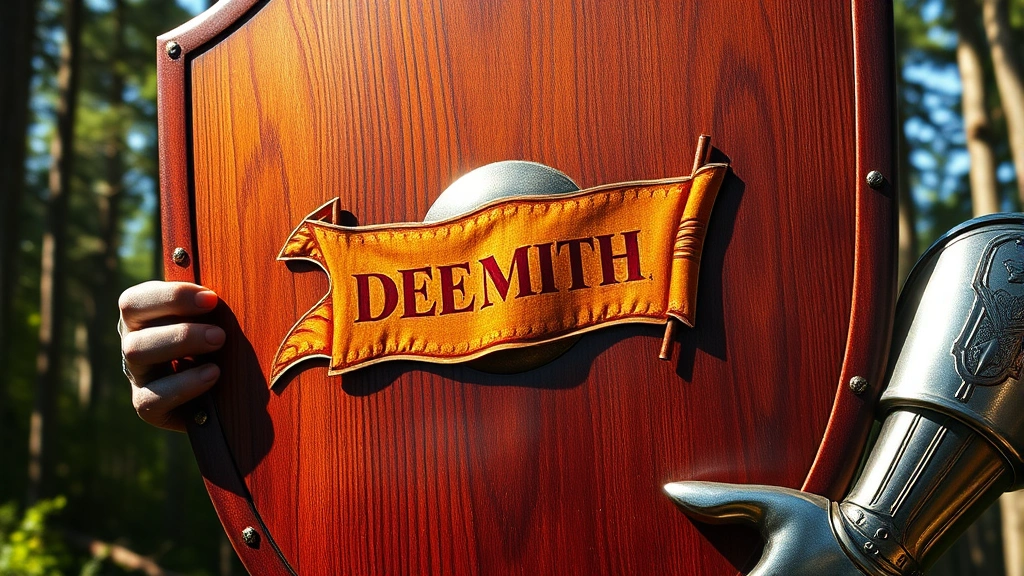
Here’s a breakdown of material gathering priorities: Pro tip: If you’re in early-game and don’t have iron readily available, focus on gathering wood first and securing an iron ingot before attempting to craft your shield. Having multiple shields in reserve is also wise, as they can break during intense combat situations. Now that you have your materials ready, let’s walk through the exact crafting process to create your shield. This is where precision matters, as the arrangement of materials in your crafting grid determines your success. Step 1: Open Your Crafting Table First, approach your crafting table and right-click on it to open the 3×3 crafting grid. Make sure you have all your materials in your inventory before proceeding. Step 2: Arrange Your Wooden Planks Place your wooden planks in the following pattern in your crafting grid: This creates the classic shield shape with the iron ingot forming the central boss. The pattern should look like an upside-down T or a shield outline when viewed from above. Step 3: Collect Your Crafted Shield Once you’ve arranged the materials correctly, your shield will appear in the result box on the right side of the crafting grid. Click on the shield to add it to your inventory. Your crafting materials will be consumed, and you’ll receive one completed shield. Step 4: Equip Your Shield Open your inventory and place the shield in your off-hand slot (the second slot next to your main hand). You can now right-click to activate the shield and begin blocking incoming damage. For visual learners, watching a Minecraft combat guide can provide additional clarity on shield mechanics and placement. One of the most exciting aspects of shield crafting is the ability to customize your shield’s appearance using banners. This cosmetic modification doesn’t affect functionality but allows you to express your creativity and personalize your protective gear. To customize your shield, you’ll need a banner that matches your desired design. Banners are crafted using wool and sticks, and you can apply various dyes and patterns to create unique designs. Once you have your banner ready, combine it with your shield on a crafting table or in your crafting inventory. The process is simple: You can layer multiple patterns on a single banner before applying it to your shield, allowing for incredibly detailed and personalized designs. Some players create team colors, faction symbols, or artistic patterns that make their shields instantly recognizable in multiplayer settings. If you want to change your shield’s design later, simply combine a new banner with your existing shield. The old design will be replaced, allowing you to update your aesthetic whenever you like. Understanding how to use your shield effectively in combat is just as important as knowing how to craft it. Mastering advanced techniques will significantly improve your survival rate in dangerous situations. Directional Blocking Your shield only blocks damage from the direction you’re facing. Always position yourself to face incoming threats, whether that’s a charging Creeper, an archer’s arrows, or another player in PvP combat. Rotating your character to keep threats in front of you is essential for maximum protection. Shield Bashing When you hit an enemy while holding your shield, you perform a shield bash that stuns them momentarily. This technique is invaluable for creating distance between yourself and aggressive mobs or other players. Practice timing your attacks to knock back threats effectively. Combining with Other Gear Your shield works best when paired with quality armor and healing items. Consider keeping healing potions in your hotbar alongside your sword for quick switching between offense and defense. If you’re interested in defensive food strategies, exploring quick and easy recipes for maintaining energy during long gaming sessions can help your focus. Mob-Specific Strategies Different mobs require different shield tactics: Once you’ve crafted your basic shield, you can significantly enhance its capabilities through enchanting. Shields can receive several beneficial enchantments that improve their defensive properties. Unbreaking Enchantment This is the most valuable enchantment for shields. Unbreaking increases your shield’s durability by reducing the rate at which it loses durability when blocking damage. At Unbreaking III, your shield will last substantially longer before requiring repairs. Mending Enchantment When combined with an experience farm or regular mob grinding, Mending allows your shield to repair itself automatically as you gain experience. This essentially gives your shield infinite durability if you’re actively playing and gaining XP. To apply enchantments, you’ll need an enchanting table, anvil, or enchanted books found in loot. The process involves: Repairing Your Shield When your shield’s durability gets low, repair it by combining two damaged shields on an anvil, or by placing your shield and wooden planks (matching the shield’s wood type) on an anvil. Repairs cost experience levels but are relatively affordable compared to other items. For comprehensive information on enchanting mechanics, visit community resources that track all available enchantments and their effects. Shield Maintenance Best Practices Keep multiple shields in your base storage, especially if you engage in frequent combat. Having backups ensures you’re never caught without protection. Store enchanted shields in item frames or chests near your base entrance for quick access during emergencies. Sometimes players encounter problems with their shields or aren’t sure about certain mechanics. Here are solutions to common issues: Shield Not Blocking Damage Ensure you’re holding the shield in your off-hand slot and actively right-clicking to activate it. The shield must be held up before damage is taken for blocking to work. Also verify that the damage source is coming from your front; shields don’t protect from behind. Durability Depleting Too Quickly If your shield breaks frequently, prioritize finding or crafting Unbreaking enchanted books. You can also create multiple shields and rotate between them during combat sessions. Cannot Apply Banner to Shield Ensure your banner is in your inventory and you’re using a crafting table. Some shields already have banner designs applied; you’ll need to remove the existing design first by crafting the shield with a blank banner. If you’re looking for general gaming nutrition tips to maintain focus during long Minecraft sessions, consider checking out seasonal recipes that provide sustained energy. While all shields function identically in terms of protection, the wood type you choose affects appearance and aesthetic choices. Some players prefer specific wood types based on their builds: Consider your base’s color scheme when deciding which wood type to use for your shield crafting. You can always craft multiple shields with different wood types to match various armor sets or aesthetic preferences. For more information on Minecraft crafting mechanics and recipes, explore official Minecraft wikis that maintain comprehensive databases of all recipes and mechanics. Yes, you can mix wood types when crafting your shield. The final shield will appear as the wood type you used for the majority of the planks, but mixing doesn’t affect functionality. A standard shield has 336 durability points. Each blocked hit consumes one durability point. With Unbreaking III, this durability effectively triples to around 1,008 hits. Shields block most damage types including melee attacks, projectiles, and explosions. However, they don’t block fall damage, drowning, suffocation, or damage from status effects like poison or wither. Yes, shields are available in Creative Mode and can be found in the tools and combat section of the creative inventory. No, you can only apply one banner design to a shield at a time. However, you can create complex banner designs with multiple layers before applying them to your shield. Shield crafting is identical in both versions, though some enchantment interactions may differ slightly. The core functionality and crafting recipe remain consistent across all Minecraft editions. No, you cannot block while actively attacking. You must choose between offensive and defensive actions, making tactical positioning crucial in combat. Combine your shield with a blank banner on a crafting table to remove the existing design. Mastering the Minecraft shield recipe is your first step toward becoming a formidable survivor in the blocky world. With proper crafting, customization, and combat technique, your shield will become an indispensable part of your survival toolkit. Whether you’re exploring dangerous caves, building your base, or engaging in intense PvP battles, a well-maintained and properly used shield can mean the difference between victory and defeat. Start crafting today and experience the confidence that comes with true defensive mastery.
Step-by-Step Crafting Process Explained
Customizing Your Shield with Banners
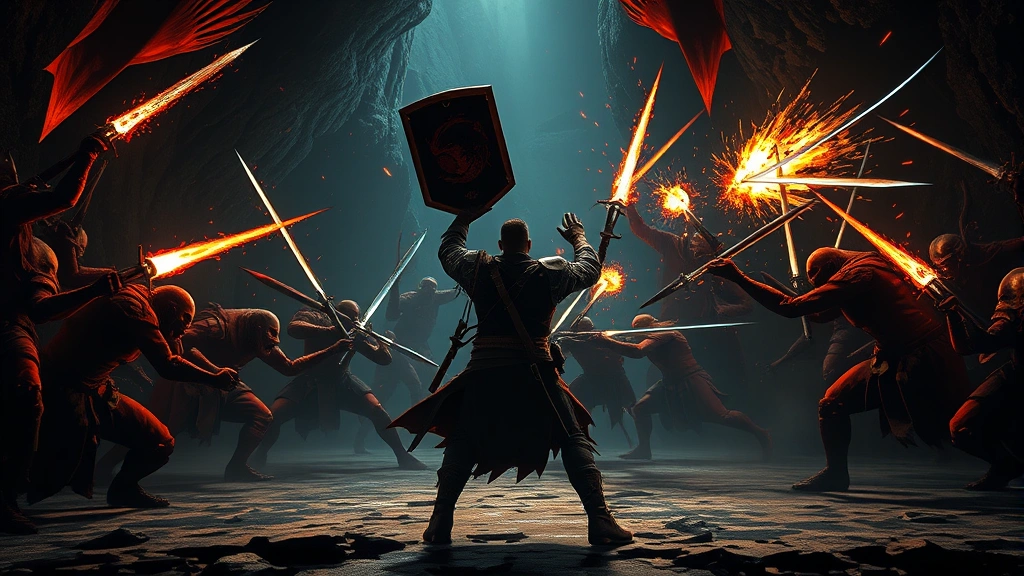
Advanced Shield Techniques and Combat Tactics
Enchanting and Upgrading Your Shield
Troubleshooting Common Shield Issues
Comparing Shield Types and Variants
Frequently Asked Questions About Shield Crafting
Can I use different wood types in the same shield recipe?
How much durability does a shield have?
Can shields block all types of damage?
Is there a shield in Creative Mode?
Can I apply multiple banners to one shield?
What’s the difference between Java and Bedrock shield mechanics?
Can I shield block while attacking?
How do I remove a banner from my shield?


