Panera Mac & Cheese? Tried-and-True Copycat Recipe
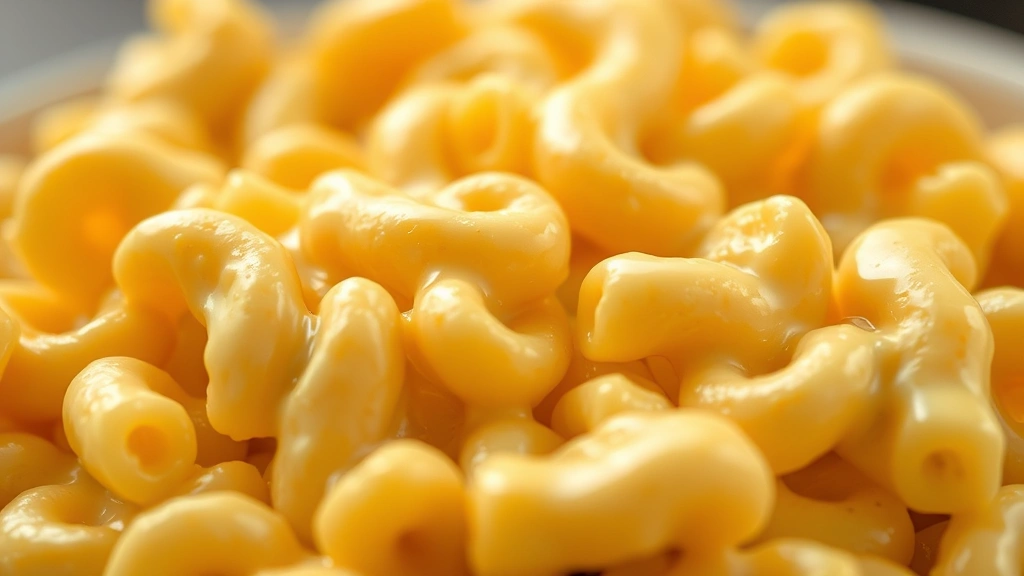
Panera Bread’s mac and cheese has become a beloved comfort food for countless customers who crave that creamy, cheesy goodness during lunch breaks and casual dinners. The chain’s signature version features a perfect balance of multiple cheese varieties, a velvety sauce, and tender pasta that keeps people coming back for more. But what if you could recreate that restaurant-quality dish right in your own kitchen without the premium price tag?
This copycat recipe breaks down the secrets behind Panera’s famous mac and cheese, allowing home cooks to enjoy the same delicious flavors whenever the craving strikes. Whether you’re looking to save money, customize ingredients, or simply master the technique, this guide walks you through every step of the process. We’ll explore the cheese selection, sauce preparation, and cooking methods that make this dish absolutely irresistible.
The beauty of making this recipe at home is the ability to control quality, adjust creaminess levels, and even experiment with add-ins like crispy bacon or fresh breadcrumbs. Let’s dive into what makes Panera’s version special and how you can achieve that same magic in your kitchen.

Understanding Panera’s Mac and Cheese Formula
Panera’s mac and cheese stands out in the casual dining market because it achieves a specific texture and flavor profile that resonates with comfort food enthusiasts. The dish relies on a combination of sharp and mild cheeses that create depth without overwhelming the palate. Understanding the formula behind this success is crucial to replicating it at home.
The sauce consistency is notably important—it’s neither too thick nor too thin, coating each piece of pasta evenly while maintaining a luxurious mouthfeel. This balance comes from the ratio of fat to flour to liquid, along with the type of cheeses used. Panera likely uses a blend that includes aged cheddar for sharpness, along with milder varieties to keep things approachable.
The pasta itself is cooked to a specific tenderness that suggests they may use a slightly longer cooking time than traditional al dente preparations. This softer texture appeals to a broader audience and contributes to the overall comfort factor. The combination of these elements—proper cheese selection, sauce technique, and pasta preparation—creates a harmonious dish that feels both indulgent and satisfying.
When learning how to make homemade sauces, the foundational technique applies directly to mac and cheese preparation. The roux-based approach that Panera uses is a classic culinary method that ensures smooth, lump-free results every time.
Essential Ingredients for Success
The ingredient list for this copycat recipe is straightforward but requires attention to quality. Each component plays a specific role in achieving that authentic Panera experience.
- Pasta: Use one pound of elbow macaroni or cavatappi for the best texture and sauce adherence
- Butter: Four tablespoons of unsalted butter provides the fat base for your roux
- All-purpose flour: Three tablespoons creates the thickening agent
- Whole milk: Three cups of whole milk (not low-fat) ensures proper creaminess
- Sharp cheddar cheese: Eight ounces of finely shredded cheese adds bold flavor
- Mild cheddar cheese: Eight ounces of shredded cheese balances the sharpness
- Gruyère cheese: Four ounces adds complexity and depth
- Salt and white pepper: Season to taste, white pepper prevents visible specks
- Nutmeg: One-quarter teaspoon adds subtle warmth
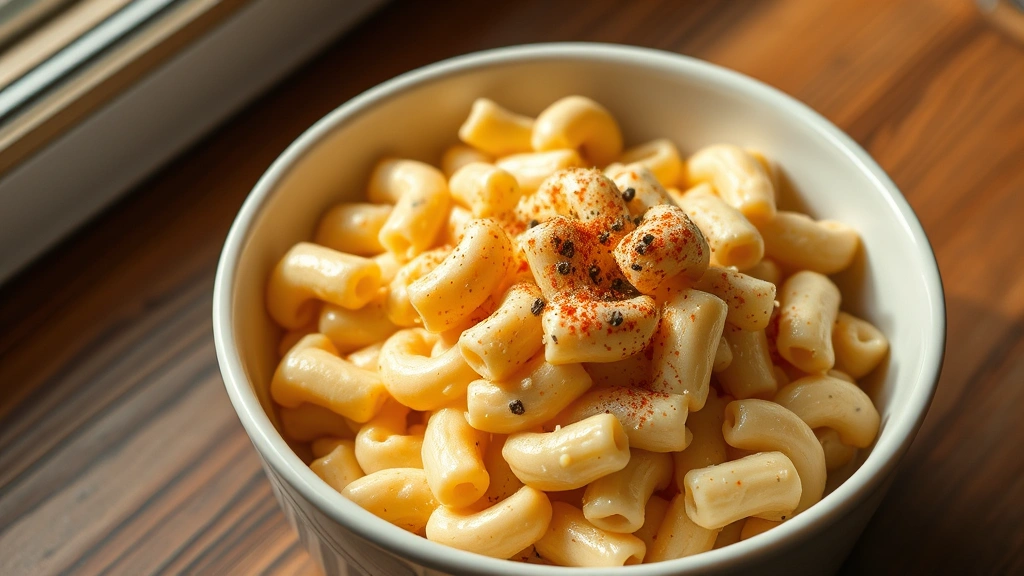
- Paprika: One-half teaspoon for color and mild spice
The cheese selection is where many home recipes fall short. Panera doesn’t rely on processed cheese product; instead, they use real, quality cheeses that melt smoothly and provide authentic flavor. Always purchase block cheese and shred it yourself rather than using pre-shredded varieties, which contain anti-caking agents that prevent smooth melting.
The milk choice matters significantly. Whole milk contains enough fat to create that silky texture, while lower-fat versions produce a thinner, less satisfying sauce. Temperature consistency also plays a role—having all ingredients at similar temperatures before combining them prevents lumps and ensures even cooking.
Step-by-Step Cooking Instructions
Following these instructions carefully will help you achieve restaurant-quality results. The process involves several distinct stages, each building on the previous one.
- Cook the pasta: Bring a large pot of salted water to a rolling boil. Add the pound of elbow macaroni and cook according to package directions, but reduce the time by one minute to keep the pasta slightly firmer than usual. Drain well and set aside, but don’t rinse—the starch helps the sauce adhere.
- Create your roux: In a large saucepan or Dutch oven, melt the four tablespoons of butter over medium heat. Once melted and foaming, add the three tablespoons of flour, stirring constantly for about two minutes. This cooking time eliminates the raw flour taste and creates a smooth base.
- Incorporate the milk: Slowly add the three cups of warm milk while whisking continuously. This gradual addition prevents lumps from forming. Continue whisking until the mixture reaches a gentle simmer and thickens enough to coat the back of a spoon.
- Adjust seasoning: Add salt, white pepper, nutmeg, and paprika to taste. Start with smaller amounts and adjust as needed—you can always add more, but you can’t remove it.
- Add the cooked pasta: Gently fold the drained pasta into the sauce, ensuring every piece is coated. Work quickly but carefully to maintain the sauce consistency.
- Transfer and serve: Move the mac and cheese to a serving bowl or baking dish. For a creamier presentation, serve immediately while still warm.
Timing is essential throughout this process. If your roux is too dark, it will taste burnt and bitter. If your sauce isn’t hot enough when adding milk, lumps may form. Maintaining medium heat throughout ensures even cooking without scorching.
Creating the Perfect Cheese Sauce
The cheese sauce is the heart of this dish, and mastering its preparation is key to replicating Panera’s success. This is where your ingredient quality truly matters.
Once your base sauce has thickened and reached the proper temperature, it’s time to add the cheeses. Remove the pan from direct heat to prevent the cheese from becoming grainy or separating. Add the eight ounces of sharp cheddar first, stirring until completely melted and incorporated. Follow with the eight ounces of mild cheddar, stirring thoroughly. Finally, add the four ounces of Gruyère, which adds a sophisticated nutty note that distinguishes this recipe from basic versions.
The order of cheese addition matters because different varieties melt at different temperatures and rates. Starting with the sharper cheese allows its bold flavors to disperse throughout the sauce. The mild cheddar provides familiar comfort, while Gruyère adds the complexity that makes people wonder what the secret ingredient is.
Temperature control during cheese incorporation is critical. If the sauce is too hot, the cheese proteins can become tough and separate from the fat, resulting in a grainy texture. If it’s too cool, the cheese won’t melt completely. The ideal temperature is just below boiling—hot enough to melt the cheese but not so hot that it damages the proteins.
For those interested in understanding sauce science more deeply, exploring Serious Eats’ culinary science resources provides excellent background on emulsification and cheese behavior in sauces.
Combining Pasta and Sauce
The moment when pasta meets sauce is crucial for achieving that signature Panera consistency. This step requires attention to both technique and timing.
Add the cooked pasta to the cheese sauce gradually rather than all at once. This allows you to control the overall consistency and ensure even coating. If the mixture seems too thick, you can add a splash of warm milk to reach your desired creaminess. Panera’s version tends toward the creamy side, so don’t hesitate to adjust.
Use a rubber spatula or wooden spoon to gently fold the pasta into the sauce, rotating the pan and working from the bottom up. This motion ensures that pasta from the bottom of the pan gets coated while preventing the pasta from breaking apart. Vigorous stirring can damage the noodles and make the dish mushy.
The consistency you’re aiming for is one where the sauce coats the pasta but still flows slightly when plated. If you’re making this for a baked version, you might prefer a slightly thicker sauce that holds its shape. For immediate serving, a more fluid consistency works better.
Storage and Reheating Tips
One advantage of making mac and cheese at home is the ability to prepare it ahead and reheat it throughout the week. Proper storage and reheating techniques preserve the quality of your dish.
Store leftover mac and cheese in an airtight container in the refrigerator for up to four days. The sauce will thicken as it cools, which is normal. When reheating, place the mac and cheese in a saucepan over low heat, stirring frequently and adding splashes of milk as needed to restore the creamy texture. Microwave reheating is possible but tends to create hot spots and can make the sauce separate—stovetop reheating provides better results.
For longer storage, freeze portions in individual containers for up to three months. Thaw overnight in the refrigerator before reheating using the stovetop method. The texture after freezing won’t be quite as smooth as fresh preparation, but it remains perfectly acceptable for everyday eating.
If you’re making a baked version, you can assemble the dish, cover it with foil, and refrigerate for up to 24 hours before baking. Add an extra 10-15 minutes to the baking time if cooking from a chilled state.
Variations and Add-Ins
While the classic version captures Panera’s essence, creative variations allow you to personalize this dish according to your preferences and dietary needs.
Protein additions: Crispy bacon bits, diced ham, or cooked ground beef transform mac and cheese into a more substantial main course. Add these ingredients when combining the pasta and sauce to ensure even distribution.
Vegetable mix-ins: Steamed broccoli florets, roasted red peppers, or sautéed mushrooms add nutrition and flavor complexity. Cook vegetables separately before adding to prevent excess moisture in the sauce.
Topping options: A breadcrumb topping adds textural contrast. Mix panko breadcrumbs with melted butter and fresh parmesan, then sprinkle over the top before baking at 375°F for 15-20 minutes until golden.
Spice variations: A pinch of cayenne pepper or smoked paprika adds depth. Fresh thyme or rosemary can replace the nutmeg for an herbaceous twist.
Creamier versions: Substitute half the milk with heavy cream for an ultra-luxurious version. This creates a richer sauce that’s perfect for special occasions.
The foundational technique remains consistent regardless of variations. Once you master the basic method, you can confidently experiment with add-ins and modifications. For inspiration on complementary dishes, consider exploring ranch dip recipes that can serve as appetizers alongside your main course.
You might also enjoy creating Asian salad dressing to top a fresh greens salad that balances the richness of the mac and cheese. The acidity in vinegar-based dressings provides a refreshing counterpoint to creamy, cheesy dishes.
FAQ
Can I use different types of cheese?
Yes, absolutely. The cheese blend is flexible based on your preferences and what’s available. American cheese melts smoothly but lacks complexity. Fontina adds nuttiness, while white cheddar provides sharper flavor. The key is using real cheese rather than processed products and maintaining a balance between sharp and mild varieties.
Why is my sauce grainy?
Grainy sauce typically results from overheating the cheese or using low-quality cheese containing additives. Ensure your sauce is just below boiling when adding cheese, and always use real, freshly shredded cheese. Stir gently but thoroughly to ensure even melting.
Can I make this recipe in a slow cooker?
Yes, but with modifications. Cook the pasta separately, then combine it with a cheese sauce made on the stovetop. Transfer to a slow cooker set on low, adding an extra quarter cup of milk to account for evaporation. Heat for 1-2 hours, stirring occasionally. Avoid cooking the sauce directly in the slow cooker, as the gentle heat doesn’t provide enough control for proper emulsification.
What’s the best pasta shape for this recipe?
Elbow macaroni is traditional and what Panera uses, but cavatappi, shells, or penne work equally well. Choose shapes with ridges or curves that catch and hold the sauce better than smooth pasta varieties.
How can I make this recipe healthier?
Use whole wheat pasta for added fiber, substitute half the whole milk with low-fat versions (though this reduces creaminess), or incorporate steamed vegetables like broccoli or spinach. Reducing the cheese amount slightly and using more milk creates a lighter version, though it won’t match Panera’s indulgent quality.
Can I prepare this dish ahead for a dinner party?
Absolutely. Prepare the complete dish up to 24 hours ahead, store it covered in the refrigerator, and reheat gently on the stovetop before serving. Alternatively, assemble everything except combine the pasta and sauce, then combine just before serving for the freshest texture and creamiest consistency.
What’s the difference between this copycat recipe and standard mac and cheese recipes?
This recipe specifically replicates Panera’s version by using a particular cheese blend (sharp cheddar, mild cheddar, and Gruyère), maintaining a specific sauce consistency, and cooking the pasta slightly softer than traditional al dente preparations. The combination of these elements creates that distinctive Panera flavor and texture.


