Best Pickled Onions? Grandma’s Secret Recipe
There’s something magical about opening a jar of homemade pickled onions—that sharp, tangy aroma hits you first, followed by the satisfying crunch of perfectly preserved red onions. My grandmother’s pickled onions recipe has been passed down through three generations, and honestly, once you taste them, you’ll understand why store-bought versions pale in comparison. These aren’t just a condiment; they’re a game-changer for tacos, salads, charcuterie boards, and so much more.
What makes grandma’s version truly special is the balance of sweetness, acidity, and spice. She taught me that the secret isn’t in complicated ingredients—it’s in technique, timing, and understanding how flavors develop over time. Whether you’re a seasoned cook or picking up a jar for the first time, this recipe will become your go-to preserve.
Why Homemade Pickled Onions Beat Store-Bought
When grandma first showed me how to make pickled onions, I was skeptical. Why spend an hour on something you can grab at the supermarket? The answer became obvious after the first bite. Homemade versions have a fresher, crisper taste. Commercial pickled onions often contain preservatives and excessive sodium that mask the true flavor of the onion itself.
Homemade pickled onions let you control every variable: the type of onion, the vinegar strength, sugar levels, and spices. You can make them as mild or as fiery as you prefer. Plus, there’s an undeniable satisfaction in creating something from scratch that tastes restaurant-quality. Once you master this how to make homemade pickles guide, you’ll realize pickling is one of the easiest preservation methods available.
The cost comparison is remarkable too. A jar of quality pickled onions at a specialty store runs $6-10. Making your own costs roughly $2-3 per jar, and you’ll create multiple batches from one session. That’s intelligent kitchen economics.
Ingredients You’ll Need
For the Onions:
- 2 pounds red onions (about 4-5 medium onions)
- 1 teaspoon sea salt
For the Pickling Brine:
- 1.5 cups white vinegar (5% acidity)
- 1.5 cups apple cider vinegar
- 1 cup water
- 3/4 cup granulated sugar
- 2 tablespoons honey
- 1 tablespoon black peppercorns
- 4-5 whole cloves
- 2 bay leaves
- 1 teaspoon mustard seeds
- 1/2 teaspoon red pepper flakes
- 3-4 fresh thyme sprigs (or 1 teaspoon dried)
Equipment:
- Two clean quart-sized glass jars with lids
- Large stainless steel pot
- Sharp knife and cutting board
- Wooden spoon
- Measuring cups and spoons
- Funnel (optional but helpful)
Grandma always emphasized using quality vinegar. The vinegar is your foundation—cheap vinegar produces flat-tasting results. I recommend quality white vinegar combined with apple cider vinegar for complexity.
[IMAGE_1]
Step-by-Step Instructions
Step 1: Prepare Your Onions
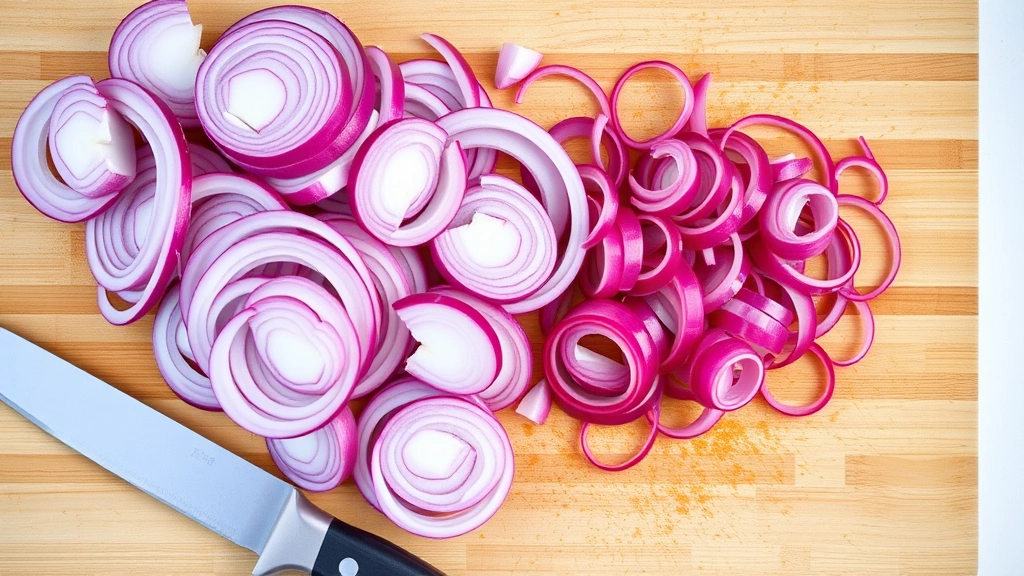
Start by selecting firm, unblemished red onions. Grandma taught me to slice them vertically (pole to root) rather than horizontally, which keeps the layers intact and creates a more attractive presentation. Peel away the papery skin and any discolored layers. Slice each onion into thin, even rings—about 1/8 inch thick. Consistency matters here because uneven slices cook at different rates.
Place sliced onions in a large bowl and sprinkle with sea salt. Let them sit for 15 minutes. This draws out excess moisture and slightly softens them. Don’t skip this step; it’s crucial for achieving that perfect crunch-tender texture.
Step 2: Prepare Your Jars
Wash your jars thoroughly with hot soapy water and rinse well. You can sterilize them by running them through the dishwasher on the hottest setting or by submerging them in boiling water for 10 minutes. Let them cool slightly before filling. This prevents thermal shock and ensures longevity of your pickled onions.
Step 3: Make the Brine
In a large stainless steel pot, combine both vinegars, water, sugar, and honey. Bring to a boil over medium-high heat, stirring occasionally to dissolve the sugar completely. Once boiling, reduce heat to medium and add all spices: black peppercorns, cloves, bay leaves, mustard seeds, red pepper flakes, and thyme.
Let the brine simmer for 3-4 minutes. This allows the spices to infuse their flavors into the liquid. You should smell a wonderful aromatic blend—that’s when you know it’s ready. The brine should taste noticeably sweet with a sharp vinegar bite and warming spice undertones.
Step 4: Pack the Jars
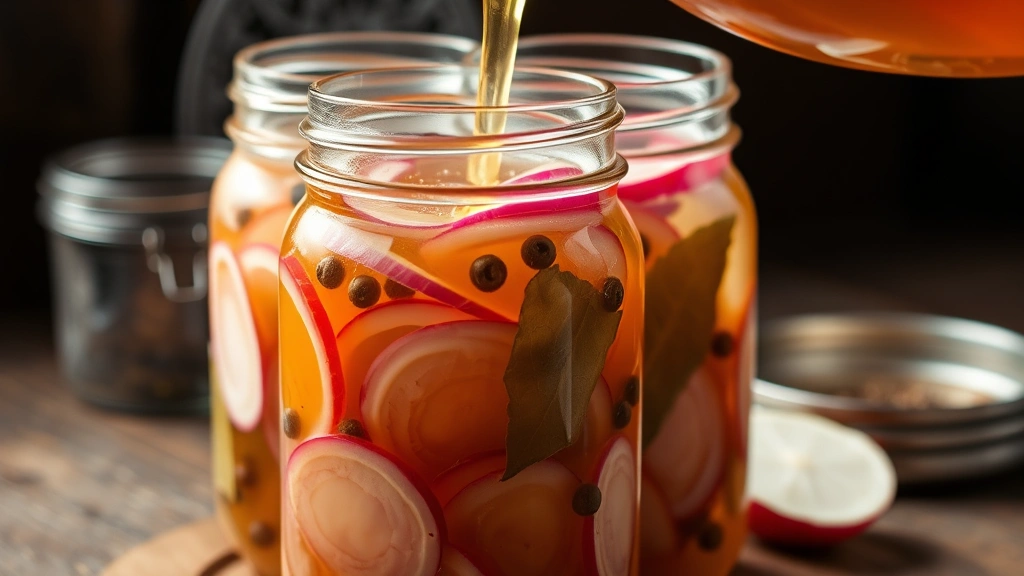
Drain the salted onions thoroughly in a colander, pressing gently to remove excess liquid. Distribute them evenly between your two prepared jars, filling to about 1 inch from the top. Don’t pack them too tightly—the brine needs to circulate around each slice.
Carefully pour the hot brine over the onions, ensuring they’re completely covered. Use a funnel if you have one to avoid spills. Leave about 1/2 inch headspace at the top. Place a few peppercorns, a bay leaf piece, or a sprig of thyme on top for visual appeal.
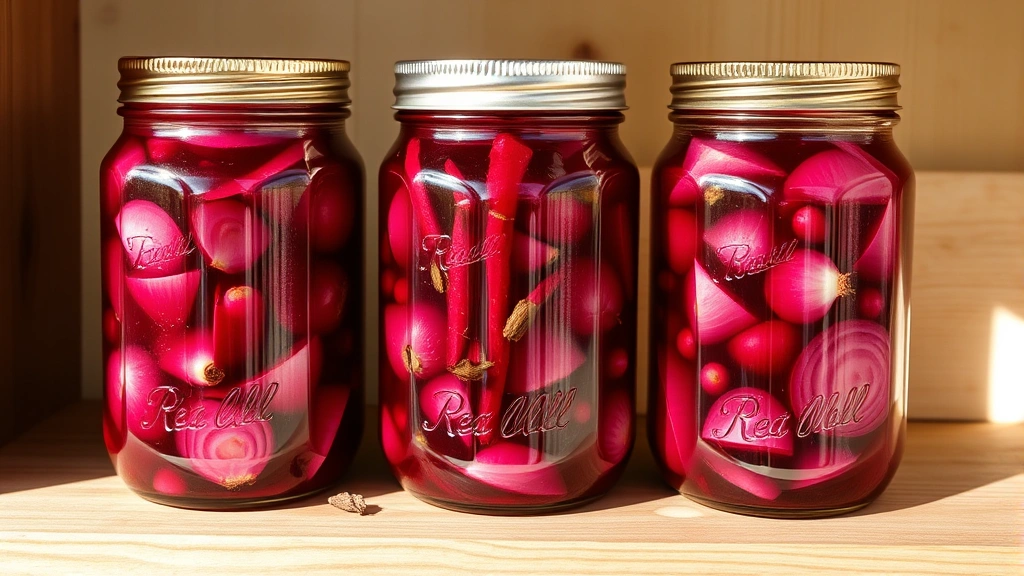
Step 5: Seal and Cool
Screw lids on tightly while the jars are still warm. As they cool to room temperature, you may hear a satisfying “pop” sound—that’s the seal forming. This is the sign of a successful batch. Once completely cool, store in a cool, dark place.
Pro Tips and Tricks
Choosing the Right Onions
Red onions are ideal for pickling because they’re sweeter and more tender than yellow onions. Their vibrant color also creates an visually stunning final product. However, don’t dismiss white or yellow onions—they work beautifully too, just with slightly different flavor profiles. White onions are sharper and more peppery, while yellow onions offer deeper sweetness.
Vinegar Selection Matters
Grandma’s secret was combining white vinegar with apple cider vinegar. The white vinegar provides clean acidity, while apple cider vinegar adds subtle fruity notes and depth. Never use flavored vinegars or ones with less than 5% acidity—they won’t preserve properly and taste inconsistent.
Temperature Control
Keep your brine hot when pouring into jars. This ensures proper preservation and helps the flavors penetrate the onions more quickly. If your brine cools, reheat it gently before continuing.
Taste Testing Timeline
These pickled onions are technically ready to eat immediately, but they taste exponentially better after 24 hours. The flavors meld and deepen. After one week, they reach peak flavor. They’ll continue developing complexity for up to three weeks before stabilizing.
Preventing Mushiness
The most common mistake is using onions that are too soft to begin with or letting them sit in salt too long. Aim for firm onions and limit the salt-resting period to exactly 15 minutes. This prevents them from becoming mushy while still achieving the proper texture.
Flavor Variations to Try
Once you master grandma’s basic recipe, you can experiment. Try adding thinly sliced garlic cloves for a savory punch. Fresh ginger adds warmth and complexity—add 3-4 thin slices to the brine. For heat lovers, increase red pepper flakes to 1 teaspoon or add fresh jalapeño slices.
Some variations I love include adding a cinnamon stick and allspice berries for a more sophisticated, almost holiday-spiced version. Turmeric adds earthiness and beautiful golden color. Coriander seeds contribute a subtle citrusy note. The beauty of homemade pickling is that you control the flavor profile completely.
For a sweeter version that works beautifully on dessert applications, reduce the vinegar slightly and increase honey to 3 tablespoons. This creates a sweet-and-sour balance perfect for pairing with sweet treats or glazes.
Storage and Shelf Life
Properly made pickled onions last 3-4 months in a cool, dark pantry. Once opened, store in the refrigerator and they’ll keep for 2-3 months. The cold slows any potential fermentation and keeps the onions crisp.
Always use clean utensils when removing onions from the jar. Never double-dip or allow non-sterilized items to touch the brine. If you notice any cloudiness, off-smells, or mold, discard the entire batch—these are signs of spoilage.
For longer storage, you can process the jars using water bath canning methods. Fill jars leaving 1/2 inch headspace, wipe rims clean, apply lids and rings, and process in boiling water for 10 minutes. This extends shelf life to 1-2 years unopened.
Best Uses for Your Pickled Onions
These best healthy food recipes complement pickled onions beautifully. Serve them on tacos, pulled pork sandwiches, or grain bowls. They’re essential for proper ceviche and add zing to fish dishes. Chop them finely and mix into cream cheese for an incredible bagel spread.
Try them on burgers, in potato salads, atop roasted vegetables, or alongside chicken carbonara for unexpected brightness. They work wonderfully in protein balls recipes when finely minced, adding moisture and flavor to savory varieties.
For charcuterie boards, pickled onions provide a palate-cleansing element that prevents flavor fatigue. They pair beautifully with aged cheeses and cured meats. They’re also excellent with Indian curries, Mexican ceviche, Middle Eastern mezze platters, and Southeast Asian banh mi sandwiches.
Don’t forget about cocktails! Pickled onions make sophisticated garnishes for martinis, Gibsons, and other cocktails. The brine itself becomes a flavored mixer—use it in vinaigrettes, marinades, or cocktail recipes.
For those exploring pickling further, understanding pickling science and techniques from culinary experts can enhance your results. Resources like the National Center for Home Food Preservation provide research-backed guidance on food safety.
FAQ
How long do homemade pickled onions last?
Properly stored in a cool, dark place, pickled onions last 3-4 months unopened. Once opened and refrigerated, they remain fresh for 2-3 months. If processed using water bath canning, unopened jars last 1-2 years.
Can I use yellow or white onions instead of red?
Absolutely! Yellow onions work well and offer deeper sweetness. White onions are sharper and more peppery. Red onions are preferred for their sweetness and vibrant color, but any onion variety works. Adjust expectations for flavor and appearance accordingly.
Why are my pickled onions mushy?
Mushiness usually results from using soft onions, over-salting, or letting them sit in salt too long. Start with firm onions and limit salt-resting to exactly 15 minutes. Ensure your brine is hot when poured, as this helps set the texture.
Can I reuse the pickling brine?
Yes! The brine can be reused 1-2 times with fresh onions. After that, it becomes diluted and loses potency. Make a fresh batch for best results. Never reuse brine if there’s any sign of mold or off-smells.
Do pickled onions need to be refrigerated?
Unopened jars stored in a cool, dark pantry don’t require refrigeration. Once opened, refrigerate to maintain freshness and crispness. The cold also slows any fermentation processes.
Can I make these without sugar?
You can reduce sugar significantly, but some sweetness balances the vinegar’s sharpness. Try using 1/4 cup honey instead of 3/4 cup sugar plus 2 tablespoons honey. The result will be more vinegary but still palatable.
How do I know if my pickled onions have gone bad?
Signs of spoilage include cloudiness in the brine, off-putting smells, visible mold, or slimy texture. If you notice any of these, discard the entire batch. Properly made pickled onions should smell vinegary and spiced, never fermented or rotten.
Can I add other vegetables to this recipe?
Definitely! Try adding sliced jalapeños, garlic cloves, or thin carrot slices. Add vegetables in the same proportion as onions, and ensure everything is covered by brine. Different vegetables may require different pickling times, so research specific varieties.


