Crumbl Chocolate Chip Cookies: Tried & True Recipe
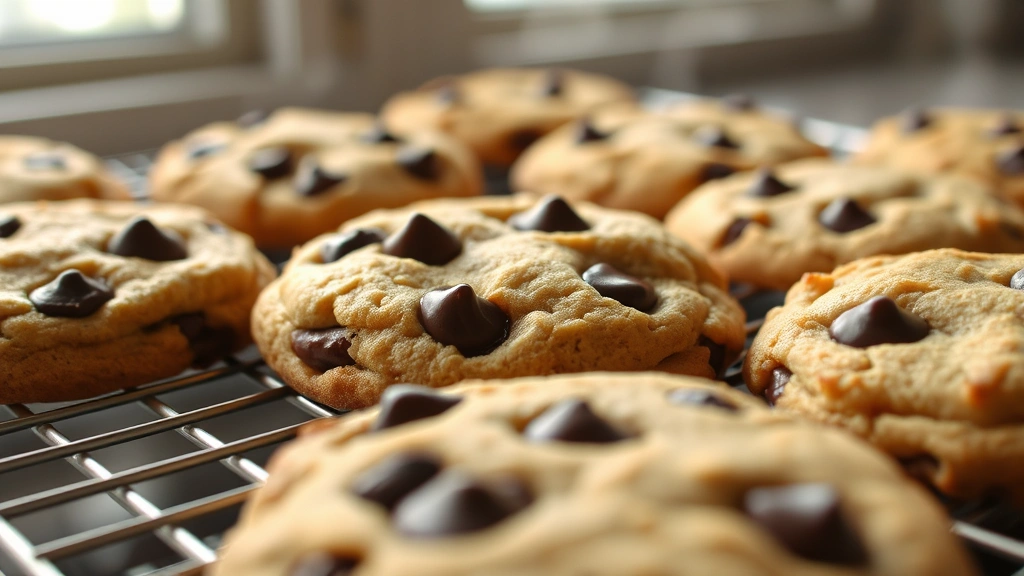
If you’ve scrolled through social media lately, you’ve probably seen those viral Crumbl cookies—the ones with perfectly crispy edges, soft centers, and that signature oversized chocolate chip situation. The good news? You don’t need to wait in line at a Crumbl location or pay premium prices to enjoy these bakery-style treats at home. This tried and true recipe delivers that exact same magic: buttery, tender crumb with just the right amount of chew, loaded with melty chocolate chips that make every bite count.
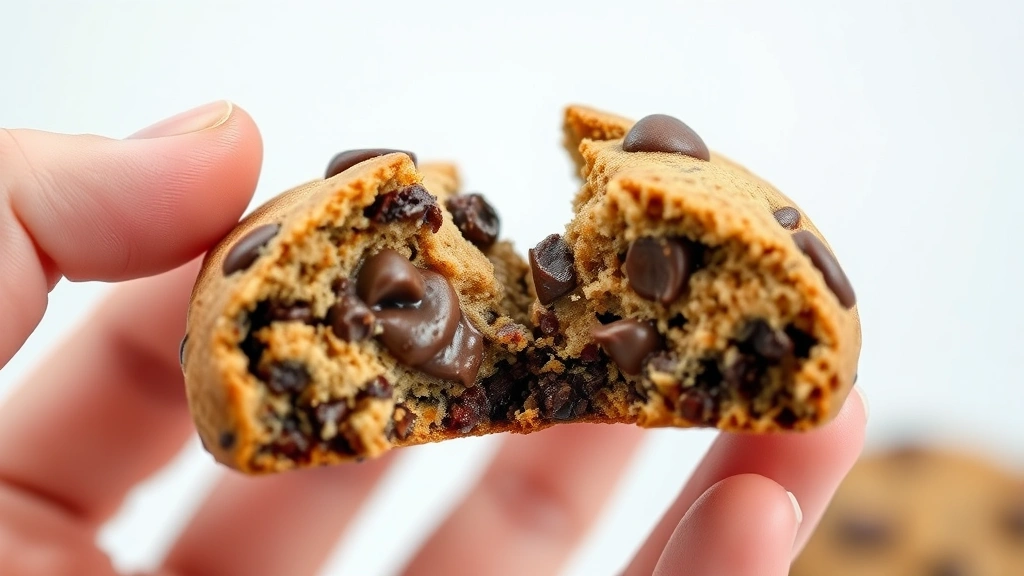
What makes these cookies so irresistible is their careful balance of texture. Unlike typical chocolate chip cookies that are either cake-like or too crispy, Crumbl-style cookies hit that sweet spot—they’re tender enough to melt on your tongue but structured enough to hold their shape. The secret lies in the ratio of brown sugar to white sugar, the type of butter you use, and the baking technique itself. After testing multiple variations and comparing notes with home bakers who’ve cracked this code, I’m sharing the definitive recipe that will have everyone asking for your secret.
Essential Ingredients
The foundation of an authentic Crumbl chocolate chip cookie starts with quality ingredients. Here’s what you’ll need to make about 24 cookies:
- 2 1/4 cups all-purpose flour – This is your structure. Don’t sift unless your flour is particularly compacted.
- 1 cup unsalted butter – Room temperature is crucial. Cold butter won’t cream properly, affecting your texture.
- 3/4 cup granulated white sugar – Provides crispness at the edges.
- 3/4 cup packed brown sugar – Adds moisture and chewiness in the center.
- 2 large eggs – Room temperature for proper emulsification and rise.
- 2 teaspoons vanilla extract – Use pure vanilla, not imitation, for depth.
- 1 teaspoon baking soda – Creates spread and crispness; don’t use baking powder.
- 1 teaspoon salt – Enhances all flavors, especially chocolate.
- 2 cups semi-sweet chocolate chips – Quality matters here. Ghirardelli or Nestlé work well.
- Optional: 1/2 teaspoon espresso powder – Deepens chocolate flavor without adding coffee taste.
Pro tip: Weigh your ingredients if possible. Baking is chemistry, and volume measurements can vary by 10-15% depending on how you scoop flour.
Equipment You’ll Need
Having the right tools makes this process significantly easier and more consistent:
- Stand mixer or hand mixer with paddle attachment
- Two large mixing bowls
- Measuring cups and spoons (or kitchen scale)
- Whisk for combining dry ingredients
- Cookie sheets or baking trays
- Parchment paper or silicone baking mats
- Cookie scoop (2-tablespoon size is ideal)
- Thermometer for oven verification
- Wire cooling racks
The cookie scoop is genuinely non-negotiable for consistent sizing. Uniform cookies bake evenly, preventing burnt edges and raw centers.
Step-by-Step Instructions
Step 1: Prepare Your Mise en Place
Remove butter and eggs from refrigeration 30-45 minutes before baking. They should feel cool but not cold when pressed. Preheat your oven to 350°F (175°C). Line your baking sheets with parchment paper. Verify your oven temperature with a thermometer—most home ovens run 25-50 degrees off.
Step 2: Combine Dry Ingredients
In a medium bowl, whisk together flour, baking soda, salt, and espresso powder (if using). Set aside. This prevents lumps and ensures even distribution of leavening agents.
Step 3: Cream Butter and Sugars
In your mixer bowl, combine softened butter, granulated sugar, and brown sugar. Beat on medium speed for 3-4 minutes until the mixture is light, fluffy, and noticeably paler in color. This creaming process incorporates air, which helps cookies rise and creates their tender crumb. Scrape down the bowl halfway through.
Step 4: Incorporate Eggs and Vanilla
Add eggs one at a time, beating for about 30 seconds after each addition. Pour in vanilla extract and mix until fully combined. The mixture should look smooth and integrated, not separated or curdled.
Step 5: Combine Wet and Dry Ingredients
Add your dry ingredient mixture to the wet ingredients in three additions, mixing on low speed until just combined after each addition. Don’t overmix—overmixing develops gluten, which makes cookies tough rather than tender. Stop mixing as soon as no flour streaks remain.
Step 6: Fold in Chocolate Chips
Remove the bowl from the mixer and fold in chocolate chips by hand using a spatula. Hand-folding prevents overworking the dough. If you want that signature Crumbl look with whole chocolate chips visible on the surface, reserve about 1/4 cup chips to press onto cookie tops before baking.
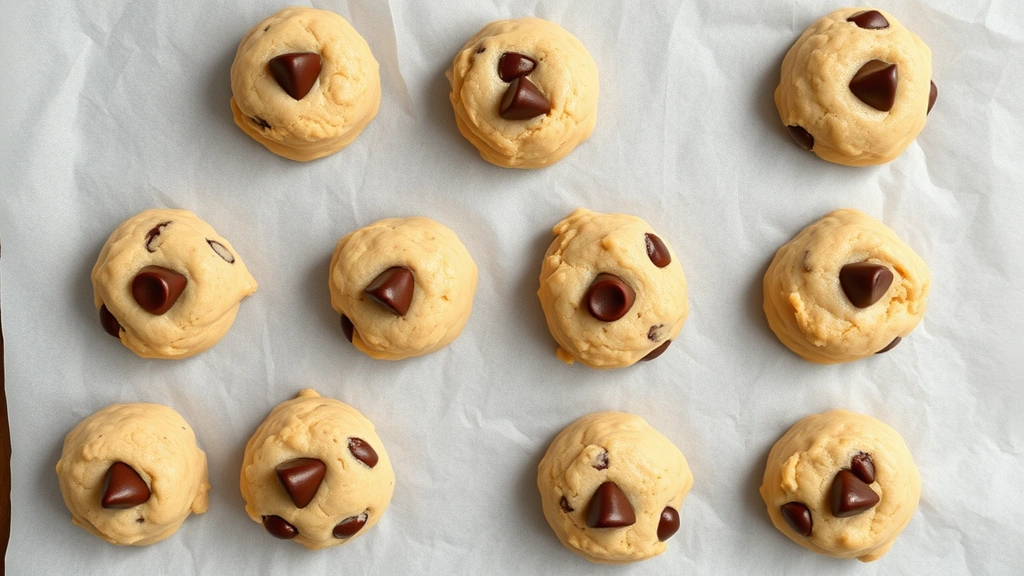
Step 7: Scoop and Chill
Using your cookie scoop, portion dough onto prepared baking sheets, spacing them about 3 inches apart. This dough benefits tremendously from chilling. Cover the baking sheets with plastic wrap and refrigerate for at least 2 hours, or up to 24 hours. Chilled dough spreads less, resulting in thicker cookies with better texture contrast.
Step 8: Add Finishing Touches
Remove one baking sheet from the refrigerator. If using reserved chocolate chips, gently press a few chips into the top of each cookie dough ball. This creates that Instagram-worthy presentation while ensuring chocolate in every bite.
Step 9: Bake with Precision
Bake for 11-13 minutes, depending on your oven. The cookies should be golden brown at the edges but still slightly underbaked in the center—they should look like they could use 30 more seconds. This is the critical moment. The residual heat will continue cooking them as they cool, resulting in that perfect tender-crispy balance. Remove from oven when the centers still look slightly soft and matte.
Step 10: Cool Properly
Let cookies cool on the baking sheet for 5 minutes before transferring to a wire cooling rack. This resting period allows them to set just enough to move without breaking, but they’re still warm enough to have that fresh-baked texture. Complete cooling takes about 20 minutes.
Achieving Perfect Texture
The hallmark of an authentic Crumbl chocolate chip cookie is its texture—crispy edges that shatter slightly when bitten, transitioning to a tender, chewy center. Here’s how to nail this every time:
Temperature Control is Everything
Your oven temperature directly determines texture. Too hot (375°F+) and edges burn before centers cook. Too cool (325°F or below) and cookies spread thin and bake evenly throughout, losing that edge-to-center contrast. Invest in an oven thermometer. They cost $10-15 and are the single best investment for consistent baking.
Understand Brown Sugar’s Role
Brown sugar contains molasses, which hygroscopically draws moisture from the air into your cookies. This is why they stay soft and chewy even after a day or two. Don’t substitute all white sugar—you’ll lose that signature texture. The ratio of 3/4 cup brown to 3/4 cup white is scientifically balanced for this specific outcome.
Butter Type Matters
Use unsalted butter so you control salt content. Salted butter varies in salt amount by brand, affecting both flavor and the Maillard reaction (browning) that creates crispy edges. European-style butter with higher fat content (86% vs. 80%) creates even richer cookies, though standard butter works fine.
Underbaking is Your Friend
This is where most home bakers fail. Cookies continue cooking after removal from the oven due to residual heat. If they look fully baked, they’ll be overdone when cooled. Pull them out when centers still look slightly raw. They’ll firm up as they cool to room temperature.
Flavor Variations & Mix-Ins
Once you’ve mastered the base recipe, explore these variations. The beauty of this dough is its versatility while maintaining that signature Crumbl texture:
Brown Butter Chocolate Chip
Brown your butter before creaming. Heat butter in a saucepan over medium heat, swirling occasionally, until it turns golden and smells nutty (about 8-10 minutes). Cool completely before using. This adds tremendous depth.
Salted Caramel Chocolate
Replace 1/2 cup chocolate chips with chopped salted caramel candies or homemade caramel pieces. Fold in along with regular chocolate chips.
Espresso Chocolate Chunk
Use the full 1/2 teaspoon espresso powder called for in the ingredients. Chop a chocolate bar into chunks instead of using chips for more dramatic chocolate pieces.
White Chocolate Macadamia
Swap 1 cup of semi-sweet chips for white chocolate chips and add 1/2 cup chopped macadamia nuts. A squeeze of lime zest brightens these beautifully.
Cookie Butter Swirl
Make this dough, then create a second batch of comfort food recipes by folding 1/4 cup cookie butter (like Biscoff spread) into half the dough. Alternate scoops of plain and cookie butter dough for a marbled effect.
Storage & Freshness Tips
Proper storage extends the life of these cookies significantly. Since brown sugar keeps them naturally moist, they stay fresh longer than typical chocolate chip cookies:
Room Temperature Storage
Place cooled cookies in an airtight container with a piece of parchment paper between layers. Store at room temperature for up to 4 days. If cookies begin to dry out, add a slice of bread to the container—it will sacrifice itself to keep cookies moist. Replace the bread daily.
Freezer Storage
Freeze unbaked dough balls in a freezer bag for up to 3 months. Bake directly from frozen, adding 1-2 minutes to baking time. Alternatively, freeze baked cookies in an airtight container for up to 2 months. Thaw at room temperature for 20 minutes before serving.
Reviving Stale Cookies
Microwave a stale cookie for 10-15 seconds. The moisture reactivates, and the chocolate melts slightly, returning the cookie to nearly fresh-baked status.
Pairing Suggestions
These cookies pair beautifully with cold milk, hot coffee, or even with other easy homemade bread recipes for a dessert board. Their balanced sweetness doesn’t overwhelm, making them suitable for afternoon snacking or after-dinner treats.
FAQ
Why are my cookies spreading too thin?
Your butter was too warm, your oven temperature is too low, or you skipped the chilling step. Always use room temperature (cool to touch) butter, verify oven temp with a thermometer, and chill dough for at least 2 hours. Warm dough spreads immediately in the oven.
Can I use salted butter instead of unsalted?
Yes, but reduce the salt in the recipe to 1/2 teaspoon. Salted butter varies in salt content by brand, making it harder to achieve consistent results. Unsalted gives you control.
What’s the difference between these and regular chocolate chip cookies?
The ratio of brown sugar to white sugar, the precise baking temperature and time, and the chilling step create that distinctive Crumbl texture—crispy edges with a tender, chewy center. Most recipes either go all white sugar (too crispy throughout) or skip chilling (too thin and uniform).
Can I make these cookies smaller or larger?
Absolutely. A 1-tablespoon scoop makes smaller cookies that bake in 9-10 minutes. A 3-tablespoon scoop makes larger cookies requiring 14-16 minutes. Adjust baking time based on size, watching for that golden-brown edge with soft center.
How do I get chocolate chips to stay visible on top?
Press whole chips into the tops of dough balls after scooping but before baking. This works best with chilled dough. The chips partially melt and stick during baking, creating that signature look.
Is this dough safe to eat raw?
This recipe contains raw eggs, so it’s not technically safe to eat uncooked. If you want edible cookie dough, use pasteurized eggs, which are widely available at most grocery stores.
Can I double this recipe?
Yes, and it’s actually practical since you’ll want lots of these. Simply double all ingredients and use two mixer batches if your mixer is standard size. The process remains identical.
What if my oven doesn’t have accurate temperature control?
Invest in an oven thermometer immediately—they’re inexpensive and transform your baking results. Alternatively, have your oven professionally calibrated, which usually costs $100-150 but is worthwhile if you bake frequently.
How do these compare to store-bought Crumbl cookies?
Homemade versions are fresher, customizable, and significantly cheaper. The texture is virtually identical when you follow the temperature and timing instructions precisely. Many bakers report these taste even better because you control ingredient quality.
Can I use melted chocolate instead of chips?
You could, but chocolate chips are designed to hold their shape during baking. Melted chocolate will incorporate into the dough, creating a more uniform chocolate flavor rather than distinct chocolate pockets. Chips are the better choice for this recipe.


