Grandma’s Apple Pie: Vintage Recipe Delight
There’s something magical about biting into a slice of homemade apple pie that tastes like it came straight from your grandmother’s kitchen. That buttery, flaky crust, the spiced apples bubbling beneath the surface, and the aroma that fills your entire house—these are the memories that vintage recipes preserve. Grandma’s apple pie isn’t just dessert; it’s a time machine to simpler days when baking was a labor of love, not a quick task checked off a to-do list.
This vintage grandma recipe has been passed down through generations for good reason. It combines quality ingredients, time-tested techniques, and a touch of culinary wisdom that modern shortcuts simply cannot replicate. Whether you’re looking to recreate childhood memories or start a new family tradition, mastering this classic dessert will earn you a permanent place in everyone’s heart—and at every family gathering.
In this comprehensive guide, we’ll walk you through every step of creating an authentic vintage apple pie that would make any grandma proud. From selecting the perfect apples to achieving that coveted golden-brown crust, you’ll discover the secrets that transform basic ingredients into an unforgettable dessert.

Why Vintage Recipes Matter
Vintage grandma recipes represent more than just cooking instructions—they embody a philosophy of food preparation that prioritizes quality, patience, and personal connection. Before convenience products dominated our kitchens, home cooks relied on fundamental techniques and premium ingredients to create exceptional dishes.
When you prepare recipes from the Fresh Plated Daily Blog collection, you’re participating in a culinary tradition that honors both heritage and craftsmanship. Grandma’s apple pie specifically teaches valuable lessons about pastry work, flavor development, and the importance of not rushing the process. The vintage approach to baking emphasizes understanding your ingredients and how they interact, rather than simply following modern convenience shortcuts.
These classic recipes also tend to use fewer, more recognizable ingredients. There are no artificial flavors, no pre-made crusts, and no mystery components. Instead, you’re working with butter, flour, sugar, eggs, and fresh apples—ingredients that have been trusted for centuries. This simplicity actually makes the recipe more forgiving once you understand the fundamentals, because you’re working with predictable, natural ingredients.
Furthermore, vintage recipes often yield superior results because they were developed through years of trial and error in home kitchens. Professional bakers didn’t create these formulas—grandmothers did, testing and adjusting until they achieved perfection. This practical wisdom is invaluable and cannot be replicated by modern recipe development that prioritizes speed and consistency for mass production.

Essential Ingredients for Authentic Apple Pie
The beauty of vintage grandma recipes lies in their ingredient simplicity. You won’t need a pantry full of specialty items to create an exceptional apple pie. However, quality matters significantly, as each ingredient contributes noticeably to the final result.
For the Pie Crust:
- 2½ cups all-purpose flour (unbleached if possible)
- 1 teaspoon salt
- 1 tablespoon granulated sugar
- 1 cup cold unsalted butter, cubed
- 6-8 tablespoons ice water
For the Apple Filling:
- 6-7 cups sliced apples (about 6-8 medium apples)
- ¾ cup granulated sugar
- ¼ cup brown sugar
- 2 tablespoons all-purpose flour
- 1 tablespoon cornstarch
- 1 teaspoon ground cinnamon
- ¼ teaspoon ground nutmeg
- ⅛ teaspoon ground cloves
- ¼ teaspoon salt
- 1 tablespoon fresh lemon juice
- 1 teaspoon vanilla extract
- 2 tablespoons butter (for dotting)
For Assembly:
- 1 egg, beaten (for egg wash)
- 1 tablespoon water
- 1 tablespoon coarse sugar (optional but traditional)
When selecting apples, choose varieties that balance tartness with sweetness. Granny Smith apples provide tartness and structure, while Honeycrisp or Gala apples add natural sweetness and complexity. Mixing apple varieties creates depth of flavor that single-variety pies cannot achieve. If you’re interested in learning more about ingredient quality, check out our guide on organic versus non-organic food choices, which explores how ingredient sourcing affects your final dish.
The butter you use should be genuinely cold—remove it from the refrigerator just before beginning. This is crucial for achieving the flaky layers that define a proper pie crust. Room-temperature butter will not create the desired texture, no matter how skilled you are with pastry work.
Crafting the Perfect Pie Crust
The pie crust is where vintage recipes truly shine, demonstrating techniques that produce superior results to modern shortcuts. This is not a step to rush or simplify with store-bought alternatives.
Step 1: Combine Dry Ingredients
In a large mixing bowl, whisk together flour, salt, and sugar. These dry ingredients form the foundation of your crust. The salt enhances flavor, while the small amount of sugar adds subtle sweetness without making the crust sweet.
Step 2: Cut in the Butter
Add your cold, cubed butter to the flour mixture. Using a pastry cutter, two knives, or your fingertips, work the butter into the flour until the mixture resembles coarse breadcrumbs. This step is essential—the small butter pieces create steam pockets during baking, producing those desirable flaky layers. If your kitchen is warm, chill your tools and mixing bowl beforehand to keep everything cold.
Step 3: Add Ice Water Gradually
Sprinkle ice water over the mixture, one tablespoon at a time, gently tossing with a fork after each addition. Add just enough water so the dough comes together when squeezed. Overworking the dough or adding too much water develops gluten, resulting in a tough crust rather than a tender one. You’re looking for a shaggy dough that barely holds together.
Step 4: Form Disks and Chill
Divide the dough in half and gently shape each portion into a disk about one inch thick. Wrap each disk in plastic wrap and refrigerate for at least one hour, preferably overnight. This resting period allows the gluten to relax and the flavors to develop. Cold dough is also much easier to roll out without shrinking during baking.
Step 5: Roll Out the Dough
Remove one dough disk from the refrigerator and let it sit at room temperature for 5-10 minutes to soften slightly. On a floured surface, roll from the center outward, rotating the dough occasionally to maintain an even thickness. You’re aiming for a circle about 11 inches in diameter and roughly ⅛ inch thick. If the dough tears, simply pinch it back together—it’s more forgiving than you might think.
Step 6: Transfer to Pie Pan
Carefully transfer your rolled dough to a 9-inch pie pan. Let the edges drape over the side naturally. Don’t stretch the dough, as it will shrink back during baking. Refrigerate this crust while you prepare the filling.
Preparing Your Apple Filling
The filling is where vintage apple pie recipes reveal their sophisticated approach to flavor development. Rather than simply dumping apples into the crust, grandmas understood how to layer flavors and create complexity.
Selecting and Preparing Apples
Peel, core, and slice your apples into ¼-inch thick slices. A mixture of two or three apple varieties creates the most interesting flavor profile. If you’re curious about the nutritional benefits of apples, our article on foods rich in antioxidants explains why apples are such a nutritious choice.
Building Flavor Layers
In a large bowl, combine both sugars, flour, cornstarch, cinnamon, nutmeg, cloves, and salt. The flour and cornstarch work together to thicken the filling without creating a starchy taste. Vintage recipes understood that proper thickening is essential—too much liquid ruins the texture, while too little creates a dry pie.
Add lemon juice and vanilla extract to your spice mixture, then toss the apple slices until evenly coated. The lemon juice brightens the spice flavors and prevents browning. Let this mixture sit for 15-20 minutes, allowing the apples to release their juices and the spices to penetrate the fruit.
Mounding the Filling
When you transfer the apples to the pie crust, mound them slightly in the center. This is traditional because apples release moisture as they bake, and the mound allows for settling while maintaining a full-looking pie. Dot the top of the filling with small pieces of butter—this enriches the filling and adds subtle flavor complexity.
Assembly and Baking Techniques
This is where vintage recipes demonstrate their mastery of technique. The assembly and baking process determines whether your pie will be a masterpiece or merely acceptable.
Creating the Top Crust
Remove your second dough disk from the refrigerator and roll it to the same dimensions as the bottom crust. You have two traditional options: create a full top crust with a decorative edge, or make a lattice pattern. For a full top crust, carefully transfer the dough over your filled pie and trim the edges to about 1 inch beyond the pan rim. Fold the edges under and crimp with your fingers or a fork to seal.
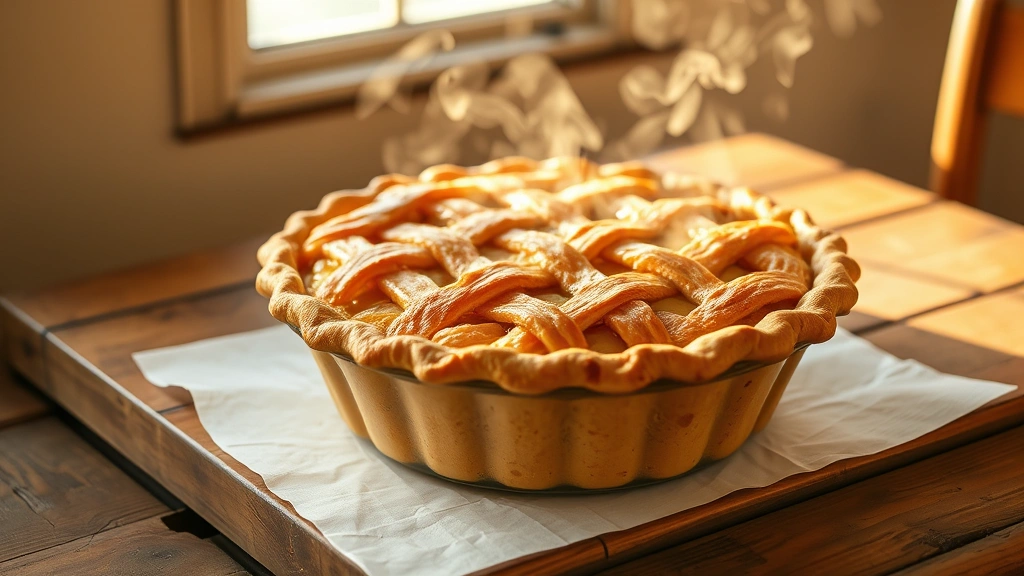
For a lattice top, cut the rolled dough into strips about ½ inch wide. Arrange half the strips in one direction across the pie, then weave the remaining strips in the opposite direction, creating a diamond pattern. This approach showcases your apples while creating a beautiful presentation.
Ventilation and Egg Wash
If you’re using a full top crust, cut several small slits to allow steam to escape during baking. Mix your beaten egg with one tablespoon of water to create an egg wash. Brush this mixture over the top crust—it creates that gorgeous golden-brown finish that defines a professional-looking pie. Sprinkle with coarse sugar if desired for added texture and visual appeal.
Baking Process
Preheat your oven to 425°F. Place your assembled pie on a baking sheet (to catch any drips) and bake for 20 minutes at high temperature. This initial high heat sets the crust quickly. Then reduce the temperature to 375°F and bake for another 35-45 minutes, until the crust is deep golden brown and you can see filling bubbling around the edges.
If the crust begins browning too quickly, loosely tent it with foil. Vintage bakers knew this trick well—it protects the crust from burning while allowing the filling to finish cooking. The total baking time is typically 55-65 minutes, depending on your oven’s characteristics.
Cooling
This step tests your patience but is absolutely critical. Allow your pie to cool at room temperature for at least 3-4 hours before slicing. During this time, the filling sets up as it cools, creating clean slices rather than a runny mess. Vintage recipes emphasized this cooling period because grandmas understood the science of gelatin and cornstarch thickening as temperature drops.
Troubleshooting Common Issues
Soggy Bottom Crust
The most common complaint about homemade pie is a wet bottom crust. Prevent this by placing your pie on the lowest oven rack and using a preheated baking sheet. Some vintage bakers also brush the bottom crust with a thin egg wash before adding filling, creating a moisture barrier. Additionally, ensure your filling has adequate thickening agents—underestimating the thickener is a frequent mistake.
Crust Shrinking
If your crust shrinks noticeably, you likely worked the dough too much or didn’t chill it adequately. Overworking develops gluten, which contracts during baking. Future batches should involve minimal handling and adequate resting time. If shrinking occurs, you can gently stretch the warm crust back into place immediately after removing from the oven.
Filling Too Runny
Runny filling indicates insufficient thickening agent or too much moisture from the apples. Increase cornstarch slightly in future batches, or pre-cook the apple mixture on the stovetop for 5-10 minutes to release excess moisture before transferring to the crust. Some vintage recipes call for draining the apples before baking.
Crust Not Browning
If your crust remains pale, your oven temperature may be inaccurate. Invest in an oven thermometer to verify actual temperature. Additionally, ensure you’re applying egg wash adequately—a thin, even coat produces the best browning.
Serving and Storage Tips
Vintage grandma recipes understood that serving and storage were integral to the overall experience. A properly stored pie maintains its quality for several days.
Serving Suggestions
Serve your apple pie slightly warm or at room temperature with vanilla ice cream, fresh whipped cream, or sharp cheddar cheese. Yes, cheddar cheese with apple pie is a classic pairing that many people overlook. The cheese’s sharpness complements the sweet, spiced apples beautifully.
For a lighter option, consider pairing your pie with one of our healthy dessert recipes as an alternative serving style. If you’re planning a full meal, explore easy dinner recipes for beginners to round out your menu.
Storage Methods
Store your completed pie covered with plastic wrap or under a pie dome at room temperature for up to two days. The crust will soften slightly, but the flavor actually improves as the spices continue developing. For longer storage, wrap the pie tightly in plastic wrap and freeze for up to three months. Thaw at room temperature for several hours before serving, or warm gently in a 325°F oven for 15-20 minutes.
Reheating
To refresh a slice of pie, warm it in a 325°F oven for 10 minutes, which revives the crust’s crispness. Microwaving is faster but will soften the crust, so reserve the microwave for situations where texture is less important.
If you’re interested in exploring other quick breakfast recipes, remember that leftover apple pie makes an unexpectedly delicious breakfast served with coffee or tea.
FAQ
Can I make the pie crust ahead of time?
Absolutely. Pie dough actually improves with advance preparation. Make it up to three days ahead, keeping it tightly wrapped in the refrigerator. You can also freeze pie dough for up to three months. Simply thaw in the refrigerator overnight before rolling out.
What if I don’t have a pie pan?
A tart pan with a removable bottom works beautifully and creates an elegant presentation. You can also use a cast-iron skillet, which adds rustic charm and conducts heat wonderfully, often producing excellent crust browning.
Can I use pre-made pie crust?
While vintage recipes emphasize homemade crust, quality store-bought options exist if time is limited. However, homemade crust genuinely produces superior flavor and texture. The effort invested yields noticeable results.
Should I peel the apples?
Traditional recipes peel the apples for a refined texture. However, leaving peels on adds fiber and rustic charm. If you choose to leave peels on, slice the apples slightly thinner so they cook thoroughly.
What apple varieties work best?
Granny Smith, Honeycrisp, Gala, Pink Lady, and Northern Spy are excellent choices. Avoid Red Delicious, which becomes mushy. Mixing at least two varieties creates the most interesting flavor profile.
Can I reduce the sugar in the filling?
You can reduce sugar slightly, but be cautious. Sugar serves functional purposes beyond sweetness—it helps create the filling’s texture and preserves the apples. Reducing more than 25% may affect results. Consider using a sugar substitute designed for baking if you need significant reduction.
How do I know when the pie is done baking?
The crust should be deep golden brown, and you should see filling bubbling around the edges. Insert a knife through a vent hole—the apples should be tender. The filling should register around 200°F on an instant-read thermometer.
Why is my pie crust tough?
Tough crust results from overworking the dough or insufficient fat. Handle dough minimally, keep everything cold, and ensure adequate butter. Proper resting time also prevents toughness by allowing gluten to relax.
Can I make a lattice top without special tools?
Yes. Simply cut dough strips using a sharp knife and weave them by hand. It doesn’t need to be perfect—rustic lattices often look more appealing than overly precise ones.
Is it necessary to use ice water?
Ice water keeps the dough cold during mixing, which is essential for proper crust texture. Regular cold water works, but ice water provides more insurance against warm conditions affecting your dough.


