Fluffy Bisquick Waffles: Grandma’s Favorite Recipe
There’s something magical about waking up to the aroma of fresh waffles sizzling on the griddle. This Bisquick waffle recipe has been passed down through generations, beloved for its simplicity and consistently fluffy results. Whether you’re feeding a crowd on Sunday morning or treating yourself to a special breakfast, these waffles deliver that perfect combination of crispy edges and tender, cloud-like centers that makes everyone come back for seconds.
The beauty of using Bisquick as your base is that it eliminates the guesswork of measuring individual dry ingredients. Grandma understood this shortcut decades before convenience products became trendy—she knew that quality shortcuts mean more time enjoying breakfast with loved ones rather than standing in the kitchen. This recipe honors that wisdom while delivering professional-quality results that rival any diner.
What makes these waffles truly special isn’t just the ingredient list; it’s understanding the techniques that transform simple components into something extraordinary. Let me share the secrets that have made this recipe a family treasure.
Essential Ingredients
This Bisquick waffle recipe requires just seven basic ingredients that you likely have in your kitchen right now. The simplicity is intentional—fewer ingredients mean fewer variables and more consistent, delicious results every single time.
- 2 cups Bisquick baking mix – The foundation of our fluffy waffles, providing leavening and structure
- 1¾ cups whole milk – Creates moisture and helps develop the tender crumb; use full-fat for best results
- 1 large egg – Binds ingredients together and contributes to lift and richness
- 2 tablespoons melted butter – Adds flavor and helps achieve those golden-brown, crispy exteriors
- 2 tablespoons granulated sugar – Enhances flavor and promotes browning through the Maillard reaction
- 1 teaspoon vanilla extract – Deepens flavor complexity with subtle warmth
- ¼ teaspoon salt – Balances sweetness and enhances all other flavors
Pro tip: Bring your milk and egg to room temperature before mixing. Cold ingredients can cause the batter to seize and produce dense waffles instead of the fluffy masterpieces we’re after.
Equipment You’ll Need
Having the right tools makes all the difference between mediocre and magnificent waffles. You don’t need expensive equipment, but quality matters.
- Waffle iron – Invest in one with adjustable temperature settings for better control. Non-stick surfaces prevent sticking and make cleanup easier
- Large mixing bowl – Gives you plenty of room to whisk without splashing
- Measuring cups and spoons – Accuracy ensures consistent results batch after batch
- Whisk or fork – For combining ingredients smoothly
- Liquid measuring cup – Specifically for milk to ensure precision
- Spatula or tongs – For safely removing hot waffles from the iron
Allow your waffle iron to preheat fully—most models have indicator lights. A properly heated iron is crucial for achieving those crispy exteriors while maintaining fluffy interiors.
Step-by-Step Instructions
Follow these instructions carefully, and you’ll create waffles that taste like they came straight from a professional kitchen. The key is not overmixing the batter, which is a common mistake that leads to tough, dense waffles.
- Preheat your waffle iron to medium-high heat. This typically takes 3-5 minutes. You’ll know it’s ready when the indicator light signals that the temperature is optimal.
- Combine dry ingredients in a large mixing bowl. Add 2 cups Bisquick, 2 tablespoons sugar, and ¼ teaspoon salt. Whisk these together gently until evenly distributed. Don’t compress the Bisquick—light whisking ensures your waffles stay fluffy.
- Prepare wet ingredients in a separate bowl or measuring cup. Whisk together 1¾ cups milk, 1 large egg, 2 tablespoons melted butter, and 1 teaspoon vanilla extract until well combined. The egg should be fully incorporated with no streaks of white remaining.
- Create the batter by pouring wet ingredients into the dry mixture. Using a fork or whisk, gently fold everything together until just combined. This is critical—stop mixing as soon as you don’t see dry flour streaks. Small lumps are perfectly fine and actually desirable. Overmixing develops gluten, which makes waffles tough instead of tender.
- Lightly grease the waffle iron with non-stick spray or a pastry brush dipped in melted butter. Even non-stick surfaces benefit from a light coating.
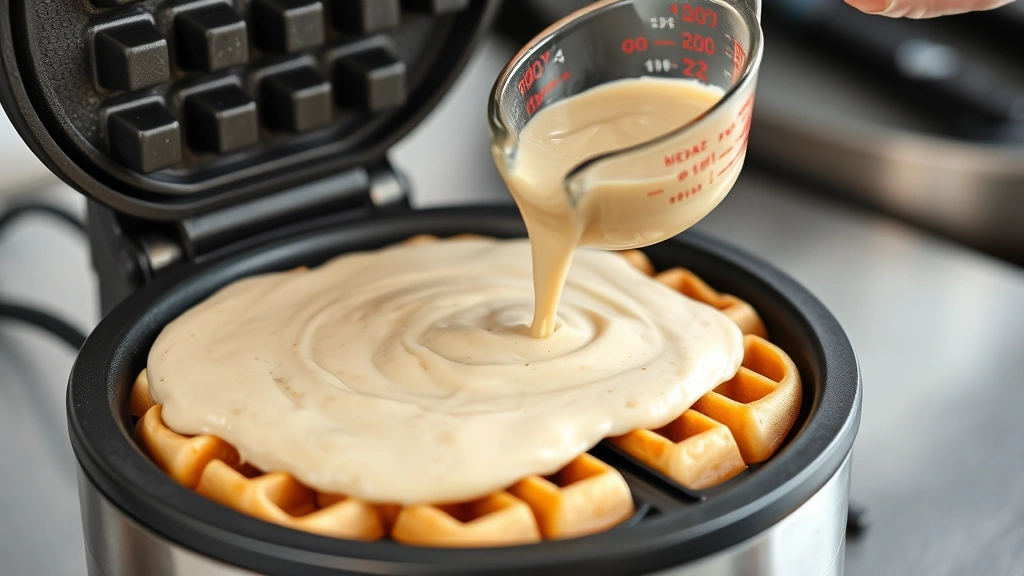
- Pour batter into the waffle iron, filling about two-thirds full. Different waffle irons have different capacities, so you may need to adjust slightly. Too little batter produces thin, crispy waffles; too much causes overflow.
- Close the iron and cook until the exterior is golden brown and crispy, typically 3-4 minutes depending on your iron’s heat settings. Resist the urge to open it early—this releases steam and prevents proper cooking.
- Remove carefully using a fork or wooden tongs. Place finished waffles on a wire rack rather than a plate—this keeps them crispy on the outside instead of steaming them into softness.
- Repeat with remaining batter, maintaining consistent heat throughout the process.
This batch yields approximately 8-10 waffles depending on your iron’s size. Serve immediately for the best texture, or keep finished waffles warm in a 200°F oven while you finish cooking the remainder.
Pro Tips for Perfect Waffles
These insider secrets separate good waffles from truly exceptional ones. Grandma didn’t share these tips lightly, but I’m passing them along to you.
Temperature is everything. Your waffle iron’s heat directly impacts texture. Too cool and waffles emerge pale and soft; too hot and they brown quickly on the outside while remaining raw inside. Medium-high heat works for most irons, but you may need to adjust based on your specific model. The first waffle is often a test—use it to dial in the perfect temperature.
Don’t overmix the batter. This cannot be overstated. When Bisquick mixes with liquid, gluten begins developing immediately. Excessive stirring creates a tough, dense crumb. Your batter should look slightly lumpy, like pancake batter. Those small lumps smooth out during cooking.
Use room-temperature ingredients. Cold milk and eggs don’t incorporate smoothly and can create uneven texture. Set them out 15-20 minutes before cooking. This simple step noticeably improves your results.
Separate your egg. For extra-fluffy waffles, separate your egg and beat the white to stiff peaks. Fold it in gently at the very end, just before cooking. This adds incredible airiness, though it’s optional.
Keep finished waffles on a wire rack. This prevents steam from accumulating underneath, which softens the crispy exterior. If you need to hold multiple waffles, place them on a wire rack set over a baking sheet in a 200°F oven.
Melt butter fresh. Avoid using clarified butter or butter that’s been sitting out—it can affect flavor and texture. Melt your butter right before mixing for the best taste.
Delicious Variations
Once you’ve mastered the basic recipe, these variations keep breakfast exciting. The foundation remains the same, so you’re just building on what you already know works.
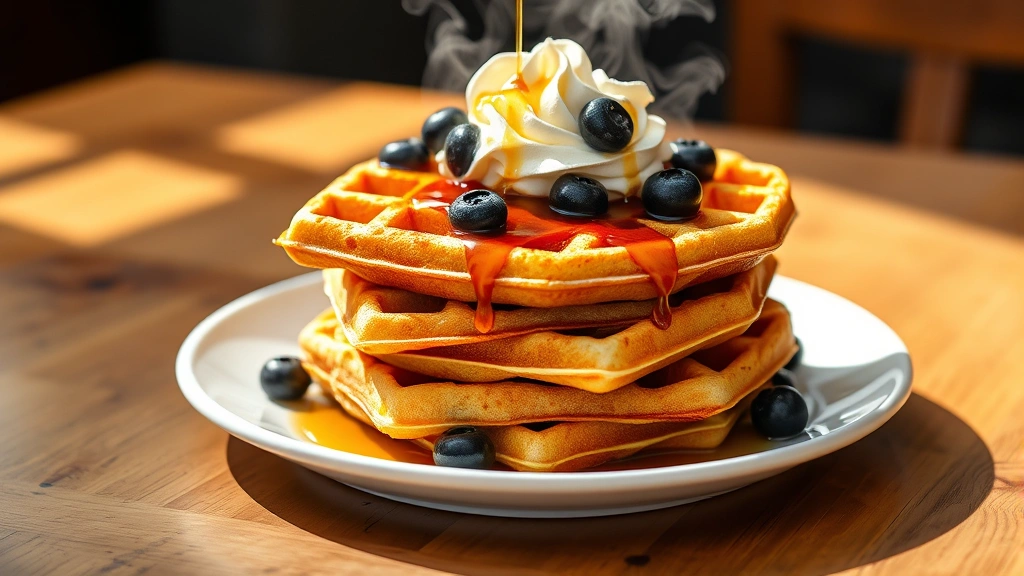
Berry Blast Waffles: Fold 1 cup fresh or frozen blueberries into the batter just before cooking. If using frozen berries, don’t thaw them—this prevents excess moisture and keeps them from sinking. Raspberries and blackberries work beautifully too. Serve with whipped cream and fresh berries.
Chocolate Chip Paradise: Add ¾ cup mini chocolate chips to your batter. Pair with healthy dessert recipes ideas for a decadent twist. Top with chocolate syrup and whipped cream for an indulgent breakfast.
Cinnamon Sugar Crunch: Increase vanilla to 1½ teaspoons and add 1 teaspoon ground cinnamon to the dry ingredients. Sprinkle cinnamon sugar on top of each waffle immediately after removing from the iron while still hot.
Pumpkin Spice Edition: Replace ½ cup milk with ½ cup pumpkin puree. Add ½ teaspoon pumpkin pie spice and ¼ teaspoon ground ginger to dry ingredients. This autumn favorite pairs beautifully with maple syrup and pecans.
Nutella Swirl: Drizzle 1 tablespoon Nutella on the waffle iron before pouring batter. The hazelnut chocolate melts into delicious ribbons throughout each waffle.
Buttermilk Version: Replace regular milk with buttermilk for tangier flavor and slightly different texture. Buttermilk reacts with Bisquick’s leavening agents differently, creating a more tender crumb.
Serving Suggestions
The magic of waffles extends beyond the cooking process—presentation and toppings transform them into memorable meals.
Classic Breakfast: Serve with maple syrup, butter, and a side of crispy bacon or sausage links. Fresh whipped cream adds elegance for special occasions.
Fruit-Forward: Top with fresh strawberries, blueberries, or raspberries. Add Greek yogurt for protein and creaminess. This combination works wonderfully for healthy food recipes that prioritize nutrition.
Savory Direction: Top with a fried egg, crispy bacon, and sharp cheddar cheese. Drizzle with hot sauce for a breakfast-for-dinner option that surprises and delights.
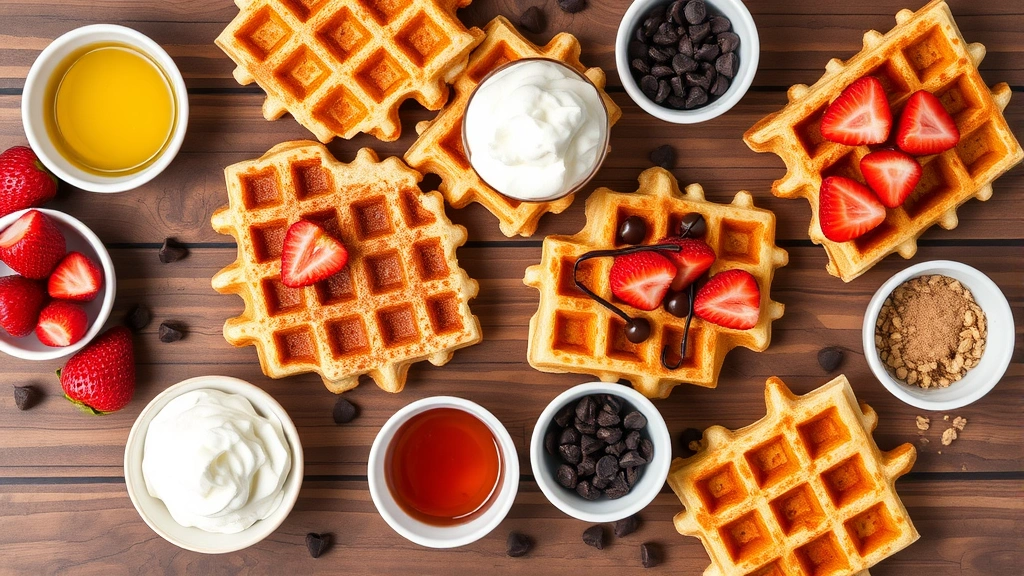
Brunch Entertaining: Set up a waffle bar with multiple toppings: maple syrup, whipped cream, fresh berries, chocolate chips, granola, nuts, and jam. Let guests customize their creations. This approach works perfectly when you’re serving Buffalo Chicken Dip Recipe Crock Pot and other appetizers for a larger gathering.
Dessert Application: Top with vanilla ice cream, chocolate sauce, and crushed candy for a fun dessert. This transforms waffles into an indulgent treat that rivals any ice cream parlor.
Protein Boost: Add a dollop of Greek yogurt, granola, and honey for a nutritious option that keeps you satisfied throughout the morning.
Storage and Reheating
One of the best aspects of this Bisquick waffle recipe is that leftovers are fantastic. Cooked waffles store beautifully and reheat perfectly for busy mornings.
Refrigerator Storage: Place cooled waffles in an airtight container, separating layers with parchment paper. They’ll keep for up to 4 days. Reheating in a toaster or toaster oven restores crispiness without drying them out. Avoid microwaving, which creates a soggy texture.
Freezer Storage: Cool waffles completely, then layer them with parchment paper in a freezer-safe container or bag. They’ll keep for up to 3 months. Frozen waffles reheat beautifully in a toaster—no thawing needed. Pop them straight from freezer to toaster for a quick weekday breakfast.
Make-Ahead Batter: You can prepare the batter the night before and refrigerate it in an airtight container. The batter may thicken slightly overnight; thin it with a tablespoon or two of milk before cooking. This advance preparation makes weekend mornings even easier.
Batch Cooking: Make a double batch and freeze extras. Homemade frozen waffles are superior to store-bought versions and take only minutes to reheat. This strategy helps when you’re juggling multiple recipes like Taco Dip Recipe for parties or planning Trader Joe’s Recipes for meal prep.
FAQ
Why are my waffles coming out dense instead of fluffy?
Dense waffles typically result from overmixing the batter. When you stir too much, you develop gluten, which creates a tough crumb. Mix just until you don’t see dry flour streaks—small lumps are perfectly fine. Additionally, ensure your waffle iron is fully preheated and that you’re using room-temperature ingredients.
Can I make this recipe without eggs?
Yes! Replace the egg with a flax egg (1 tablespoon ground flaxseed mixed with 3 tablespoons water, let sit 5 minutes) or applesauce. The texture will be slightly different—applesauce creates softer waffles while flax eggs maintain more structure. Both work well with this recipe.
How do I prevent waffles from sticking to the iron?
Always grease your waffle iron lightly before each batch, even if it’s non-stick. Use non-stick spray or a pastry brush with melted butter. If waffles still stick, your iron may not be hot enough—increase the temperature slightly.
What’s the best way to keep waffles warm while cooking a full batch?
Place finished waffles on a wire rack set over a baking sheet in a 200°F oven. This keeps them warm while maintaining crispiness. Avoid stacking them directly on a plate, which traps steam and softens the exterior.
Can I use self-rising flour instead of Bisquick?
Self-rising flour contains salt and leavening but lacks the shortening that Bisquick includes. If you substitute, add 2 tablespoons melted butter to the dry ingredients and reduce the salt to ⅛ teaspoon. The results will be similar but not identical.
Why did my waffles brown too quickly on the outside but stay raw inside?
Your waffle iron is too hot. Reduce the temperature setting and try again. The exterior should brown gradually while the inside cooks through. Finding the right temperature for your specific iron takes one or two test waffles.
Can I add coffee to enhance flavor?
Absolutely! Replace ¼ cup of milk with cooled, strong brewed coffee. This adds subtle depth and pairs beautifully with chocolate chips or cinnamon. Coffee-flavored waffles are wonderful with whipped cream and chocolate sauce.
How much batter should I use for each waffle?
Fill your waffle iron about two-thirds full. This prevents overflow while ensuring enough batter to create fluffy waffles. You’ll develop a feel for the right amount after your first batch.
Is Bisquick mix gluten-free?
Standard Bisquick contains wheat flour, so it’s not gluten-free. However, Bisquick does produce a gluten-free baking mix that works as a direct substitute in this recipe. The results are nearly identical.
Can I make mini waffles with this recipe?
Yes! Use a mini waffle iron and reduce cooking time to 2-3 minutes. Mini waffles are perfect for kids or when you want to sample multiple toppings. The batter consistency remains the same; only the portion size changes.
This Bisquick waffle recipe represents generations of breakfast wisdom, simplified and perfected for modern kitchens. Whether you’re cooking for yourself or feeding a crowd, these fluffy waffles deliver consistent, delicious results. Start with the basic recipe to master the technique, then explore variations that suit your taste preferences. Your family will soon be requesting these waffles as often as Grandma’s version was requested—and they’ll never guess how simple they are to make.


