Juicy Pork Loin Chops: Chef-Approved Recipe for Perfect Results Every Time
Boneless pork loin chops are a weeknight hero—tender, versatile, and ready in under 30 minutes. Yet many home cooks struggle with dry, disappointing results. The secret isn’t complicated: it’s about understanding the cut, mastering proper technique, and knowing exactly when to stop cooking. This chef-approved guide reveals the methods that restaurant kitchens use to deliver consistently juicy, flavorful pork loin chops that rival any steakhouse.
Whether you’re searing them in a cast-iron skillet, finishing them in the oven, or pan-searing with a glaze, the principles remain the same. We’ll walk through everything from selecting the right thickness to nailing the internal temperature, plus showcase five crowd-pleasing preparation styles that work for both weeknight dinners and entertaining guests.
Why Boneless Pork Loin Chops Dry Out (and How to Prevent It)
Pork loin is notoriously lean—that’s why it’s celebrated for being healthier than fattier cuts. But lean muscle tissue contains less intramuscular fat (marbling) to keep meat moist during cooking. When heat causes muscle proteins to contract rapidly, they squeeze out moisture. The result: tough, stringy texture that feels like cardboard.
Professional chefs prevent this through three key strategies: brining or salting ahead of time, cooking to precise internal temperature, and resting the meat. Brining works by allowing salt to break down proteins and help them retain water. A quick 30-minute brine can transform texture dramatically. If you’re short on time, dry-brining (salting the surface 15-40 minutes ahead) delivers similar results without submerging the meat.
Temperature control is equally critical. Pork loin reaches food-safe temperature at 145°F (63°C), but many cooks push it to 160°F or higher out of habit or caution. This extra cooking time squeezes out precious moisture. A meat thermometer becomes your most valuable tool—it eliminates guesswork and prevents overcooking by even a single degree.
Finally, resting allows carryover cooking to finish the job while muscle fibers relax and reabsorb juices. A 5-minute rest is minimum; 10 minutes is ideal. Skipping this step means all those flavorful juices run onto your plate instead of staying in the meat.
Selecting and Preparing Your Pork Loin Chops
Thickness matters more than you think. Look for boneless pork loin chops that are 1 to 1.5 inches thick. Anything thinner than 1 inch cooks too quickly, making temperature control difficult. Thicker chops (up to 2 inches) give you a larger window for achieving a golden crust while keeping the interior juicy.
When shopping, choose meat that’s pale pink with marbling visible throughout. Avoid packages with excessive liquid (a sign of poor storage or old meat). Ask your butcher to cut custom thickness if the store display doesn’t meet your needs—quality butchers are happy to oblige.
Pat the chops completely dry with paper towels before seasoning. Moisture on the surface creates steam, which prevents proper browning. For dry-brining, salt both sides generously (about ¼ teaspoon per side for a 1-inch chop) and let sit uncovered in the refrigerator for 15 to 40 minutes. This allows salt to penetrate muscle fibers and enhance moisture retention.
Remove chops from the refrigerator 15 minutes before cooking to bring them closer to room temperature. Cold meat cooked in a hot pan will contract rapidly and release moisture. Room-temperature meat cooks more evenly from edge to center.
The Reverse-Sear Method: Restaurant-Quality Technique
This is the technique that separates good home cooks from great ones. The reverse-sear method involves cooking meat gently in a low-temperature oven first, then finishing with a hard sear in a screaming-hot skillet. This approach delivers edge-to-edge doneness with a restaurant-quality crust.
Step 1: Oven Phase (Gentle Cooking) Preheat your oven to 275°F (135°C). Season pork loin chops with salt and pepper. Place them on a wire rack set over a baking sheet (the rack allows air to circulate underneath). Insert a meat thermometer into the thickest part of one chop, angling toward the center without touching bone.
Roast until the internal temperature reaches 130°F (54°C)—about 12 to 18 minutes depending on thickness. This low-and-slow approach allows heat to penetrate evenly while minimizing moisture loss. The thermometer is non-negotiable here; it prevents overcooking.
Step 2: Resting Phase Remove chops from the oven and transfer to a cutting board. Tent loosely with foil and rest for 5 minutes. Carryover cooking will push the temperature to about 135°F (57°C).
Step 3: Searing Phase (The Crust) While meat rests, heat a cast-iron or stainless steel skillet over high heat until smoking—about 3 to 4 minutes. Add a thin layer of oil with a high smoke point (avocado oil, grapeseed oil, or refined vegetable oil). When the oil shimmers and just begins to smoke, carefully place the chops in the pan.
Sear for 90 seconds per side without moving them. This creates the Maillard reaction—the chemical browning that develops savory, complex flavor. Flip once and sear the other side for 90 seconds. Remove to a resting plate immediately. The carryover heat will push internal temperature to a perfect 140-145°F (60-63°C).
This method is virtually foolproof because you’ve already nailed the doneness in the oven. The sear is purely for texture and flavor.
Classic Pan-Sear with Pan Sauce
When you don’t have time for reverse-searing, this straightforward method delivers excellent results in about 15 minutes total.
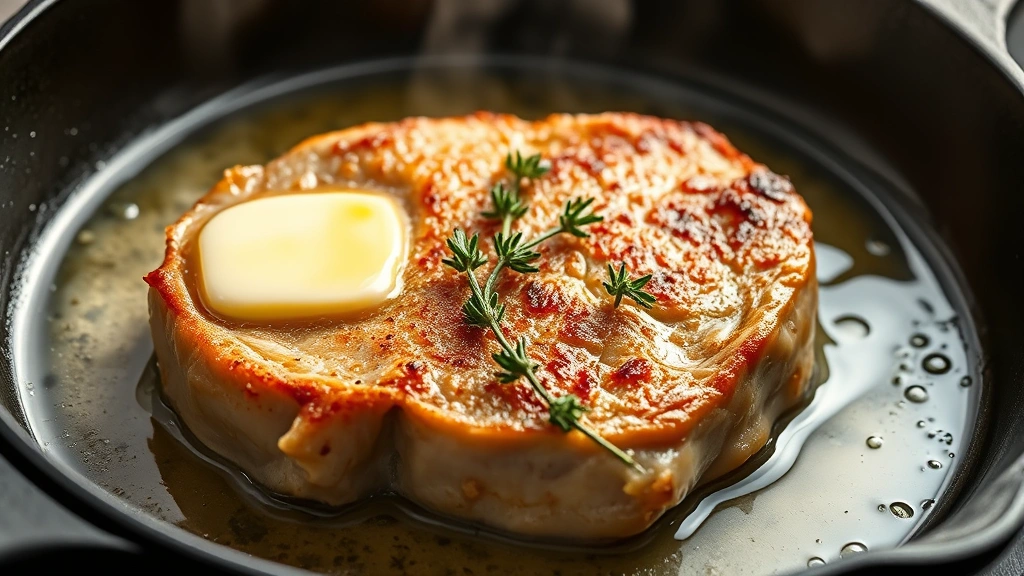
The Sear: Heat a skillet over medium-high heat and add 1 tablespoon of butter or oil. Once the butter foams (or oil shimmers), place seasoned pork loin chops in the pan. Don’t touch them—let them sit undisturbed for 4 to 5 minutes to develop a golden crust. Flip and cook the other side for 3 to 4 minutes. The internal temperature should read 140°F (60°C) at this point.
Transfer to a resting plate and tent with foil. This is crucial—those 5 to 10 minutes allow the meat to redistribute its juices.
The Pan Sauce: Without washing the skillet, return it to medium heat. The browned bits stuck to the bottom (called fond) are pure flavor. Add ½ cup of chicken or pork broth and use a wooden spoon to scrape up the fond, stirring constantly. Let it reduce by half (about 2 minutes). Whisk in 1 tablespoon of cold butter until the sauce becomes glossy and emulsified. Season with salt and pepper to taste.
Pour the sauce over rested chops just before serving. For variations, try adding 1 tablespoon of Dijon mustard, a splash of apple cider vinegar, or fresh herbs like thyme or rosemary to the pan sauce.
Glazed and Caramelized Variations
Glazing adds visual appeal and concentrated flavor. Here are three approaches that work beautifully with boneless pork loin chops:
Honey-Soy Glaze: Combine 3 tablespoons soy sauce, 2 tablespoons honey, 1 tablespoon rice vinegar, and 1 minced garlic clove in a small bowl. Pan-sear chops as described above, then brush the glaze onto both sides during the final minute of cooking. The honey caramelizes and creates a sticky, sweet-savory coating. This pairs beautifully with steamed bok choy or jasmine rice.
Maple-Mustard Glaze: Mix 3 tablespoons pure maple syrup, 2 tablespoons whole-grain mustard, 1 tablespoon balsamic vinegar, and ½ teaspoon smoked paprika. Apply during the last minute of pan-searing. The mustard’s tanginess balances the maple’s sweetness, while paprika adds depth. Serve alongside roasted root vegetables.
Citrus-Herb Glaze: Combine 2 tablespoons fresh lemon juice, 1 tablespoon honey, 2 minced garlic cloves, and 1 tablespoon fresh rosemary (or 1 teaspoon dried). Brush onto chops in the final minute of cooking. The acidity brightens the pork’s rich flavor and the herbs add sophisticated aromatic notes.
Pro tip: Prepare glazes before you start cooking so you’re not scrambling while meat is in the pan. Glazing works best with the classic pan-sear method rather than reverse-searing, since the glaze needs direct heat to caramelize.
Flavor Pairing Ideas and Sauce Recommendations
Boneless pork loin chops are neutral enough to pair with virtually any sauce or flavor profile. Here are chef-tested combinations:
Creamy and Rich: Top pan-seared chops with a creamy avocado crema for a modern twist. The cooling, buttery texture contrasts beautifully with warm meat. Alternatively, finish with a classic beurre blanc (butter emulsified with white wine reduction) for fine-dining elegance.
Bold and Spicy: A bang bang sauce brings heat and richness. Mix it into a pan sauce or drizzle over finished chops. The combination of spicy, sweet, and savory elements elevates simple pork to restaurant quality. For extra heat, dust chops with blackened seasoning before searing.
Fresh and Bright: A green goddess dressing made with fresh herbs, lemon, and garlic adds vibrancy. Serve as a side sauce or drizzle over the finished chop. The herbaceous notes complement pork’s natural richness without overwhelming it.
Tangy and Complex: Try an In-N-Out sauce for a fun, nostalgic pairing. The combination of mayo, ketchup, pickle relish, and spices creates umami depth that makes simple chops feel special.
Vegetable Sides: Pair with street corn dip flavors by preparing corn with mayo, cotija cheese, and lime—a fresh, unexpected accompaniment that cuts through the meat’s richness.
The key is balancing pork’s richness with acidity (lemon, vinegar), freshness (herbs, greens), or heat (spices, chili). This prevents the meal from feeling one-dimensional.
Timing, Temperature, and Troubleshooting
Thickness and Cooking Time Guide:
- 1-inch chops (classic): Pan-sear 3-4 minutes per side; reverse-sear 10-12 minutes in oven
- 1.25-inch chops: Pan-sear 4-5 minutes per side; reverse-sear 12-15 minutes in oven
- 1.5-inch chops (steakhouse style): Pan-sear 5-6 minutes per side; reverse-sear 15-18 minutes in oven
These times assume medium-high heat and room-temperature meat. Adjust based on your specific stove and pan (cast iron retains heat differently than stainless steel).
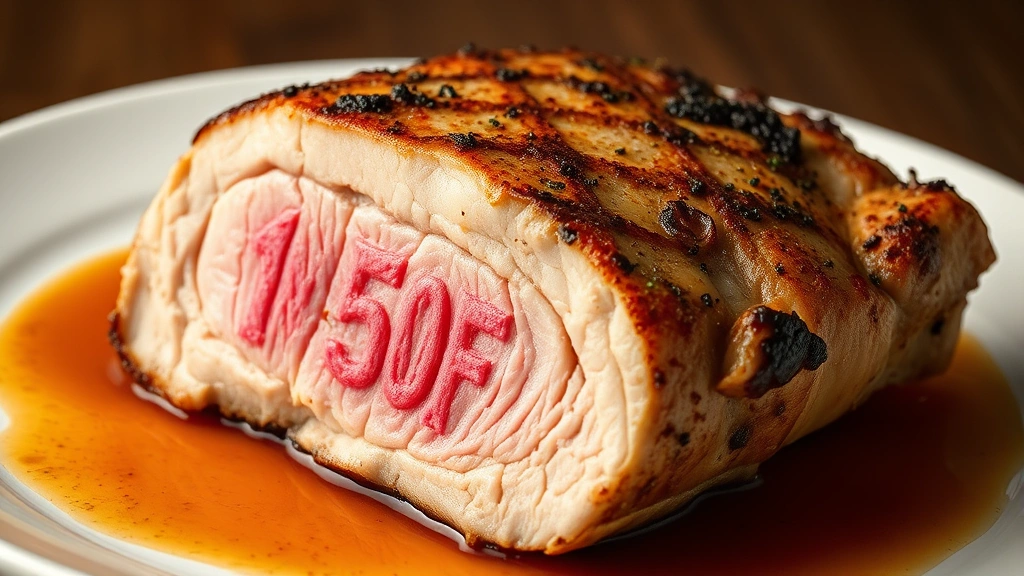
Temperature Targets: Cook to 140-145°F (60-63°C) internal temperature. This delivers food-safe pork with a slightly pink center—juicy and tender. If you prefer well-done, aim for 150°F (65°C), but understand you’ll sacrifice some juiciness. Never exceed 160°F (71°C); beyond that, the meat becomes stringy and dry.
Troubleshooting Common Issues:
Chops are tough and dry: You’ve likely overcooked them. Use a meat thermometer and pull them off heat at 140°F rather than waiting for 160°F. Also ensure you’re salting ahead of time to help retain moisture.
Chops are pale and don’t have a crust: Your pan isn’t hot enough or you’re moving them too much. For a proper crust, heat the pan until it’s smoking, use high heat, and let the meat sit undisturbed for 4-5 minutes per side.
Uneven cooking (one side done, center still pink): Your heat is too high. Lower the flame slightly and extend cooking time. Alternatively, use the reverse-sear method, which eliminates this problem entirely.
Chops are rubbery: This indicates overcooking combined with insufficient resting. The meat’s proteins have contracted completely and squeezed out all moisture. For future batches, remove from heat 5°F earlier and extend resting time to 10 minutes.
FAQ
Can I use frozen pork loin chops?
Yes, but thaw them completely in the refrigerator first (allow 24 hours for 1-inch chops). Frozen meat won’t brown properly and cooks unevenly. Pat dry thoroughly before seasoning, as thawed meat releases excess moisture.
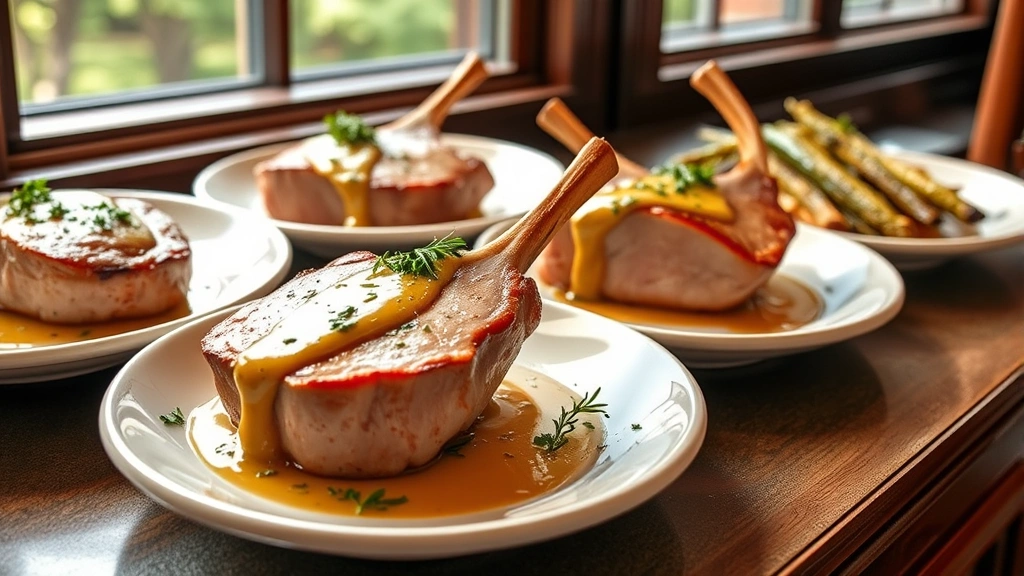
What’s the difference between pork loin chops and pork rib chops?
Pork loin chops are cut from the loin (the long muscle running along the spine), while rib chops contain a rib bone and more marbling. Rib chops are slightly fattier and more forgiving if overcooked. Both work with these techniques, but loin chops require more precision to avoid drying out.
Should I pound the chops thin?
Only if they’re thicker than 1.5 inches and you want faster cooking. Pounding breaks down muscle fibers, which can make texture mushy if overdone. It’s better to select the right thickness from your butcher than to pound thick chops.
Can I marinate pork loin chops?
Yes, but keep it to 2-4 hours maximum. Longer marinades with acidic ingredients (vinegar, citrus) can make the exterior mushy while the interior stays tough. If marinating, reserve some marinade to brush on during cooking or make into a sauce afterward.
What oil should I use for searing?
Choose oils with high smoke points: avocado oil (520°F), grapeseed oil (420°F), refined vegetable oil (450°F), or refined coconut oil (450°F). Avoid olive oil and butter for the initial high-heat sear (they’ll burn). You can add butter after the sear for flavor.
How far ahead can I prepare pork loin chops?
Dry-brine them up to 40 minutes ahead (salt and refrigerate uncovered). For longer storage, season them the night before and keep covered in the fridge. Season again lightly before cooking, as some salt will have been absorbed.
Is it safe to eat slightly pink pork?
Yes. Modern pork is safe to eat at 145°F (63°C) internal temperature. This may show a slight pink tinge, which is perfectly fine. The USDA updated its guidelines in 2011 after research showed pork at this temperature carries no food-safety risk when cooked properly.
Can I cook pork loin chops in the oven without searing first?
Yes, though you’ll miss the flavorful crust. Bake at 375°F (190°C) for 12-18 minutes depending on thickness. For best results, combine methods: start in the oven, then finish with a quick sear in a hot skillet.


