Crispy Breaded Chicken? Family Favorite!
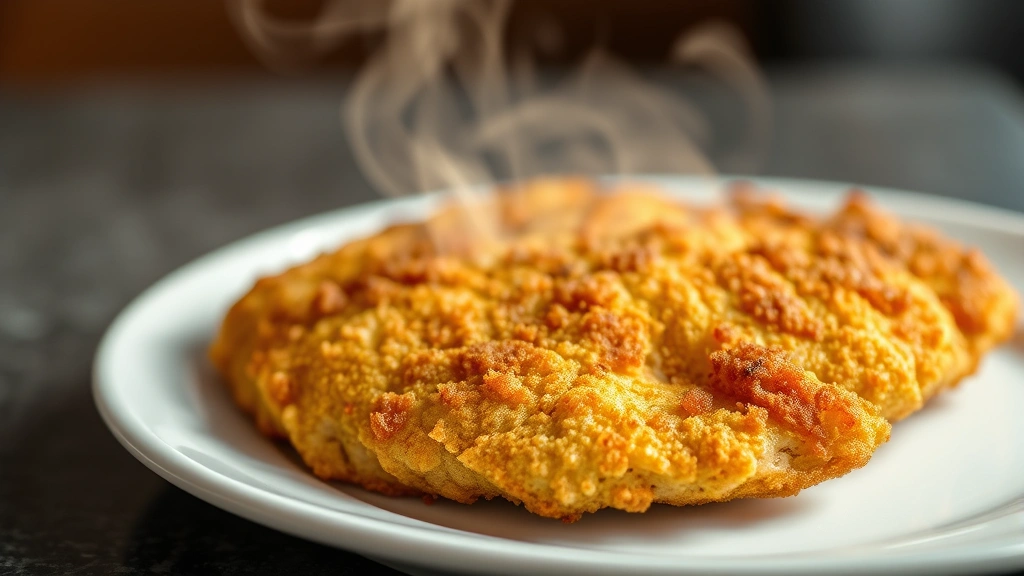
There’s something undeniably magical about biting into a perfectly crispy breaded chicken cutlet—that satisfying crunch followed by tender, juicy meat inside. This breaded chicken recipe has earned its place as a family favorite across generations, appearing on dinner tables from casual weeknight meals to special occasions. Whether you’re cooking for picky eaters or seasoned food enthusiasts, mastering this classic technique opens doors to countless variations and serving possibilities.
The beauty of breaded chicken lies in its versatility and simplicity. With just a few quality ingredients and proper technique, you can create restaurant-quality results in your own kitchen. This comprehensive guide walks you through every step, from selecting the right chicken cuts to achieving that coveted golden-brown exterior while keeping the meat succulent inside. You’ll discover pro tips that elevate this humble dish from ordinary to extraordinary.
Why Breaded Chicken Works So Well
Breaded chicken represents the perfect intersection of texture and flavor. The breading acts as a protective barrier, sealing in moisture while creating a crispy, golden exterior through the Maillard reaction—the chemical process that develops complex flavors and appealing brown color when proteins and sugars heat together. This technique transforms simple chicken breast into something memorable.
The popularity of this dish stems from its accessibility. Unlike dishes requiring specialized techniques or hard-to-find ingredients, breaded chicken uses pantry staples and straightforward methodology. It’s equally at home as part of fall recipes served alongside roasted vegetables or paired with fresh greens in summer salad recipes. This adaptability makes it invaluable for meal planning across all seasons.
From a nutritional standpoint, chicken breast is an excellent lean protein source. When properly prepared, breaded chicken can be part of a balanced diet, especially when baked or air-fried rather than deep-fried. The protein content supports muscle maintenance and satiety, making it a satisfying meal component for the entire family.
Essential Ingredients and Equipment
Success with breaded chicken begins with quality ingredients. Here’s what you’ll need:
- Chicken breasts: Choose boneless, skinless breasts of uniform thickness for even cooking
- All-purpose flour: The base layer that helps the egg adhere to the chicken
- Eggs: Act as the binding agent between flour and breadcrumb layers
- Breadcrumbs: Panko breadcrumbs create extra crispiness compared to regular varieties
- Salt and pepper: Essential seasonings for every layer
- Optional seasonings: Garlic powder, paprika, Italian herbs, cayenne pepper for customization
- Oil for cooking: Vegetable, canola, or peanut oil with high smoke points
Equipment matters equally when pursuing crispy breaded chicken perfection:
- Meat mallet: Essential for tenderizing and evening out chicken thickness
- Three shallow bowls: For organizing your breading station efficiently
- Instant-read thermometer: Ensures chicken reaches safe internal temperature of 165°F
- Heavy-bottomed skillet or Dutch oven: Distributes heat evenly for consistent browning
- Paper towels: For draining excess oil after cooking
- Wire rack: Allows air circulation around cooked chicken, maintaining crispiness
Preparing Your Chicken Properly
The foundation of excellent breaded chicken begins with proper preparation. Start by patting your chicken breasts completely dry with paper towels. Moisture is the enemy of crispiness, as it prevents proper browning and creates steam that softens the crust.
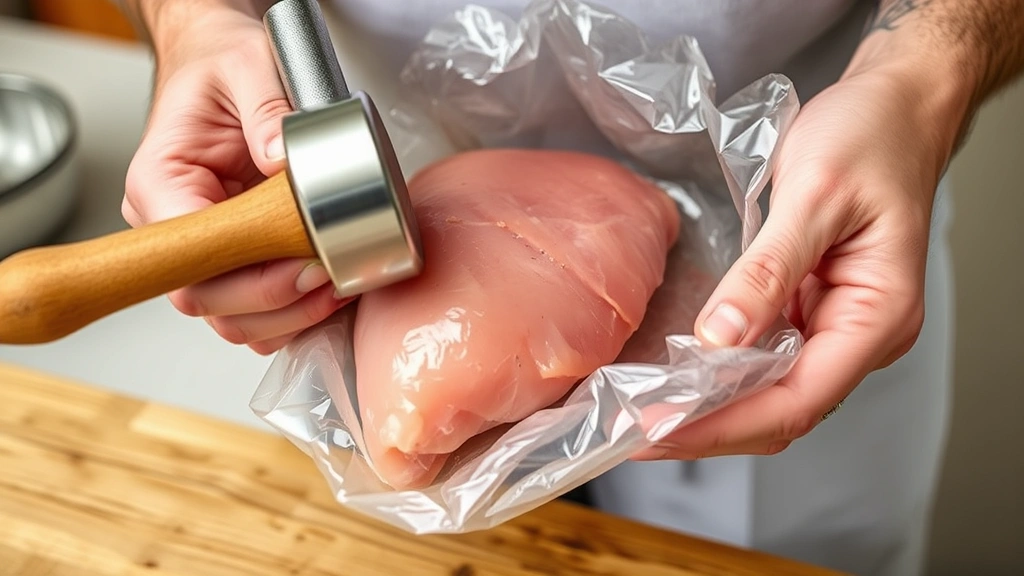
Next comes the critical step of achieving uniform thickness. Place each chicken breast between two pieces of plastic wrap or parchment paper. Using a meat mallet, gently pound the thicker portions until the entire breast reaches approximately ½-inch thickness. This uniform thickness ensures even cooking—no more dry edges with raw centers. Work from the center outward, using smooth, controlled motions rather than aggressive pounding.
Once pounded, season both sides generously with salt and pepper. Some cooks prefer seasoning only the chicken before breading, while others season at each stage of the breading process. For maximum flavor penetration, season the chicken and let it rest for 5-10 minutes before beginning the breading process. This allows salt to begin breaking down protein structures, enhancing moisture retention.
The Three-Step Breading Process
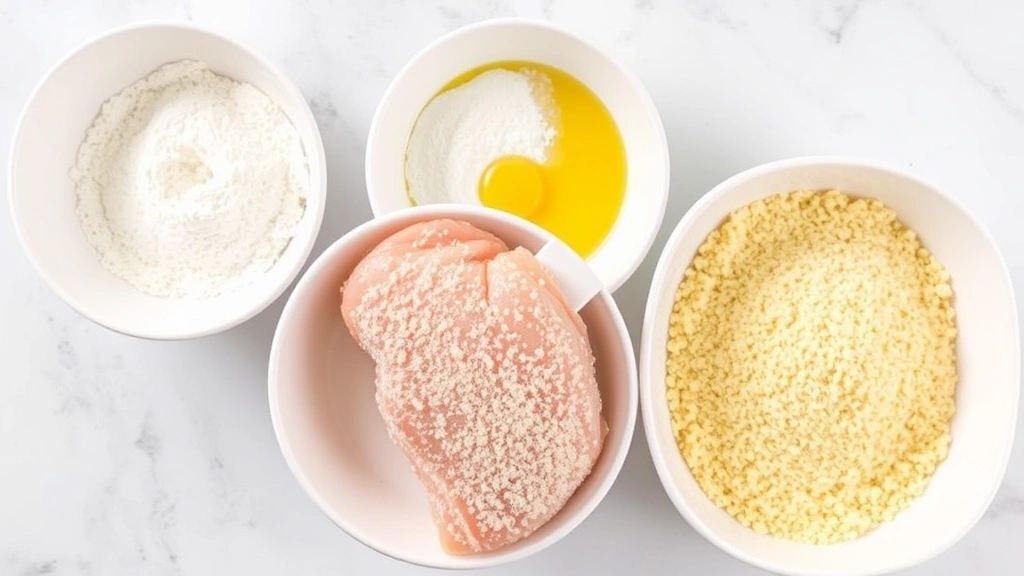
The breading technique separates good breaded chicken from exceptional breaded chicken. Set up your breading station with three shallow bowls arranged in order: flour mixture, beaten eggs, and breadcrumb mixture.
Step One: Flour Coating
Combine all-purpose flour with salt, pepper, and any desired seasonings in your first bowl. Working with one chicken breast at a time, coat both sides thoroughly in the flour mixture, shaking off excess. This initial flour layer provides crucial adhesion for the egg wash. Don’t skip this step—it’s the difference between breadcrumbs adhering properly and sliding off during cooking.
Step Two: Egg Wash
Whisk eggs with a splash of water or milk in your second bowl. This creates a more fluid binder than eggs alone. Dip the floured chicken into the egg mixture, ensuring complete coverage on both sides. The egg wash acts as glue, holding the breadcrumb layer securely in place. This step is non-negotiable for achieving that restaurant-quality crust.
Step Three: Breadcrumb Coating
Combine panko breadcrumbs with salt, pepper, and your chosen seasonings in the third bowl. For extra crispiness, some cooks add finely grated Parmesan cheese to the breadcrumb mixture. Gently press the egg-coated chicken into the breadcrumb mixture, coating both sides evenly. For maximum crunch, you can double-bread by dipping back into egg wash and breadcrumbs for a second layer. This is particularly useful if your chicken will be stored before cooking.
Place breaded chicken on a clean plate and allow it to rest for at least 15 minutes. This resting period allows the coating to set, preventing it from sliding off during cooking. For best results, refrigerate for up to 4 hours before cooking, which further solidifies the coating.
Cooking Methods for Perfect Results
Multiple cooking methods yield excellent breaded chicken, each with distinct advantages:
Pan-Frying
Pan-frying delivers the most authentic crispy exterior. Heat ¼ inch of oil in a heavy-bottomed skillet over medium-high heat until shimmering. The oil temperature should reach approximately 350°F for optimal results. Carefully place breaded chicken in the hot oil without crowding the pan. Cook for 6-7 minutes per side until golden brown and internal temperature reaches 165°F. Maintain consistent heat throughout cooking to prevent burning the exterior while leaving the interior undercooked.
Oven Baking
For a lighter option with less oil, oven baking produces surprisingly crispy results. Preheat your oven to 400°F. Place breaded chicken on a greased or parchment-lined baking sheet. Lightly spray the top with cooking spray or brush with a small amount of oil. Bake for 15-20 minutes until golden brown and internal temperature reaches 165°F. While not quite as crispy as pan-fried versions, oven-baked breaded chicken offers convenience and reduced fat content.
Air Frying
Air fryers have revolutionized home cooking by producing crispy results with minimal oil. Preheat your air fryer to 380°F. Arrange breaded chicken in a single layer without overlapping. Spray lightly with cooking spray and cook for 12-15 minutes, shaking the basket halfway through. Air-fried breaded chicken achieves impressive crispiness while reducing oil consumption by up to 80 percent compared to traditional frying.
Deep Frying
For special occasions or when you want maximum indulgence, deep frying produces unmatched crispiness. Heat 2-3 inches of oil to 350°F in a deep pot or Dutch oven. Using a thermometer ensures accurate temperature—oil that’s too cool produces greasy results, while excessively hot oil burns the exterior. Carefully lower breaded chicken into hot oil and cook for 6-8 minutes until golden brown. Remove with a slotted spoon and drain on paper towels.
Regardless of cooking method, the internal temperature must reach 165°F for food safety. Use an instant-read thermometer inserted into the thickest part of the chicken, avoiding the breading.
Serving Suggestions and Pairings
Breaded chicken’s versatility shines through countless serving options. Serve it alongside classic sides like mashed potatoes and steamed vegetables for a comforting family dinner. Create delicious sandwiches by placing breaded chicken on crusty bread with lettuce, tomato, and your favorite sauce. Slice and toss with pasta, fresh vegetables, and light oil-based dressing for a quick meal.
For appetizers, cut breaded chicken into strips and serve with various dipping sauces—marinara, ranch, honey mustard, or sriracha mayo. Layer sliced breaded chicken over fresh greens with your favorite vegetables to create satisfying main course salads. The contrast between crispy chicken and cool, fresh greens creates a memorable eating experience.
Consider how breaded chicken fits into your broader meal planning. It pairs beautifully with the fresh, vibrant ingredients featured in summer salad recipes, offering a protein-rich centerpiece. During cooler months, incorporate it into fall recipes featuring roasted root vegetables and warming spices.
For those interested in wellness aspects, breaded chicken provides excellent protein content. Learn more about nutritional optimization by exploring foods rich in antioxidants that complement your meal.
Storage and Make-Ahead Tips
Breaded chicken’s make-ahead capabilities make it perfect for busy families. Prepare breaded chicken up to 4 hours before cooking by refrigerating on a baking sheet. For longer storage, freeze uncooked breaded chicken for up to 3 months. Place individually on a baking sheet, freeze until solid, then transfer to freezer bags for space efficiency. Cook directly from frozen, adding 3-5 minutes to cooking time.
Cooked breaded chicken keeps refrigerated for 3-4 days in an airtight container. Reheat in a 350°F oven for 10-15 minutes to restore crispiness, or use an air fryer at 350°F for 5-7 minutes. Avoid microwaving, which creates soggy results. Properly stored breaded chicken remains safe to eat when refrigerated promptly after cooking and kept at consistent cold temperatures.
For meal prep efficiency, cook a batch of breaded chicken at the beginning of the week. Use portions throughout the week in different preparations—over salads, in sandwiches, with pasta, or as standalone protein portions. This flexibility makes breaded chicken invaluable for organized meal planning.
Master external resources enhance your breaded chicken expertise. The Culinary Institute of America offers detailed information on cooking techniques and food safety. Serious Eats provides scientific explanations of cooking processes. Food & Wine features chef-developed recipes and variations. King Arthur Baking Company offers insights into ingredient selection and preparation techniques.
FAQ
Why does my breaded chicken come out soggy?
Sogginess typically results from insufficient oil temperature during cooking, too much oil absorption, or improper storage. Ensure oil reaches 350°F before adding chicken. Drain thoroughly on paper towels immediately after cooking. Store in an airtight container with a paper towel layer to absorb excess moisture. For reheating, use an oven or air fryer rather than a microwave.
Can I make breaded chicken ahead of time?
Absolutely. Prepare breaded chicken up to 4 hours ahead and refrigerate, or freeze uncooked for up to 3 months. Frozen breaded chicken cooks directly without thawing—simply add 3-5 minutes to cooking time. This flexibility makes it perfect for meal prep and busy weeknights.
What’s the best oil for cooking breaded chicken?
Choose oils with high smoke points such as vegetable, canola, or peanut oil. These oils withstand the 350°F cooking temperature without breaking down or imparting off-flavors. Avoid olive oil and butter, which have lower smoke points and will smoke excessively at these temperatures.
How do I know when breaded chicken is done cooking?
Use an instant-read thermometer to verify internal temperature reaches 165°F. Insert it into the thickest part of the chicken without touching bone. Additionally, the juices should run clear when pierced, and the breading should be golden brown. Don’t rely solely on color—thermometer verification ensures food safety.
Can I use chicken thighs instead of breasts?
Yes, chicken thighs work wonderfully for breaded chicken. They’re more forgiving than breasts due to higher fat content, resulting in juicier meat. Pound thighs to uniform thickness just as you would breasts. Cooking time remains similar—6-7 minutes per side when pan-frying. Thighs offer richer flavor for those preferring darker meat.
What seasonings work best in the breadcrumb mixture?
Italian seasoning, garlic powder, paprika, and dried oregano are classic choices. For spice lovers, cayenne pepper or black pepper adds heat. Parmesan cheese creates umami richness. Lemon zest provides brightness. Experiment with combinations matching your preferred flavor profiles and planned side dishes.


