Chicken Pizza Crust Recipe: A Keto-Friendly Game Changer
If you’ve been searching for a way to enjoy pizza while maintaining your keto lifestyle, a chicken pizza crust might be exactly what you need. This innovative recipe transforms ground chicken into a surprisingly sturdy, protein-packed base that delivers all the satisfaction of traditional pizza without the carb overload. Unlike cauliflower crusts or almond flour alternatives, chicken crusts offer superior texture, incredible nutritional density, and a neutral flavor that pairs beautifully with any pizza topping combination.
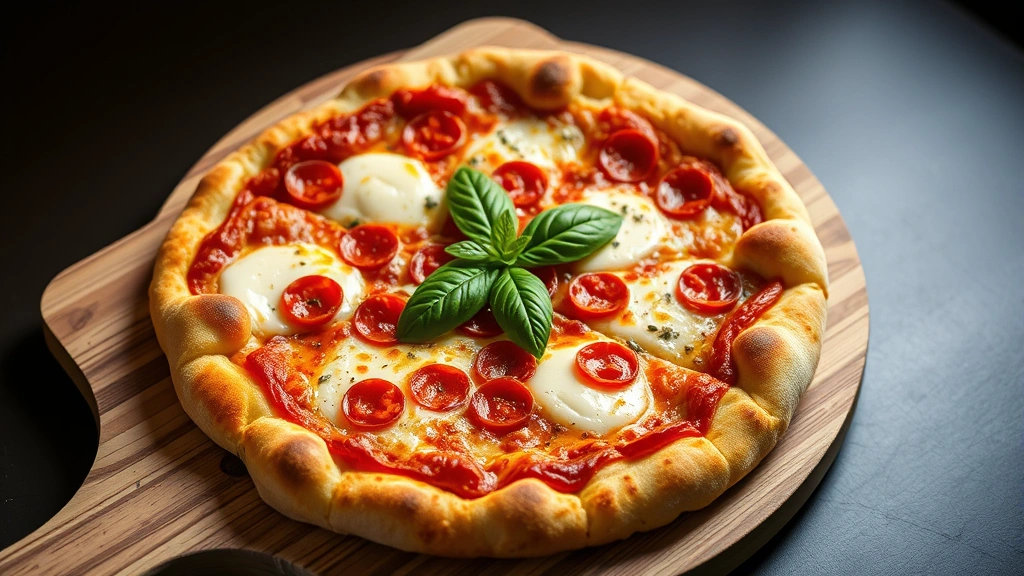
The beauty of this keto-friendly chicken pizza crust lies in its simplicity and versatility. Made primarily from ground chicken, eggs, and cheese, it requires minimal ingredients yet produces remarkably authentic results. Whether you’re a seasoned keto enthusiast or just beginning to explore low-carb alternatives, this recipe delivers restaurant-quality pizza that satisfies cravings while keeping you in ketosis. The crust becomes golden, slightly crispy on the edges, and wonderfully tender inside—everything you want from a pizza base.
Why Choose Chicken Pizza Crust for Keto Diets
The ketogenic diet emphasizes high-fat, moderate-protein, and extremely low-carbohydrate foods. Traditional pizza crusts made from wheat flour contain approximately 25-35 grams of carbohydrates per slice, making them incompatible with keto macros. A chicken pizza crust, by contrast, contains virtually zero grams of net carbs per serving while delivering 20+ grams of protein. This makes it an exceptional choice for anyone committed to maintaining ketosis.
Beyond carb content, chicken crusts offer superior nutritional advantages. Ground chicken provides essential amino acids, B vitamins, selenium, and phosphorus—nutrients your body needs for muscle maintenance, energy production, and cellular health. When combined with eggs and cheese, the crust becomes a complete protein source with healthy fats from the cheese and eggs. This nutritional density means you’ll feel fuller longer and experience fewer cravings compared to eating a traditional pizza crust.
The texture factor deserves special attention. Many keto pizza alternatives result in rubbery, dense, or overly crispy bases that bear little resemblance to authentic pizza. Chicken crusts, however, achieve a perfect balance—crispy edges with a tender, slightly moist interior that mimics traditional dough. The chicken binds beautifully with eggs and cheese, creating a cohesive structure that holds toppings without falling apart.
Cost-effectiveness is another compelling reason to make chicken crusts at home. Ground chicken typically costs less than specialty keto flours or pre-made cauliflower crusts. You’ll save money while creating a superior product tailored exactly to your preferences. Plus, making pizza at home eliminates the need to search for keto-friendly options at restaurants, which often come with premium pricing.
Essential Ingredients You’ll Need
Creating an exceptional chicken pizza crust requires quality ingredients and proper proportions. Here’s what you’ll need for a standard 12-inch pizza serving 4-6 people:
- Ground chicken: Two pounds of fresh, preferably organic ground chicken forms your crust foundation. Choose ground chicken with some fat content (around 85/15 lean-to-fat ratio) for optimal moisture and flavor. Ground turkey works as an alternative, though chicken provides milder flavor.
- Large eggs: Four large eggs act as a binder, helping the crust hold together while adding richness and additional protein. Eggs are essential—they prevent the crust from becoming dry or crumbly.
- Shredded mozzarella cheese: One cup of whole milk mozzarella (or part-skim if preferred) adds flavor, helps bind ingredients, and creates those delicious crispy-edged areas. Avoid pre-shredded cheese if possible, as it contains anti-caking agents that affect texture.
- Parmesan cheese: Half a cup of finely grated Parmigiano-Reggiano adds umami depth and creates extra crispiness on the surface.
- Seasonings: Two teaspoons of Italian seasoning, one teaspoon of garlic powder, one teaspoon of onion powder, one teaspoon of salt, and half a teaspoon of black pepper create a well-rounded flavor profile.
- Optional additions: One-quarter cup of almond flour or psyllium husk powder increases structural integrity if your ground chicken is particularly lean. These ingredients absorb moisture and strengthen the crust without adding carbs.
Quality matters significantly when preparing this recipe. Use freshly ground chicken from your butcher rather than pre-packaged varieties when possible. Fresh chicken produces superior texture compared to frozen options that may contain added water. Similarly, invest in block cheeses that you shred yourself—the superior melting and binding properties make a noticeable difference in your final crust.
Step-by-Step Preparation Instructions
Proper preparation ensures your chicken pizza crust achieves perfect texture and flavor. Follow these detailed steps for consistent results:
Step 1: Prepare Your Workspace and Equipment Preheat your oven to 400°F. Line a 12-inch round pizza pan or large baking sheet with parchment paper—this prevents sticking and makes cleanup effortless. Gather all ingredients and measure them before beginning. Having everything prepared (mise en place) streamlines the cooking process and prevents mistakes.
Step 2: Combine Dry Ingredients In a large mixing bowl, whisk together Italian seasoning, garlic powder, onion powder, salt, and black pepper. If using almond flour or psyllium husk, add it now and mix thoroughly. This distributes seasonings evenly throughout the crust, ensuring consistent flavor in every bite.
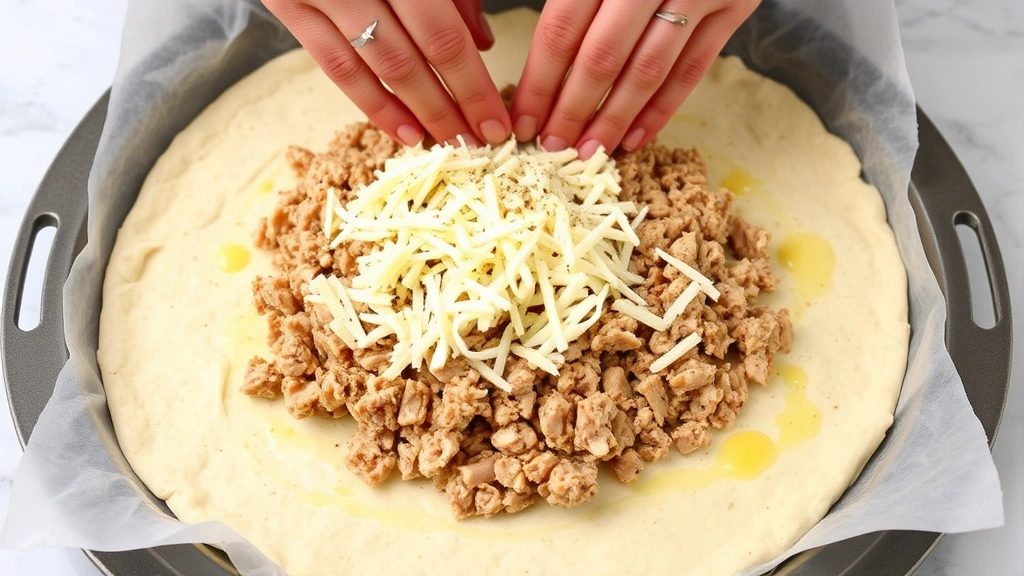
Step 3: Prepare the Wet Mixture In a separate medium bowl, crack four large eggs and whisk vigorously for 30-45 seconds until well combined. Add the shredded mozzarella and grated Parmesan cheese, stirring until evenly distributed. The cheese will partially melt into the eggs, creating a cohesive mixture.
Step 4: Combine Chicken with Seasonings Add the two pounds of ground chicken to your bowl containing the dry seasonings. Using your hands or a sturdy spatula, break apart the chicken and incorporate seasonings thoroughly. Work gently to avoid over-mixing, which can result in a dense, tough crust. You’re looking for even seasoning distribution, not a compact mass.
Step 5: Incorporate Wet Ingredients Pour the egg and cheese mixture over the seasoned chicken. Using clean hands or a large spoon, fold and mix until everything is evenly combined. The mixture should resemble coarse breadcrumbs that hold together when squeezed. If the mixture seems too wet, add one tablespoon of almond flour at a time until reaching proper consistency.
Step 6: Shape Your Crust Transfer the mixture to your prepared pizza pan. Using damp hands or a damp spatula, press the mixture firmly into an even layer approximately one-quarter inch thick. Work from the center outward, creating even thickness throughout. Slightly thicker edges create a pleasant crust that’s easier to hold, so feel free to build up the perimeter slightly.
Baking and Cooking Techniques
Proper baking technique transforms your prepared mixture into a golden, perfectly textured crust. Temperature, timing, and pan selection all influence your results.
The Pre-Bake Step Before adding toppings, bake your shaped crust at 400°F for 12-15 minutes. This pre-baking step is crucial—it sets the structure, renders some chicken fat, and creates a firmer base that won’t become soggy when topped. You’ll notice the crust beginning to brown slightly and pull away from the pan edges. Don’t wait for it to be fully cooked; it should still look slightly moist on the surface.
Removing from Oven Carefully remove your partially baked crust from the oven. If excess liquid has accumulated around the edges, use a paper towel to gently blot it away. This prevents a soggy crust and ensures even browning. The crust should be set enough to hold toppings without collapsing.
Adding Toppings Spread your pizza sauce (or pesto, alfredo, or another base) evenly across the crust, leaving a slight border. Add cheese, proteins, and vegetables according to preference. Consider radish recipes for unique vegetable toppings, or incorporate celery recipes for additional crunch. Fresh vegetables like bok choy add interesting texture and nutrition.
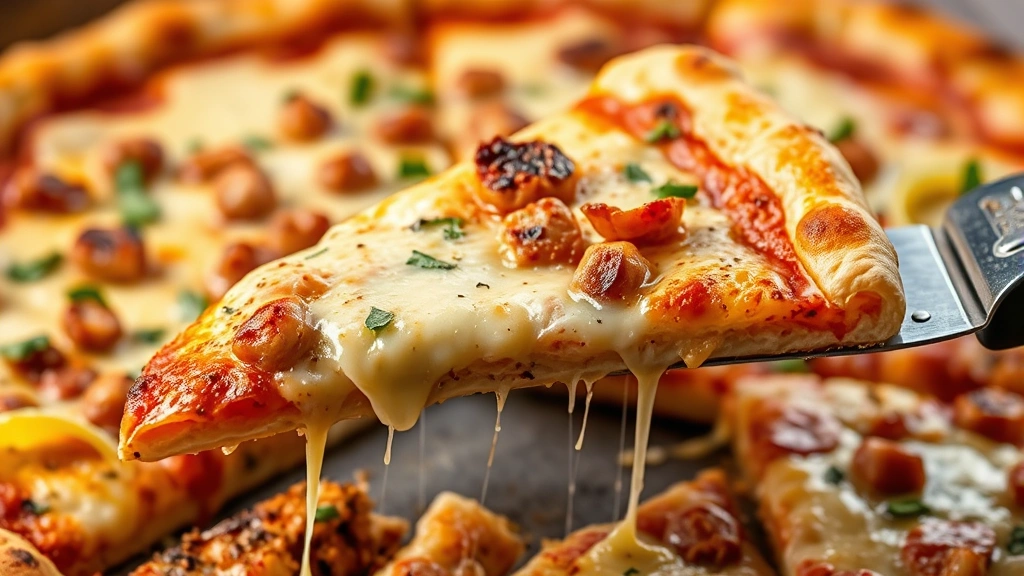
Final Baking Return your topped pizza to the oven and bake for 8-12 minutes, until cheese melts completely and edges begin browning. The exact time depends on topping quantity and moisture content. Watch carefully during the final minutes to prevent over-browning. The crust should be golden brown on the edges and set throughout.
Cooling and Serving Remove from the oven and allow the pizza to rest for 3-5 minutes before slicing. This cooling period allows the crust to set slightly, making it easier to cut and serve without falling apart. Use a sharp pizza cutter or kitchen knife to portion your pizza.
Topping Ideas and Combinations
The beauty of chicken pizza crusts lies in their versatility with toppings. Unlike cauliflower crusts that pair best with lighter toppings, chicken crusts support virtually any pizza variation you enjoy.
Classic Meat Lovers Combine pepperoni, Italian sausage, bacon, and ham with extra mozzarella. This hearty combination appeals to those seeking maximum protein and satisfaction. The chicken crust’s sturdy structure handles the weight of multiple meat toppings without buckling.
Mediterranean Style Layer pickled red onions with fresh spinach, kalamata olives, feta cheese, and sun-dried tomatoes. Drizzle with olive oil and finish with fresh basil after baking. This option delivers bright, complex flavors with minimal carbs.
Veggie-Forward Options Combine baby broccoli with mushrooms, bell peppers, zucchini, and onions. Add fresh garlic and herbs for depth. Vegetable-heavy pizzas remain low-carb while delivering essential micronutrients and fiber.
Protein-Packed Combinations Top with healthy tuna salad base, anchovies, shrimp, or grilled chicken for extreme protein density. These options create satisfying meals that support muscle recovery and maintenance.
White Pizza Style Skip tomato sauce entirely and create a base with ricotta cheese mixed with garlic, herbs, and lemon zest. Top with mozzarella, prosciutto, and fresh arugula added after baking. This elegant variation feels restaurant-quality and remains completely keto-friendly.
Spicy Southwest Variation Use salsa as your base, add chorizo, jalapeños, cilantro, and Mexican blend cheese. Top with sliced avocado after baking for richness and healthy fats.
Storage and Make-Ahead Tips
Planning ahead makes weeknight pizza nights effortless and reduces kitchen time when you’re busy.
Refrigerator Storage Store leftover pizza in an airtight container for up to four days. The crust remains firm and delicious when properly sealed. Reheat in a 350°F oven for 5-8 minutes until warmed through. Microwaving is faster but can result in a slightly softer crust—use the microwave only if you’re in a hurry.
Freezer Storage Cool pizza completely before freezing. Wrap individual slices in plastic wrap, then place in a freezer-safe bag, removing as much air as possible. Frozen pizza maintains quality for up to three months. Reheat from frozen in a 375°F oven for 12-15 minutes until heated through.
Make-Ahead Crust Preparation Prepare and shape your crust up to 24 hours in advance. Cover with plastic wrap and refrigerate. The cold crust will take 2-3 minutes longer to pre-bake, but results remain excellent. This strategy allows you to quickly assemble and bake pizza with minimal effort on busy evenings.
Freezing Raw Crust Pre-bake your crust, cool completely, then freeze on a baking sheet. Once solid, wrap in plastic and freeze for up to two months. To use, add toppings directly to the frozen crust and bake at 400°F for 12-15 minutes.
Batch Preparation Consider making multiple crusts simultaneously. Prepare two or three batches at once, pre-baking and freezing for convenient future meals. This approach maximizes efficiency and ensures you always have pizza options available.
Nutritional Information and Macros
Understanding the nutritional profile helps you incorporate chicken pizza into your keto meal plan effectively.
Per Slice (1/6 of Pizza with Standard Toppings) Calories: 285-320, Fat: 18-22g, Protein: 28-32g, Net Carbs: 1-2g. These macros make chicken pizza an excellent keto choice, delivering substantial protein and healthy fats while maintaining ketogenic macronutrient ratios.
Crust-Only Nutritional Profile A plain crust slice contains approximately 180 calories, 12g fat, 20g protein, and 0g net carbs. Toppings add calories and macros based on selection—cheese and meats increase fats and protein, while vegetables add minimal calories with beneficial fiber and micronutrients.
Factors Affecting Macros The exact nutritional content varies based on ground chicken fat content, cheese type, and topping selections. Using leaner ground chicken reduces fat slightly but may result in drier crust. Standard whole milk mozzarella provides more fat than part-skim varieties. Choose based on your individual macro targets and preferences.
Micronutrient Benefits Chicken provides B vitamins (especially niacin and B6), selenium, and phosphorus. Eggs add choline, lutein, and additional B vitamins. Cheese contributes calcium and vitamin A. Together, these ingredients create a nutritionally complete food supporting overall health beyond simple macro counting.
Comparison to Traditional Pizza A typical pepperoni pizza slice contains 285 calories but includes 25-35g carbohydrates from the crust alone. Chicken pizza delivers similar calories with 0-2g carbs, making it a dramatically superior choice for ketogenic dieters. The dramatic reduction in carbohydrates allows you to enjoy pizza guilt-free while maintaining metabolic ketosis.
FAQ
Can I use ground turkey instead of chicken?
Yes, ground turkey works as an excellent substitute with nearly identical results. Turkey offers slightly different flavor—slightly earthier and richer—but maintains the same texture and structural integrity. Use the same proportions and follow identical preparation methods. Ground turkey may have slightly different fat content depending on the cut, so adjust almond flour if your mixture seems too wet or dry.
What if my crust falls apart when I try to slice it?
A crust that falls apart typically indicates insufficient binding or over-mixing that created a dense, brittle texture. Ensure you’re using the correct egg quantity—four large eggs for two pounds of chicken is essential. If your mixture seemed too wet, adding one to two tablespoons of almond flour strengthens structure. Also verify you’re not over-mixing, which develops gluten-like networks that become tough when baked.
Can I make this crust without eggs?
Eggs are crucial for binding and moisture, making them difficult to replace completely. However, you can reduce eggs to three if you add two tablespoons of psyllium husk powder or almond flour. Alternatively, add two tablespoons of cream cheese softened with the eggs. These substitutions help bind ingredients without compromising texture, though results may vary slightly.
How do I prevent a soggy crust with wet toppings?
Pre-baking the crust before adding toppings is your primary defense against sogginess. Additionally, avoid watery toppings like fresh tomatoes without draining them first. Pat vegetables dry with paper towels before adding. Use moderate sauce quantities—too much sauce overwhelms the crust. Finally, don’t overload with toppings; a single layer typically prevents moisture accumulation.
Is chicken pizza crust suitable for meal prep?
Absolutely. Chicken pizza is excellent for meal prep because it reheats beautifully and maintains quality for several days. Pre-bake crusts, freeze them individually, then add fresh toppings and rebake when desired. Alternatively, prepare complete pizzas, cool thoroughly, wrap individually, and freeze. This approach provides grab-and-go keto meals for busy weeks.
Can I add vegetables directly to the crust mixture?
Yes, finely chopped vegetables can be incorporated into the raw crust mixture. Sautéed mushrooms, finely minced spinach, and small broccoli pieces work particularly well. Keep vegetable pieces small to maintain even cooking. Note that adding vegetables increases moisture slightly, so you may need an additional tablespoon of almond flour to maintain proper consistency. Avoid watery vegetables like fresh tomatoes.
What’s the best pizza pan for this crust?
A perforated pizza pan or steel produces the crispiest results by allowing air circulation underneath. Standard metal baking sheets work well, creating slightly softer crusts. Cast iron pans develop excellent browning but can be difficult to remove pizza from. Ceramic or glass pans work but may result in softer, less crispy crusts. Use parchment paper regardless of pan type to prevent sticking.
How do I reheat leftover pizza?
The oven produces superior results compared to microwaving. Preheat your oven to 350°F and reheat for 5-8 minutes until warmed through and edges begin crisping. This method restores texture and prevents sogginess. Microwaving is faster but softens the crust—use only when absolutely necessary. Air fryers also work excellently, reheating slices in 3-4 minutes at 375°F while maintaining crispiness.


