Best Ice Cream? Cuisinart Maker Tested!
Making homemade ice cream has never been more accessible than with a Cuisinart ice cream maker. Whether you’re a beginner experimenting with your first batch or a seasoned home chef refining techniques, these machines deliver consistently creamy, delicious results. After testing multiple recipes and methods, we’ve discovered what truly separates mediocre frozen desserts from exceptional ones: proper technique, quality ingredients, and understanding how your machine works.
The Cuisinart ice cream maker has become a staple in kitchens worldwide, and for good reason. These machines take the guesswork out of churning, maintaining precise temperatures while incorporating air into your mixture. But owning the machine is just the beginning. The real magic happens when you master the recipes and techniques designed specifically for this equipment. From classic vanilla to adventurous flavor combinations, we’ll walk you through everything you need to know.
Understanding Your Cuisinart Ice Cream Maker
Your Cuisinart ice cream maker operates on a straightforward principle: freezing a mixture while simultaneously churning it. The machine’s bowl contains a refrigerant that maintains a consistent freezing temperature, typically between 0°F and -4°F. As your mixture makes contact with this frozen surface, ice crystals begin forming. The churning action prevents large ice crystals from developing, resulting in that smooth, creamy texture we all crave.
Most Cuisinart models come in two primary styles: the traditional bowl model that requires pre-freezing and the newer compressor models that don’t need advance preparation. Understanding which type you own is crucial because it affects your recipe timing and preparation method. The bowl models are more affordable and compact, making them perfect for occasional use. Compressor models, while pricier, offer convenience for frequent ice cream making.
Before your first use, familiarize yourself with your machine’s specific requirements. Check whether your model needs 24 hours of freezer time or if it has built-in cooling. Read through the manufacturer’s guidelines to understand capacity limits and recommended mixture consistency. Most Cuisinart machines work best with mixtures that have been thoroughly chilled beforehand, ideally overnight in your refrigerator.
Temperature control is absolutely critical. Your custard base should reach between 32°F and 40°F before entering the machine. If it’s too warm, your ice cream will be grainy. Too cold, and it may freeze too quickly, trapping large ice crystals. Using a reliable food thermometer takes the guesswork out of this crucial step.
Essential Ingredients for Perfect Texture
The difference between adequate and outstanding ice cream comes down to ingredient selection and ratios. Your base mixture typically consists of cream, milk, sugar, and egg yolks. Each component serves a specific purpose in creating that luxurious mouthfeel.
Cream and Milk Balance: The fat content directly impacts creaminess. Heavy cream contains 36-40% fat, while whole milk contains only 3-4%. Most professional ice cream recipes use a ratio of 2 parts cream to 1 part milk, creating approximately 15-18% fat content. This ratio creates richness without overwhelming greasiness. Experiment with ratios once you’ve mastered the basics.
Sugar’s Role: Sugar isn’t just for sweetness; it lowers the freezing point of your mixture, preventing rock-hard ice cream. This is called freezing point depression. Without adequate sugar, your ice cream becomes icy and hard. Typically, use 3/4 to 1 cup of sugar per quart of mixture. Avoid exceeding 1.5 cups, as excess sugar prevents proper freezing.
Egg Yolks: These create emulsification and add richness. Yolks contain lecithin, a natural emulsifier that helps fat and liquid blend smoothly. For every quart of mixture, use 4-6 egg yolks. Always pasteurize eggs by heating them to 160°F if you’re concerned about food safety. USDA food safety guidelines provide detailed pasteurization methods.
Stabilizers and Thickeners: Cornstarch, tapioca starch, or gelatin prevent ice crystals from growing during storage. These aren’t strictly necessary for immediate consumption but extend your ice cream’s shelf life. Use 1-2 tablespoons per quart. Avoid xanthan gum if you’re new to ice cream making—it requires precise mixing to avoid clumping.
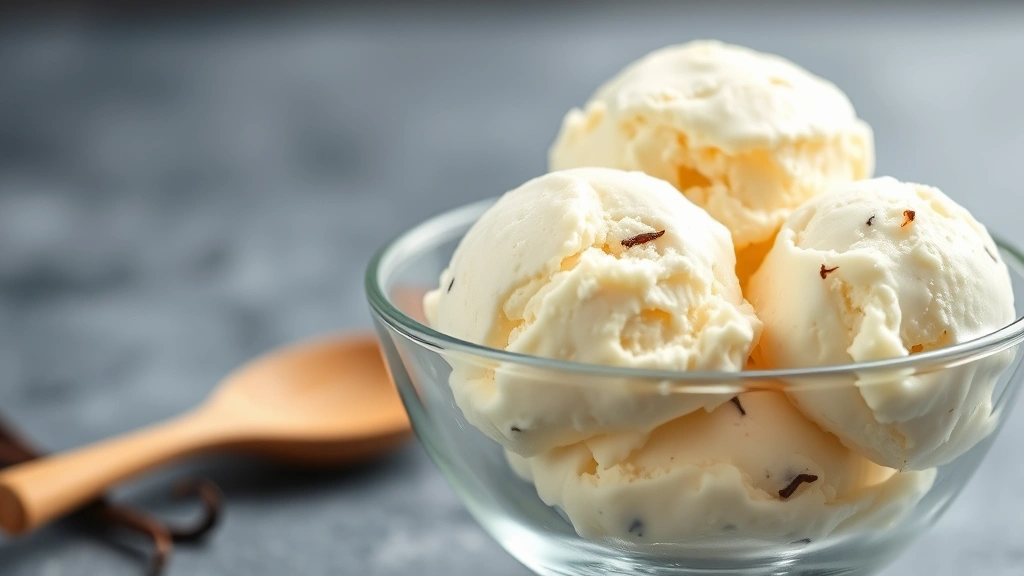
Classic Vanilla Recipe Mastery
Vanilla ice cream serves as the foundation for understanding ice cream making. Master this recipe, and you’ll understand the principles behind every flavor variation.
Ingredients for One Quart:
- 2 cups heavy cream
- 1 cup whole milk
- 3/4 cup granulated sugar
- 5 egg yolks
- 1 tablespoon vanilla extract (or 1 vanilla bean, split and scraped)
- 1/4 teaspoon sea salt
- 1 tablespoon cornstarch (optional, for texture stability)
Step-by-Step Instructions:
- Create Your Custard Base: Whisk together cream, milk, and sugar in a heavy-bottomed saucepan over medium heat. Stir frequently until the mixture reaches 160°F on your thermometer, approximately 8-10 minutes. This pasteurizes the mixture and dissolves the sugar completely. You’ll notice the mixture steaming but not boiling.
- Temper the Egg Yolks: While your cream mixture heats, whisk egg yolks in a separate bowl. Once your cream reaches 160°F, slowly pour it into the yolks while whisking constantly. This gradual process prevents scrambled eggs. Pour the combined mixture back into your saucepan and continue heating to 175°F for 1-2 minutes.
- Add Flavorings: Remove from heat and stir in vanilla extract and sea salt. The salt enhances vanilla flavor without adding saltiness—use high-quality sea salt for best results.
- Chill Thoroughly: Strain the mixture through fine mesh to remove any cooked egg particles. Cover and refrigerate for at least 8 hours, preferably overnight. This resting period allows flavors to meld and ensures proper texture.
- Churn: Transfer your chilled mixture to your pre-frozen Cuisinart bowl. Churn for 20-25 minutes until the mixture reaches soft-serve consistency. The machine will slow as the mixture freezes—this is normal.
- Final Freeze: Transfer to an airtight container and freeze for at least 4 hours before serving.
This method creates silky vanilla ice cream that showcases the ingredient quality. If using a vanilla bean instead of extract, scrape the seeds into your warm custard and steep for 5 minutes before chilling.
Advanced Flavor Combinations
Once you’ve mastered vanilla, explore creative flavor profiles. The same custard base accommodates countless variations.
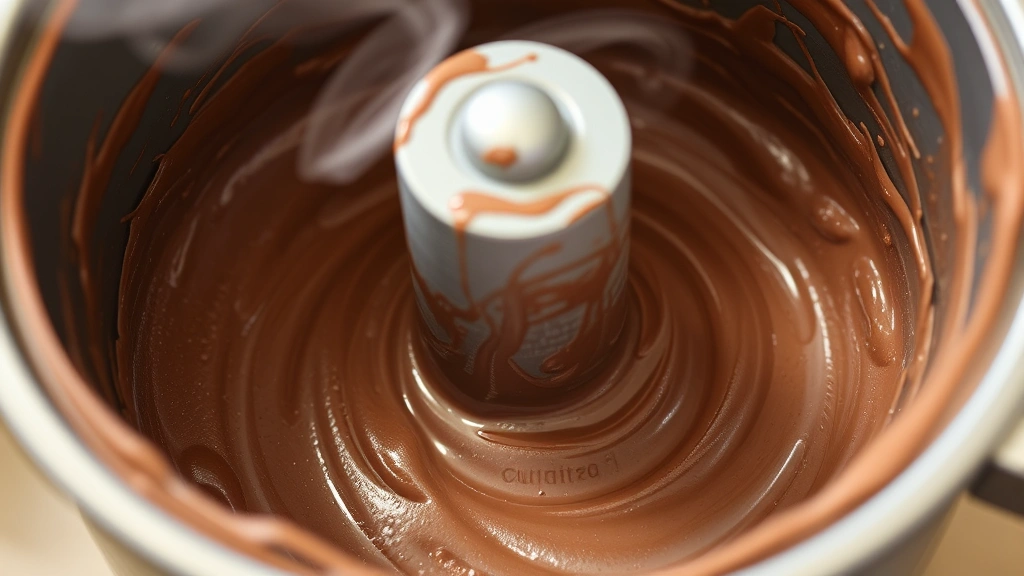
Chocolate Indulgence: Reduce vanilla to 1/2 teaspoon and add 1/2 cup unsweetened cocoa powder mixed with 1/4 cup hot water before chilling. Whisk thoroughly to prevent lumps. For extra richness, add 4 ounces of melted dark chocolate. This creates deeply chocolatey ice cream that pairs beautifully with homemade chocolate truffles.
Strawberry Swirl: Prepare your vanilla base, but reduce sugar to 1/2 cup. While churning, gradually add 1 cup of strawberry puree (made from fresh berries blended with 2 tablespoons sugar). The slower incorporation prevents the mixture from becoming too icy. Fresh fruit adds natural flavor without artificial sweetness.
Coffee Flavor: Add 3 tablespoons of instant espresso powder dissolved in 2 tablespoons of warm water to your warm custard. Reduce vanilla to 1/2 teaspoon. This creates sophisticated coffee ice cream perfect for affogato-style serving.
Salted Caramel: Make caramel by melting 1 cup sugar in a heavy pan over medium heat without stirring (just swirling occasionally). Once golden amber, remove from heat and whisk in 6 tablespoons butter and 1/2 cup heavy cream carefully—it will bubble. Cool completely before stirring into your chilled custard base. Finish with 1 teaspoon fleur de sel for that signature salted caramel profile.
Mint Chocolate Chip: Steep 2 cups fresh mint leaves in your warm cream mixture for 30 minutes, then strain thoroughly. Add 1/2 teaspoon peppermint extract if using dried mint. Churn as normal, then fold in 1/2 cup chocolate chips during the final 2 minutes of churning.
Exploring advanced culinary techniques through ice cream making builds your foundation for other desserts.
Troubleshooting Common Issues
Grainy Texture: Graininess usually indicates ice crystals formed during freezing. This happens when your base mixture is too warm when churning or when you didn’t dissolve sugar completely. Always ensure thorough chilling and vigorous whisking during the heating phase. Additionally, ensure your Cuisinart bowl is adequately frozen—24 hours is the minimum for most models.
Won’t Freeze Properly: If your mixture remains soft after 30 minutes of churning, your base likely contains too much alcohol or too little sugar. Both prevent proper freezing. Reduce alcohol content to no more than 1-2 tablespoons per quart. If using alcohol, add it after churning is complete.
Melts Too Quickly: This indicates insufficient fat or stabilizer content. Increase cream ratio or add 1 tablespoon of cornstarch. Additionally, ensure your serving bowl is pre-chilled in the freezer for 15 minutes before scooping.
Overly Dense Texture: Over-churning creates dense ice cream by incorporating too much air. Stop churning once the mixture reaches soft-serve consistency, typically 20-25 minutes. Longer churning doesn’t improve texture—it worsens it.
Icy Crystals Form During Storage: This happens when ice cream melts and refreezes. Store in airtight containers away from the freezer door. Place plastic wrap directly on the ice cream surface before sealing the lid—this creates an additional barrier against freezer burn.
Storage and Serving Tips
Proper storage extends your homemade ice cream’s lifespan significantly. Unlike commercial ice cream with added stabilizers, homemade versions have limited shelf life—typically 2-3 weeks in optimal conditions.
Storage Best Practices: Transfer your ice cream to airtight containers immediately after churning while still in soft-serve consistency. Press plastic wrap directly onto the surface, then seal the lid. Store in the coldest part of your freezer, away from the door. Temperature fluctuations from opening the door cause ice crystal formation.
Serving Temperature: Remove ice cream from the freezer 5-10 minutes before serving. This allows it to soften slightly for easier scooping and better flavor development. Ice cream served too cold numbs your palate, masking subtle flavors. Room temperature ice cream, however, becomes unpleasantly soupy. Find the sweet spot around 6-8°F.
Scooping Technique: Dip your scoop in warm water before each scoop. This prevents ice cream from sticking and creates more uniform portions. For extra ease, keep a warm water bowl nearby throughout serving.
These techniques align with quality dessert preparation methods that emphasize proper technique and timing.

Your Cuisinart ice cream maker investment yields countless hours of dessert enjoyment when you understand these fundamental principles. The machine handles the mechanical work, but your knowledge of ingredients, temperatures, and techniques creates the magic. Start with classic vanilla, master the fundamentals, then branch into creative flavors that reflect your personal taste preferences.
FAQ
How long should I freeze the Cuisinart bowl before churning?
Most Cuisinart bowl models require a minimum of 24 hours in the freezer to achieve proper temperature. Some users prefer 48 hours for extra assurance. Compressor models don’t require pre-freezing. Always check your specific model’s manual for exact requirements.
Can I use regular milk instead of heavy cream?
You can, but the result will be less creamy. Using only milk creates icy ice cream lacking richness. The fat in cream is essential for that luxurious mouthfeel. Minimum recommended ratio is 1 part cream to 1 part milk, though 2:1 cream to milk produces superior results.
Is it necessary to pasteurize eggs?
Pasteurization eliminates food safety concerns with raw eggs. Heat your custard mixture to 160°F and maintain that temperature for 1 minute. This kills harmful bacteria while preserving egg yolk functionality. If you’re uncomfortable with this step, purchase pasteurized eggs from your grocery store.
Why is my ice cream too hard after freezing?
Excessive sugar can paradoxically cause hardness if you’ve added stabilizers that over-thicken the mixture. More commonly, hard ice cream results from insufficient fat or over-freezing in an extremely cold freezer. Adjust your freezer to -2°F to 0°F and ensure adequate cream content.
Can I make dairy-free ice cream in my Cuisinart?
Yes, using coconut cream or cashew cream as your base. Coconut cream (the thick part from a can of coconut milk) works well, though it creates slightly different texture. You’ll need additional stabilizers like cornstarch or guar gum. The cooking temperature remains the same for food safety purposes.
How do I incorporate mix-ins like cookies or nuts?
Add mix-ins during the final 2-3 minutes of churning when the mixture is nearly frozen. This prevents them from sinking or breaking down during the entire churning process. Ensure pieces are appropriately sized—small chunks work better than large chunks.
What’s the difference between ice cream and gelato?
Gelato contains less fat (4-9% versus 14-18% for ice cream) and is churned more slowly, creating denser texture with less incorporated air. Your Cuisinart can make gelato-style frozen desserts by using less cream and reducing churning speed if your model offers variable speeds.


