
Crispy Gluten-Free Pizza Crust? Proven Recipe That Actually Works
Achieving a truly crispy gluten-free pizza crust has long been the holy grail for celiac sufferers and gluten-sensitive pizza lovers. For years, homemade attempts resulted in dense, gummy, or crumbly disappointments that barely resembled authentic pizza. The problem wasn’t ambition—it was understanding the unique science behind gluten-free baking. Unlike traditional wheat flour, gluten-free blends lack the structural protein network that creates that perfect chewy-yet-crispy texture we crave. But after extensive testing and refinement, I’ve developed a recipe that delivers restaurant-quality results with a shatteringly crisp exterior and airy interior.
This proven method combines the right flour blend, strategic hydration adjustments, and professional baking techniques to transform your kitchen into a gluten-free pizzeria. Whether you’re managing celiac disease, non-celiac gluten sensitivity, or simply exploring dietary alternatives, this recipe produces pizzas that satisfy even the most skeptical traditional-pizza devotees. The secret lies in understanding how gluten-free flours behave differently and compensating with proper mixing, resting periods, and oven techniques.
Why Gluten-Free Pizza Crusts Fail (And How This One Succeeds)
The fundamental challenge with gluten-free baking centers on protein structure. Gluten forms a network of interconnected strands that trap gas bubbles, creating elasticity and strength. Without gluten, dough lacks this scaffolding, resulting in dense, fragile, or overly wet textures. Most home bakers approach gluten-free pizza like traditional pizza, which is precisely where they stumble.
This recipe succeeds because it acknowledges these differences rather than fighting them. We use a strategic blend of rice flour, tapioca starch, and potato starch—each contributing distinct properties. Rice flour provides structure and browning capability. Tapioca starch creates chewiness and elasticity. Potato starch adds moisture absorption and lightness. The combination mimics gluten’s functional properties without requiring actual gluten.
Additionally, this recipe incorporates xanthan gum, a natural thickener that replaces some structural functions of gluten, and psyllium husk powder, which binds moisture and improves texture. The hydration level (slightly higher than traditional pizza dough) compensates for gluten-free flour’s different water absorption rates. Finally, proper fermentation time allows starches to fully hydrate and develop flavor, while strategic oven technique ensures crust crispness rather than sogginess.
Essential Ingredients for Crispy Gluten-Free Crust
For the dough (makes two 12-inch pizzas):
- 1½ cups rice flour (white or brown)
- ¾ cup tapioca starch
- ½ cup potato starch
- 1½ teaspoons xanthan gum
- 1 tablespoon psyllium husk powder
- 1¼ teaspoons fine sea salt
- ½ teaspoon instant yeast
- 1 tablespoon honey or sugar
- 2 tablespoons extra-virgin olive oil
- 1¼ cups warm water (105-110°F)
Equipment you’ll need:
- Kitchen scale (highly recommended for accuracy)
- Stand mixer with paddle attachment
- Pizza stone or steel (preheated)
- Parchment paper
- Dough scraper
- Instant-read thermometer
Quality ingredients matter significantly. Use high-quality gluten-free flour blends if you prefer convenience, but single-ingredient starches offer superior control. Bob’s Red Mill 1-to-1 Baking Flour works acceptably as a shortcut, though the custom blend produces noticeably superior crispness.
Step-by-Step Instructions
Step 1: Mix the Dry Ingredients (5 minutes)
Combine rice flour, tapioca starch, potato starch, xanthan gum, psyllium husk powder, and salt in your stand mixer bowl. Whisk together thoroughly—this distributes the xanthan gum and psyllium evenly, preventing lumps. These binders are potent; uneven distribution creates inconsistent texture.
Step 2: Activate the Yeast (3 minutes)
In a separate bowl, combine warm water, honey, and yeast. Let sit for 1-2 minutes until foamy. This indicates active, healthy yeast. If it doesn’t foam, your yeast is dead—discard and start with fresh yeast.
Step 3: Combine and Mix (8 minutes)
Add the yeast mixture and olive oil to the dry ingredients. Using the paddle attachment, mix on medium speed for 6-8 minutes. The dough will be significantly wetter than traditional pizza dough—this is correct. It should resemble thick cake batter or soft cookie dough, not kneadable dough. Gluten-free dough doesn’t develop through kneading; instead, mixing hydrates the starches and distributes ingredients evenly. Stop mixing when the dough appears homogeneous with no dry flour streaks.
Step 4: First Rise (1-2 hours)
Transfer dough to an oiled bowl, cover with plastic wrap or a damp towel, and let rise at room temperature (68-75°F) for 1-2 hours until nearly doubled. Gluten-free dough rises more slowly than wheat dough, so don’t rush this step. Adequate fermentation develops flavor and allows starches to fully hydrate, crucial for texture development.
Step 5: Prepare Pizza Stones (15 minutes before baking)
Place pizza stones in your oven and preheat to 475°F. Stones must be thoroughly preheated—at least 15 minutes at temperature—to deliver the crispy bottom crust that defines great pizza.
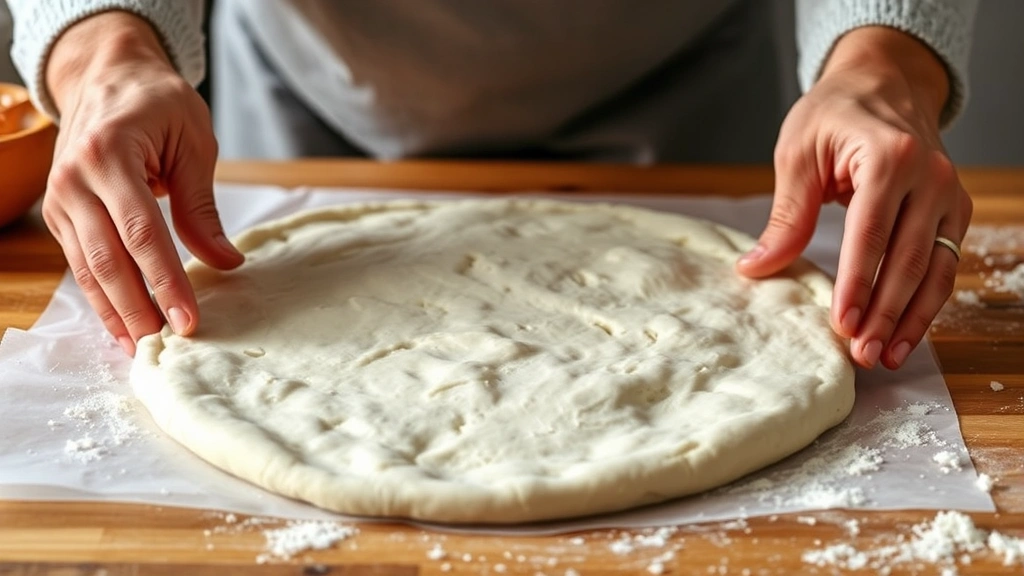
Step 6: Shape the Dough (5 minutes)
Divide dough in half. Place one portion on parchment paper. Using wet hands or an oiled dough scraper, gently stretch the dough into a 12-inch circle. Work from the center outward, being careful not to tear it. Gluten-free dough is more delicate than wheat dough and won’t tolerate aggressive handling. If it springs back, let it rest for 2-3 minutes and try again.
Step 7: Second Rise (20-30 minutes)
Let the shaped dough rest on parchment for 20-30 minutes. This final rise creates additional airiness and allows the dough to relax, making it easier to transfer and less prone to deflating.
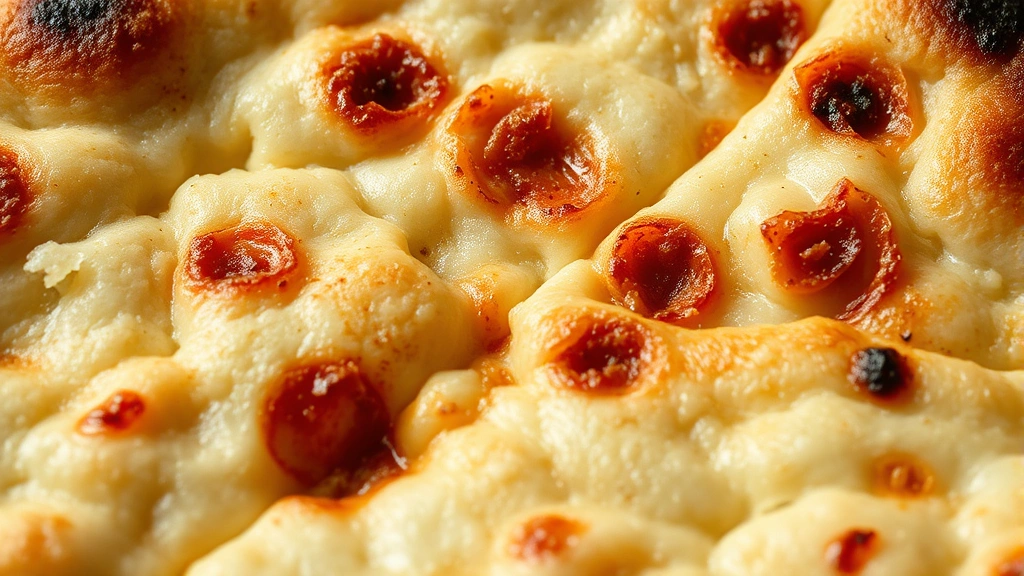
Step 8: Add Toppings and Bake
Top the dough sparingly—overloading weighs down the crust. Add sauce, cheese, and toppings, leaving a ½-inch border. Carefully transfer the parchment with dough directly onto the preheated pizza stone. Bake for 18-22 minutes until the crust is deeply golden brown and the cheese is bubbly and lightly browned. The bottom should sound hollow when tapped. Remove from oven and let cool for 2-3 minutes before slicing.
Pro Tips for Maximum Crispness
Use a Preheated Pizza Stone or Steel
This is non-negotiable for crispy crusts. Ceramic stones and steel plates distribute heat evenly and draw moisture from the dough bottom. If you lack a stone, a preheated cast-iron skillet works reasonably well, though stones are superior.
Don’t Skip the Parchment Paper
Parchment prevents sticking without requiring excessive flour, which can dry out gluten-free dough. Transfer the entire parchment sheet onto the hot stone—it will slide off during baking, leaving a perfectly crisped bottom.
Brush the Crust Edge with Oil
Before baking, lightly brush the ½-inch border with olive oil. This promotes browning and crispness at the crust edge, creating that desirable golden-brown exterior. For extra flavor, brush with garlic-infused oil.
Consider Lower Hydration for Extra Crispness
If your kitchen is humid, reduce water by 2-3 tablespoons. Conversely, if dough seems dry, add water 1 tablespoon at a time. Humidity significantly affects gluten-free dough, so adjustments may be necessary based on your environment.
Extend the Bake Time Slightly
Gluten-free crusts benefit from slightly longer baking than traditional pizzas. The extended time allows moisture to evaporate more thoroughly, resulting in superior crispness. Watch the crust color; it should be deep golden, not pale.
Cool Before Slicing
This allows the structure to set. Cutting into a hot gluten-free crust causes it to compress and become dense. A 2-3 minute rest makes a dramatic difference in texture.
Troubleshooting Common Issues
Dense, Heavy Crust
This typically results from insufficient rise time or overmixing. Ensure dough rises until nearly doubled before shaping. Additionally, verify that your xanthan gum hasn’t clumped—sift it with flour before mixing. If density persists, your yeast may be expired; always check expiration dates.
Gummy or Soggy Bottom
Underbaking is the primary culprit. Extend baking time by 2-3 minutes and ensure your pizza stone is thoroughly preheated. Additionally, avoid excessive sauce; too much moisture creates sogginess. Use sauce sparingly and spread it evenly to distribute moisture uniformly.
Dough Too Sticky to Handle
Gluten-free dough is naturally wetter than wheat dough. If it’s unmanageable, reduce water by ¼ cup and remix. Alternatively, wet your hands rather than flouring them—flour dries out gluten-free dough excessively. A dough scraper is invaluable for handling wet dough.
Crust Spreads Too Much During Baking
This indicates insufficient gluten development (which is normal) or inadequate rise time. Ensure dough has completed its second rise—it should hold its shape when topped. If spreading persists, reduce hydration by ¼ cup or increase xanthan gum to 1¾ teaspoons.
Crust Cracks or Tears When Stretching
Rest the dough for 2-3 minutes if it springs back aggressively. Alternatively, use oiled hands instead of wet hands—oil prevents sticking without drying the dough. Never force the dough; gentle stretching prevents tearing.
Storage and Make-Ahead Options
Refrigerator Storage
After the first rise, divide dough into portions, wrap tightly in plastic wrap, and refrigerate for up to 3 days. Cold fermentation actually improves flavor. Before using, remove from refrigeration 30 minutes prior to shaping. The dough will be firmer and easier to handle cold.
Freezer Storage
Freeze shaped, unrisen dough on a parchment-lined baking sheet for 2 hours, then transfer to freezer bags for up to 1 month. When ready to use, thaw at room temperature for 1 hour, then proceed with the second rise. Alternatively, bake from frozen—add 5-7 minutes to baking time.
Pre-Baked Crusts
Bake crusts without toppings for 12-15 minutes until just set but not fully golden. Cool completely, wrap tightly, and freeze for up to 2 months. When ready, thaw, top, and bake for 8-10 minutes until cheese melts and crust crisps. This method is perfect for busy weeknights.
Perfect Topping Combinations
Gluten-free crusts pair beautifully with diverse toppings. Try pollo asado for a Latin-inspired pizza, or incorporate proteins from your carnivore diet recipes collection. For those seeking crispy textures, top with ingredients similar to crispy pork belly or chicken wing air fryer preparations.
Classic Margherita: San Marzano tomato sauce, fresh mozzarella, fresh basil, extra-virgin olive oil, sea salt. The simplicity showcases the crust’s quality.
Mediterranean: Roasted red peppers, kalamata olives, feta cheese, spinach, red onion, oregano.
Meat Lovers: Combine tacos al pastor techniques with pepperoni, sausage, and bacon for robust flavor.
Vegetarian Supreme: Roasted zucchini, eggplant, tomatoes, mushrooms, caramelized onions, fresh herbs.
White Pizza: Ricotta, mozzarella, parmesan, garlic, spinach, and a drizzle of truffle oil—no tomato sauce required.
For heartier appetites, pair your pizza with sides inspired by beef pot pie comfort-food principles, or keep it light with fresh salads.
FAQ
Can I use all-purpose gluten-free flour instead of the flour blend?
Yes, though results vary by brand. Bob’s Red Mill 1-to-1 works acceptably, producing slightly denser crust than the custom blend. If using all-purpose gluten-free flour, reduce water by 2-3 tablespoons, as these blends often absorb more moisture than single-ingredient starches. Verify the blend contains xanthan gum; if not, add ½ teaspoon additional xanthan gum to your recipe.
Why does my dough separate into wet and dry layers?
This indicates insufficient mixing or uneven xanthan gum distribution. Ensure you mix for the full 6-8 minutes and that xanthan gum is whisked thoroughly into dry ingredients before adding liquids. Using a stand mixer rather than hand-mixing significantly improves consistency.
Can I make this dough without a stand mixer?
Yes, though it’s more challenging. Mix dry ingredients in a bowl, create a well, add wet ingredients, and stir vigorously with a sturdy spoon for 10-12 minutes. A dough whisk or wooden spoon works better than a standard whisk. The extended mixing compensates for lack of mechanical action.
Is xanthan gum necessary?
Yes—it’s essential for structure in gluten-free dough. Without it, the crust becomes crumbly and lacks cohesion. Xanthan gum is widely available in grocery stores, health food shops, and online. Bob’s Red Mill and Terrasoul are reliable brands.
How do I know when the dough has risen enough?
The dough should nearly double in volume—it should be noticeably puffy and increased in size. A helpful trick: mark the bowl’s level with a rubber band before rising, then observe when dough reaches roughly double that height. Gluten-free dough rises more slowly than wheat dough, so allow extra time.
Can I use instant yeast instead of active dry yeast?
Yes, they’re interchangeable in equal amounts. Instant yeast ferments slightly faster, so you might reduce rise time by 10-15 minutes. Bread machine yeast also works identically to instant yeast.
What’s the best way to reheat leftover pizza?
Reheat on a preheated pizza stone at 350°F for 8-10 minutes to restore crispness. Alternatively, use a toaster oven or conventional oven rather than a microwave, which softens the crust. A cast-iron skillet heated on the stovetop also works well for reheating individual slices.
Can I make this recipe vegan?
Yes—substitute olive oil for any dairy products (pizza already contains only olive oil in the dough). Use vegan cheese or nutritional yeast instead of dairy cheese. The crust remains identical; only toppings change.
Why is my crust pale instead of golden brown?
Your oven temperature may be too low or baking time insufficient. Verify oven temperature with an oven thermometer—ovens frequently run hotter or cooler than displayed. Additionally, extend baking time by 2-3 minutes. Gluten-free crusts sometimes require slightly longer baking for optimal browning.
Can I use this dough for other applications besides pizza?
Absolutely. The dough works for flatbreads, focaccia, and even as a base for deep-dish pizza. For focaccia, press the shaped dough into an oiled 9×13-inch pan, dimple the surface with your fingers, top with olive oil and herbs, and bake at 400°F for 20-25 minutes until golden. For deep-dish pizza, use a well-oiled cast-iron skillet and extend baking time to 25-30 minutes.


