Table of Contents
Introduction
Ever stood in the snack aisle, flipping over granola bar packages, trying to pronounce half the ingredients? You’re not alone. What if I told you there’s a better way—one that lets you control every single ingredient that goes into your snack? Making granola bars at home isn’t just possible; it’s surprisingly simple and incredibly rewarding. Whether you’re packing lunch for the kids, need fuel for your morning workout, or just want something healthy to grab when hunger strikes, homemade granola bars check every box.
Here’s the thing about store-bought granola bars: they’re often packed with more sugar than a candy bar. (Seriously, check the labels sometime—it’s eye-opening.) When you make your own, you get to choose real ingredients like wholesome oats, crunchy nuts, nutrient-packed seeds, and natural sweeteners that actually fuel your body instead of giving you a sugar crash an hour later. It’s about taking back control of what you eat, one delicious bar at a time. And if you’re looking for more ways to eat clean, you’ll love these healthy food recipes that pair perfectly with your homemade snacks.
There’s another bonus you might not have considered: sustainability. Every time you make a batch of granola bars, you’re saying no to all that plastic packaging. Plus, you can buy ingredients in bulk, choose organic when it matters to you, and reduce food waste in the process. Speaking of waste, these food waste reduction tips will help you save money and be kinder to the planet while you’re experimenting in the kitchen.
Making granola bars connects you to something deeper than just snacking—it’s about the satisfaction of creating something with your own hands. You know that feeling when you make homemade pasta from scratch and think, “I actually made this”? Same energy, different kitchen project. Once you start making your own bars, you’ll wonder why you ever settled for the store-bought versions. It’s one of those skills that builds confidence and creativity in the kitchen.
What You’ll Learn in This Guide
We’re going to walk through everything you need to know to become a granola bar master. No complicated techniques or fancy equipment required—just straightforward steps that actually work.
- Understanding Ingredients: Learn about the basics like oats, nuts, seeds, and natural sweeteners so you can select the best components for taste and nutrition.
- Step-by-Step Preparation: Follow detailed instructions whether you prefer baked bars for crunchiness or no-bake bars for chewy texture.
- Customization Tips: Discover how to personalize your bars with flavor variations, healthy add-ins, and dietary adjustments to meet your preferences.
- Storage and Shelf Life: Understand how to keep your granola bars fresh, including room temperature, refrigeration, and freezing techniques.
Along the way, we’ll talk about why nutrition matters for your energy levels and overall health. If you’re ready to take your healthy eating seriously, this healthy nutrition plan offers a bigger picture view of how small changes add up. And here’s a pro tip: pair your homemade granola bars with some green tea to maximize the benefits of drinking green tea. It’s a simple habit that supports your wellness goals.
Ready to dive in? You’re about to discover expert tips, creative flavor combinations, and practical advice that’ll have you making better granola bars than anything you can buy. This isn’t just about replacing store-bought snacks—it’s about taking charge of your nutrition and having fun while you do it. These bars work for everything: breakfast on the go, pre-workout fuel, afternoon pick-me-ups, or late-night munchies that won’t derail your health goals.
The best part? Once you master the basics, you can experiment endlessly. Want chocolate chip cookie dough bars? Done. Craving something tropical with coconut and dried mango? Easy. Need a protein-packed version for post-gym recovery? We’ve got you covered. Let’s jump in and start making granola bars that are so good, you’ll never want to go back to the packaged stuff.
So you’ve got the basics down from our introduction—now let’s get into the really fun stuff. Making granola bars at home is like being a mad scientist in your kitchen, except instead of explosions, you get delicious snacks. We’re going to break down what actually makes these bars work, from the humble oat to the sticky magic of honey. Plus, I’ll share some tricks I’ve picked up for customizing them to your exact taste (because who wants boring snacks, right?). By the time we’re done here, you’ll know exactly how to turn simple pantry ingredients into energy-packed bars that put store-bought versions to shame. And yes, we’ll cover storage too—because there’s nothing worse than making perfect bars only to have them go stale the next day.
Essential Ingredients and Their Roles in Granola Bar Making
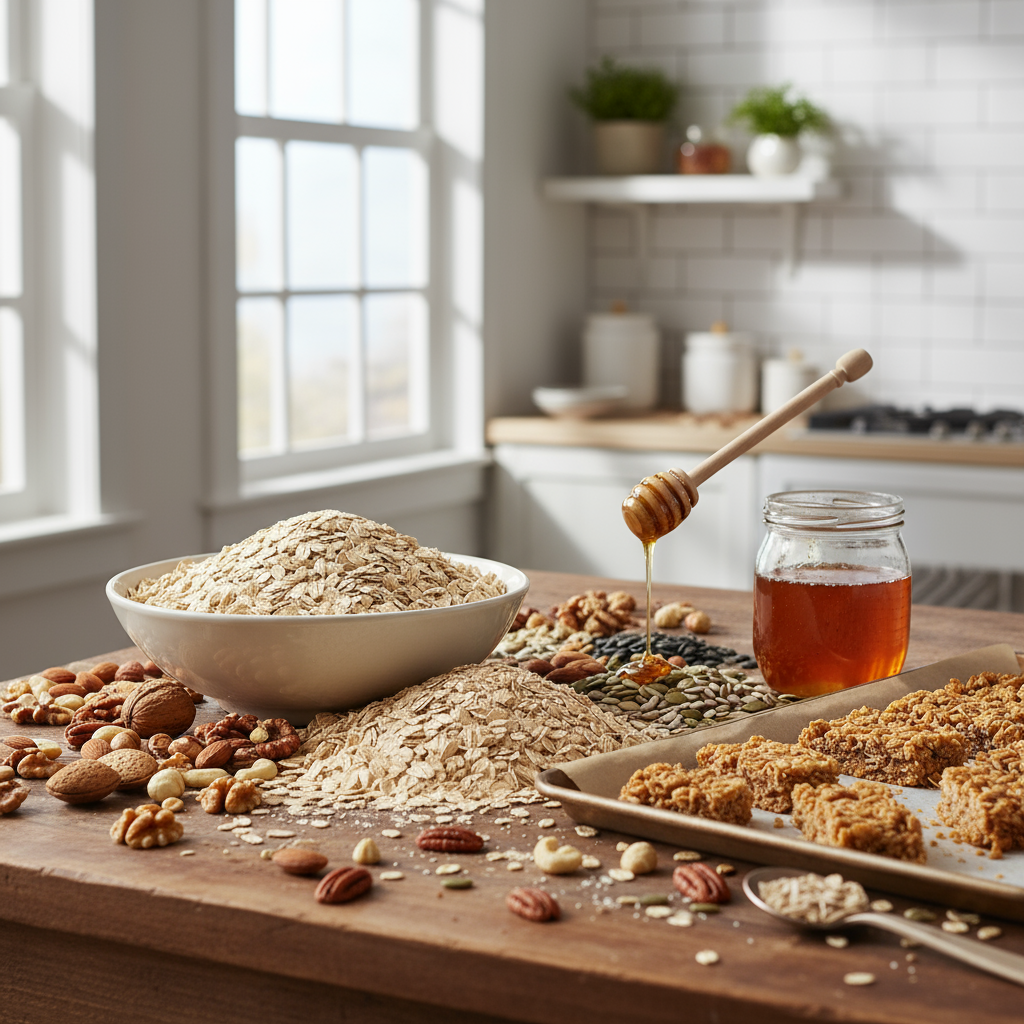
Here’s the thing about granola bars—they’re basically just a bunch of ingredients that learned to play nicely together. Think of rolled oats as your reliable friend who’s always there for you. They’re the backbone of your bars, packed with fiber and the kind of steady energy that won’t leave you crashing an hour later. Now add some nuts and seeds—almonds, walnuts, maybe some chia if you’re feeling fancy—and suddenly you’ve got texture and those healthy fats that actually keep you satisfied. Dried fruits? They’re like nature’s candy, bringing sweetness and that perfect chewy contrast. But here’s where the magic really happens: the binders. Honey, maple syrup, nut butters—these sticky heroes hold everything together while adding layers of flavor that make your taste buds do a little happy dance. Want to go gluten-free or vegan? No problem. Just swap out regular oats for certified gluten-free ones, or trade honey for maple syrup. Easy. If you’re curious about the antioxidant power hiding in many of these ingredients, our guide on foods rich in antioxidants dives deep into why these natural ingredients are nutritional powerhouses.
But wait—we’re just getting started with the fun stuff. This is where you get to play around and make these bars truly yours. Chocolate chips for when you need a little indulgence. Shredded coconut for that tropical vibe. A dash of cinnamon because, honestly, cinnamon makes everything better. Feeling ambitious? Toss in some protein powder or flaxseeds to boost the nutrition factor. The key is understanding how your choices affect the final product. Honey and maple syrup? They’ll give you chewy, slightly sticky bars. Going the no-bake route? You’re relying completely on the natural stickiness of nut butters and syrups to hold things together—no heat required. It’s pretty amazing when you think about it. For more tips on keeping flavors fresh and vibrant (especially when you’re experimenting with herbs and spices), check out our guide to how to preserve herbs—the principles apply beautifully to granola bar making.
Key Components of Granola Bar Ingredients
Let’s break this down so you really understand what each ingredient brings to the party. Trust me, once you get this, recipe customization becomes second nature.
- Rolled Oats as the Base: Think of oats as your foundation—they’re what gives your bars that satisfying, hearty texture. They soak up moisture like little sponges, which helps everything stick together while delivering the kind of slow-burning energy that keeps you going.
- Nuts and Seeds for Texture and Nutrition: This is where things get interesting. Almonds bring crunch, walnuts add richness, and seeds like chia or sunflower pack a serious nutritional punch. Plus, those omega-3s and proteins? They’re what turn a simple snack into something that actually satisfies you.
- Natural Sweeteners and Binders: Here’s your secret weapon—honey, maple syrup, and nut butters do double duty. They sweeten the deal (literally) while acting like edible glue, holding your masterpiece together without any of that processed sugar nonsense.
- Optional Flavor Enhancers and Nutrient Boosters: This is your creative playground. Cinnamon for warmth, vanilla for depth, protein powder for extra muscle fuel, dried cranberries for tartness—mix and match based on what makes you happy. Your bars, your rules.
See how this works? Once you understand what each ingredient does, making granola bars stops being about following a recipe and starts being about creating something that’s perfectly suited to you. Next up, we’re diving into the actual making process—the mixing, the maybe-baking, and the definitely-important storage tips that’ll keep your creations fresh and delicious.
Preparation Techniques and Storage for Delicious Granola Bars
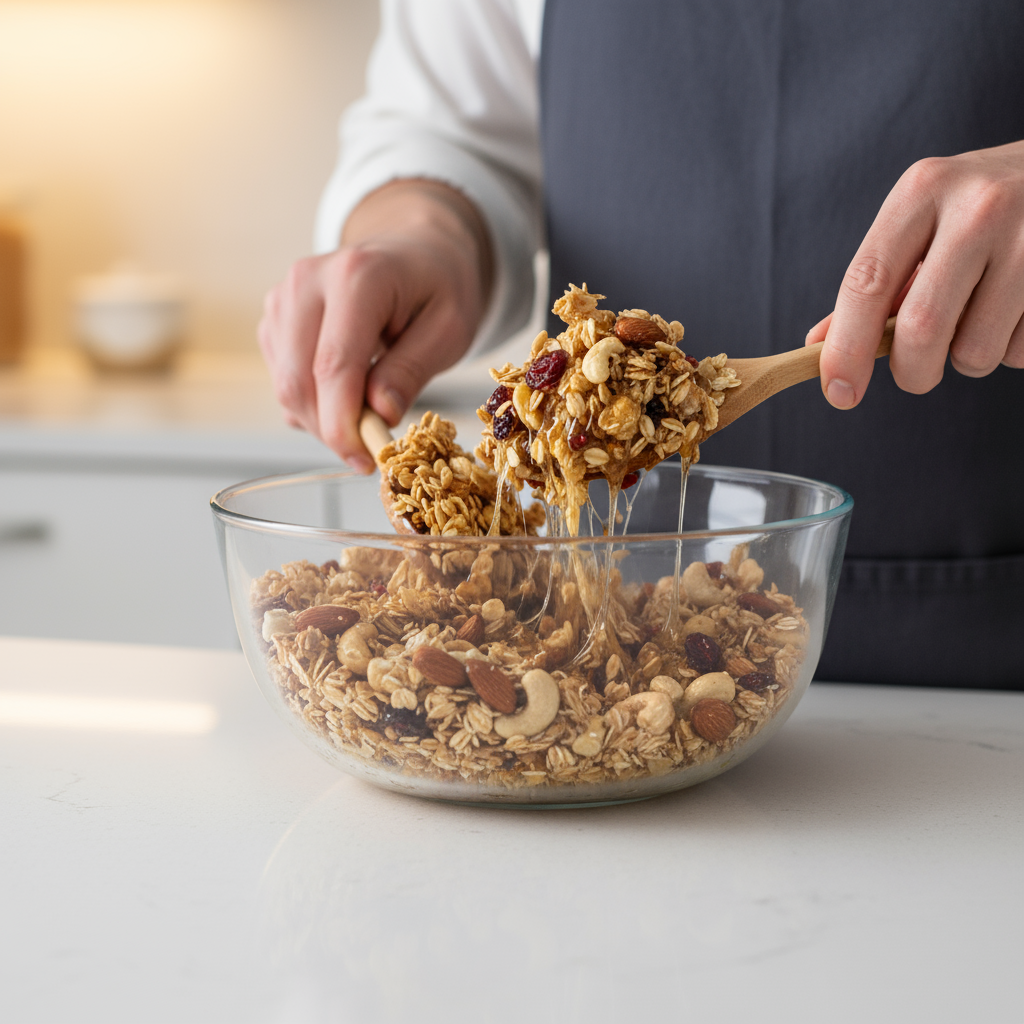
Alright, let’s talk technique. The beauty of homemade granola bars is that you get to choose your own adventure—want them crunchy? Bake them. Prefer chewy and quick? Go no-bake. Either way, it all starts with the mix. You’ve got to get those dry ingredients really friendly with the wet ones—we’re talking thorough, even coating here. No dry pockets allowed, because nobody wants a bite that’s all oats and no sweetness (been there, learned that lesson the hard way). If you’re going the baked route, moderate heat is your friend. It caramelizes those natural sugars and gives you that satisfying firm texture. No-bake fans, you’re relying purely on the sticky power of your nut butters and syrups—and honestly, it’s pretty cool how well this works. The mixing techniques we discuss in our guide on how to make homemade sauces actually apply here too—proper blending is everything.
Now here’s where patience pays off big time. Let those bars cool completely before you even think about cutting them. I know, I know—the waiting is torture when they smell so good. But warm bars are crumbly bars, and crumbly bars are sad bars. Once they’re properly set, grab your sharpest knife and cut clean, even pieces. Your future self will thank you when you’re grabbing a perfectly portioned snack instead of wrestling with irregular chunks. Storage is where you either win or lose the freshness game. Room temperature in an airtight container? You’ve got about a week of perfection. Want to extend that? The fridge is your friend, and the freezer is like hitting the pause button on freshness. Follow these storage rules, and you’ll have reliable, tasty snacks ready whenever hunger strikes.
Key Steps for Successful Granola Bar Preparation and Storage
Let me break down the essential steps that’ll take your granola bars from good to absolutely perfect:
- Mix Ingredients Evenly: This isn’t just stirring—it’s making sure every single piece gets coated with those sticky binders. Uneven mixing means some bites will be dry and others overly sweet. Take your time here; it makes all the difference.
- Choose Baking vs No-Bake Method: Baking gives you that satisfying crunch and develops deeper, caramelized flavors—perfect if you like a bit of bite to your bars. No-bake is all about convenience and that soft, chewy texture that’s ready in minutes.
- Allow Bars to Cool Completely: Seriously, this is non-negotiable. Cutting warm bars is like trying to slice jelly—you’ll end up with a crumbly mess instead of neat, Instagram-worthy pieces. Patience here equals perfect bars.
- Store Properly for Maximum Freshness: Airtight containers are your best friend—they keep moisture in and staleness out. Room temperature works for a week, but the fridge or freezer extends that timeline significantly. Plan ahead and you’ll always have snacks ready.
There’s something magical about making granola bars at home. You get to control every single ingredient—rolled oats, your favorite nuts, seeds, and natural sweeteners like honey or maple syrup. No mysterious additives or preservatives. Just wholesome ingredients that actually fuel your body. And here’s the best part: you can make them exactly how you like them. Want them crunchy? Bake them. Prefer chewy? Go no-bake. It’s your call.
The process itself? Pretty straightforward, but there are a few tricks that make all the difference. Mix those dry and wet ingredients thoroughly—I mean really get in there and make sure everything’s coated evenly. This is what keeps your bars from falling apart later. Then comes the hardest part: waiting. Let them cool completely before you cut them. Trust me on this one. I know it’s tempting to dive right in, but patience pays off with perfect, intact bars every time.
Here’s where things get fun—customization is everything. Want more protein? Toss in some protein powder. Craving something fruity? Dried cranberries or chopped dates work beautifully. Need them gluten-free or vegan? Easy fixes that don’t compromise on taste. You’re basically creating your own personal energy bar that beats anything you’ll find in the store. And let’s be honest—you know exactly what’s in them.
Ready to expand your healthy cooking game? Check out our guide on best healthy food recipes for more kitchen inspiration. If you’re planning to add fresh herbs to your bars (yes, it’s a thing!), you’ll want to read our tips on how to preserve herbs. Looking to boost the nutritional punch? Our guide to foods rich in antioxidants has ingredients that pair perfectly with homemade snacks. And if you’re ready to overhaul your entire approach to eating well, this healthy nutrition plan is gold.
So go ahead—embrace the satisfaction of making something delicious with your own hands. Your homemade granola bars will become that reliable snack you reach for when you need real energy, not a sugar crash. Quality ingredients, a little care in preparation, and proper storage will give you treats that taste better and fuel you better than anything from a package. Your future self will thank you for taking the time to do this right.
Frequently Asked Questions
-
Can I make granola bars without baking?
- Yes, no-bake granola bars use natural binders like peanut butter and honey to set without heat, making them quick and chewy.
-
How can I make my granola bars less sweet?
- Reduce the amount of sweeteners or substitute with natural options like mashed bananas to lower sugar content.
-
What is the best way to store homemade granola bars?
- Store them in an airtight container at room temperature for up to a week, or refrigerate/freezer for longer shelf life.
-
Can I use gluten-free oats?
- Yes, gluten-free oats are a great alternative for those with gluten sensitivities or dietary restrictions.
-
How do I prevent granola bars from being too crumbly?
- Ensure thorough mixing of all ingredients and allow bars to cool completely before cutting for firm, intact bars.