Table of Contents
Introduction
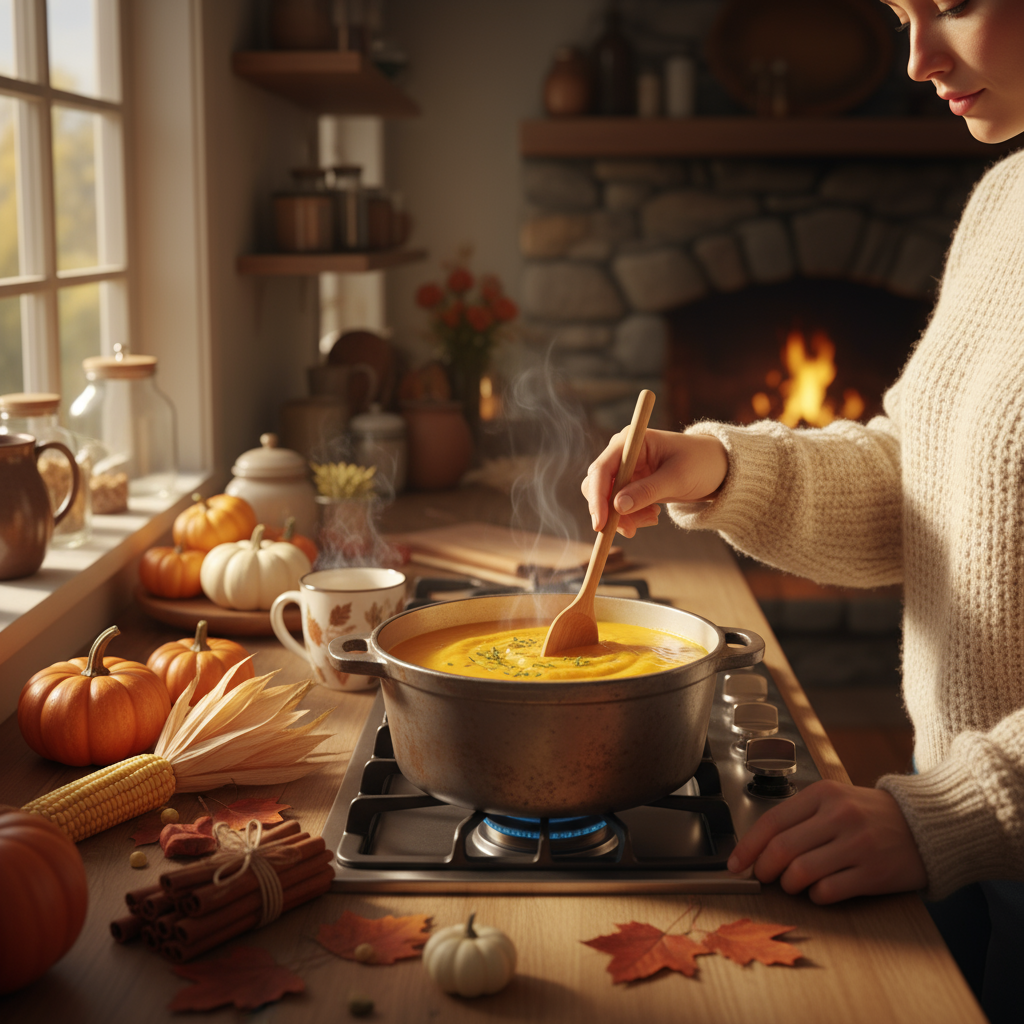
There’s something magical about baking your own bread at home. Picture this: you walk into your kitchen and catch that incredible aroma of fresh bread wafting from the oven. Golden, fluffy, and made entirely by your own hands. Whether you’re already comfortable in the kitchen or you’re just getting started, homemade bread delivers a satisfaction that store-bought loaves simply can’t match.
More people are getting back to basics these days, taking control of what goes into their food. And honestly? Bread is the perfect place to start. When you make it from scratch, you know exactly what’s in there—no weird preservatives, no unpronounceable ingredients. Plus, you can tweak it however you want. Understanding the basics of homemade food preparation gives you a solid foundation for tackling all kinds of recipes that actually fit your taste and lifestyle.
Here’s what I love about bread making—it’s not just about the end result. Sure, that warm loaf is amazing. But the whole process? That’s where the real magic happens. You’ll learn to feel when the dough is just right, understand how yeast works its magic, and master the art of perfect timing. Getting comfortable with things like hydration levels, gluten development, and proofing times will save you from those “why didn’t this work?” moments. (We’ve all been there.) And if you want to get creative, exploring skills like preserving herbs can add some seriously delicious twists to your loaves.
But bread making goes deeper than just kitchen skills. When you bake your own bread, you’re making a choice about how you want to eat and live. You’re stepping away from processed foods and embracing something more intentional. It’s part of a bigger picture that includes better nutrition and more sustainable living. If you’re interested in making healthier choices overall, resources on nutritious food choices can help round out your culinary knowledge.
What You’ll Learn in This Guide
We’re going to walk through everything together—and I mean everything. From picking the right flour to pulling that perfect loaf from the oven, this guide has you covered no matter where you’re starting from.
- Understanding the Basics: We’ll start with the essentials—what flour to buy, how yeast actually works, and which tools you really need (spoiler: probably fewer than you think). No overwhelming ingredient lists or fancy equipment required.
- Step-by-Step Bread Making: I’ll walk you through each stage, from mixing your first batch of dough to nailing those tricky rising times. You’ll learn the secrets to getting that perfect texture inside and that gorgeous crust outside—plus how to actually tell when your bread is done.
- Troubleshooting Common Problems: Dense bread? Loaf that didn’t rise? Burnt bottom? We’ll figure out what went wrong and how to fix it next time. Think of this as your bread-making safety net.
- Storing and Serving: Learn how to keep your homemade bread fresh for days (not hours), plus some creative ways to serve it that’ll make everyone think you’re a culinary genius.
If you really catch the bread-making bug, we’ll also talk about when it might be worth taking a class or getting some hands-on guidance. Bread making is both art and science, and there’s always more to learn if you want to keep growing your skills.
Ready to dive in? We’re going to cover everything you need to bake with confidence and actually enjoy the process. Whether you’re aiming for simple sandwich bread or those Instagram-worthy artisan loaves, this guide will get you there. And trust me—once you taste homemade bread, you’ll wonder why you waited so long to try it.
Before we jump into the nitty-gritty details, it’s worth checking out some foundational baking knowledge. Resources like baking recipes for beginners can give you extra confidence and help you understand the bigger picture. When you combine that knowledge with what you’ll learn here, you’ll be set up for bread-making success from day one.

So you’ve caught the homemade bread bug? Perfect. Now let’s roll up our sleeves and get into the really good stuff—the ingredients that make magic happen, the gear that makes life easier, and those little techniques that separate okay bread from absolutely incredible bread. Here’s the thing about baking bread at home: it’s not just rewarding (though trust me, your kitchen will smell amazing). You get to control exactly what goes into your loaves, experiment with wild flavor combinations, and honestly? There’s something deeply satisfying about pulling a golden loaf from your own oven. Whether you’re just starting out or you’ve been at this for a while, we’re going to walk through everything you need to know—from the moment you measure that first cup of flour to the satisfying thud of perfectly baked bread.
Essential Ingredients and Their Roles in Homemade Bread
Let’s talk ingredients. You might think bread is complicated, but here’s the beautiful truth—you only need four basic things to make incredible bread. Flour, yeast, water, and salt. That’s it. But (and this is important) each one has a job to do, and understanding these roles? That’s your secret weapon. Flour gives you structure through something called gluten development—think of it as the framework that holds everything together. Yeast is your tiny army of workers, chomping away and creating those bubbles that make your dough rise. Water brings it all to life, hydrating the flour and waking up that yeast. And salt? Don’t skip the salt. It’s not just for flavor—it keeps your yeast from going completely wild and helps create that gorgeous golden crust. Want to get fancy? You can play around with sugars for sweetness or add fats for richness. For those curious about how ingredient quality really impacts your final loaf, checking out resources on organic versus non-organic food can open your eyes to how much difference quality ingredients make.
Now, here’s where things get real: measuring matters. A lot. And freshness? Even more. You can have the perfect technique, but if your yeast is dead or your flour is stale, you’re fighting an uphill battle. High-protein bread flour is your friend here—it builds better gluten structure than all-purpose flour. Fresh yeast needs to be handled properly (it’s alive, after all), and even active dry yeast has its preferences. Running low on something? Don’t panic. Most ingredients have substitutions, but know that each swap changes your final result. My advice? Start simple. Master a basic recipe that showcases these fundamentals, then start having fun with additions like herbs or seeds. The texture and flavor possibilities are endless once you nail the basics.
Key Ingredients and Their Baking Functions
Think of these as your bread-making dream team. Once you understand what each player brings to the table, troubleshooting becomes second nature and creativity flows:
- Flour: Bread flour is king here, thanks to its higher protein content. More protein means stronger gluten development, which gives you that perfect chewy texture. Different flours create completely different personalities in your bread—whole wheat adds nuttiness, rye brings earthiness. Experiment and see what speaks to you.
- Yeast: Your little fermentation powerhouse. Active dry yeast and instant yeast are the usual suspects, but they each have their quirks. Active dry needs to be dissolved first, while instant can go straight into your flour. Either way, treat them gently—they’re doing all the heavy lifting.
- Water: More than just moisture, water is what transforms flour into dough and gives yeast the environment it needs to thrive. Temperature matters here—too hot and you’ll kill your yeast, too cold and nothing happens. Think comfortably warm, like a perfect bath.
- Salt: The unsung hero. Not only does it make everything taste better, but it also acts as yeast’s manager—keeping fermentation at just the right pace and helping create that beautiful crust color we all love.
With your ingredient knowledge locked down, let’s talk tools and techniques. Because having the right equipment and knowing how to use it? That’s what turns potentially frustrating attempts into smooth, enjoyable baking sessions that actually work.
Equipment Essentials and Step-by-Step Bread Making Techniques
Equipment talk time. You don’t need a fancy kitchen to make amazing bread, but having the right tools makes everything smoother. Think of it this way—you could dig a hole with a spoon, but wouldn’t you rather have a shovel? Basic essentials include good mixing bowls, a dough scraper (seriously, get one—it’ll change your life), and something to bake in, whether that’s a loaf pan or a baking stone. A kitchen scale is worth its weight in gold for consistent results. You can absolutely measure by volume, but weight is where precision lives. Starting out? Get the basics and add to your collection as you fall deeper down the bread-baking rabbit hole. For anyone wanting to see how the pros approach these fundamentals, resources on baking recipes for beginners offer practical wisdom that bridges the gap between home and professional techniques.
The actual process is like a dance with six main steps: mixing, kneading, first rise, shaping, second rise, and baking. Sounds straightforward, right? Each stage has its own personality and timing. Your dough will tell you when it’s ready to move forward—you just need to learn its language. Temperature and humidity play supporting roles here, sometimes speeding things up, sometimes slowing them down. That’s normal. Steam during the first few minutes of baking creates an incredible crust, and knowing when your bread is done (the hollow tap test is real) prevents both underbaked disappointment and overdone disasters. Patience and practice are your best friends here—every loaf teaches you something new.
Essential Equipment and Techniques for Perfect Bread
Master these fundamentals and you’ll have the foundation for bread-baking success. Here’s your roadmap to consistently great results:
- Mixing and Kneading: This is where gluten magic happens. Traditional kneading works great, but try the stretch-and-fold method if your arms get tired—it’s gentler and often produces even better texture. Your dough should go from shaggy mess to smooth and elastic. When it can stretch thin without tearing, you’re golden.
- First Rise (Fermentation): Find a cozy spot for your dough—warm but not hot, draft-free and peaceful. The dough should roughly double in size, but more importantly, it should feel light and airy when you gently poke it. Time varies wildly depending on temperature, so trust your eyes and hands more than the clock.
- Shaping and Second Rise (Proofing): Handle your risen dough like the delicate beauty it is. Gentle shaping preserves all those lovely air bubbles while giving you the loaf shape you want. The second rise is shorter but crucial—this is what creates that perfect crumb structure. Over-proof and your bread gets flat and dense. Under-proof and it’s tight and heavy.
- Baking: Hot oven, steam at the start, then let that crust develop. A baking stone holds heat beautifully, but a heavy pot or even a regular baking sheet works too. That hollow sound when you tap the bottom? That’s the sound of success. An instant-read thermometer takes the guesswork out—internal temperature should hit around 190-200°F.

There’s something magical about baking your own bread—it’s part art, part science, and definitely requires a healthy dose of patience. But wow, is it worth it. We’ve covered all the essentials here: how flour, yeast, water, and salt work together (they’re like a tiny team in your kitchen), plus the equipment that’ll make your life easier. Once you get the hang of kneading, letting things rise, shaping, and that final bake? You’ll have gorgeous, fragrant loaves coming out of your oven that smell like pure heaven.
Here’s what I’ve learned from years of bread making: good measuring, fresh ingredients, and paying attention to timing will save you so much frustration. The step-by-step process we walked through—mixing dough, watching it rise, shaping it just right, then baking with proper heat and steam—that’s your recipe for success. And here’s a game-changer: learn to “read” your dough instead of watching the clock like a hawk. Your dough will tell you when it’s ready. Those troubleshooting tips for dense loaves or sluggish rises? Keep them handy. Trust me, every baker needs them.
Ready to take things up a notch? Start exploring how to preserve herbs—nothing beats fresh herbs mixed into warm bread dough. You might also want to dig into organic versus non-organic food because ingredient quality really does make a difference in your final loaf. If you’re feeling ambitious, learning to make homemade pasta uses similar techniques and will boost your confidence in the kitchen. And for the bigger picture? A solid healthy nutrition plan supports all your home cooking adventures, bread included.
You’ve got everything you need now to enjoy this whole experience—from watching dough come alive in your hands to sharing warm slices with people you care about. The best part about bread baking? It’s as much about the process as the final result. Don’t be afraid to experiment. Be patient with yourself (we all have learning curves). Let your taste buds guide you. And when you’re looking for more inspiration, check out our best healthy food recipes to keep your meals interesting and nutritious. Now go make some bread magic happen!
Frequently Asked Questions
-
What type of flour is best for homemade bread?
- All-purpose and bread flour are commonly used. Bread flour, with its higher protein content, develops more gluten for chewier texture, while all-purpose flour offers versatility.
-
Can I make bread without yeast?
- Yes, you can use baking soda or baking powder for quick breads, which don’t require fermentation time but result in different textures and flavors from yeast bread.
-
How long does homemade bread last?
- Generally, homemade bread lasts 2-3 days at room temperature. Refrigeration or freezing can extend its freshness significantly.
-
Why is my bread dense?
- Common causes include insufficient kneading, inadequate rise time, or using old yeast. Adjusting these factors usually improves texture.
-
Can I add ingredients like herbs or seeds?
- Absolutely! Adding herbs, seeds, nuts, or dried fruits enhances flavor and texture, making your bread more interesting and unique.