Instant Pot Yogurt: Expert Guide to Homemade Creamy Perfection
Making yogurt at home has never been easier than with an Instant Pot. This electric pressure cooker revolutionizes the yogurt-making process by maintaining precise temperatures and eliminating the guesswork that traditional methods require. Whether you’re a seasoned home cook or just starting your culinary journey, mastering Instant Pot yogurt opens up endless possibilities for quick breakfast recipes and nutritious snacks. The beauty of this method lies in its simplicity—no special equipment, no complicated temperature monitoring, just fresh, creamy yogurt ready in your kitchen.
The Instant Pot’s yogurt setting was specifically designed with this fermentation process in mind. Unlike stovetop methods that require constant attention or yogurt makers that take up valuable counter space, your Instant Pot does all the heavy lifting. You’ll achieve consistent results every single time, with control over thickness, tartness, and flavor profiles. This guide will walk you through everything you need to know about creating restaurant-quality yogurt at home, from selecting the right milk to troubleshooting common issues.
Why Make Yogurt in Your Instant Pot
Creating yogurt in an Instant Pot offers numerous advantages over traditional methods. The primary benefit is temperature precision—yogurt cultures thrive in a very specific temperature range (typically 110°F), and the Instant Pot maintains this consistently throughout the fermentation process. This consistency translates to fewer failed batches and more predictable results.
Beyond reliability, homemade yogurt allows you complete control over ingredients. Commercial yogurts often contain additives, preservatives, and excess sugar that you can eliminate entirely. When you make your own, you know exactly what goes into every spoonful. This makes it perfect for those following gluten and dairy free recipes or maintaining specific dietary preferences.
The cost-effectiveness cannot be overlooked either. A single batch uses just one or two dollars’ worth of milk to produce multiple servings of yogurt that might cost three to four times that amount at grocery stores. For families who consume yogurt regularly, this method pays for itself within weeks. Additionally, homemade yogurt pairs beautifully with low-carb dinner recipes as a protein-rich side or topping.
Essential Ingredients and Equipment
You’ll be surprised at how few ingredients you actually need to make excellent yogurt. The foundation starts with milk—whole milk produces the creamiest results, but you can use 2% or even skim milk if you prefer a lighter version. Some yogurt makers use specialty ingredients like poultry seasoning recipe techniques for savory yogurt variations, though traditional sweet yogurt requires just milk and cultures.
The second essential ingredient is a yogurt starter culture. You can use store-bought plain yogurt containing live active cultures (look for varieties with multiple bacterial strains), or purchase dedicated yogurt starter cultures from online retailers. A quality starter makes an enormous difference in final flavor and texture. Some popular options include Bulgarian cultures for tangier results or milder cultures for creamier, less sour yogurt.
For equipment, you’ll need:
- An Instant Pot (6-quart or 8-quart models work equally well)
- A cooking thermometer for monitoring milk temperature
- Clean glass jars or containers for storage
- A fine-mesh strainer (if making Greek-style thick yogurt)
- Cheesecloth or coffee filters (optional, for straining whey)
- Measuring cups and spoons
The Instant Pot’s yogurt button eliminates the need for separate yogurt makers, making this an incredibly accessible project for home cooks. If you’re also interested in expanding your cooking skills, exploring breaded chicken recipe techniques can complement your culinary repertoire.
Step-by-Step Instant Pot Yogurt Recipe
Ingredients:
- 1 half-gallon (64 ounces) whole milk
- 2-3 tablespoons plain yogurt with live active cultures (or 1 packet yogurt starter)
- Optional: 2-3 tablespoons powdered milk for extra creaminess
Instructions:
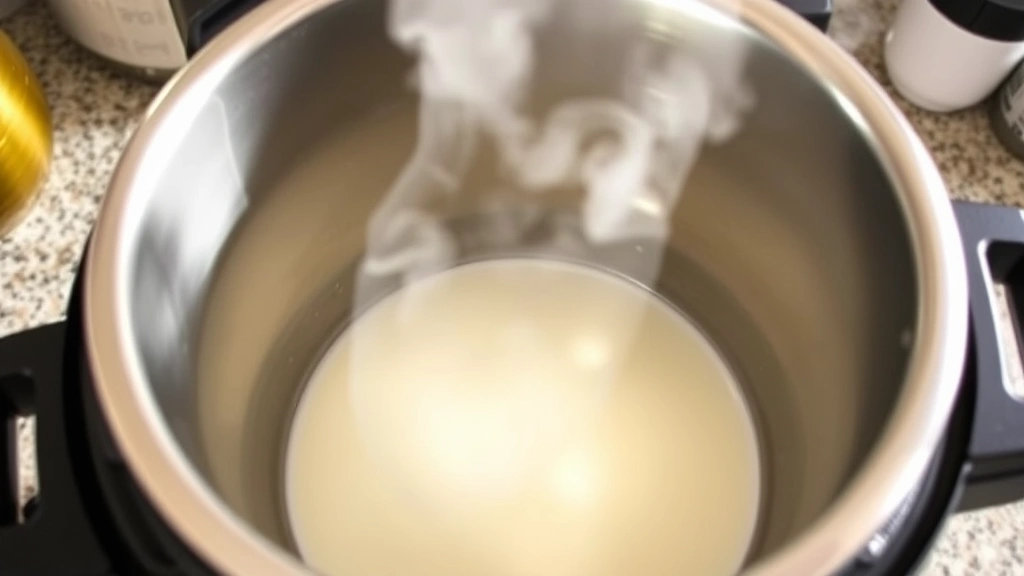
- Heat the Milk: Pour milk into the Instant Pot inner pot. Close the lid and press the “Yogurt” button, then select “Boil.” This will heat the milk to 180°F, which pasteurizes it and improves yogurt texture. This step takes approximately 30 minutes. You’ll hear a beep when complete.
- Cool the Milk: Once heating finishes, carefully remove the inner pot and let it cool to 110°F. This is crucial—adding starter culture to milk that’s too hot will kill the beneficial bacteria. Use a cooking thermometer to check temperature. This cooling phase typically takes 30-45 minutes. You can speed this up by placing the pot in an ice bath.
- Prepare the Starter: While milk cools, remove your yogurt starter from the refrigerator. In a small bowl, combine 2-3 tablespoons of the cooled milk (once it reaches 110°F) with your starter culture. Whisk thoroughly until smooth and completely dissolved. This step prevents lumps and ensures even distribution of cultures throughout the batch.
- Combine Starter with Milk: Pour the starter mixture back into the pot of cooled milk. Stir slowly and gently for about one minute, using an up-and-down motion rather than circular stirring. This distributes cultures evenly without incorporating excess air.
- Begin Fermentation: Return the inner pot to the Instant Pot. Close the lid, press “Yogurt,” then select the desired fermentation time. Press start. The Instant Pot will maintain temperature automatically throughout fermentation.
- Ferment: Leave undisturbed for the selected time. Do not open the lid during this period, as temperature fluctuations can affect results.
- Chill and Set: After fermentation, refrigerate for at least 4 hours or overnight. The yogurt will continue to set and thicken as it cools. This resting period is essential for achieving the proper texture.
The entire process from start to finish takes approximately 12-15 hours when accounting for heating, cooling, fermentation, and chilling. However, most of this time is hands-off, allowing you to focus on other activities or meal preparation.
Temperature Control and Fermentation Times
Understanding fermentation temperature and duration is key to customizing your yogurt. The Instant Pot maintains temperatures between 108-110°F during the yogurt setting, which is ideal for most yogurt cultures. This narrow temperature range prevents cultures from becoming dormant or overheating.
Fermentation Duration Guide:
- 4-6 hours: Produces mild, creamy yogurt with subtle tang. Best for those who prefer less sour flavors.
- 8-10 hours: Creates balanced flavor with moderate tartness. This is the most popular range for general consumption.
- 12-24 hours: Develops distinctly tangy, Greek-style yogurt with strong probiotic content. Ideal for those seeking maximum health benefits.
Temperature precision matters enormously. If your kitchen is particularly cold, the Instant Pot’s heating function keeps the environment stable. In very warm kitchens, the yogurt setting automatically cycles the heating element on and off to maintain target temperature. This sophisticated temperature management is what makes the Instant Pot superior to traditional methods.
For Greek-style yogurt, follow the basic recipe but use the longer fermentation time (12-24 hours), then strain through cheesecloth for 4-8 hours to remove whey. This creates an incredibly thick, creamy product that’s perfect for Greek recipes and Mediterranean-inspired dishes.
Flavor Variations and Mix-Ins
Once you’ve mastered basic yogurt, endless flavor possibilities await. The beauty of homemade yogurt is that you control sweetness and flavoring entirely. Add ingredients after fermentation is complete—never add them before, as sugar and flavoring agents can interfere with culturing.
Popular Flavor Combinations:
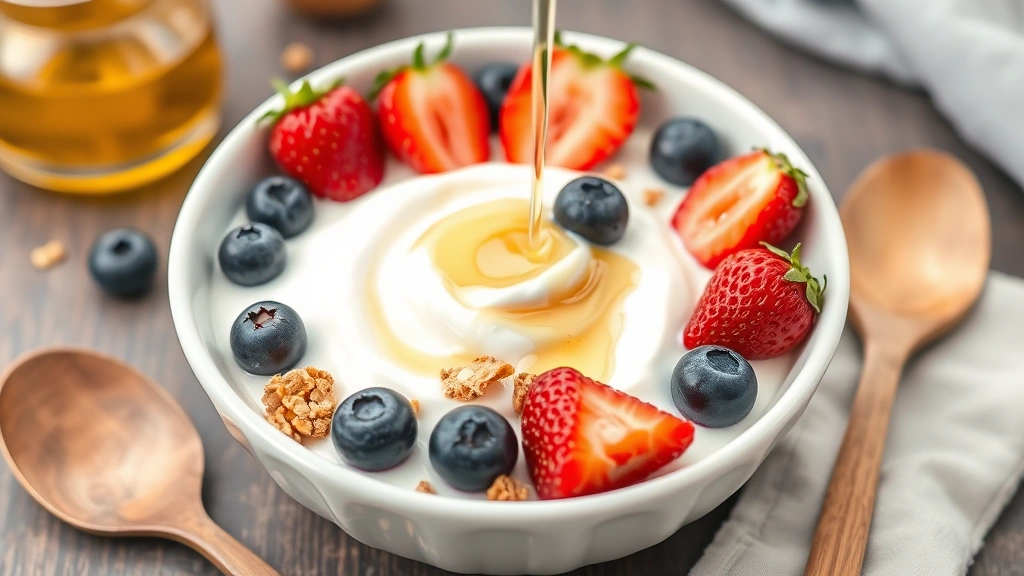
- Vanilla Honey: Stir in 1-2 teaspoons vanilla extract and 2 tablespoons honey per quart of finished yogurt.
- Berry Bliss: Blend fresh or frozen berries with a touch of agave, then swirl into yogurt.
- Maple Cinnamon: Combine 2 tablespoons maple syrup with 1/4 teaspoon cinnamon per quart.
- Coconut Tropical: Mix in shredded coconut and a splash of coconut extract for island-inspired flavor.
- Granola Crunch: Layer yogurt with homemade or store-bought granola for texture contrast.
- Jam Swirl: Add your favorite jam (about 2-3 tablespoons per quart) and swirl gently with a knife.
You can also create savory yogurt variations for use in dips, sauces, and dressings. Mix in fresh herbs like dill, parsley, or cilantro along with garlic and lemon juice for a versatile accompaniment to countless dishes. Some creative cooks even incorporate yogurt into breaded chicken recipe marinades for added tenderness and tang.
For those interested in expanding their culinary repertoire, yogurt serves as an excellent base for international dishes. Greek yogurt works beautifully in Mediterranean preparations, while strained yogurt can substitute for sour cream or cream cheese in many applications.
Storage and Shelf Life
Proper storage ensures your homemade yogurt remains fresh and maintains its beneficial probiotic cultures. Store finished yogurt in clean, airtight glass containers in the coldest part of your refrigerator, typically the back of a shelf rather than the door. Temperature fluctuations from the door opening and closing can degrade cultures over time.
Shelf Life Guidelines:
- Regular yogurt: 1-2 weeks when properly refrigerated
- Greek-style strained yogurt: 2-3 weeks due to lower moisture content
- Flavored yogurt: 1-2 weeks (added ingredients like fruit may shorten shelf life)
Always check for signs of spoilage before consuming. Off smells, unusual colors, or visible mold indicate the yogurt should be discarded. Keep a small portion of your finished yogurt as a starter culture for your next batch. Store this starter in a separate, clearly labeled container and use within two weeks for best results.
If you make yogurt regularly, consider maintaining a perpetual starter culture by reserving 2-3 tablespoons from each batch. This reduces your dependence on commercial starters and often produces increasingly flavorful yogurt over successive generations. However, every 5-6 batches, refresh your culture with fresh commercial starter to maintain optimal bacterial diversity and prevent culture degradation.
Common Problems and Solutions
Yogurt Too Thin: Thin yogurt usually results from insufficient fermentation time, starter culture that’s too old, or milk that wasn’t heated to 180°F initially. Increase fermentation time by 2-4 hours and ensure your starter is fresh. Adding 2-3 tablespoons of powdered milk per batch also increases thickness.
Yogurt Too Sour: Extended fermentation produces tangier yogurt. If your result is unpleasantly sour, reduce fermentation time by 2-4 hours in your next batch. Using milder starter cultures also produces less acidic results. Some people find that Bulgarian cultures create more sourness than mesophilic cultures.
Yogurt Won’t Set: This typically indicates culture failure. Verify your starter is fresh (check expiration dates), ensure milk reached 180°F during heating, and confirm it cooled to exactly 110°F before adding cultures. Cultures die if exposed to temperatures above 115°F, so patience during cooling is essential.
Separation or Whey Pooling: Some whey separation is normal and actually desirable—it contains beneficial whey protein. Simply stir it back in, or drain it for Greek-style yogurt. Excessive separation might indicate the milk wasn’t heated hot enough or the fermentation temperature fluctuated.
Lumpy Texture: Lumps usually result from starter culture not being properly dissolved before adding to milk. Always whisk your starter with a small amount of cooled milk first to create a smooth slurry before combining with the full batch.
Contamination or Off-Flavors: Ensure all equipment is thoroughly cleaned and sanitized before use. Even small amounts of soap residue can inhibit cultures. Use hot water and vinegar to rinse, or run glass jars through a dishwasher on the hot setting.
FAQ
Can I use non-dairy milk for Instant Pot yogurt?
Yes, but results vary significantly. Coconut milk, oat milk, and soy milk can work, though they may not set as firmly as dairy milk. Add 2-3 tablespoons of powdered coconut or oat milk powder to improve texture. Non-dairy milks often require slightly longer fermentation times.
How many times can I reuse starter culture from my previous batches?
You can typically reuse yogurt as starter for 5-8 consecutive batches before culture degradation becomes noticeable. After that, refresh with commercial starter to maintain quality. Each generation may develop slightly different flavor profiles.
Is homemade yogurt safe if I’m pregnant or immunocompromised?
Yogurt made at proper fermentation temperatures is safe because the acidic environment and beneficial bacteria prevent pathogenic growth. However, those with compromised immune systems should consult healthcare providers. Always use pasteurized milk and maintain sterile equipment.
Can I make yogurt using ultra-pasteurized milk?
Ultra-pasteurized milk can work but often produces thinner yogurt because the heating process damages milk proteins. Regular pasteurized whole milk produces superior results. If using ultra-pasteurized milk, add powdered milk for better texture.
What’s the difference between yogurt and Greek yogurt?
Greek yogurt is strained yogurt with whey removed, creating a thicker, creamier product with higher protein content. Regular yogurt contains whey, making it thinner and more pourable. Both are made identically in the Instant Pot; the difference is post-fermentation straining.
Can I add honey or sweetener before fermentation?
No—sugar and sweeteners can inhibit bacterial cultures during fermentation. Always add sweeteners and flavorings after fermentation is complete. This ensures cultures work effectively and prevents culture failure.
How do I know when my yogurt is done fermenting?
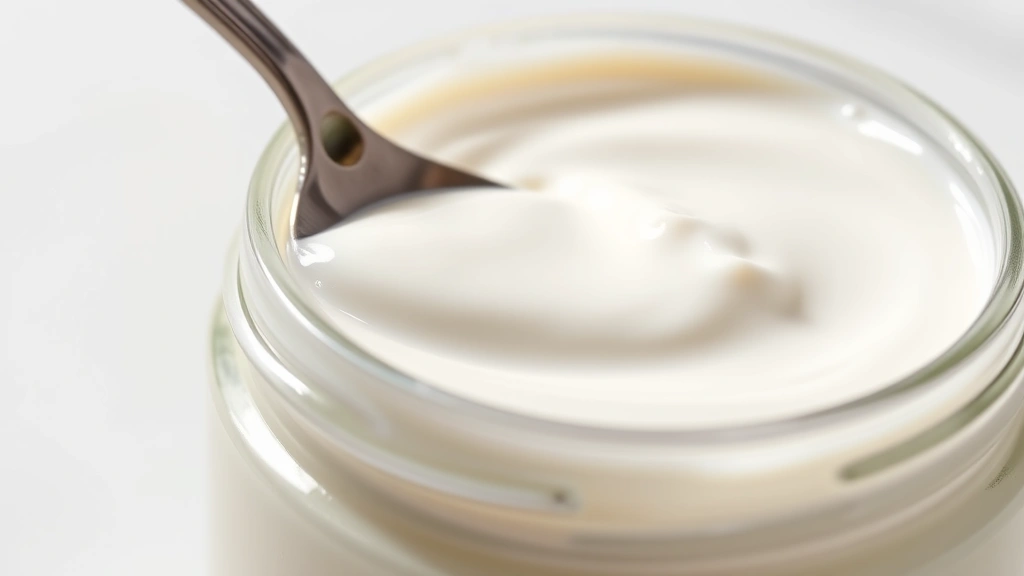
When properly set, yogurt should coat a spoon and have a slight jiggle when you move the container. The surface might show some whey pooling, which is normal. Taste a small spoonful to assess tartness—adjust fermentation time for future batches based on preference.
Is homemade yogurt more nutritious than store-bought?
Homemade yogurt typically contains the same probiotic cultures as quality store-bought versions, assuming you use good starter cultures. The advantage is controlling ingredients and avoiding additives. The nutritional content depends primarily on the milk used.
Can I make yogurt if my Instant Pot doesn’t have a yogurt button?
Older Instant Pot models without dedicated yogurt settings can still make yogurt using the slow cooker function or by manually controlling temperature with a heating element. However, the yogurt button’s precise temperature control makes results far more consistent and reliable.


