Fluffy Marshmallows Made Easy! Beginner’s Guide
Making marshmallows at home might seem intimidating, but it’s actually one of the most rewarding confections you can create in your kitchen. Unlike store-bought versions that sit on shelves for months, homemade marshmallows are light, airy, and taste infinitely better. With just a few basic ingredients and straightforward techniques, you’ll be whipping up clouds of fluffy goodness that will impress family and friends.
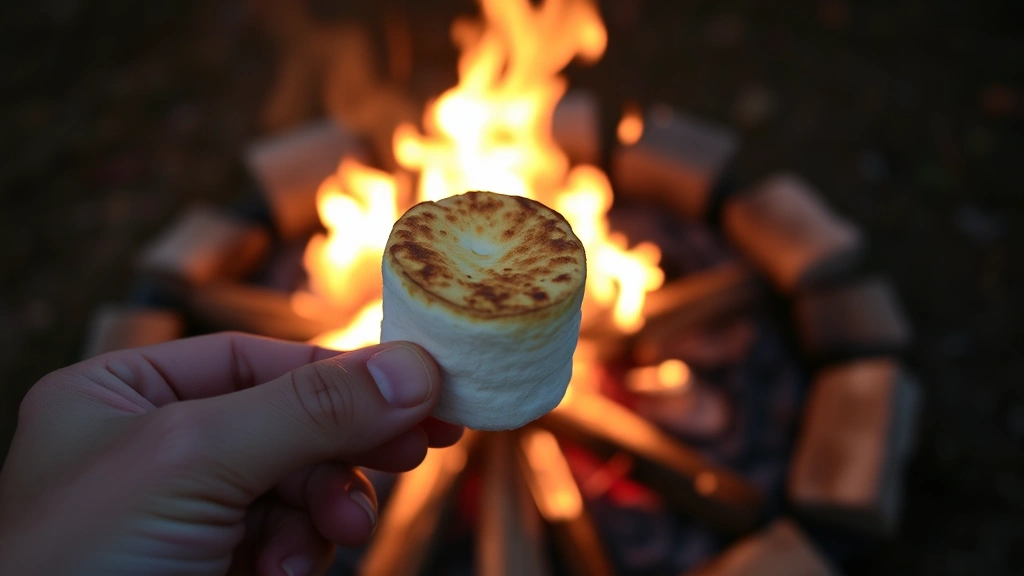
This beginner’s guide walks you through every step of creating perfect marshmallows, from understanding the science behind them to mastering the whipping technique that creates that signature fluffy texture. Whether you want to enjoy them plain, dipped in chocolate, or toasted over a campfire, you’ll discover that making marshmallows is easier than you think.
Understanding Marshmallow Basics
Marshmallows are essentially sweetened foam—a delicate structure of air bubbles trapped in gelatin and whipped egg whites. The magic happens when you whip the ingredients together, incorporating thousands of tiny air pockets that give marshmallows their characteristic light, spongy texture. Understanding this fundamental structure helps you appreciate why each step matters and what happens when something goes wrong.
The history of marshmallows is fascinating. Originally, they were made from the marshmallow plant’s root sap, which had a sticky, spongy quality. Today, we’ve simplified the process using gelatin and cornstarch, but the principle remains the same: create a stable foam that holds its shape while maintaining an incredibly light, melt-in-your-mouth quality.
When you make marshmallows from scratch, you control every element. You decide how sweet they are, what flavors go into them, and how firm or fluffy they become. This is why homemade marshmallows taste so different from commercial versions—they’re fresher and made with intention.
Essential Ingredients Explained
Creating perfect marshmallows requires understanding what each ingredient does. Unlike making homemade sauces, marshmallow making relies on precise ingredient ratios for that fluffy texture.
Gelatin: This is your structural foundation. Unflavored gelatin creates the gel matrix that holds all those air bubbles in place. It’s essential for giving marshmallows their signature bounce and firmness. Make sure you’re using unflavored gelatin, not the sweetened kind used for desserts.
Egg Whites: These are what get whipped into a meringue, creating the foam structure. The proteins in egg whites denature when whipped, trapping air and creating volume. Fresh, room-temperature egg whites whip more efficiently than cold ones.
Powdered Sugar: This dissolves smoothly into the mixture without the graininess that regular sugar might create. It sweetens the marshmallows while contributing to the texture.
Cornstarch and Powdered Sugar Coating: This dual coating prevents marshmallows from sticking together while adding a pleasant textural contrast to the exterior. The cornstarch absorbs moisture that the marshmallow naturally releases.
Vanilla Extract: This flavoring agent is optional but highly recommended. It adds depth and complexity to the pure sweetness of the marshmallows.
Salt: Just a pinch enhances all the other flavors and balances the sweetness beautifully.
Equipment You’ll Need
Having the right tools makes the marshmallow-making process smooth and enjoyable. You don’t need anything exotic or expensive, just reliable equipment that does its job well.
- Stand Mixer or Hand Mixer: This is non-negotiable. Whipping by hand would take forever and produce inferior results. A stand mixer makes the job effortless, though a hand mixer works too.
- 9×13 Inch Baking Pan: This is your marshmallow mold. Line it with parchment paper for easy removal.
- Candy Thermometer: Accuracy matters when heating your gelatin mixture. A reliable thermometer ensures proper texture.
- Rubber Spatula: Silicone spatulas are heat-resistant and perfect for folding and scraping.
- Measuring Cups and Spoons: Precision is important in confectionery work.
- Sifter or Fine-Mesh Strainer: For applying your cornstarch coating evenly.
- Sharp Knife or Pizza Cutter: For cutting marshmallows into uniform pieces.
Step-by-Step Instructions
Now let’s make marshmallows! This process takes about 30 minutes of active work, plus 4-6 hours for setting.
Step 1: Prepare Your Pan
Line a 9×13 inch baking pan with parchment paper, leaving some overhang on the sides for easy removal. In a small bowl, combine 2 tablespoons of cornstarch with 2 tablespoons of powdered sugar. Dust this mixture evenly across the bottom and sides of your prepared pan. This prevents sticking and creates that pleasant texture on the marshmallow exterior.
Step 2: Bloom the Gelatin
Pour 1 cup of cold water into the bowl of your stand mixer. Sprinkle 3 packets (about 2.25 teaspoons) of unflavored gelatin over the water. Let it sit for about 5 minutes. This process, called blooming, allows the gelatin to absorb water and become spongy. Don’t skip this step—it’s crucial for proper texture.
Step 3: Create the Syrup
In a small saucepan, combine 1 cup of granulated sugar, 1 cup of light corn syrup, and 1/2 cup of water. Heat over medium heat, stirring occasionally until the sugar dissolves. Once it reaches 240°F on your candy thermometer (this is the soft-ball stage), remove it from heat. This temperature is critical—too low and your marshmallows won’t set properly; too high and they’ll be tough.
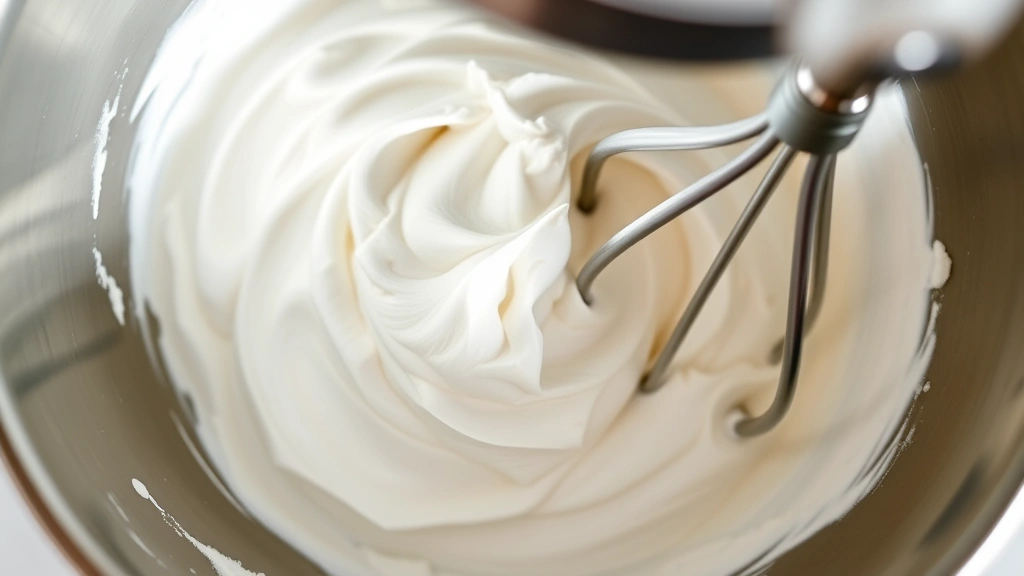
Step 4: Whip the Mixture
Turn on your stand mixer with the whip attachment. Slowly pour the hot syrup into the bloomed gelatin while mixing on medium speed. This gradual addition prevents splattering and ensures even distribution. Once all the syrup is added, increase the speed to high. Whip for 10-12 minutes. You’ll see the mixture transform from a thin liquid to a thick, fluffy, pale mixture that triples in volume. This is the magic moment!
Step 5: Add Flavorings
During the last minute of whipping, add 1 teaspoon of vanilla extract and 1/4 teaspoon of salt. Mix briefly to incorporate evenly. If you’re making flavored marshmallows, add your desired flavoring at this point.
Step 6: Transfer and Set
Immediately pour the marshmallow mixture into your prepared pan. It will be thick and fluffy—use a spatula to spread it evenly. Dust the top generously with the cornstarch and powdered sugar mixture. Let it set at room temperature for 4-6 hours, or preferably overnight. Don’t refrigerate; room temperature creates the best texture.
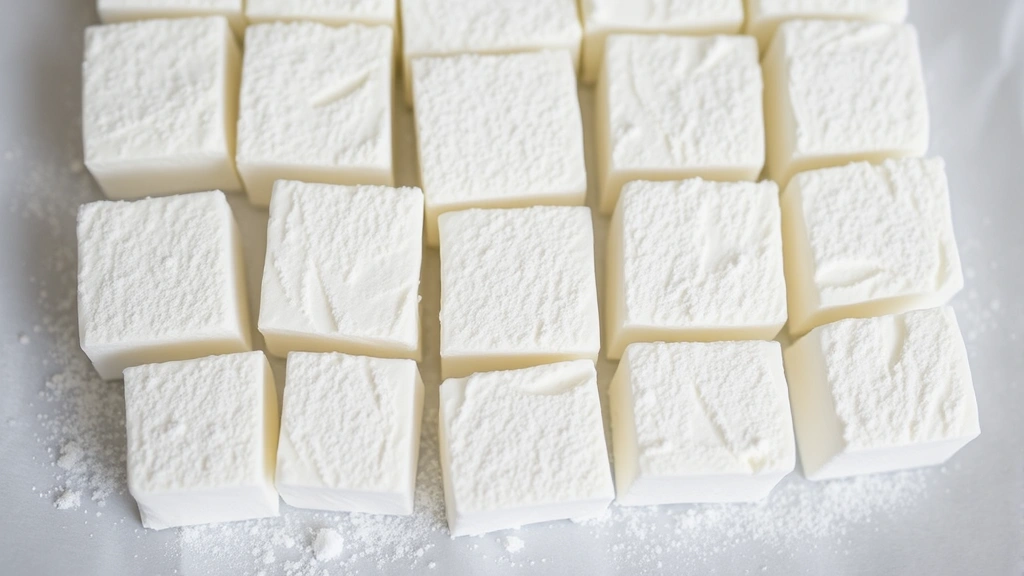
Step 7: Cut and Coat
Once set, turn the marshmallow block out onto a cutting board. Peel away the parchment paper. Using a sharp knife dipped in water (this prevents sticking), cut the marshmallows into 1-inch squares. Toss each piece in the cornstarch and powdered sugar mixture, coating all sides thoroughly.
Troubleshooting Common Issues
Marshmallows Are Too Firm: This usually means your syrup temperature was too high or you whipped the mixture too long. Aim for exactly 240°F and stop whipping after 12 minutes. Next time, use slightly less gelatin or more water.
Marshmallows Won’t Set: Your syrup temperature was likely too low. Use a reliable candy thermometer and ensure you reach 240°F. Also, make sure your gelatin was properly bloomed in cold water.
Sticky or Gummy Texture: This indicates too much moisture. Ensure your pan is properly coated with cornstarch, and let them set longer before cutting. Store them in an airtight container with cornstarch between layers.
Mixture Deflates After Whipping: You may have added warm ingredients to the whipped mixture or kept it in a warm environment. Work quickly and keep everything cool. Also, ensure your gelatin is properly bloomed.
Uneven Texture: This usually means the syrup wasn’t incorporated evenly. Add it slowly and steadily while the mixer runs, ensuring complete mixing before increasing speed.
Flavor Variations and Ideas
Once you’ve mastered the basic marshmallow recipe, experimentation becomes fun. Here are some delicious variations to try.
Chocolate Marshmallows: Add 1/4 cup of unsweetened cocoa powder to the cornstarch coating for a chocolate-dusted exterior. You can also fold in melted chocolate before setting, though this affects texture slightly.
Strawberry Marshmallows: Replace the vanilla extract with 1/2 teaspoon of strawberry extract and add a few drops of pink food coloring. The result is beautiful and delicious.
Peppermint Marshmallows: Use peppermint extract instead of vanilla, and add crushed candy canes to your cornstarch coating. Perfect for the holidays!
Salted Caramel Marshmallows: Add 1 tablespoon of caramel extract and drizzle salted caramel into the mixture before setting. This creates beautiful swirls and incredible flavor.
Coffee Marshmallows: Dissolve 2 tablespoons of instant espresso powder in 1 tablespoon of hot water, then add to the mixture with vanilla. Coffee lovers will adore these.
You can also dip finished marshmallows in chocolate, roll them in sprinkles, or dust them with freeze-dried fruit powder. The possibilities are endless once you understand the basic technique.
Storage and Shelf Life
Proper storage keeps your homemade marshmallows fresh and delicious for weeks. Store them in an airtight container at room temperature—never in the refrigerator, which introduces moisture that compromises texture.
Layer marshmallows with parchment paper, and include a few pieces of parchment between layers to prevent sticking. Some people add a sugar cube or a few grains of uncooked rice to absorb excess moisture.
Homemade marshmallows typically stay fresh for 2-3 weeks when stored properly. They’ll gradually become firmer over time, but this doesn’t affect flavor. If they do become stale, try toasting them over a fire or under a broiler—heat revives their texture beautifully.
Unlike making easy dinner recipes for beginners, marshmallow storage requires specific conditions, but the effort is worthwhile.
You can also freeze marshmallows for longer storage. Place them in a freezer-safe container with parchment between layers, and they’ll keep for up to 3 months. Thaw them at room temperature before serving.
FAQ
Can I make marshmallows without corn syrup?
You can substitute the corn syrup with light agave syrup or honey, though the texture will be slightly different. Corn syrup is preferred because it doesn’t crystallize and creates the ideal texture. If substituting, use the same amount and follow the temperature guidelines.
Are homemade marshmallows safe to eat raw?
Yes, as long as you use pasteurized eggs or egg whites. You can purchase pasteurized eggs at most grocery stores, or use liquid pasteurized egg whites. Never use raw, unpasteurized eggs.
How do I prevent my marshmallows from sticking together?
The cornstarch and powdered sugar coating is essential. Make sure you coat all surfaces thoroughly, and store them with parchment between layers. Some people add additional cornstarch to their storage container.
Can I make marshmallows in a humid environment?
Humidity is marshmallows’ enemy. They absorb moisture from the air, which makes them sticky. If you live in a humid climate, set them in an air-conditioned room and store them in an airtight container with silica packets.
What’s the difference between this recipe and store-bought marshmallows?
Homemade marshmallows are fresher, have better flavor, and contain no artificial ingredients or preservatives. They also have a superior texture—lighter and more delicate than commercial versions. The taste difference is immediately noticeable.
Can I use a hand mixer instead of a stand mixer?
Yes, though it requires more effort. Your arm will get tired whipping for 10-12 minutes, but the results are the same. A stand mixer simply makes the process more convenient.
Why is my marshmallow mixture not whipping up?
The most common reasons are room temperature being too warm, gelatin not being properly bloomed, or syrup temperature being too low. Ensure your kitchen is cool, bloom your gelatin in cold water, and use a reliable thermometer.


