How to Craft a Minecraft Shield: Expert Guide to Creating Your Ultimate Defense
A Minecraft shield is one of the most essential defensive tools you can craft in the game, providing crucial protection against incoming attacks and projectiles. Whether you’re exploring dangerous caves, battling the Ender Dragon, or simply defending your base from hostile mobs, understanding how to craft and effectively use a shield can significantly improve your survival chances. In this comprehensive guide, we’ll walk you through everything you need to know about creating and mastering the Minecraft shield recipe.
The shield has become a staple in Minecraft survival gameplay since its introduction, offering both practical defense and aesthetic customization options. Unlike armor that degrades over time, a well-maintained shield can last indefinitely with proper care and repair strategies. This guide will provide you with detailed instructions on gathering materials, crafting your shield, and optimizing its performance in various combat scenarios.

Materials Needed for Shield Crafting
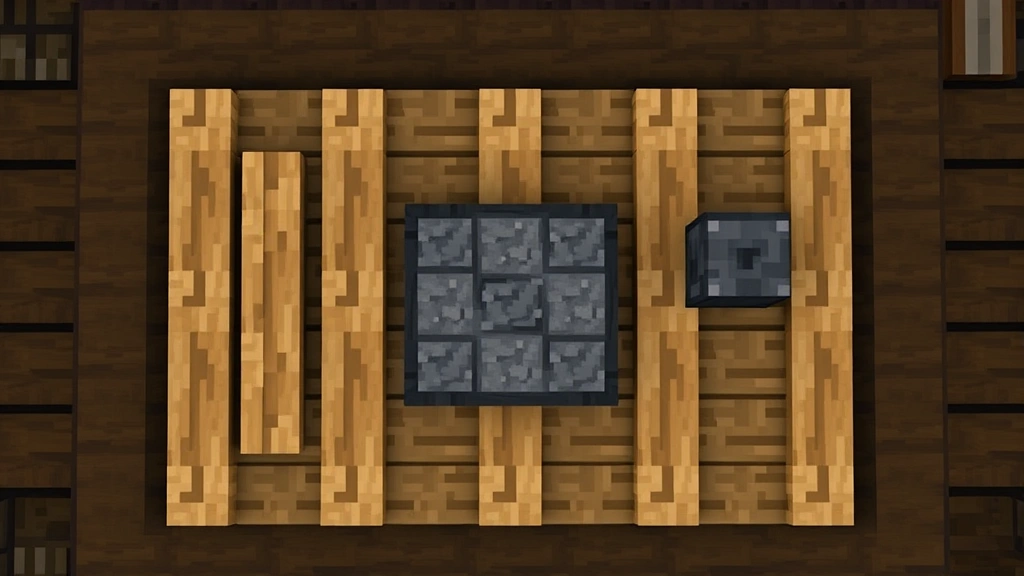
Before you can craft a Minecraft shield, you’ll need to gather the appropriate materials. The shield recipe requires six wooden planks and one iron ingot, making it relatively accessible for players in early to mid-game progression. Wooden planks can be obtained by harvesting any type of wood from trees and processing it through a crafting table, while iron ingots require mining iron ore and smelting it in a furnace.
The specific type of wooden planks doesn’t matter for shield crafting—you can use oak, spruce, birch, jungle, acacia, dark oak, or any other variant available in your world. This flexibility means you can gather materials from the nearest forest without worrying about specific tree types. For the iron ingot, you’ll need to locate iron ore blocks, which are commonly found between Y-level 0 and 64 in most Minecraft versions. A stone pickaxe or better is required to successfully mine iron ore.
Consider stockpiling extra materials if you plan to create multiple shields for different purposes or for backup protection. Having spare wooden planks and iron ingots on hand allows you to quickly repair or replace damaged shields during intense combat situations. Many experienced players maintain a dedicated storage area with shield-crafting materials readily available.
Step-by-Step Crafting Process
The Minecraft shield recipe follows a specific pattern on the crafting table that’s important to memorize for quick crafting during critical moments. Here’s the exact placement of materials:
- Open your crafting table by right-clicking on it
- In the 3×3 grid, place wooden planks in the top-left, top-center, and top-right squares
- Place wooden planks in the middle-left and middle-center squares
- Place your iron ingot in the middle-right square
- Leave the bottom row completely empty
- Your completed shield will appear in the result box on the right
- Click the shield to add it to your inventory
The crafting pattern essentially creates a shield shape within the crafting grid, which is why the arrangement matters. If you’re having trouble remembering the exact placement, you can reference Minecraft’s official crafting wiki for visual diagrams. Many players find it helpful to practice the crafting sequence a few times until it becomes muscle memory.
Once you’ve successfully crafted your shield, it will appear with a white base design by default. At this stage, your shield is ready for immediate use in combat situations. You can equip it by placing it in your off-hand slot, which is the secondary hand position in your inventory. This allows you to hold a weapon or tool in your main hand while keeping your shield ready for defense.
Customizing Your Shield Design
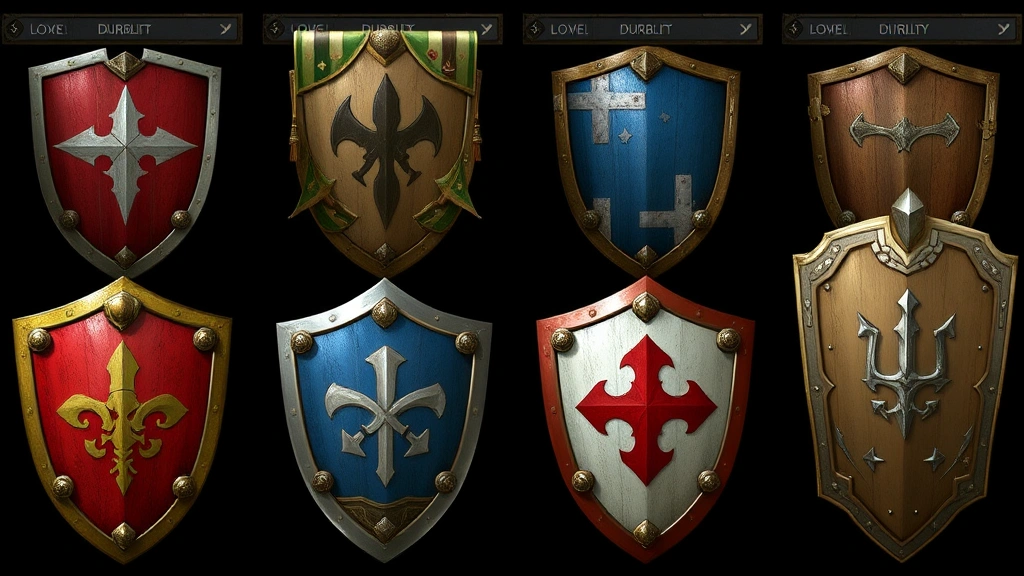
One of the most enjoyable aspects of shield ownership in Minecraft is the ability to customize its appearance with unique designs and patterns. You can create custom shield designs by combining your shield with a banner in a crafting table. The banner’s pattern will transfer to your shield, creating a personalized defensive tool that reflects your style.
To apply a banner design to your shield, follow these steps:
- Craft or find a banner with your desired design
- Place the shield in the center of the crafting table
- Place the banner directly above the shield
- Collect your newly designed shield from the result box
Banners can be crafted with various materials and dyes to create intricate patterns. You can layer multiple banner patterns to achieve increasingly complex designs. Some popular shield designs include crosses, stripes, gradients, and team colors. If you’re interested in learning more about banner crafting, check out our comprehensive guide on banner design and crafting techniques.
The customization process allows you to express creativity while maintaining full functionality of your defensive equipment. Whether you prefer simple, bold designs or intricate artistic patterns, the shield customization system accommodates all skill levels. Many multiplayer servers feature unique shield designs that identify different factions or teams.
Effective Combat Techniques
Knowing how to craft a Minecraft shield is only half the battle—mastering its defensive capabilities is equally important. When you equip your shield in your off-hand, you can hold right-click (or the equivalent control on your platform) to raise it. While raised, your shield will block most incoming damage from mobs, players, and projectiles.
The shield blocks damage from arrows, fireballs, and melee attacks when properly positioned. However, certain attacks can bypass or break through shield defense. Axe-wielding mobs and players can disable your shield temporarily with a heavy attack, creating a brief window of vulnerability. Additionally, shields cannot block damage from falls, suffocation, or certain magical effects.
Strategic shield usage involves timing your defensive posture with enemy attack patterns. For example, when fighting a skeleton, you can hold your shield toward the archer to deflect arrows while advancing. Against melee enemies like zombies, you can block attacks while counter-attacking with your weapon. The key is balancing defensive blocking with offensive opportunities.
Consider pairing your shield with armor for comprehensive protection. A full set of diamond or netherite armor combined with a well-maintained shield provides exceptional survivability in dangerous situations. This combination becomes especially valuable when exploring the Nether or battling the Ender Dragon, where damage sources are constant and severe.
Shield Maintenance and Repair
Unlike many tools in Minecraft, shields have durability that decreases with use. Each time your shield blocks damage, its durability decreases slightly. A shield can block approximately 337 damage points before breaking completely. Fortunately, repairing shields is straightforward and cost-effective compared to other tools.
To repair a damaged shield, you have several options:
- Combine two damaged shields in a crafting table to create one shield with combined durability
- Use an anvil to repair your shield with an iron ingot
- Place your shield and an iron ingot on a crafting table for quick repairs
The anvil method is often preferred because it preserves any custom banner designs you’ve applied to your shield. When using a crafting table or combining shields, your design may be lost, requiring re-application of your banner pattern. Regular maintenance prevents unexpected shield failure during critical combat moments.
Keep spare iron ingots in your inventory when undertaking dangerous expeditions. A shield with low durability provides less reliable protection, so maintaining it above 50% durability is recommended for exploration and combat. Some players maintain multiple shields with different designs, rotating them as needed to allow damaged shields time to be repaired back at their base.
Advanced Shield Strategies
Experienced Minecraft players employ advanced tactics that maximize shield effectiveness in competitive and survival scenarios. One strategy involves shield stacking, where multiple shields are used in rotation to extend your total defensive capacity. This technique proves invaluable during extended battles or when facing multiple enemies simultaneously.
Another advanced technique is shield-surfing, which allows players to travel downward at reduced falling speed by holding their shield while descending from high altitudes. While not technically a combat technique, this mobility advantage can help you escape dangerous situations or reach otherwise inaccessible areas. Shield-surfing requires practice to master but becomes second nature with repetition.
In PvP (player versus player) combat, shield tactics become considerably more complex. Skilled players use shield feinting—quickly raising and lowering their shield to bait opponents into attacking, then countering with their own attacks. Understanding axe attack cooldowns and shield blocking windows separates casual players from competitive fighters.
For those interested in advanced Minecraft mechanics and combat optimization, Wattles’ comprehensive Minecraft guide channel provides detailed tutorials on shield combat and advanced survival strategies. Additionally, the official Minecraft Forum hosts community discussions about optimal equipment setups and combat techniques.
Consider your playstyle when deciding how heavily to invest in shield mastery. Casual survival players may prefer simpler defensive strategies, while competitive PvP enthusiasts benefit from extensive shield technique practice. Regardless of your approach, understanding your shield’s capabilities ensures you’re prepared for any situation.
FAQ
How much damage does a shield block in Minecraft?
A shield can block approximately 337 damage points before breaking. This translates to roughly 168 full-strength attacks from a zombie or similar melee enemy. The exact amount depends on the damage source and your shield’s remaining durability.
Can shields block all types of damage?
Shields cannot block fall damage, suffocation damage, drowning, fire damage, or certain magical effects like poison. They are primarily effective against melee attacks and projectiles when properly raised and positioned toward the damage source.
How do I apply a banner design to my shield?
Place your shield in the center of a crafting table and position your banner directly above it. The banner’s pattern transfers to your shield, and you can layer multiple banners for complex designs. Your custom design persists through repairs using anvils.
What’s the best way to repair a shield?
Using an anvil to repair your shield with an iron ingot is the best method because it preserves any custom banner designs. Crafting table repairs are faster but may remove your design, requiring reapplication.
Can I use a shield in both hands?
No, shields can only be equipped in your off-hand (secondary hand). Your main hand must hold a weapon, tool, or other item. This design ensures shields provide defensive support without completely limiting your offensive capabilities.
Do shields work against creeper explosions?
Shields cannot block explosion damage from creepers or other explosive sources. However, they do protect against the projectiles and melee attacks that accompany explosions. Position yourself strategically to minimize blast exposure when shields are your primary defense.
How do I know if my shield is at full durability?
Your shield’s durability bar appears above your hotbar when you select it. A full bar indicates maximum durability, while a depleted bar means your shield will break soon. Monitor this bar during extended combat to know when repairs are necessary.


