Peach Ice Cream Delight: The Ultimate Summer Favorite
There’s something magical about homemade peach ice cream on a warm summer afternoon. Unlike store-bought versions loaded with stabilizers and artificial flavoring, authentic peach ice cream recipe captures the essence of fresh, ripe peaches in every creamy spoonful. This frozen dessert has been a beloved American staple for generations, and once you master the technique, you’ll understand why families return to it year after year.
Making peach ice cream at home is more accessible than you might think. Whether you own an ice cream maker or prefer no-churn methods, this guide walks you through every step to create restaurant-quality results. The secret lies in selecting peak-season peaches, understanding proper custard techniques, and knowing how to balance sweetness with that distinctive peachy flavor that makes summer truly special.
Choosing the Perfect Peaches
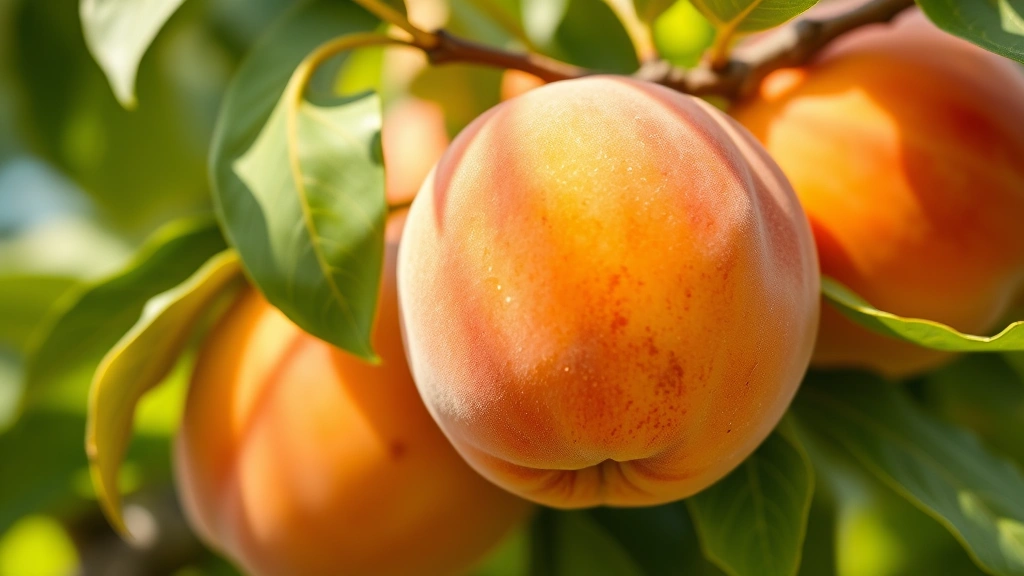
The foundation of exceptional peach ice cream begins at the farmer’s market or grocery store. You’ll want to select peaches that are fragrant, slightly soft to the touch, and bursting with natural sweetness. Peak peach season typically runs from June through September, though timing varies by region. Look for peaches with a golden or reddish hue rather than green undertones, which indicate underripe fruit.
For this recipe, you’ll need approximately 2 pounds of fresh peaches, which yields roughly 2 cups of puree after processing. Avoid peaches that feel rock-hard or smell bland—these won’t provide the intense flavor your ice cream deserves. If you can’t find perfectly ripe peaches, consider using high-quality frozen peaches without added sugar. Many professional chefs actually prefer frozen peaches because they’re picked at peak ripeness and maintain their flavor profile consistently.
To prepare your peaches, blanch them briefly in boiling water for 30-45 seconds, then transfer to an ice bath. This loosens the skin significantly, making peeling effortless. Once peeled, pit the fruit and cut it into chunks. You can puree peaches using a food processor, blender, or immersion blender. Some recipes call for leaving small chunks for texture, but a smooth puree typically integrates better into the custard base and creates a silkier final product.
Building Your Custard Base
The custard base is where technique truly matters. This isn’t just any custard—it’s specifically formulated to freeze into creamy ice cream rather than hard ice crystals. You’ll need 2 cups of heavy cream, 1 cup of whole milk, 6 egg yolks, 3/4 cup of granulated sugar, and 1 teaspoon of vanilla extract. Some recipes incorporate a tablespoon of corn syrup or honey to prevent crystallization and maintain smoothness.
Begin by combining milk and 1/2 cup of sugar in a heavy-bottomed saucepan over medium heat. Stir occasionally until steam rises from the surface but don’t allow it to boil. While this heats, whisk your egg yolks with the remaining 1/4 cup of sugar in a separate bowl. Whisk vigorously for 2-3 minutes until the mixture becomes pale yellow and slightly thick—this incorporation of air is crucial for texture.
When the milk reaches proper temperature, slowly add it to the egg mixture while whisking constantly. This tempering process prevents scrambled eggs and ensures a smooth custard. Pour the combined mixture back into the saucepan and cook over medium-low heat, stirring frequently with a wooden spoon. The custard is ready when it coats the back of the spoon and reaches 170°F on an instant-read thermometer—this temperature kills potential salmonella while preserving texture.
Remove from heat and stir in vanilla extract. Strain the custard through a fine-mesh sieve to catch any cooked egg particles. This extra step might seem unnecessary, but it dramatically improves the final texture. Now fold in your peach puree gently but thoroughly. The custard will lighten in color and develop that gorgeous peachy hue. Chill the mixture completely—ideally overnight in the refrigerator. Cold custard churns more efficiently and produces creamier results.
For those interested in understanding the science behind custard-making, Serious Eats offers excellent resources on culinary techniques. Their food science explanations help home cooks understand the why behind each step.
The Churning Process
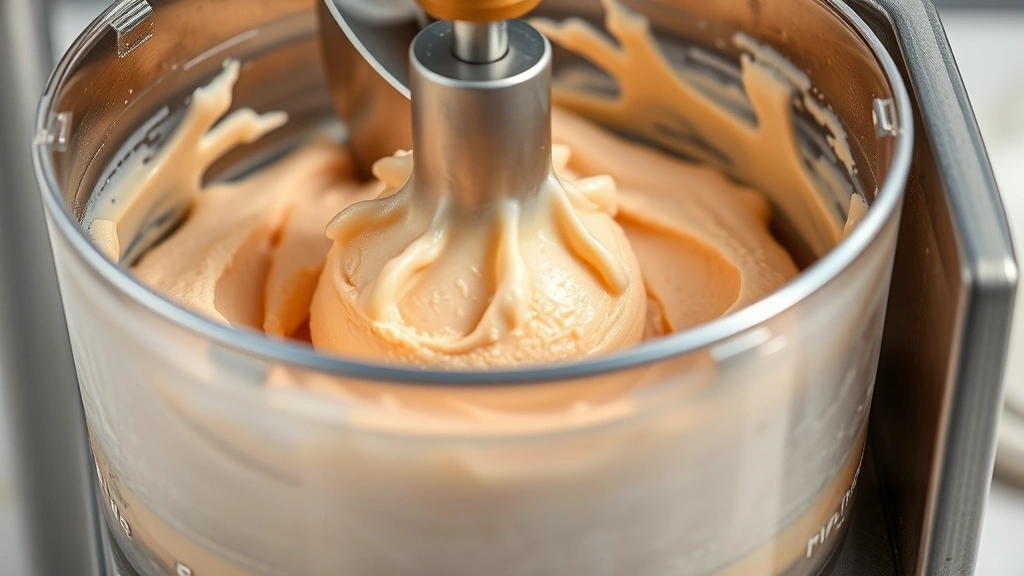
With your custard properly chilled, you’re ready for the most exciting part. If you own an ice cream maker, follow the manufacturer’s instructions, but generally you’ll pour the mixture into the machine and churn for 20-25 minutes. The machine simultaneously freezes the custard while incorporating air, which creates that signature creamy texture. You’ll notice the ice cream gradually thickening until it reaches soft-serve consistency.
For no-churn enthusiasts, whip 2 cups of heavy cream until stiff peaks form using an electric mixer. This aerates the cream and creates structure. Gently fold the whipped cream into your chilled peach custard in two additions, being careful not to deflate the air bubbles. Transfer to a freezer-safe container and freeze for at least 6 hours, stirring every 2 hours during the first 4 hours. While this method requires more hands-on time, it produces surprisingly excellent results.
Some cooks prefer a hybrid approach: churn the custard for 10-15 minutes until partially frozen, then fold in whipped cream and finish freezing. This combines the benefits of both methods and produces an exceptionally light, airy texture. Regardless of your method, avoid over-churning, which can cause the mixture to separate into butter and liquid.
Transfer your finished soft-serve ice cream to a freezer-safe container. Press plastic wrap directly onto the surface to prevent freezer burn and ice crystal formation. Freeze for at least 4 additional hours before serving. If frozen solid, allow the ice cream to sit at room temperature for 5-10 minutes before scooping to achieve optimal scoopability.
Storage and Serving Tips
Homemade peach ice cream keeps well in the freezer for up to two weeks, though it’s best enjoyed within the first week when flavors are brightest and texture is creamiest. The key to maintaining quality is preventing freezer burn through proper storage. Always use airtight containers and minimize air exposure by pressing plastic wrap directly onto the surface.
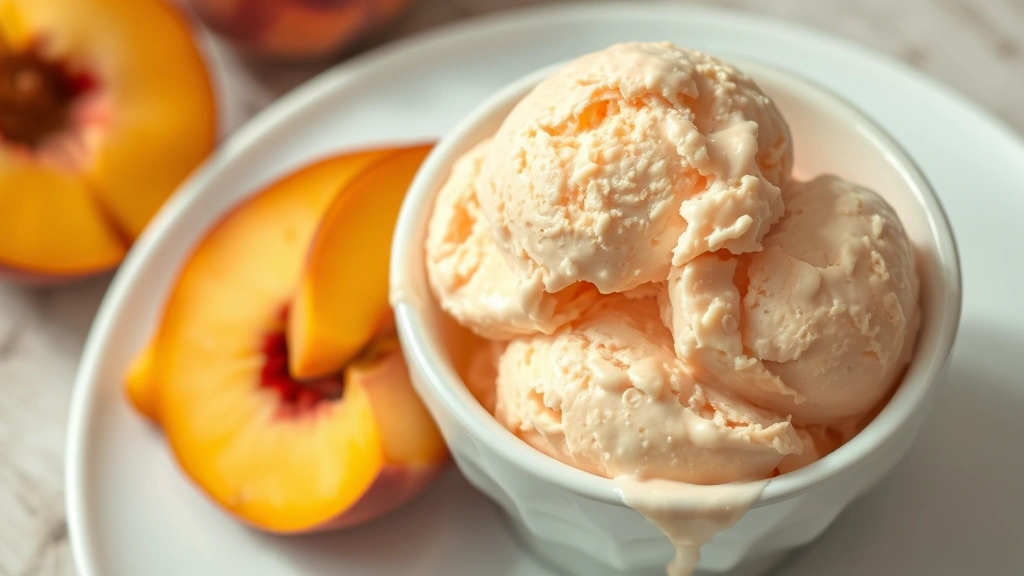
For serving, consider these complementary options. A drizzle of warm caramel sauce provides sophisticated contrast to the cool, fruity ice cream. Fresh peach slices arranged alongside create an elegant presentation. If you enjoy savory-sweet combinations, a pinch of sea salt enhances the peach flavor beautifully. Some enthusiasts even crumble buttery shortbread cookies or ginger snaps into their bowl for textural variety.
Temperature matters for optimal flavor experience. Ice cream served too cold—straight from a deep freezer—tastes muted because cold suppresses taste perception. Allow scoops to warm slightly at room temperature for 2-3 minutes before eating to fully experience the peach flavor complexity. Professional ice cream shops maintain their freezers at around -6°C (21°F) rather than the typical home freezer temperature of -18°C (0°F) for exactly this reason.
Pairing suggestions extend beyond simple toppings. Consider serving peach ice cream alongside grilled peaches, a slice of peach cobbler, or even with savory components like prosciutto for adventurous palates. The versatility of this frozen dessert makes it suitable for casual weeknight treats or elegant dinner party finales.
Creative Flavor Variations
Once you’ve mastered the classic version, experiment with complementary flavors. A tablespoon of fresh lemon juice brightens the peach flavor and adds complexity. Cardamom—typically 1/4 teaspoon—introduces subtle spice that sophisticated palates adore. Honey can replace up to half the granulated sugar, creating deeper, more complex sweetness.
Bourbon or bourbon vanilla extract adds sophistication for adult gatherings. Use 2-3 tablespoons of bourbon mixed into the chilled custard before churning. The alcohol won’t freeze solid, maintaining a slightly softer texture that many prefer. Brown butter offers another elegant variation: melt 4 tablespoons of butter until it turns golden brown, cool completely, and whisk into your custard base.
For texture variation, consider incorporating praline pieces, candied peach strips, or even a swirl of salted caramel. Add mix-ins during the final 2-3 minutes of churning rather than before, which prevents them from breaking down. If making no-churn ice cream, fold mix-ins into the whipped cream before combining with custard.
Herbal infusions work surprisingly well. Steep 3-4 fresh basil leaves in your warm milk before making custard, then strain before proceeding. The basil provides subtle herbal notes that complement peach beautifully without overwhelming. Lavender is another option—use 1/2 teaspoon of culinary lavender infused into the milk for floral sophistication.
Troubleshooting Common Issues
If your ice cream turns out grainy or icy rather than smooth and creamy, several factors might be responsible. Insufficient churning time prevents proper aeration and freezing. Ensure your machine runs the full recommended duration. Alternatively, your custard temperature might have been too high when combining with peach puree, cooking the peaches and affecting texture. Always cool custard completely before adding fruit.
A custard that breaks or looks curdled during cooking indicates temperature went too high or you added cold fruit directly to hot custard. Always temper eggs slowly and maintain medium-low heat. If this happens, strain the mixture through cheesecloth and proceed—the results might be slightly grainy but still acceptable.
If your ice cream is too hard to scoop even after sitting at room temperature, you likely used too much sugar or didn’t incorporate enough air. The next batch should include slightly less sugar (reduce to 1/2 cup total) or extend churning time by 5 minutes. Conversely, if it’s too soft and melts quickly, increase sugar slightly or reduce liquid content by 1/4 cup.
Crystallization that develops after several days in the freezer happens naturally as ice crystals form. Minimize this by using corn syrup or honey in your recipe, which interferes with crystal formation. Properly aerating your ice cream also helps—more air means less room for large ice crystals to develop. Some cooks add 1 tablespoon of vodka, which lowers the freezing point and prevents hard crystallization.
For additional troubleshooting insights and ice cream science, The Spruce Eats provides comprehensive guides on frozen dessert techniques. Understanding the science behind ice cream-making helps you troubleshoot issues confidently.
FAQ
Can I use canned peaches instead of fresh?
Yes, though results differ slightly. Use canned peaches packed in their own juice (not heavy syrup), drain thoroughly, and puree smoothly. You may need to reduce added sugar by 1/4 cup since canned peaches are already sweet. Fresh peaches provide superior flavor, but quality canned peaches work well when fresh aren’t available. Many professional ice cream makers actually prefer frozen peaches because they’re picked at peak ripeness.
Do I need an ice cream maker?
No, the no-churn method produces excellent results. The key is properly aerating your cream and freezing patiently. While ice cream makers create smoother texture through continuous churning, no-churn versions are delicious and require only an electric mixer and freezer. The main difference is texture—churned ice cream is slightly airier, while no-churn tends to be denser and creamier.
How much fresh peach ice cream should I make?
This recipe yields approximately 1 quart, serving 4-6 people as a dessert. The recipe doubles easily if you have a large-capacity ice cream maker or want to freeze extra portions. Since homemade ice cream keeps well for two weeks, making larger batches is practical if you have freezer space.
Can I substitute milk with alternative options?
Whole milk is ideal for richness and freezing properties. You can replace heavy cream with half-and-half, though the result will be less creamy. Avoid skim milk, which produces an icy texture. Non-dairy alternatives like coconut milk or oat milk can work, though they freeze differently—expect slightly different texture and may need to add 1 tablespoon of cornstarch for stability.
What’s the best way to prevent ice crystals?
Proper aeration during churning prevents large ice crystals from forming. Additionally, corn syrup or honey interferes with crystallization—include at least 1 tablespoon in your recipe. Freezing in airtight containers with plastic wrap pressed directly onto the surface minimizes air exposure. Avoid opening your freezer frequently, which causes temperature fluctuations and crystal growth.
Can I make this recipe with other stone fruits?
Absolutely! Nectarines, plums, apricots, and cherries work beautifully using the same method. Adjust sugar amounts based on the fruit’s natural sweetness—plums require more sugar than peaches, while apricots need slightly less. The technique remains identical regardless of which stone fruit you choose.


