Pheasant Delight: Chef-Approved Recipe for Elegant Game Bird Cooking
Pheasant has long been considered a delicacy in fine dining establishments and sophisticated home kitchens across Europe and North America. This elegant game bird offers a rich, slightly gamey flavor that sits perfectly between chicken and duck, making it an exciting choice for cooks looking to expand their culinary repertoire. Unlike its domesticated poultry cousins, pheasant delivers a more complex taste profile with tender, lean meat that responds beautifully to both classic and contemporary cooking techniques.
Whether you’re preparing a special dinner for guests or exploring gourmet cooking at home, mastering pheasant recipes opens doors to restaurant-quality meals that impress even the most discerning palates. This comprehensive guide walks you through selecting, preparing, and cooking pheasant using chef-approved methods that guarantee succulent, flavorful results every time.
Understanding Pheasant: Selection and Quality
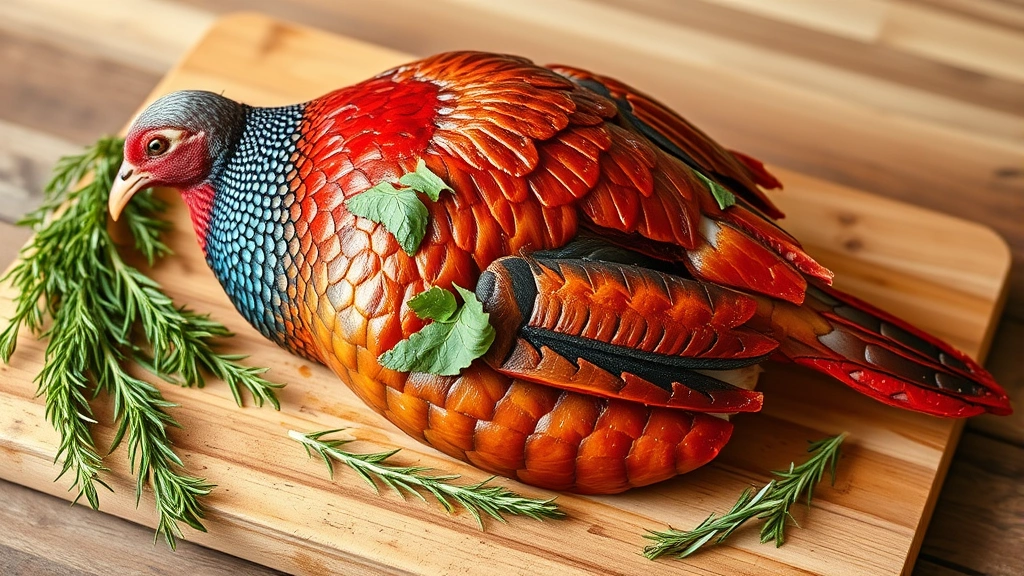
Selecting the right pheasant is the foundation for creating exceptional dishes. When shopping for pheasant, you’ll encounter two primary options: farm-raised birds and wild-caught pheasants. Farm-raised pheasants tend to be larger, more uniform in size, and slightly milder in flavor compared to their wild counterparts. Wild pheasants deliver a more pronounced gamey taste and require careful handling due to their leaner meat composition.
Look for pheasants with bright, unblemished skin and firm flesh that springs back when gently pressed. The bird should smell fresh and slightly sweet, never sour or off-putting. If purchasing whole birds, expect them to weigh between two to three pounds, which typically serves two to three people comfortably. Many specialty butchers and online game meat suppliers now offer pheasants year-round, though autumn and winter represent peak seasons when quality and availability are highest.
Fresh pheasants should be cooked within one to two days of purchase, while frozen birds can be stored for up to three months. Always thaw frozen pheasant in the refrigerator overnight rather than at room temperature to maintain meat quality and food safety.
Preparation Techniques for Perfect Results
Proper preparation makes the difference between mediocre and magnificent pheasant dishes. Begin by removing the bird from refrigeration thirty minutes before cooking, allowing the meat to reach room temperature for even cooking throughout. Pat the pheasant dry with paper towels—this crucial step promotes browning and develops those desirable golden, crispy exterior textures.
If working with a whole bird, inspect the cavity for any remaining organs or debris. Some cooks prefer to pluck and clean the pheasant themselves, but most home cooks benefit from purchasing birds already cleaned by their butcher. For those handling whole pheasants, removing the legs and breasts separately allows for more precise cooking, since breast meat cooks faster than leg meat.
To break down a whole pheasant efficiently:
- Place the bird breast-side up on a cutting board
- Pull one leg away from the body and slice through the skin connecting leg to breast
- Pop the thigh joint by bending the leg backward until it separates
- Repeat on the opposite side
- Carefully separate breasts from the carcass by slicing along both sides of the breastbone
- Reserve the carcass for making rich game stock
Brining pheasant for four to twelve hours before cooking significantly improves moisture retention and flavor development. A simple brine of salt, sugar, water, and aromatics like thyme, rosemary, and bay leaves infuses the meat with subtle complexity while keeping it tender throughout cooking.
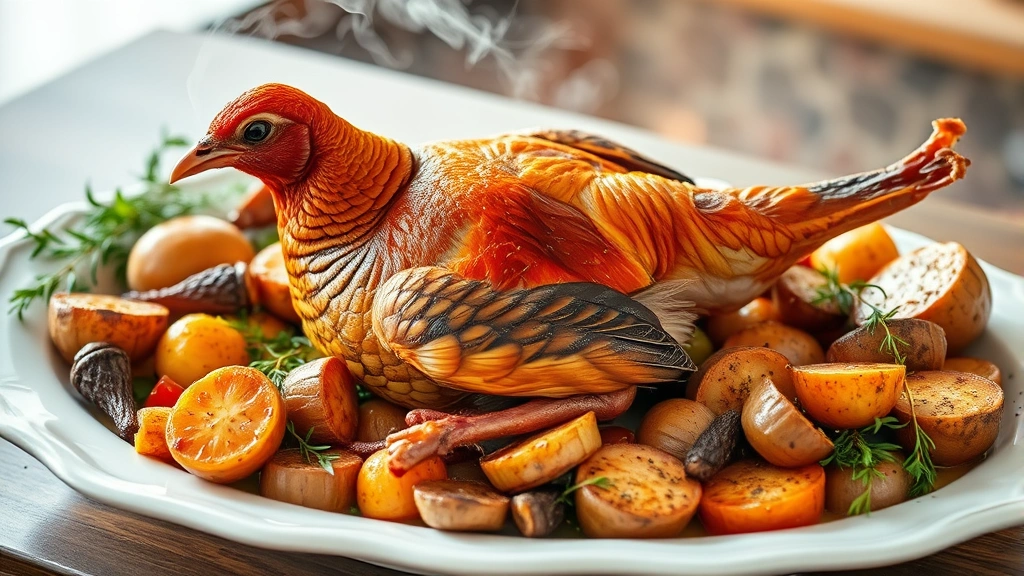
Classic Roasted Pheasant with Herbs
Roasting represents the most traditional and elegant preparation method for whole pheasants. This technique showcases the bird’s natural flavors while creating impressive presentation for special occasions. Start with one whole pheasant (two to three pounds), patted completely dry and brought to room temperature.
Ingredients:
- One whole pheasant, cleaned and dried
- Four tablespoons unsalted butter, softened
- Two tablespoons fresh thyme, finely chopped
- One tablespoon fresh rosemary, minced
- One tablespoon fresh sage, minced
- Three cloves garlic, minced
- Sea salt and freshly ground black pepper to taste
- One lemon, halved
- One cup chicken or game stock
- Two tablespoons dry white wine (optional)
Instructions:
- Preheat your oven to 425°F (220°C)
- Combine softened butter with thyme, rosemary, sage, garlic, salt, and pepper in a small bowl
- Gently separate the skin from the breast meat and rub half the herb butter under the skin, distributing evenly across both breasts
- Rub remaining herb butter over the outside of the bird
- Stuff the cavity with lemon halves and any remaining herb sprigs
- Place pheasant breast-side up on a roasting rack in a heavy pan
- Pour stock and wine around (not over) the bird
- Roast for fifty to sixty minutes, basting every fifteen minutes with pan juices
- The pheasant is done when the thickest part of the thigh reaches 165°F (74°C) on an instant-read thermometer
- Transfer to a warm platter and rest for ten minutes before carving
- Strain pan juices through a fine-mesh sieve and serve as a simple jus
The key to perfectly roasted pheasant lies in consistent basting and careful temperature monitoring. Pheasant meat is considerably leaner than chicken, making it prone to drying out if overcooked by even a few minutes. Using a reliable meat thermometer removes all guesswork and guarantees moist, tender results.
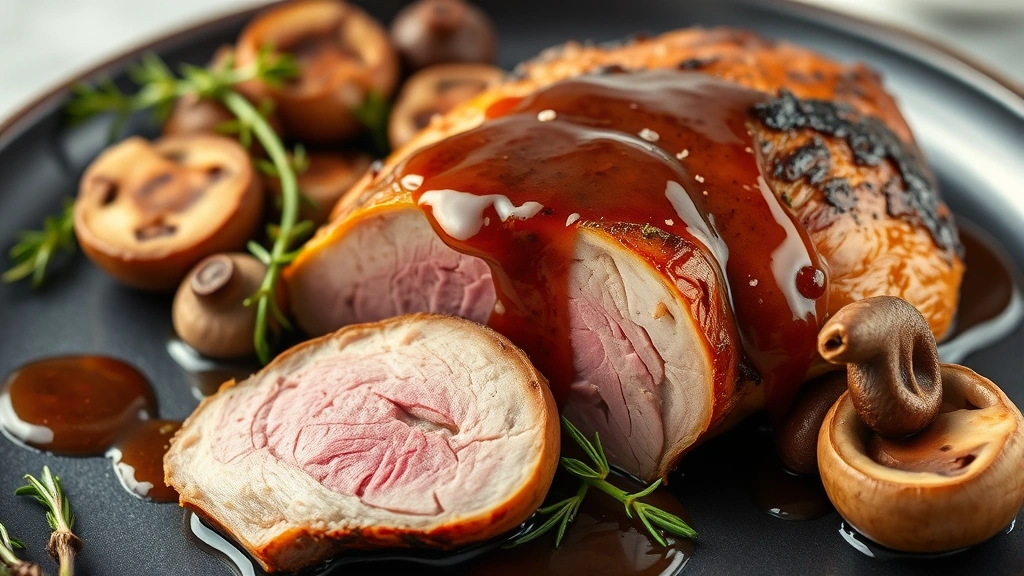
Pan-Seared Pheasant Breast Method
For quicker weeknight preparations, pan-seared pheasant breasts deliver restaurant-quality results in under thirty minutes. This technique works beautifully when paired with sophisticated sides like creamy accompaniments or seasonal vegetables.
Begin with two boneless, skinless pheasant breasts (approximately six ounces each). Pat them dry and season generously with salt and pepper on both sides. Heat two tablespoons of butter and one tablespoon of olive oil in a large skillet over medium-high heat until the butter foams and just begins to brown.
Carefully place the pheasant breasts in the hot pan—they should sizzle immediately. Resist the urge to move them; allow them to develop a golden crust for three to four minutes. Flip and cook the other side for another three to four minutes until the internal temperature reaches 160°F (71°C). Transfer to a warm plate and tent loosely with foil.
Create a quick pan sauce by adding one-half cup of game or chicken stock to the same skillet, scraping up any browned bits from the bottom. Add a splash of brandy or cognac if desired, along with one tablespoon of Dijon mustard and fresh thyme. Simmer until slightly reduced (about three minutes), then finish with a knob of cold butter for richness. Spoon the sauce over the rested pheasant breasts and serve immediately.
Wine-Braised Pheasant for Depth
Braising pheasant in wine creates deeply flavorful, tender meat with rich, complex sauces perfect for cooler months and special dinners. This low-and-slow cooking method is particularly forgiving and allows flavors to develop beautifully. The technique mirrors traditional French coq au vin, adapted for game bird preparation.
Ingredients:
- One whole pheasant, cut into eight pieces (breasts, thighs, drumsticks)
- Four ounces pancetta or bacon, diced
- One large onion, roughly chopped
- Three medium carrots, cut into two-inch pieces
- Eight ounces cremini mushrooms, halved
- Four cloves garlic, minced
- One bottle dry red wine (750ml)
- One cup game or chicken stock
- Two tablespoons tomato paste
- Two bay leaves
- Four fresh thyme sprigs
- One tablespoon flour
- Salt and pepper to taste
- Two tablespoons olive oil
Instructions:
- Preheat oven to 325°F (163°C)
- In a large Dutch oven, cook pancetta over medium heat until fat renders and edges crisp (about five minutes); remove with a slotted spoon
- Pat pheasant pieces dry and season with salt and pepper
- Working in batches, brown pheasant pieces in the rendered fat, about four minutes per side; set aside
- Add onion and carrots to the pot, cooking until softened (about five minutes)
- Stir in garlic and tomato paste, cooking for one minute
- Dust pheasant pieces with flour and return to the pot
- Pour in red wine and stock, scraping up browned bits
- Add bay leaves, thyme, and cooked pancetta
- Bring to a simmer on the stovetop, then cover and transfer to the oven
- Braise for one hour and fifteen minutes until pheasant is fork-tender
- Add mushrooms during the final thirty minutes of cooking
- Remove from oven, discard bay leaves and thyme sprigs
- Skim excess fat from the surface if desired
- Serve in shallow bowls with crusty bread for sauce soaking
This braise improves with time, making it ideal for preparing a day ahead. Simply reheat gently on the stovetop before serving. The wine-based sauce develops additional complexity as flavors meld overnight.
Pairing Sides and Beverages
Selecting complementary sides elevates the entire pheasant dining experience. Root vegetables roasted with herbs provide earthiness that balances the game bird’s richness. Creamed celery root, buttered egg noodles, or wild rice pilaf offer sophisticated accompaniments that don’t overshadow the pheasant itself.
For lighter preparations, consider pairing pan-seared pheasant with sautéed mushrooms, asparagus, or Brussels sprouts. A simple game bird consommé alongside roasted pheasant creates an elegant first course that prepares the palate for the main protein.
Beverage selection matters significantly when serving pheasant. Medium-bodied red wines like Pinot Noir, Burgundy, or Bordeaux blend beautifully with roasted preparations. For braised pheasant, the same wine used in cooking should appear in the glass for harmonious pairing. White wine enthusiasts might explore aged Chardonnay or Alsatian Riesling, which complement the delicate breast meat without overwhelming more subtle preparations.
Avoid heavy cream-based desserts following pheasant dinners; instead, consider light fruit-based options like refreshing frozen options or palate-cleansing sorbets. If serving frozen cocktails before dinner, ensure they’re light enough not to interfere with the pheasant’s delicate flavors.
For more information on game bird cooking techniques, consult resources from The Culinary Institute of America, which offers comprehensive guides on preparing wild game. Additionally, Serious Eats provides detailed food science explanations for understanding meat cooking fundamentals.
FAQ
How long does pheasant take to cook?
Cooking time varies by method and portion size. Whole roasted pheasants typically require fifty to sixty minutes at 425°F. Pan-seared breasts cook in eight minutes total, while braised preparations need one to one and a half hours of low-temperature cooking. Always use a meat thermometer to verify doneness rather than relying on time alone.
Can I substitute pheasant for chicken in recipes?
While possible, direct substitution isn’t ideal due to pheasant’s leaner meat and more robust flavor. If substituting, reduce cooking times slightly and watch carefully to prevent drying. Braising and sauce-based preparations work better for substitution than simple roasting.
What’s the difference between farm-raised and wild pheasant?
Farm-raised pheasants are larger, milder-flavored, and more forgiving to cook. Wild pheasants deliver stronger gamey flavors, leaner meat, and smaller portions. Wild birds require more careful temperature monitoring but reward adventurous cooks with deeper, more complex tastes.
How should I store leftover cooked pheasant?
Store cooked pheasant in airtight containers for up to three days in the refrigerator. Reheat gently in a low oven with a little stock to maintain moisture. Cooked pheasant also freezes well for up to three months; thaw in the refrigerator before reheating.
What internal temperature should pheasant reach?
Pheasant is safely cooked when the thickest part of the thigh reaches 165°F (74°C). For more tender, juicier results, some chefs prefer 160°F (71°C) for breast meat, though this requires careful monitoring and isn’t recommended for food safety novices.


