Create Perfect Jelly at Home? Expert Tips for Success
Making jelly at home is one of the most satisfying culinary projects you can undertake. Whether you’re crafting a shimmering fruit jelly, a savory meat aspic, or a delicate panna cotta-style dessert, the process combines science, technique, and creativity. What seems like magic—transforming liquid into a wobbling, translucent gem—is actually the result of understanding gelatin, agar, or pectin and how these gelling agents interact with your ingredients. This comprehensive guide will walk you through everything you need to know to create restaurant-quality jellies in your own kitchen.
The beauty of homemade jelly lies not only in its elegant appearance but also in the control you have over flavors, textures, and ingredients. Store-bought jellies often contain artificial colors, excessive sugar, and stabilizers that compromise quality. By making jelly yourself, you can use premium fruit juices, natural sweeteners, and pure gelatin to achieve results that taste as good as they look. Whether you’re preparing a sophisticated dinner party centerpiece or a simple weekend treat, mastering jelly-making will elevate your cooking repertoire.
Understanding Gelling Agents
The foundation of perfect jelly begins with understanding your gelling agent. Gelatin, derived from collagen in animal bones and connective tissue, is the most common choice for both sweet and savory jellies. Sheet gelatin and powdered gelatin work identically; the difference is purely practical. Sheet gelatin requires blooming in cold water before dissolving, while powdered gelatin can be sprinkled directly onto cold liquid. Both require the same ratio: approximately 2.5 grams per 100 milliliters of liquid for a standard set.
Agar-agar, a vegetarian alternative derived from seaweed, sets at room temperature and creates a firmer texture than gelatin. It requires heating to at least 85°C to activate properly and produces jellies that hold their shape even in warm conditions. Pectin, naturally occurring in fruit, works best when combined with sugar and acid. Understanding these differences allows you to choose the right agent for your specific project. For a savory au jus application, gelatin is ideal, while fruit jellies benefit from pectin’s natural fruit compatibility.
Gelatin strength is measured in bloom, with higher bloom ratings indicating greater gel strength. Standard gelatin typically measures 250 bloom, which is perfect for most home cooking applications. If you’re using gelatin from different manufacturers, you may notice variations in set time and firmness. Professional pastry chefs often use 200-220 bloom gelatin for delicate applications and 280+ bloom for sturdy aspics.
Essential Equipment and Ingredients
Before you begin making jelly, gather the proper tools. A reliable kitchen scale is non-negotiable—jelly-making is precise work where measurements matter significantly. You’ll need several mixing bowls, preferably glass or stainless steel. A whisk helps incorporate gelatin smoothly without lumps. A thermometer, ideally one that reads between 0°C and 100°C, ensures your liquid reaches the correct temperature for gelatin activation. Silicone molds offer flexibility and ease of release, though traditional ceramic molds create a more elegant presentation.
Quality ingredients make an enormous difference in your finished jelly. Use premium fruit juices without added pectin or preservatives if possible. For savory jellies, homemade stock creates superior results compared to commercial varieties. Fresh herbs, spices, and aromatics should be of the highest quality you can source. When making brown gravy-based jellies for meat applications, clarified stock produces the clearest, most professional appearance.
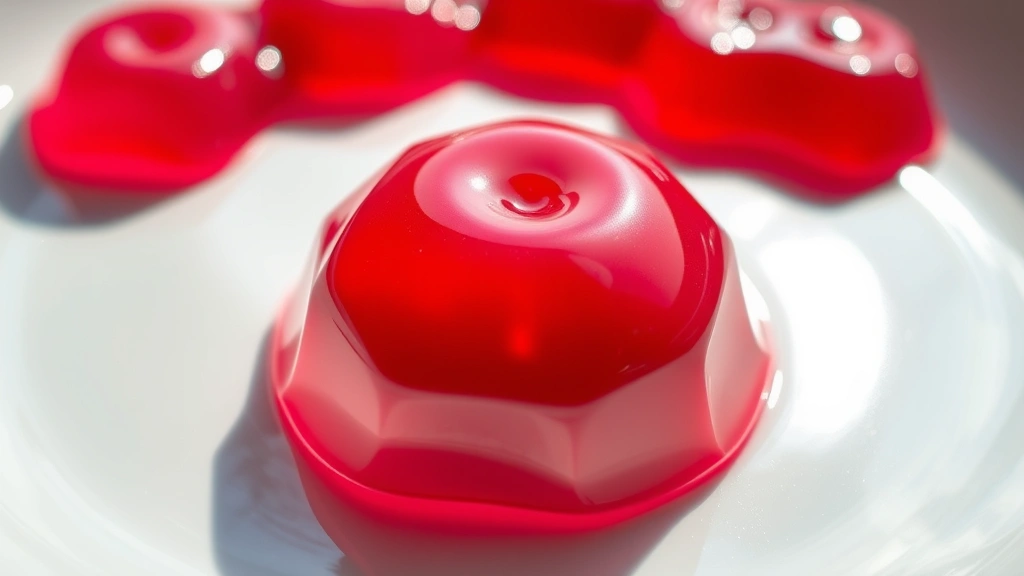
Storage containers matter too. Glass containers with tight-fitting lids prevent jellies from absorbing refrigerator odors. If you’re making jellies for special occasions, invest in quality molds that reflect your personal style. Some chefs prefer classic dome molds, while others use contemporary geometric shapes.
Basic Fruit Jelly Recipe
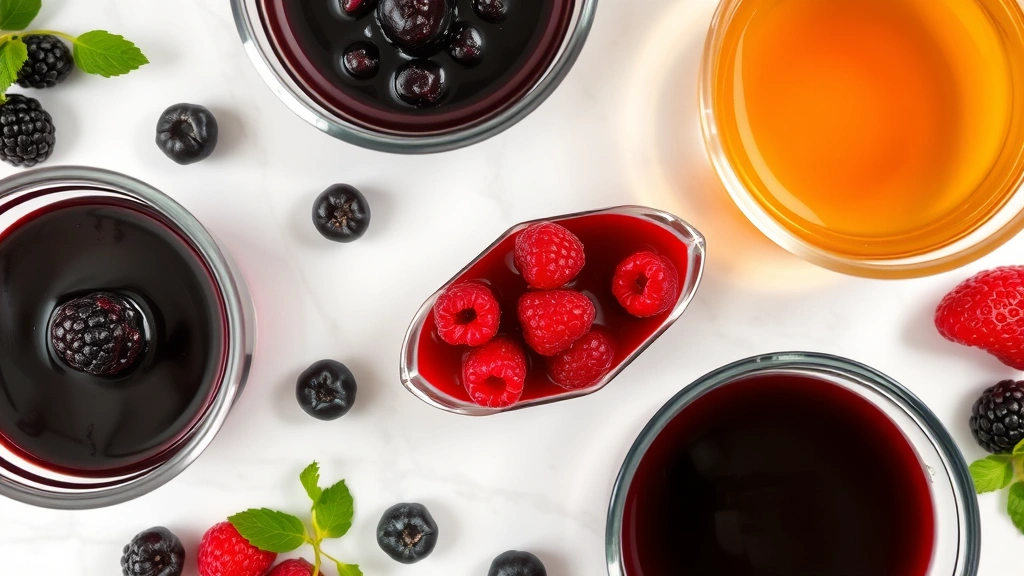
Let’s walk through creating a classic fruit jelly from start to finish. Begin by measuring 500 milliliters of premium fruit juice—raspberry, blackberry, or mixed berry work beautifully. Pour 100 milliliters of this juice into a small bowl and allow it to cool to room temperature. Sprinkle 5 grams of powdered gelatin evenly over the surface and let it bloom for 5 minutes. This blooming process allows the gelatin granules to absorb liquid and swell, preventing lumps when you dissolve it.
Heat the remaining 400 milliliters of juice to approximately 70°C—hot enough to dissolve gelatin but not so hot that you destroy delicate fruit flavors. Add your bloomed gelatin to the warm juice and stir gently for 1-2 minutes until completely dissolved. The mixture should appear clear and homogeneous. If any gelatin particles remain visible, strain the mixture through fine cheesecloth. Add sweetener if desired—this depends on your juice’s natural sweetness and personal preference. Typically, 30-50 grams of sugar per 500 milliliters of liquid creates balanced flavor.
Pour the mixture into your prepared molds or a shallow baking dish. Refrigerate for at least 4 hours, though overnight produces the most reliable set. The jelly is ready when it wobbles slightly when moved but holds its shape. To unmold, dip the mold briefly into warm water and invert onto a serving plate. For a seafood pairing, consider citrus or white wine jellies that complement delicate fish preparations.
Savory Aspic Techniques
Savory jellies, or aspics, elevate meat and seafood dishes to restaurant sophistication. Creating crystal-clear aspic requires patience and proper technique. Start with excellent homemade stock—beef, chicken, or fish depending on your application. The stock must be completely fat-free, as even small amounts of fat prevent clarity. Strain your stock through multiple layers of cheesecloth to remove all particles.
The clarification process involves creating a raft—a layer of egg white, ground meat, and vegetables that traps impurities as stock passes through it. Combine 3 egg whites with 200 grams of finely ground meat (matching your stock type), 1 small diced carrot, 1 small diced celery stalk, and 1 diced shallot. Add this mixture to cold stock and heat slowly to a gentle simmer. As it warms, proteins coagulate and form the raft. Once the raft forms, reduce heat to the lowest setting and allow stock to simmer gently for 45 minutes. Carefully ladle the clarified stock through cheesecloth into a clean container, avoiding any disturbance to the raft.
Measure your clarified stock and calculate gelatin requirement using the 2.5 grams per 100 milliliters formula. Bloom gelatin in cold stock, then gently warm to dissolve. Season with salt, white pepper, and a splash of quality wine or vinegar. Pour into molds and refrigerate until set. This aspic pairs beautifully with burger sauce variations or as a glaze for cornish hen presentations.
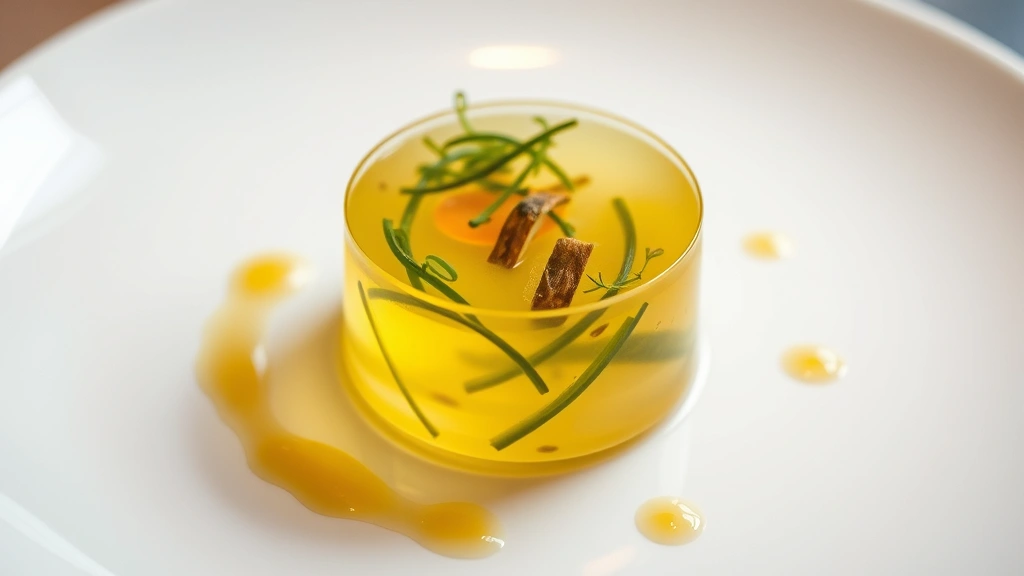
For decorative aspics, you can embed vegetables, herbs, or thin slices of truffle before the jelly fully sets. Pour a thin layer of aspic into your mold, refrigerate until tacky, arrange your decorative elements, then pour remaining aspic carefully to avoid disturbing them. This technique creates stunning presentations that impress dinner guests.
Troubleshooting Common Problems
Even experienced cooks encounter jelly challenges. If your jelly fails to set, the most common cause is insufficient gelatin. Verify you’re using the correct ratio and that your gelatin hasn’t expired—gelatin loses potency over time. Another culprit is raw pineapple or papaya, which contain enzymes that break down gelatin. Always cook these fruits before adding them to jelly, which deactivates the destructive enzymes.
Weeping—where liquid separates from the jelly—usually indicates too much gelatin or temperature fluctuations. Ensure consistent refrigeration away from the freezer. A jelly that’s too firm has excessive gelatin; reduce the amount slightly in your next batch. Cloudiness in aspic typically results from fat contamination or improper clarification. Ensure stock is completely fat-free and follow clarification procedures carefully.
If your jelly develops an unpleasant smell or mold, discard it immediately. Jelly is susceptible to bacterial growth if not properly refrigerated. Store finished jelly in airtight containers for up to 5 days. When making jellies with homemade pasta accompaniments for elegant plating, prepare jellies at least one day ahead to ensure complete setting.
Advanced Jelly Variations
Once you’ve mastered basic jelly, explore creative variations. Champagne jelly adds elegance to desserts—use 400 milliliters of champagne or sparkling wine combined with 100 milliliters of fruit juice, reducing champagne heat to prevent carbonation loss. Layer different fruit juices before they fully set to create stunning striped effects. Allow each layer to set until tacky before adding the next.
Herb-infused jellies work wonderfully with savory dishes. Infuse warm stock with fresh basil, tarragon, or thyme for 15 minutes before straining and adding gelatin. Consommé jelly—a crystal-clear, deeply flavorful aspic—requires the clarification process but rewards you with restaurant-quality results. Wine jellies made with red or white wine, combined with stock and appropriate seasonings, pair beautifully with meat courses.
Panna cotta, technically a jelly made with cream and gelatin, offers luxurious texture and versatility. Combine 300 milliliters heavy cream with 100 milliliters whole milk, heat gently with sugar and vanilla bean, then add bloomed gelatin. Strain through fine mesh and pour into serving glasses or molds. Refrigerate for 6 hours minimum. The result is silky, elegant, and impressive.
Molecular gastronomy techniques allow you to create spheres, noodles, and other modern presentations. Sodium alginate and calcium chloride create spherification effects where liquid centers are encased in thin gel membranes. These advanced techniques require specific ingredients and precise execution but offer exciting creative possibilities for adventurous home cooks.
FAQ
How long does homemade jelly last in the refrigerator?
Properly stored homemade jelly lasts 5-7 days in airtight containers. Ensure your jelly is completely cooled before sealing to prevent condensation. Store away from strong-smelling foods as jelly readily absorbs odors.
Can I make jelly without gelatin?
Yes. Agar-agar works as a vegetarian alternative and sets more firmly than gelatin. Pectin, combined with sugar and acid, creates jellies from fruit juice. Cornstarch creates a different texture but can work for certain applications. Each alternative produces different results, so experiment to find your preference.
Why is my jelly cloudy instead of clear?
Cloudiness in aspic typically indicates fat contamination or improper clarification. For fruit jellies, cloudiness may result from pulp particles. Strain through fine cheesecloth or coffee filters. If using fruit juice, ensure it’s completely clear before beginning.
Can I freeze jelly?
Freezing is not recommended for gelatin-based jellies as thawing causes weeping and separation. Agar-based jellies freeze better but still experience some texture degradation. Refrigeration is the best storage method for maintaining quality.
What’s the difference between jelly, jam, and aspic?
Jelly is a clear, smooth gel made from fruit juice or stock. Jam contains fruit pulp and pieces. Aspic specifically refers to savory meat jelly. All use gelling agents but differ in ingredients and applications.
How do I unmold jelly without breaking it?
Dip the mold briefly—just 2-3 seconds—into warm water. Run a thin knife around the edges and invert onto your serving plate. If it doesn’t release, repeat the warm water dip. Practice makes perfect; your first attempts may require several dips.


