Sourdough pizza crust represents the pinnacle of artisanal pizza making, combining the tangy complexity of fermented dough with the crispy-chewy texture that defines authentic pizza. Unlike commercial yeast pizzas, sourdough relies on natural fermentation to develop deep flavor, improve digestibility, and create an exceptionally satisfying crust that transforms your homemade pizza into a restaurant-quality experience. This proven method has been refined through countless iterations and draws from traditional Italian techniques adapted for home bakers.
The magic of sourdough pizza crust lies in its long fermentation process, where wild yeast and beneficial bacteria work together to break down gluten and develop complex flavors. The result is a crust that’s simultaneously crispy on the outside and tender within, with a distinctive sour tang that pairs beautifully with fresh toppings. Whether you’re a seasoned sourdough baker or exploring pizza making for the first time, this ultimate guide will walk you through every step, from creating your starter to pulling a perfectly baked pie from your oven.
Why Sourdough Pizza Crust Beats Commercial Yeast
Sourdough pizza crust offers distinct advantages over conventional pizza dough made with commercial yeast. The natural fermentation process breaks down phytic acid, making minerals more bioavailable and easier for your body to absorb. This extended fermentation also means the gluten network develops gradually, resulting in better extensibility and structure without the need for excessive kneading.
The flavor profile of sourdough pizza is incomparably richer than quick-rise alternatives. Wild yeast and lactic acid bacteria produce hundreds of flavor compounds during fermentation, creating that signature tangy taste and complex aroma that instantly signals quality. Additionally, sourdough crusts stay fresh longer—the natural acids act as preservatives, keeping your pizza delicious for days rather than hours.
From a digestive standpoint, the long fermentation in sourdough pizza crust makes it gentler on the stomach. The breakdown of carbohydrates and proteins during fermentation reduces the glycemic impact compared to regular pizza dough. This means more stable energy levels and less of the bloating some people experience after eating conventional pizza.
Essential Equipment and Ingredients
Before beginning your sourdough pizza journey, gather the right tools and ingredients. You’ll need a kitchen scale for accurate measurements (digital scales are ideal), a large mixing bowl, a bench scraper, a Dutch oven or pizza stone for baking, and a banneton basket or bowl lined with a floured towel for the final rise.
Ingredients for one 14-inch pizza:
- 400g bread flour or all-purpose flour
- 260ml water (65% hydration)
- 100g active sourdough starter (fed 4-8 hours prior)
- 8g sea salt
- 2g instant yeast (optional, for faster fermentation)
- 5ml olive oil
The quality of your ingredients matters significantly. Use filtered or dechlorinated water if possible, as chlorine can inhibit fermentation. Bread flour develops stronger gluten networks than all-purpose flour, resulting in better oven spring and chew. Your sourdough starter should be vigorous and bubbly, doubling reliably within 4-8 hours of feeding.
Creating and Maintaining Your Sourdough Starter
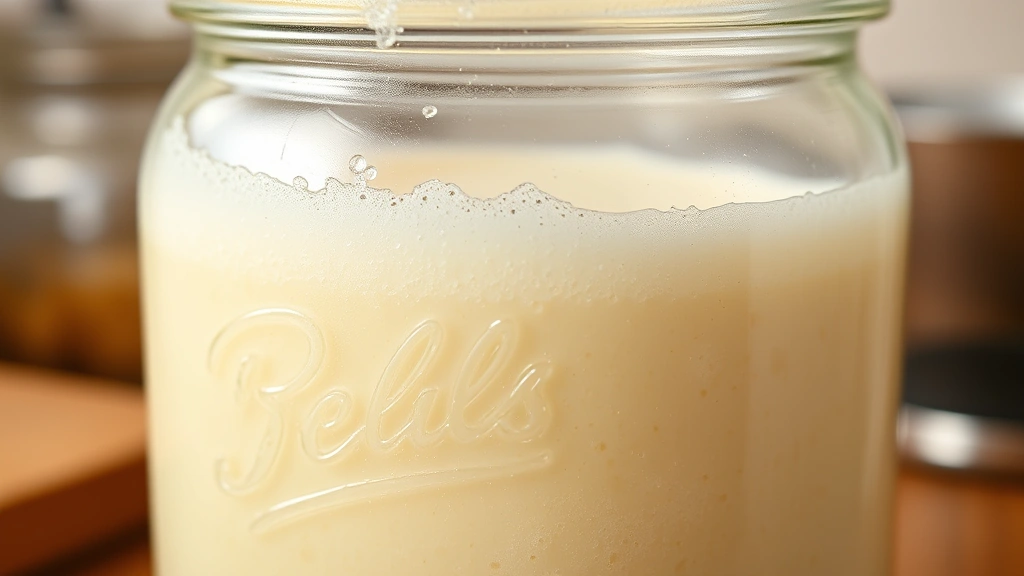
If you don’t already have an active sourdough starter, you’ll need to create one before making your crust. Begin with equal parts flour and water—50g each—in a clean jar. Use whole wheat or rye flour mixed with all-purpose flour for faster colonization by wild yeast and bacteria.
Feed your starter daily by discarding half and adding 50g fresh flour and 50g water. After 5-7 days, you should see consistent bubbling and a pleasant sour smell. Once your starter doubles within 4-8 hours of feeding, it’s ready to use for pizza dough.
Maintaining your starter requires regular feeding. Keep it at room temperature if you bake frequently (several times weekly), or store it in the refrigerator if you bake less often. Before making pizza, remove your starter from the fridge and feed it 4-8 hours prior, allowing it to become active and bubbly. This timing ensures maximum leavening power during fermentation.
For consistent results, always use your starter at peak activity—when it’s doubled in volume and shows a dome of bubbles on top. Using starter at this stage guarantees reliable fermentation and predictable results in your pizza crust.
The Complete Dough Recipe
This recipe produces two 14-inch pizzas or one large 18-inch pizza with excellent flavor development and texture. The method emphasizes long, cold fermentation for maximum taste and digestibility.
Ingredients (for two pizzas):
- 800g bread flour
- 520ml filtered water
- 200g active sourdough starter (at peak)
- 16g sea salt
- 10ml extra virgin olive oil
Hydration and Ratios: This recipe uses 65% hydration, which creates an open crumb structure and excellent flavor development. The 25% starter ratio ensures strong fermentation without requiring commercial yeast.
The beauty of this dough lies in its flexibility. You can adjust hydration between 60-70% depending on your flour’s protein content and desired crust texture. Lower hydration (60%) produces a crispier crust, while higher hydration (70%) yields a more open, airier crumb.
Step-by-Step Fermentation Process
Mixing Phase (Autolyse): Combine 800g flour and 520ml water in a large bowl, mixing until all flour is hydrated. This autolyse phase—resting for 30-60 minutes—allows flour to fully absorb water and begins gluten development naturally. This rest period is crucial for developing extensibility without excessive mixing.
After the autolyse, add your 200g active starter and 16g salt to the dough. Mix thoroughly, either by hand or with a stand mixer on low speed for 8-10 minutes. The dough should come together into a shaggy mass that begins showing signs of gluten development.
Bulk Fermentation (12-24 hours): This extended fermentation is where sourdough pizza crust develops its signature flavor and superior digestibility. Transfer your mixed dough to a lightly oiled bowl, cover with a damp towel, and let it ferment at room temperature (68-72°F is ideal).
During the first 2-3 hours, perform four “stretch and folds” at 30-minute intervals. Wet your hand, grab one side of the dough, stretch it up and fold it over the center, then rotate the bowl and repeat. These stretches build strength without overworking the dough. After the fourth stretch and fold, allow the dough to rest undisturbed for the remainder of bulk fermentation.
The dough is ready when it’s increased 50-75% in volume, shows visible bubbles on the surface, and jiggles slightly when the bowl is moved. This typically takes 12-18 hours at room temperature, though cooler environments may require up to 24 hours.
For faster fermentation, perform bulk fermentation at room temperature for 4-6 hours, then transfer to the refrigerator for 12-18 hours. Cold fermentation actually intensifies flavor development while making the dough easier to handle.
Shaping and Final Rise Techniques
Once bulk fermentation is complete, turn your dough onto a lightly floured surface. Divide into two equal portions if making two pizzas. Pre-shape each portion into a round, then rest for 20 minutes to allow the gluten to relax.
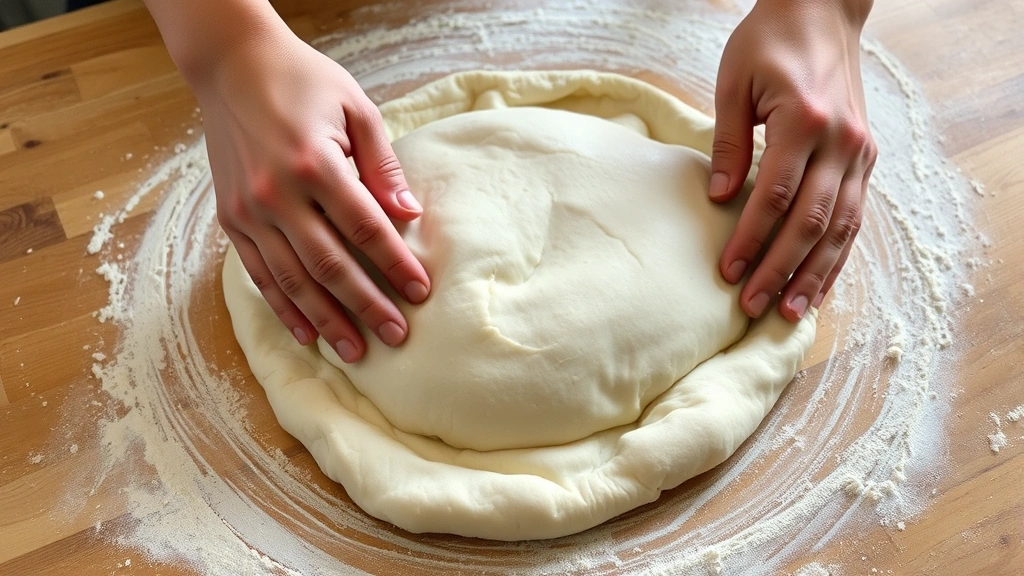
Final Shaping: Using your fingertips, gently press the dough into a circle, leaving the outer edge thicker to form the characteristic pizza rim. Stretch the dough gradually, rotating it as you work. Avoid aggressive stretching that tears the gluten network. Once you reach your desired size (typically 14 inches for a personal pizza), transfer to a pizza peel or parchment paper.
Create the distinctive rim by gently lifting the outer edge and stretching it slightly, allowing gas to concentrate in this area. This rim will puff dramatically in the oven, creating that satisfying crispy-chewy texture.
Final Rise (1-2 hours): Allow the shaped dough to rise at room temperature for 1-2 hours before topping and baking. The dough should increase visibly in volume and feel pillowy to the touch. You can also use a cold final rise—shape your dough, cover it, and refrigerate for 8-24 hours before baking. Cold dough is easier to top without deflating and actually bakes more evenly.
Baking Your Perfect Crust
Successful sourdough pizza baking requires proper oven preparation and technique. Preheat your oven to 475-500°F (245-260°C) for at least 45 minutes. If using a pizza stone, place it in the oven during preheating so it reaches full temperature.
Topping and Loading: Add your sauce and toppings sparingly—sourdough crusts have excellent flavor and don’t need heavy toppings to shine. Remember that less is more; a few quality ingredients allow the crust’s complex flavors to shine through. Consider pairing with antioxidant-rich vegetables and fresh herbs for maximum nutrition and flavor.
Transfer your topped pizza to the preheated stone or baking sheet using a pizza peel dusted with cornmeal or flour. The cornmeal prevents sticking and adds a subtle texture to the bottom crust.
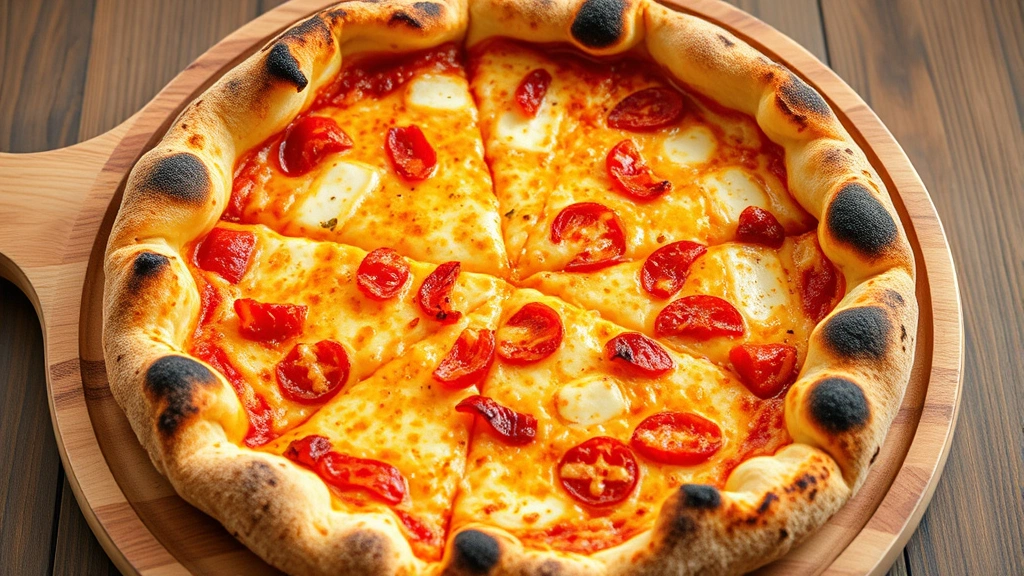
Baking Times: Bake for 12-15 minutes at 475-500°F until the crust is golden brown and the cheese is bubbling. The crust should have a deep golden-brown color with some charred spots, indicating proper caramelization of the dough’s sugars. The rim should be noticeably puffed and crispy.
Remove the pizza and let it rest for 2-3 minutes before slicing. This allows the crumb structure to set, resulting in cleaner slices and better texture.
Troubleshooting Common Issues
Dense, Gummy Crumb: This typically indicates under-fermentation. Extend your bulk fermentation time or increase room temperature slightly. The dough should show obvious volume increase and visible bubbles throughout before shaping.
Dough Won’t Stretch: Gluten is too tight. Allow longer resting periods between shaping attempts, or let the dough rest in the final rise longer before baking. Never force the dough; patient handling produces superior results.
Flat Crust Without Oven Spring: Your oven may not be hot enough, or the dough is over-fermented. Ensure your oven reaches the target temperature and preheat thoroughly. If over-fermentation is the issue, reduce bulk fermentation time or use cooler fermentation temperatures.
Overly Sour Flavor: Extended fermentation produces more sour flavors. If you prefer milder tang, reduce fermentation time by 2-4 hours or use slightly cooler temperatures during bulk fermentation. Conversely, longer fermentation intensifies sourness.
Uneven Browning: Rotate your pizza halfway through baking if your oven has hot spots. Using a pizza stone helps distribute heat more evenly than baking sheets alone.
Consider exploring comprehensive sourdough fermentation guides for deeper understanding of timing and temperature management.
Many bakers find success by incorporating sourdough into their regular meal planning, preparing dough in advance during less busy times for convenient pizza nights.
FAQ
How long does sourdough pizza dough last in the refrigerator?
Properly stored sourdough pizza dough lasts 3-5 days in the refrigerator when wrapped tightly or covered in an airtight container. The cold fermentation actually enhances flavor development. You can also freeze shaped dough for up to 3 months—thaw in the refrigerator overnight before baking.
Can I use my sourdough starter directly from the refrigerator?
While possible, it’s not ideal. Cold starter ferments slowly, producing less reliable results. Feed your starter 4-8 hours before using it, allowing it to become active and bubbly at room temperature. This ensures maximum leavening power and predictable fermentation timing.
What’s the difference between active and inactive sourdough starter?
Active starter has been recently fed and is actively fermenting, showing bubbles and increased volume. Inactive starter (often refrigerated) requires feeding to become active. Always use active starter for pizza dough to ensure reliable fermentation and proper rise.
Can I make sourdough pizza crust without a pizza stone?
Absolutely. Use a standard baking sheet or even a cast iron skillet. Pizza stones distribute heat more evenly, but quality results are achievable with other equipment. Preheat your baking surface thoroughly and use cornmeal to prevent sticking.
Why is my sourdough pizza crust dense?
Dense crumb typically results from insufficient fermentation, over-hydration, or improper shaping that trapped gas. Ensure bulk fermentation lasts long enough for visible volume increase, handle dough gently to preserve gas bubbles, and maintain proper hydration ratios for your flour type.
How do I know when bulk fermentation is complete?
Look for 50-75% volume increase, visible bubbles throughout the dough, and a slight jiggle when you move the bowl. The dough should feel puffy but still hold its shape. Poking the dough should leave a slight indentation that doesn’t immediately spring back.
Can I use all-purpose flour instead of bread flour?
Yes, though results differ slightly. Bread flour’s higher protein content develops stronger gluten and produces chewier crust with better oven spring. All-purpose flour works fine but may yield slightly less extensibility and a more tender crumb. Increase hydration by 2-3% when using all-purpose flour.
Should I add commercial yeast to my sourdough pizza dough?
It’s optional. Adding 2g instant yeast accelerates fermentation without significantly changing flavor. This is useful if you’re short on time or your starter is weak. For maximum sour flavor and traditional results, skip commercial yeast entirely.
What temperature should my kitchen be for sourdough pizza fermentation?
Ideally 68-72°F (20-22°C). Warmer temperatures (75-78°F) speed fermentation significantly, while cooler temperatures (65-68°F) slow it down. Adjust fermentation times based on your actual kitchen temperature—warmer kitchens may need only 10-12 hours bulk fermentation, while cooler ones require 16-24 hours.


