Crispy Pork Cutlets? Grandma’s Secret Recipe!
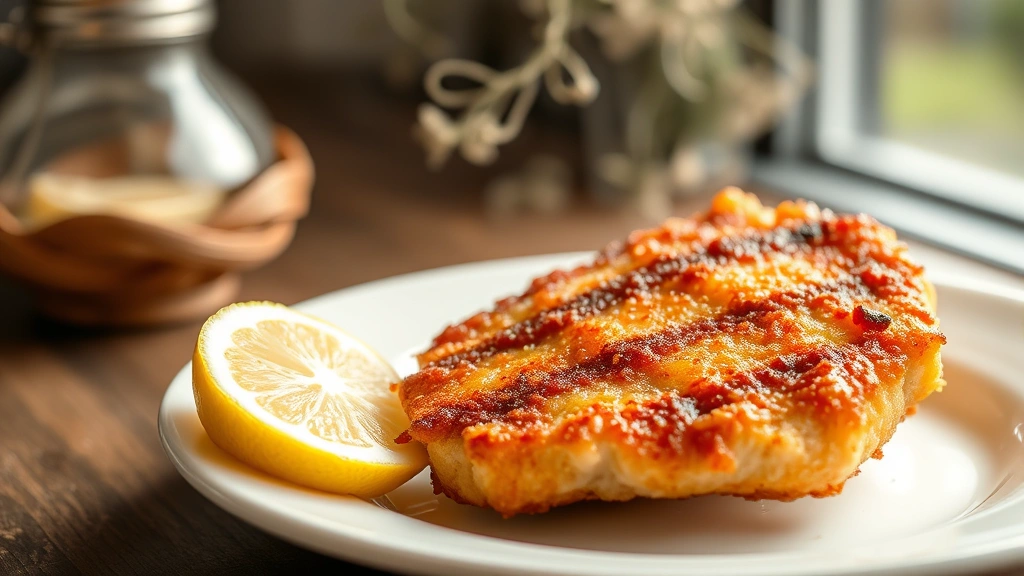
There’s something magical about biting into a perfectly golden, crispy pork cutlet—the kind that shatters between your teeth with an audible crunch before giving way to tender, juicy meat inside. This is the dish that graced my grandmother’s table every Sunday, the one that made us kids fight over the last piece. For decades, I watched her work her magic in the kitchen, never quite understanding how she achieved that legendary crispness that seemed impossible to replicate. Today, I’m unveiling the techniques and secrets that transformed simple pork cutlets into the stuff of family legend.
What makes a pork cutlet truly exceptional isn’t luck or expensive ingredients—it’s understanding the science behind the crust and mastering a few fundamental techniques that separate mediocre cutlets from show-stopping ones. Whether you’re cooking for weeknight dinner or impressing guests at a special occasion, this comprehensive guide will walk you through every step, from selecting the right cut of meat to achieving that coveted golden-brown exterior that stays crispy long after the cutlet hits your plate.
Selecting and Preparing Your Pork
The foundation of exceptional pork cutlets begins at the butcher counter. You’ll want to look for bone-in pork chops or boneless pork loin chops, ideally between three-quarters to one inch thick. My grandmother always insisted on asking the butcher to pound the meat slightly thinner—about half an inch—which she believed created a better surface area for crisping. The cut matters tremendously; avoid extremely thick chops that won’t cook through before the exterior burns, but equally avoid thin, delicate pieces that dry out during cooking.
Once you’ve selected your pork, the preparation phase is crucial. Pat your cutlets completely dry using paper towels—this is non-negotiable for achieving crispiness. Moisture is the enemy of a golden crust, so don’t skip this step. Season both sides generously with kosher salt and freshly ground black pepper at least 15-20 minutes before breading. This allows the salt to penetrate the meat and enhance flavor throughout, not just on the surface. Some home cooks prefer seasoning immediately before cooking, but my grandmother’s method of allowing the salt to work its magic produces superior results.
For those interested in exploring other pork preparations, you might enjoy our Char Siu Recipe or Kalua Pork Recipe, which showcase different approaches to pork cooking. These comfort food recipes demonstrate the versatility of pork in home cooking.
The Breading Technique That Changed Everything
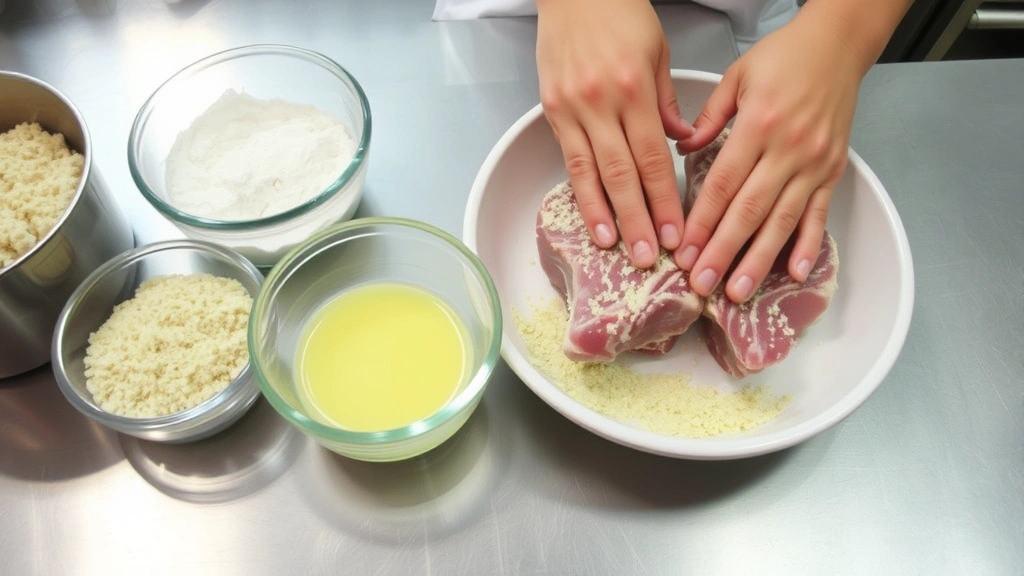
Here’s where grandma’s secret truly reveals itself. The traditional three-step breading process—flour, egg wash, breadcrumbs—is only the beginning. The real magic happens in how you execute each stage and what modifications you make to achieve superior texture and flavor.
Step One: The Flour Coating
Start with all-purpose flour mixed with a pinch of cornstarch (about 2 tablespoons cornstarch per cup of flour). The cornstarch is crucial; it absorbs moisture and creates a crispier, more delicate crust. Season this flour mixture with salt, pepper, garlic powder, and a whisper of paprika. Some people add a teaspoon of baking powder to the flour mixture—this creates tiny air pockets in the crust that enhance crispiness exponentially. Coat each cutlet lightly but thoroughly, shaking off excess flour. This thin, even layer is essential; too much flour creates a thick, doughy crust.
Step Two: The Egg Wash
Whisk together two eggs with a tablespoon of water or milk. This creates the adhesive that bonds your breadcrumb coating to the meat. Some traditional recipes use just egg yolks, which my grandmother swore by for extra richness and superior browning. Dip your floured cutlet into the egg wash, ensuring complete coverage but allowing excess to drip away. Thirty seconds in the egg wash is perfect; longer submersion can oversaturate your flour layer and create an uneven coating.
Step Three: The Breadcrumb Coating
This is where many home cooks fail. Don’t use standard supermarket breadcrumbs—they’re too fine and create a dense, heavy crust. Instead, make your own by pulsing stale bread (Italian or sourdough works beautifully) in a food processor until you achieve medium-sized crumbs with varying texture. Grandma would toast her breadcrumbs lightly in a dry skillet before using them, which deepens their color and adds a subtle nutty flavor. Mix your breadcrumbs with grated Parmesan cheese (about one-quarter cup per cup of breadcrumbs), dried Italian herbs, salt, and pepper.
Press the cutlet firmly into the breadcrumb mixture, ensuring crumbs adhere to every surface. This pressing action is vital—it creates contact between the breading and the meat, preventing separation during cooking. Let breaded cutlets rest on a wire rack for 10-15 minutes before cooking. This resting period allows the coating to set and adhere properly, resulting in a more cohesive crust.
Achieving Maximum Crispiness
The secret to crispiness lies in understanding moisture control and oil temperature. When you place a breaded cutlet in hot oil, water molecules in the meat and coating turn to steam, creating pockets that form the crispy texture. However, if the oil isn’t hot enough, steam escapes slowly, leaving the coating greasy and soggy. If the oil is too hot, the exterior burns before the inside cooks.
The ideal oil temperature for pork cutlets is 350-360°F (175-182°C). Use a reliable thermometer—don’t estimate by watching for smoke or bubbles, as this is imprecise and often leads to inconsistent results. I recommend using a combination of oils: 70% vegetable or canola oil (high smoke point) and 30% butter or olive oil (for flavor). This blend provides excellent heat tolerance while adding richness that grandma’s cutlets were famous for.
The oil depth matters too. You need at least one-and-a-half inches of oil for proper frying, allowing cutlets to float slightly and cook evenly on both sides. Shallow oil (less than one inch) results in uneven browning and requires flipping multiple times, which can disturb the delicate crust.
Cooking Methods and Temperature Control
While pan-frying is the traditional method, understanding different cooking approaches helps you choose the best technique for your situation and equipment.
The Pan-Frying Method (Traditional)
Heat your oil to 350-360°F in a heavy-bottomed skillet (cast iron or stainless steel both work excellently). Once oil reaches temperature, carefully place cutlets in the pan without crowding. Space them so they’re not touching; overcrowding drops oil temperature and causes steaming rather than frying. Cook for approximately 3-4 minutes on the first side without moving them. This uninterrupted cooking time allows the crust to set and develop that golden-brown color. Flip once and cook the second side for 2-3 minutes until golden brown and the internal temperature reaches 145°F (63°C).
Transfer finished cutlets to a paper towel-lined plate to drain excess oil. The paper towels absorb surface oil while the residual heat continues cooking the interior slightly, ensuring perfectly cooked, juicy meat.
The Oven-Finishing Method
For a lighter version or when cooking larger quantities, you can pan-sear cutlets for 2-3 minutes per side at 360°F, then transfer them to a preheated 400°F (200°C) oven for 5-8 minutes to finish cooking. This method uses less oil and provides more even cooking, though the crust won’t be quite as dramatically crispy as traditional pan-frying.
Temperature Control is Critical
Use an instant-read thermometer to verify doneness. Pork is safely cooked at an internal temperature of 145°F (63°C), which results in slightly pink meat that’s incredibly juicy. The old advice to cook pork to 160°F (71°C) is outdated and results in dry, unpleasant meat. Modern food safety standards recognize that 145°F is perfectly safe, and your cutlets will be far superior.
The carryover cooking phenomenon is real—after removing cutlets from heat, they continue cooking as residual heat distributes through the meat. Account for this by removing them when internal temperature reaches 140°F (60°C), allowing carryover cooking to bring them to the safe 145°F (63°C) threshold.
Serving and Storage Tips
Crispy pork cutlets pair beautifully with countless accompaniments. Consider serving them alongside rice bowl recipes for an easy weeknight meal, or with a simple pickled red onions recipe for brightness and contrast. A squeeze of fresh lemon juice immediately before serving adds acidity that cuts through the richness perfectly.
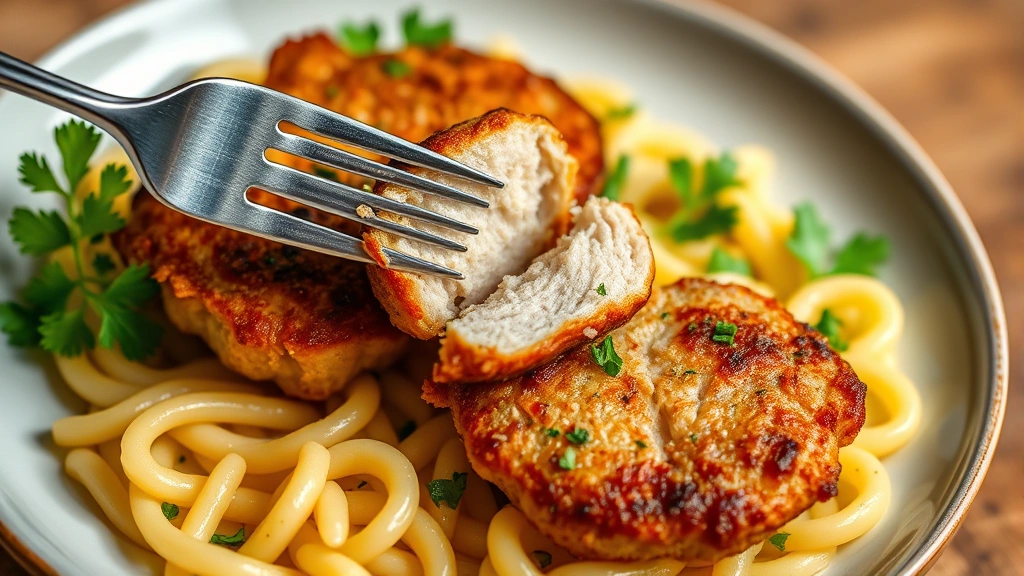
Classic pairings include creamy mashed potatoes, buttered egg noodles, or a crisp green salad. Grandma often served hers with a simple tomato sauce for dipping, creating a dish reminiscent of Italian cutlet preparations. The beauty of perfectly executed pork cutlets is their versatility—they work equally well in casual family settings or formal dinner presentations.
Storage and Reheating
Store leftover cooked cutlets in an airtight container in the refrigerator for up to three days. To reheat while maintaining crispiness, place them on a wire rack over a baking sheet and warm in a 375°F (190°C) oven for 8-10 minutes. Avoid microwaving, which creates soggy, rubbery texture. For longer storage, you can freeze uncooked breaded cutlets on a baking sheet, then transfer them to freezer bags for up to three months. Cook directly from frozen, adding 1-2 minutes to cooking time per side.
For comparison, you might explore how our Ham Steak Recipe applies similar principles to different pork cuts, demonstrating how these techniques translate across various preparations.
FAQ
Can I use boneless pork chops for this recipe?
Absolutely! Boneless pork chops work wonderfully and are often easier to bread and cook evenly. Bone-in chops offer slightly more flavor due to bone marrow interaction, but boneless versions are equally delicious and more practical for many home cooks. Either option works perfectly with grandma’s breading technique.
What’s the difference between pork cutlets and pork chops?
The terms are often used interchangeably, but technically cutlets are thinner pieces of meat, usually pounded to uniform thickness. Chops include the bone and are typically thicker. For this recipe, we’re essentially creating cutlets from chop-cut pieces through slight pounding and careful cooking.
Why does my crust fall off during cooking?
This typically happens because the meat wasn’t completely dry before breading, or the breaded cutlets weren’t rested before cooking. The 10-15 minute resting period allows the coating to adhere properly. Additionally, ensure your egg wash is the right consistency—too thin and it won’t bond effectively, too thick and it creates separation.
Can I use panko breadcrumbs instead of homemade?
Panko works reasonably well and is more convenient than making your own breadcrumbs. However, homemade breadcrumbs from stale bread create superior texture with more varied crumb sizes. If using panko, toast it lightly first and mix with Parmesan and herbs as described.
What oil temperature is absolutely critical?
The 350-360°F (175-182°C) range is crucial. Below 340°F and your crust becomes greasy; above 370°F and it browns too quickly before the interior cooks through. Invest in a reliable instant-read or deep-fry thermometer for consistent results.
How do I know when the cutlet is fully cooked inside?
The most reliable method is using an instant-read thermometer inserted into the thickest part without touching bone. Target 145°F (63°C) for perfectly cooked, juicy pork. Visual cues (color, firmness) are less reliable and often lead to overcooking.


