Molasses Cookies Recipe: Grandma’s Secret Revealed
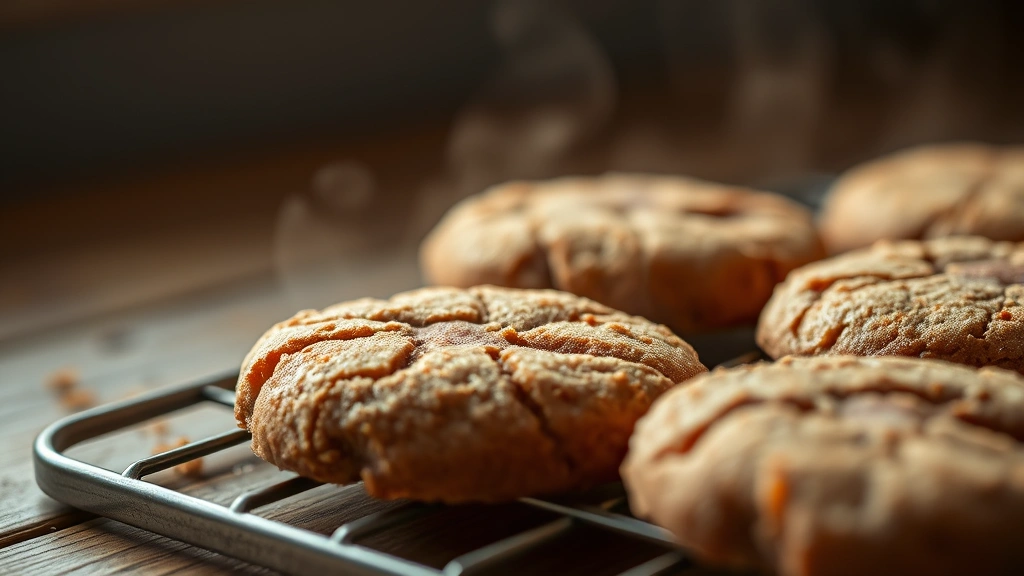
There’s something magical about biting into a chewy molasses cookie—that perfect balance of spice, sweetness, and that distinctive deep molasses flavor that transports you straight to your grandmother’s kitchen. These cookies have been passed down through generations, cherished for their simplicity and incredible taste. The secret to perfect molasses cookies lies not in complicated techniques, but in understanding how each ingredient works together to create that signature texture and flavor profile.
My grandmother guarded her molasses cookie recipe like treasure, and I finally convinced her to share the secrets behind why her cookies were always the star of every holiday gathering. After years of baking alongside her, I’ve learned that the magic happens in the details—the type of molasses you choose, the spice blend, the chilling time, and that crucial moment when you roll them in cinnamon sugar. Today, I’m sharing her complete technique so you can create these beloved cookies in your own kitchen.
Whether you’re a seasoned baker or picking up a mixing bowl for the first time, this guide will walk you through every step, troubleshooting common issues, and revealing the techniques that separate good molasses cookies from truly exceptional ones. Let’s dive into the world of chewy, spiced perfection.
Essential Ingredients for Perfect Molasses Cookies
The foundation of exceptional molasses cookies starts with high-quality ingredients. Understanding what each component contributes to your final product will help you make informed substitutions if needed and appreciate why grandma’s recipe works so well.
Molasses: This is the star ingredient, and not all molasses are created equal. Unsulfured molasses provides a cleaner, more natural flavor compared to sulfured varieties. You can choose between light molasses for a milder taste or dark molasses for a deeper, more robust flavor. My grandmother swears by dark molasses for its rich complexity. Avoid blackstrap molasses unless you enjoy an intensely bitter flavor.
Butter: Use unsalted butter so you can control the salt content precisely. Softened butter at room temperature incorporates air into the dough, creating a lighter texture. Cold butter won’t cream properly and will result in dense cookies.
Sugar: A combination of granulated and brown sugar works best. Granulated sugar provides structure and crispness at the edges, while brown sugar adds moisture and chewiness. The molasses in brown sugar also reinforces the cookie’s flavor profile.
Eggs: Large eggs at room temperature emulsify properly with the butter and sugar, creating a smooth, cohesive dough. Cold eggs won’t incorporate as effectively and can result in a lumpy batter.
Flour: All-purpose flour works perfectly for this recipe. Don’t sift unless your flour is clumpy—modern flours are already aerated. Overmixing the dough after adding flour develops gluten, which can make cookies tough.
Spices: Ground ginger, cinnamon, and cloves create the classic molasses cookie flavor. Freshness matters tremendously here. Ground spices lose potency over time, so check your pantry. My grandmother buys whole spices and grinds them fresh, which elevates the flavor significantly. You can find high-quality spices at The Spice House, a trusted culinary resource.
Leavening Agents: Baking soda and baking powder work together. Baking soda reacts with the acidic molasses, creating lift and that slightly crackled top. Baking powder provides additional rise. Both must be fresh—test them before using if they’ve been in your pantry for over a year.
Equipment You’ll Need
Having the right tools makes the baking process smoother and more enjoyable. You don’t need fancy equipment, but these items ensure consistent results:
- Electric mixer (stand or hand mixer) for creaming butter and sugar
- Measuring cups and spoons—use the scoop-and-level method for accuracy
- Mixing bowls in various sizes
- Baking sheets lined with parchment paper
- Cookie scoop for uniform sizing
- Wire cooling racks
- Small bowl for the cinnamon-sugar coating
- Thermometer to verify oven temperature accuracy
Step-by-Step Instructions
Ingredient List:
- ¾ cup (1.5 sticks) unsalted butter, softened
- 1 cup granulated sugar
- ½ cup packed brown sugar
- 1 large egg
- ¼ cup unsulfured dark molasses
- 2 cups all-purpose flour
- 2 teaspoons baking soda
- 1 teaspoon ground ginger
- 1 teaspoon ground cinnamon
- ½ teaspoon ground cloves
- ¼ teaspoon sea salt
- 3 tablespoons granulated sugar (for rolling)
- 1 tablespoon ground cinnamon (for rolling)
Step 1: Prepare Your Mise en Place
Before you begin mixing, measure all ingredients and arrange them on your workspace. This French culinary technique, called mise en place, ensures you won’t scramble halfway through. Remove your butter and egg from the refrigerator 30 minutes before baking so they reach room temperature. Cold ingredients won’t incorporate properly into the dough, resulting in a grainy texture.
Step 2: Cream the Butter and Sugars
Add softened butter to your mixer bowl and beat on medium speed for 2-3 minutes until it becomes pale and fluffy. This process incorporates air into the butter, which creates lift in your cookies. Add granulated sugar and brown sugar gradually while the mixer runs. Continue beating for another 3-4 minutes until the mixture resembles light, fluffy clouds. This is crucial—don’t rush this step. Proper creaming creates the foundation for tender, chewy cookies.
Step 3: Incorporate Wet Ingredients
Add the egg and molasses to your creamed butter mixture. Beat on medium speed for 1-2 minutes until completely combined. The mixture should be smooth and homogeneous with no streaks of molasses visible. Scrape down the bowl occasionally to ensure everything incorporates evenly.
Step 4: Combine Dry Ingredients
In a separate bowl, whisk together flour, baking soda, ginger, cinnamon, cloves, and salt. Whisking combines the dry ingredients evenly, ensuring spices distribute throughout the dough. This is especially important with baking soda, which can create bitter spots if concentrated in one area.
Step 5: Bring It Together
Add the dry ingredient mixture to the wet ingredients in three additions, mixing on low speed after each addition. Mix just until combined—overmixing develops gluten, which makes cookies tough and dense. The dough should come together without any visible flour streaks.
Step 6: Chill the Dough
This is grandma’s secret step that many recipes skip. Cover the dough and refrigerate for at least 2 hours, preferably overnight. Chilling allows the flavors to meld and develop, prevents excessive spreading during baking, and makes the dough easier to handle. The dough will firm up, allowing you to roll perfect balls without them sticking to your hands.
Step 7: Prepare for Baking
Preheat your oven to 350°F (175°C). Mix granulated sugar and ground cinnamon in a small bowl for the coating. Line your baking sheets with parchment paper.
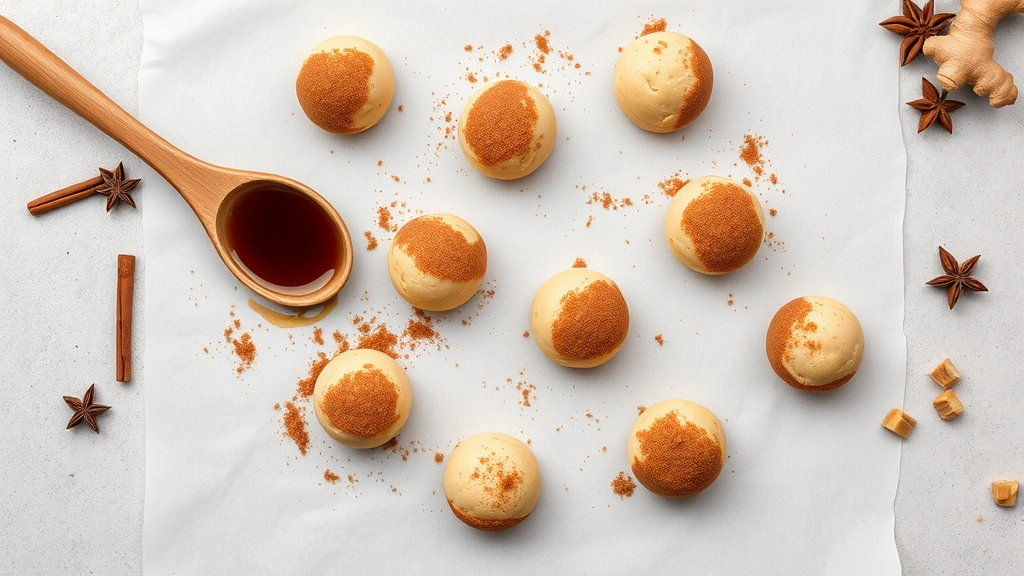
Step 8: Shape the Cookies
Using a cookie scoop (about 1.5 tablespoons of dough per cookie), form uniform balls. Roll each ball in the cinnamon-sugar mixture until well coated. Place them 2 inches apart on your prepared baking sheets, as they’ll spread slightly during baking.
Step 9: Bake to Perfection
Bake for 10-12 minutes until the edges are set but the centers still appear slightly underdone. The cookies should look like they need another minute in the oven—this is the sweet spot for chewy texture. Remove from the oven and let them rest on the baking sheet for 5 minutes before transferring to a wire rack. This resting period allows them to set without becoming too firm.
Grandma’s Secret Tips for Success
Temperature Control: Oven temperatures vary significantly, so invest in an oven thermometer. Bake a small test batch and adjust timing if needed. If your cookies spread too much, your oven runs hot. If they don’t brown enough, it runs cool.
Molasses Quality: Don’t use molasses that’s been open for over a year. It oxidizes and loses flavor complexity. Store opened molasses in an airtight container in a cool, dark place. King Arthur Baking Company offers excellent baking resources and ingredient recommendations.
Spice Freshness: Buy spices in smaller quantities more frequently. Ground spices peak in flavor within 6 months of opening. Store them in airtight containers away from heat and light.
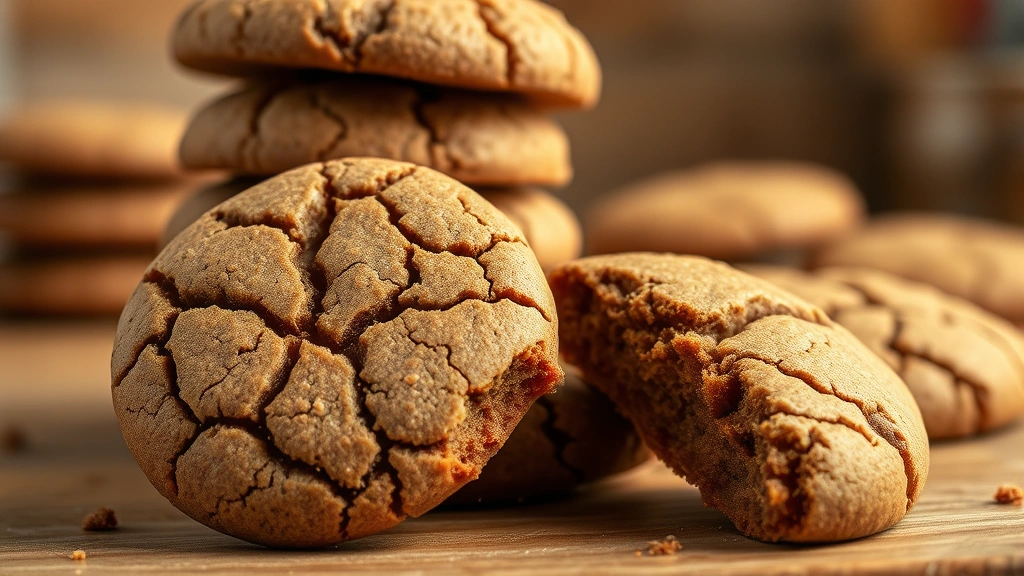
The Crackle Top: That beautiful crackled appearance comes from rolling cookies in cinnamon sugar before baking. The sugar granules create friction against the dough, causing it to crack as it spreads and rises.
Chilling Duration: While 2 hours works, overnight chilling produces superior results. The dough develops deeper flavor as ingredients interact, and the extended rest prevents excessive spreading.
Batch Baking: Bake cookies one sheet at a time in the center oven rack for even browning. If baking two sheets simultaneously, rotate them halfway through. The top and bottom of the oven have temperature variations.
Recipe Variations and Twists
Once you’ve mastered the classic version, experiment with variations. These adaptations maintain the cookie’s essential character while adding exciting new dimensions.
Double Ginger Cookies: Add ½ teaspoon fresh grated ginger and ¼ teaspoon crystallized ginger, finely minced. The fresh ginger provides brightness while crystallized pieces add texture and concentrated flavor.
Chocolate Chunk Molasses Cookies: Fold in ¾ cup chopped dark chocolate after combining the dough. The chocolate melts slightly during baking, creating pockets of richness that complement the molasses beautifully.
Nutmeg-Spiced Version: Add ½ teaspoon ground nutmeg to the spice blend. Nutmeg adds warmth and complexity, particularly appealing in fall and winter.
Orange-Molasses Fusion: Add 1 tablespoon fresh orange zest and ½ teaspoon orange extract. The citrus brightens the molasses while adding a sophisticated flavor layer.
Walnut-Studded Cookies: Fold in ¾ cup finely chopped toasted walnuts. Toast them at 350°F for 8-10 minutes first to intensify their flavor. This variation pairs beautifully with coffee.
For those interested in exploring other baking traditions, check out our guide to tempura batter recipe for crispy techniques, or explore our Asian recipes collection for diverse flavor inspirations.
Storage and Shelf Life
Room Temperature Storage: Keep baked cookies in an airtight container at room temperature for up to 7 days. Place a piece of bread in the container—it absorbs excess moisture and keeps cookies chewy. Replace the bread daily.
Freezer Storage: Freeze baked cookies in an airtight container for up to 3 months. Thaw at room temperature for 30 minutes before serving. You can also freeze the dough balls in a freezer bag for up to 3 months. Bake frozen dough balls directly from the freezer, adding 1-2 minutes to the baking time.
Make-Ahead Strategy: Prepare the dough up to 3 days in advance. This allows you to bake fresh cookies whenever desired. The extended refrigeration actually improves flavor as ingredients continue to marry.
Frequently Asked Questions
Why are my molasses cookies spreading too much?
Excessive spreading indicates either warm dough, an oven that runs hot, or insufficient baking soda. Ensure your dough is properly chilled, verify oven temperature with a thermometer, and check that your baking soda is fresh. Baking soda loses potency over time and won’t provide adequate lift.
How do I achieve the perfect chewy texture?
Remove cookies from the oven when the centers still appear slightly underdone. They continue cooking on the hot baking sheet after removal. Letting them rest on the sheet for 5 minutes before transferring to a cooling rack allows them to set without becoming hard.
Can I substitute the molasses?
You can use light molasses for a milder flavor, but avoid blackstrap molasses—it’s too bitter and overpowering. Never substitute honey or corn syrup, as they behave differently in baking and won’t produce the same results.
What if my dough is too sticky to handle?
Sticky dough means it hasn’t chilled long enough. Refrigerate for the full time specified. If it’s still sticky, lightly coat your hands with flour while shaping, or use a cookie scoop to portion dough directly onto baking sheets.
Why do my cookies have a gritty texture?
Grittiness typically results from undissolved sugar or overmixing after adding flour. Cream the butter and sugar thoroughly until fluffy, and mix the dry ingredients only until just combined. Also ensure you’re using properly measured flour—too much flour creates a dry, grainy texture.
Can I make these cookies without eggs?
Eggs provide structure and moisture. You can try substituting with a flax egg (1 tablespoon ground flaxseed mixed with 3 tablespoons water, let sit 5 minutes), but the texture will differ. The cookies may be slightly more cake-like and less chewy.
How do I know when they’re done baking?
The edges should be set and slightly firm, while the centers remain soft and slightly underdone. They should look like they need another 30 seconds in the oven. They’ll continue cooking on the hot sheet and firm up as they cool.
What’s the difference between baking soda and baking powder?
Baking soda is a base that reacts with acids (like molasses) to create immediate lift. Baking powder contains baking soda plus acidic ingredients, providing lift during baking and resting. This recipe uses both for optimal texture and rise.
Can I double this recipe?
Absolutely. Double all ingredients and follow the same procedure. You may need to mix in two batches if your mixer is small. The baking time remains the same since you’re baking individual cookies, not a larger single batch.
Why should I chill the dough overnight?
Overnight chilling allows flavors to develop and meld together. The molasses flavor deepens, spices distribute evenly, and the dough becomes easier to handle. It also prevents excessive spreading during baking, resulting in thicker, chewier cookies with better texture.
For more baking inspiration, explore our Korean fried chicken recipe for crispy techniques, or check out our honey walnut shrimp recipe for sweet and savory flavor combinations.
Final Thoughts: These molasses cookies represent more than just a recipe—they’re a connection to tradition, comfort, and the joy of sharing homemade treats with loved ones. My grandmother’s secret wasn’t complicated techniques or exotic ingredients, but rather patience, attention to detail, and using quality ingredients. Now that you understand the why behind each step, you can confidently bake these cookies and perhaps create your own family tradition. Start with this classic version, master it, then experiment with variations. Happy baking!


