Classic Stuffed Bell Peppers: Grandma’s Secret Recipe
There’s something deeply comforting about a dish that has graced family dinner tables for generations. Stuffed bell peppers represent more than just a meal—they’re a connection to our culinary heritage and the wisdom passed down through family kitchens. This old fashioned stuffed bell peppers recipe captures the essence of traditional home cooking, combining simple ingredients with time-honored techniques that deliver extraordinary flavor in every bite.
My grandmother guarded her stuffed pepper recipe like a precious heirloom, and for good reason. The magic isn’t found in exotic ingredients or complicated procedures, but rather in understanding how basic components work together to create something truly special. Whether you’re looking to recreate those cherished childhood memories or introduce your own family to this classic comfort food, this comprehensive guide walks you through every step of the process.
What makes this version particularly special is its straightforward approach that respects traditional cooking methods while delivering consistent, delicious results. The combination of seasoned ground beef, rice, and aromatic vegetables creates a filling that’s both hearty and refined—the kind of dish that tastes like home.
Why This Classic Recipe Endures
Stuffed bell peppers have remained a staple in home kitchens across America for decades, and there are compelling reasons why. This dish represents the perfect balance of nutrition, flavor, and practicality—three elements that defined much of grandma’s cooking philosophy. The recipe adapts beautifully to whatever ingredients you have on hand, making it both economical and flexible.
The beauty of this old fashioned stuffed bell peppers recipe lies in its versatility. While the traditional version uses ground beef and rice, the fundamental technique remains the same whether you’re substituting with ground turkey, lamb, or plant-based alternatives. The bell pepper itself serves as both container and flavor contributor, adding subtle sweetness that balances the savory filling.
From a nutritional standpoint, stuffed peppers offer an impressive profile. Bell peppers provide vitamin C, fiber, and antioxidants, while the filling contributes protein and essential minerals. This combination made the dish particularly valuable during times when home cooks needed to stretch budgets while maintaining nutritional quality—a principle that remains relevant today.
Essential Ingredients
The foundation of exceptional stuffed peppers begins with quality ingredients, though nothing fancy is required. Here’s what you’ll need:
- Bell peppers: 4-6 large peppers (red, yellow, orange, or green—each offers slightly different flavor profiles)
- Ground beef: 1.5 pounds (80/20 blend works best)
- Long-grain white rice: 1 cup (uncooked)
- Onion: 1 large, finely diced
- Garlic: 3-4 cloves, minced
- Tomato sauce: 2 cans (15 ounces each)
- Beef broth: 1 cup
- Worcestershire sauce: 2 tablespoons
- Salt and black pepper: To taste
- Paprika: 1 teaspoon
- Dried oregano: 1 teaspoon
- Bay leaf: 1
- Olive oil: 2 tablespoons
The ingredient list intentionally avoids obscure items. Everything should be available at your neighborhood grocery store, and most home cooks already have these staples in their pantry. This accessibility is part of what made this recipe so enduring—grandma could prepare it any night of the week without special shopping trips.
Step-by-Step Preparation
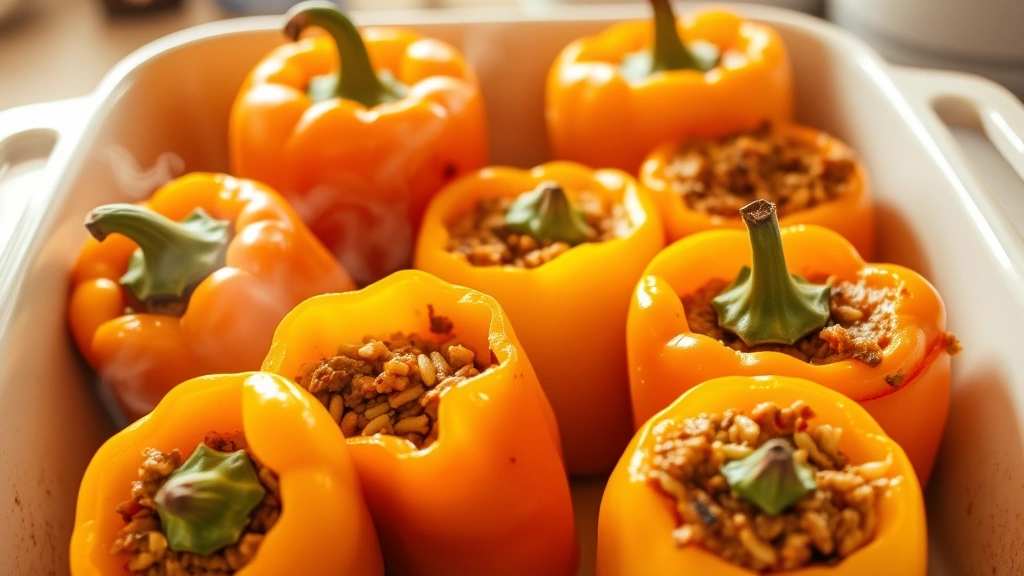
Preparing the Bell Peppers
Begin by selecting peppers that are roughly similar in size, which ensures even cooking. Rinse them thoroughly under cool water and pat dry. Cut off the top quarter-inch of each pepper, creating a lid. Carefully remove the seeds and white membrane from inside, being gentle to avoid creating holes in the pepper walls. You can reserve the tops—they’ll become attractive garnish.
Lightly brush the outside of each pepper with olive oil and season the interior with a pinch of salt and pepper. This step, often overlooked in simplified versions, adds depth to the final dish. Place peppers in a baking dish that fits them snugly, cut-side up.
Creating the Filling
Heat olive oil in a large skillet over medium-high heat. Add the diced onion and cook until translucent, approximately 4-5 minutes. This initial step builds flavor foundation—the onion’s natural sugars caramelize slightly, creating complexity in the filling.
Add minced garlic to the skillet and stir constantly for about 30 seconds until fragrant. Immediately add the ground beef, breaking it into small pieces as it browns. This shouldn’t take more than 6-8 minutes. Drain excess fat if necessary, but leave some—it carries flavor.
Stir in the uncooked rice, coating each grain with the meat and oil mixture. This toasting step, borrowed from risotto technique, develops the rice’s nutty flavor. Toast for 2-3 minutes, stirring frequently. Add the paprika and oregano, stirring to distribute evenly. The kitchen should smell absolutely wonderful at this point.
Pour in one can of tomato sauce and the beef broth, stirring well to combine. Add Worcestershire sauce, salt, pepper, and the bay leaf. Bring the mixture to a simmer, then reduce heat to low. Cover and cook for 15-18 minutes, until the rice is nearly tender and most liquid is absorbed. The rice shouldn’t be completely cooked—it will finish cooking in the oven.
Remove from heat and let cool slightly. This resting period allows flavors to meld and makes the filling easier to handle. Taste and adjust seasonings as needed. This is your moment to ensure the filling is exactly how you want it.
The Cooking Process
Preheat your oven to 350°F. Spoon the filling carefully into each prepared pepper, mounding it slightly at the top. Don’t pack too tightly—the filling expands slightly during cooking. If you have extra filling, distribute it among the peppers or reserve it for topping.
In a small bowl, combine the remaining can of tomato sauce with a quarter cup of beef broth. This creates a sauce that will braise the peppers during baking. Pour this mixture around the peppers (not directly on top, to prevent the filling from washing out). If you saved the pepper tops, place them back on their respective peppers like little hats.
Cover the baking dish tightly with aluminum foil and bake for 35-40 minutes. The peppers should be tender when pierced with a fork, though not mushy. Remove the foil for the last 5 minutes if you prefer the tops to brown slightly.
Remove from the oven and let rest for 5 minutes before serving. This resting period allows everything to set and makes the peppers easier to plate without falling apart. The sauce in the bottom of the pan can be spooned over each pepper for extra richness.

Pro Tips and Variations
Perfecting Your Technique
The most common mistake is using rice that’s too cooked before the filling goes into the peppers. Since the rice will continue cooking in the oven, stopping at the al dente stage ensures perfect texture in the final dish. Similarly, don’t over-stuff the peppers—the filling should be generous but not overflowing.
For even cooking, try to select peppers of similar size and shape. If you must use varied sizes, place smaller peppers in the center of the baking dish where heat distribution is more moderate, and larger peppers around the edges.
If your peppers aren’t standing upright in the baking dish, trim a thin slice from the bottom to create a flat surface. Some cooks place a thin layer of sauce on the bottom of the dish first to help peppers stay put.
Flavorful Variations
While honoring the traditional approach, this recipe welcomes creative adjustments. Consider incorporating diced bell peppers into the filling itself—this adds textural interest and intensifies the pepper flavor. Add a half cup of corn kernels for sweetness, or finely diced mushrooms for earthiness.
For those who enjoy heat, a pinch of cayenne pepper or a diced jalapeño elevates the dish. Mediterranean-inspired versions incorporate pine nuts, currants, and fresh herbs like parsley and dill. You might also explore using ground lamb with cinnamon and allspice for a Middle Eastern interpretation.
The sauce can be customized too. Some cooks add a tablespoon of balsamic vinegar for complexity, while others incorporate a splash of red wine. A small amount of tomato paste intensifies the tomato flavor significantly.
Make-Ahead and Freezing
One advantage of this dish is its excellent make-ahead capability. Prepare and stuff the peppers up to one day in advance, covering them and refrigerating until you’re ready to bake. Add 5-10 minutes to the baking time if cooking from cold.
For freezing, assemble the dish completely, wrap tightly in plastic wrap and foil, and freeze for up to three months. Thaw overnight in the refrigerator before baking, or bake directly from frozen, adding 15-20 minutes to the cooking time and ensuring the oven stays covered with foil for the first 30 minutes.
Serving and Storage
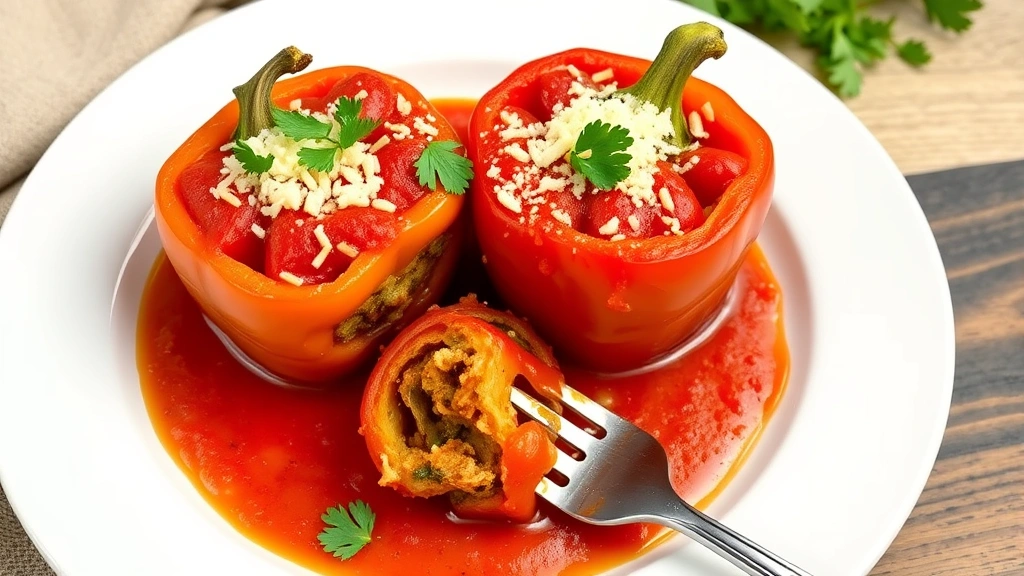
Plating and Presentation
Stuffed peppers are naturally attractive, but a few presentation touches elevate the dish. Use a wide spatula to carefully transfer each pepper to a plate, ensuring the filling stays intact. Spoon some of the pan sauce around the pepper for visual appeal and extra flavor.
Fresh garnishes add professional flair without requiring additional cooking. Chopped fresh parsley, a sprinkle of grated Parmesan cheese, or a dollop of sour cream all complement the dish beautifully. A light dusting of paprika adds color and subtle flavor.
Stuffed peppers pair wonderfully with simple sides. Consider serving alongside a crisp green salad, roasted vegetables, or crusty bread for sauce-soaking. A light pasta or rice pilaf rounds out the meal, though the peppers are substantial enough to serve as the main course with minimal accompaniment.
Storage and Reheating
Leftovers keep well in the refrigerator for 3-4 days in an airtight container. Reheat gently in a 325°F oven for 15-20 minutes, covered with foil to prevent drying. Alternatively, microwave individual portions at 50% power for 3-4 minutes, stirring halfway through.
The flavors actually improve after a day or two as the ingredients continue to meld. Many cooks find day-two peppers superior to the initial serving, making this an ideal dish for meal planning.
FAQ
Can I use a different type of meat?
Absolutely. Ground turkey, chicken, pork, or lamb all work beautifully. Adjust cooking times slightly as leaner meats cook faster. Vegetarian versions using lentils, crumbled tofu, or mushrooms follow the same basic method with equally satisfying results.
What if I don’t have beef broth?
Chicken broth or vegetable broth substitute perfectly well. You can also use water with a beef bouillon cube, or simply use additional tomato sauce diluted with water. The sauce may be slightly less rich but still delicious.
Can I make this in a slow cooker?
Yes, though the method differs slightly. Prepare the peppers and filling as directed, then place stuffed peppers in the slow cooker with the sauce. Cook on low for 6-7 hours or high for 3-4 hours. The peppers will be very tender using this method.
Why are my peppers mushy?
This typically results from overcooking. Reduce baking time to 30-35 minutes, or use a higher oven temperature (375°F) for a shorter duration. The peppers should be tender enough to cut easily but still hold their shape.
Can I use instant rice?
While possible, instant rice produces a less appealing texture—the grains tend to become mushy. Long-grain white rice or even brown rice (which requires slightly longer cooking) delivers superior results worth the minimal extra time.
How do I prevent peppers from tipping over?
Trim a thin slice from the bottom of each pepper to create a flat base. Arrange them snugly in the baking dish so they support each other. A thin layer of sauce on the dish bottom also helps stabilize them.
Is this recipe suitable for meal prep?
Perfectly. Prepare the entire dish, cool completely, divide into individual containers, and refrigerate or freeze. These reheat beautifully and make excellent work lunches. The flavors remain robust even after several days.
What’s the best way to cut the pepper tops?
Use a sharp knife and cut around the stem in a circular motion, angling the blade slightly inward. This creates a natural lid that fits back on the pepper. Remove seeds from the lid carefully to avoid tearing.
Can I prepare the filling the day before?
Yes, the filling keeps well refrigerated for up to two days. Store in an airtight container and bring to room temperature before stuffing the peppers, or stuff them cold and add a few minutes to the baking time.
What wine pairs well with stuffed peppers?
A medium-bodied red wine like Pinot Noir or a lighter Chianti complements the dish nicely. For white wine preferences, a Pinot Grigio or Sauvignon Blanc provides good contrast to the savory filling.


