
There’s something undeniably magical about biting into a slice of Oreo cake—that perfect marriage of chocolate cake and cookie crumbles that makes dessert lovers weak in the knees. This ultimate Oreo cake recipe has become a reader favorite for good reason: it’s indulgent, surprisingly approachable, and delivers that iconic cookie flavor in every single bite. Whether you’re baking for a birthday celebration, a special occasion, or simply because you deserve something extraordinary, this guide will walk you through creating a showstopping dessert that rivals any bakery creation.
What makes this Oreo cake truly ultimate is the layering of flavors and textures. We’re talking about moist chocolate cake infused with crushed Oreos, a silky frosting studded with cookie pieces, and a dramatic presentation that’ll have your guests asking for the recipe before they even finish their first slice. This isn’t just any chocolate cake—it’s an experience, a celebration of one of America’s most beloved cookies transformed into an elegant dessert.
Why This Oreo Cake Recipe Stands Out
This particular cake recipe from our collection distinguishes itself through several key factors. First, we’re using both whole Oreos and crushed ones at different stages of the baking process. Whole cookies get mixed into the batter, providing delightful chunks of cookie goodness, while crushed Oreos create a finer texture that distributes flavor evenly throughout.
The secret to achieving that restaurant-quality moisture lies in our approach to the cake layers. Rather than relying solely on oil or butter, we incorporate a combination of both, along with hot coffee to deepen the chocolate notes. This creates a tender crumb structure that stays fresh for days, unlike drier homemade cakes that disappoint by day two.
Another reason this recipe has earned its reader-favorite status is the frosting strategy. We’re making a cream cheese frosting base—a nod to classic cookie-and-cream flavor combinations—then enriching it with whipped cream and additional crushed Oreos. This creates a frosting that’s stable enough for layering but still luxuriously creamy on the palate.

Essential Ingredients You’ll Need
For the Chocolate Cake Layers:
- 2 cups all-purpose flour
- ¾ cup unsweetened cocoa powder
- 2 teaspoons baking soda
- 1 teaspoon baking powder
- 1 teaspoon salt
- 2 cups granulated sugar
- 2 large eggs
- ½ cup vegetable oil
- ½ cup unsalted butter, melted
- 1 cup strong black coffee, cooled
- 1 cup buttermilk
- 1 teaspoon vanilla extract
- 20 Oreo cookies, roughly crushed (about 1½ cups)
- 8 whole Oreo cookies, halved
For the Cream Cheese Frosting:
- 16 ounces cream cheese, softened to room temperature
- ½ cup unsalted butter, softened
- 3 cups powdered sugar, sifted
- 1 teaspoon vanilla extract
- ¼ cup heavy whipping cream
- 15 Oreo cookies, finely crushed (about 1 cup)
For Assembly and Decoration:
- Extra whole Oreos for garnish
- Crushed Oreo crumbles for edges
- Optional: edible pearl dust or chocolate shavings
Step-by-Step Baking Instructions
Preparation Phase:
Start by preheating your oven to 350°F (175°C). Prepare two 9-inch round cake pans by greasing them thoroughly and lining the bottoms with parchment paper. This ensures your finished layers release cleanly without sticking. Grease the parchment as well for extra insurance. Set these prepared pans aside.
Next, gather all your dry ingredients and sift them together into a medium bowl. Combine the flour, cocoa powder, baking soda, baking powder, and salt. Sifting is crucial here—it aerates the dry ingredients and prevents lumps from forming in your batter, which would create dense pockets in the finished cake. Set this mixture aside.
Wet Ingredient Mixing:
In a large mixing bowl, whisk together the granulated sugar and eggs until the mixture becomes pale and slightly frothy, about 2-3 minutes. This helps incorporate air into the batter, contributing to a lighter crumb. Add the vegetable oil and melted butter, whisking until fully combined.
Pour in the cooled coffee and buttermilk alternately, starting and ending with the dry ingredient mixture. Add the coffee and buttermilk in three additions, alternating with the dry mix in two additions. This prevents overmixing and ensures even hydration. Fold in the vanilla extract after the last addition.
Cookie Integration:
Now comes the fun part—adding the Oreos. Gently fold the roughly crushed Oreo pieces (about 1½ cups) into the batter using a rubber spatula. Don’t overmix at this stage; you want those cookie chunks to remain visible in the finished cake. The batter should be thick but pourable, and flecked throughout with dark cookie pieces.
Baking Process:
Divide the batter evenly between your two prepared pans. Tap each pan gently on the counter a few times to release air bubbles and settle the batter. Place both pans in the preheated oven and bake for 32-38 minutes, until a toothpick inserted into the center comes out with just a few moist crumbs clinging to it. The cake should spring back slightly when touched in the center.
Allow the cakes to cool in their pans for 15 minutes, then turn them out onto wire racks to cool completely. This usually takes about 1-2 hours. Don’t rush this step—attempting to frost warm cake will result in melting frosting and potential cake collapse.
Frosting and Assembly Techniques
While your cake layers cool, prepare the frosting. This is where you can really showcase your baking skills and create that bakery-quality finish.
Making the Cream Cheese Base:
In a medium mixing bowl, beat the softened cream cheese and butter together on medium speed for about 3 minutes, until the mixture is light and fluffy. Scrape down the bowl frequently to ensure even mixing. Add the sifted powdered sugar in three additions, beating on low speed between additions to prevent a sugar cloud from escaping your mixer.
Once all the powdered sugar is incorporated, increase the speed to medium and beat for another 2-3 minutes until the frosting is light and airy. Add the vanilla extract and beat briefly to combine. Gently fold in the heavy cream by hand using a spatula—this adds airiness and makes the frosting easier to spread and swirl. The consistency should be thick but spreadable.
Cookie Incorporation:
Fold in the finely crushed Oreo cookies (about 1 cup) into the frosting. Reserve a handful of larger crumbles for decoration if desired. The frosting should now have a speckled appearance and taste distinctly of cookies and cream.
Leveling and Layering:
Once the cake layers are completely cool, use a serrated bread knife to level the tops if they’ve domed during baking. Place the first cake layer on your cake board or serving plate. If you want extra stability, pipe a small dam of frosting around the edge of the cake layer—this prevents filling from squishing out when you stack the second layer.
Spread an even layer of frosting (about ¾ inch thick) over the first cake layer. Use an offset spatula to create a smooth, even surface. Place the second cake layer on top, pressing down gently and evenly. Frost the top and sides of the assembled cake with the remaining frosting, creating swirls and peaks for visual interest.
Decoration and Presentation Tips
The presentation of your cake is just as important as the taste. This is your opportunity to make it truly spectacular.
Edge Treatment:
Press crushed Oreo crumbles into the sides of the frosted cake for a dramatic effect. This creates texture and adds that extra cookie element that ties the whole dessert together. You can use finely crushed crumbles for a refined look or larger chunks for a more rustic, indulgent appearance.
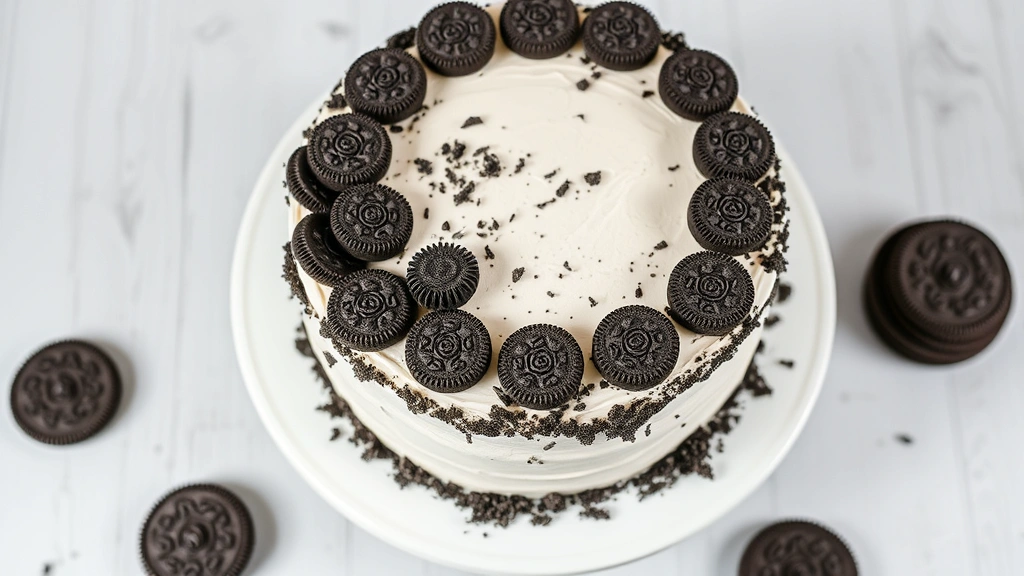
Top Decoration:
Arrange whole Oreo cookies around the top edge of the cake, pressing them slightly into the frosting so they stay secure. Some bakers like to create a ring of cookies; others prefer a scattered arrangement. Consider adding crushed Oreo crumbles to the center of the cake top for a cohesive look.
If you want to elevate the presentation further, dust the top with edible pearl dust for a subtle shimmer, or add chocolate shavings for extra decadence. A simple drizzle of chocolate ganache around the top edge adds sophistication and visual drama.
Storage and Make-Ahead Options
One of the best aspects of this cake is its excellent keeping qualities. Proper storage ensures your Oreo cake stays fresh and delicious for days.
Room Temperature Storage:
If you’re serving the cake the same day or within a few hours, store it covered on the counter in a cake box or under a cake dome. This protects it from dust and prevents the frosting from drying out. The cake will taste wonderful at room temperature.
Refrigerated Storage:
For longer storage, cover the cake loosely with plastic wrap and refrigerate for up to 5 days. The cool temperature actually helps the flavors meld together beautifully. Remove the cake from the refrigerator about 30 minutes before serving to bring it to optimal eating temperature.
Make-Ahead Strategy:
You can bake the cake layers up to 2 days in advance. Wrap cooled, unfrosted layers individually in plastic wrap and store at room temperature or refrigerate. Make the frosting up to 24 hours ahead and store it in an airtight container in the refrigerator. Assemble and frost the cake no more than 8 hours before serving for best texture and appearance.
Freezing Options:
Unfrosted cake layers freeze beautifully for up to 3 months. Wrap them individually in plastic wrap, then place in freezer bags with the air pressed out. Thaw at room temperature for 2-3 hours before frosting. The frosting doesn’t freeze well due to the cream cheese content, so frost after thawing.
Troubleshooting Common Issues
Even experienced bakers encounter challenges occasionally. Here’s how to address common Oreo cake problems.
Cake Layers Are Doming:
If your cake layers dome significantly in the center, you may have overfilled the pans or the oven temperature may be too high. Try using cake strips—damp fabric strips that wrap around the pans to help the cakes bake more evenly. Alternatively, reduce oven temperature by 25°F and increase baking time slightly.
Frosting Is Too Soft:
If your cream cheese frosting is too soft to hold its shape, your ingredients weren’t sufficiently chilled. Refrigerate the frosting for 30 minutes, then try again. If it’s still too soft, add a tablespoon of cornstarch, which helps stabilize the frosting without affecting flavor.
Dry Cake Crumb:
This usually indicates overbaking. Start checking for doneness at 30 minutes rather than waiting the full 38 minutes. The cake should still be slightly moist in the center when the toothpick test is performed.
Cookie Flavor Too Subtle:
If the Oreo flavor isn’t pronounced enough, increase the crushed Oreos in the batter from 1½ cups to 1¾ cups, or add 1-2 tablespoons of crushed cookie powder to the frosting. You can also brush each cake layer with a simple cookie-infused syrup before frosting.
Frosting Separating or Breaking:
This happens when cream cheese is too cold or when ingredients aren’t at the same temperature. Ensure all ingredients are at room temperature before mixing. If separation occurs, gently warm the bowl over warm water while stirring, or add a tablespoon of heavy cream and beat again.
For more inspiration on festive dessert options, explore our collection. You might also enjoy learning how to make chocolate truffles to complement your Oreo cake presentation.
FAQ
Can I use store-bought cake layers instead of baking from scratch?
Absolutely! Using quality store-bought chocolate cake layers saves time while still allowing you to create an impressive frosted and decorated cake. Focus your efforts on making the frosting homemade and the assembly beautiful. This approach is perfect when time is limited.
What’s the best way to cut clean slices?
Use a long, sharp knife dipped in hot water and wiped clean between each cut. This creates clean edges without dragging the frosting. For the cleanest presentation, refrigerate the frosted cake for at least 2 hours before slicing.
Can I make this cake gluten-free?
Yes! Substitute the all-purpose flour with a quality gluten-free flour blend (one that includes xanthan gum). The baking time may be slightly shorter, so check for doneness starting at 28 minutes. Confirm that the Oreos you’re using are certified gluten-free if this is a concern for your guests.
How many servings does this cake yield?
A standard 9-inch two-layer cake typically yields 12-16 servings depending on slice size. For a more indulgent portion, cut into 12 pieces; for lighter servings, cut into 16.
Can I add other flavors to customize this recipe?
Certainly! Consider adding a teaspoon of espresso powder to the batter to deepen chocolate notes, or a touch of peppermint extract for a cookies-and-cream-mint variation. Some bakers add a tablespoon of Oreo cookie butter to the frosting for extra richness.
What external resources help with baking techniques?
The Serious Eats baking guide offers excellent scientific explanations of baking chemistry. For professional decorating techniques, Craftsy’s cake decorating classes provide step-by-step video tutorials. The King Arthur Baking Company website features troubleshooting guides and ingredient information that’s invaluable for any baker.
Is this recipe suitable for dietary restrictions?
The standard recipe contains dairy, eggs, and gluten. Dairy-free versions can substitute vegan butter and non-dairy cream cheese, though texture may vary. Egg-free baking requires a commercial egg replacer. For nut allergies, verify that all ingredients, including Oreos, are processed in nut-free facilities.


