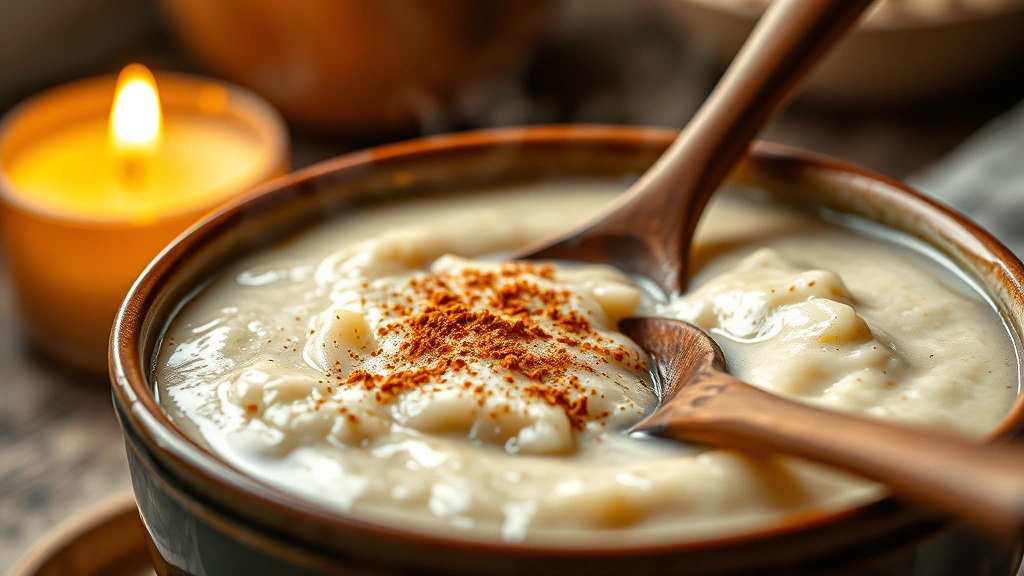
Creamy Rice Pudding? Grandma’s Secret Recipe
There’s something magical about rice pudding that transcends generations. This humble dessert has graced dinner tables for centuries, yet it remains one of the most misunderstood and underappreciated comfort foods. My grandmother guarded her rice pudding recipe like a family heirloom, and for good reason—the secret isn’t just in the ingredients, but in understanding the science behind transforming simple rice and milk into silky, luxurious perfection.
Rice pudding sits at the intersection of nostalgic comfort and culinary technique. Unlike many desserts that require precision and timing, a truly exceptional rice pudding demands patience, attention to temperature control, and a few insider tricks that separate mediocre versions from the ones you’ll crave for years. This guide reveals exactly how to master grandma’s legendary recipe while understanding the principles that make it work.
Why Rice Pudding Deserves Your Attention
Rice pudding belongs in the same conversation as the finest comfort food recipes because it delivers satisfaction on multiple levels. Nutritionally, it provides protein from eggs and dairy while offering sustained energy from rice. Emotionally, it connects us to memories of home and family gatherings. Culinarily, it showcases how fundamental cooking principles create extraordinary results.
What makes grandma’s version special is her understanding that rice pudding isn’t simply rice suspended in custard. The rice grains must absorb liquid gradually, releasing their starches to create natural creaminess without requiring excessive cream or thickening agents. This process, when done correctly, produces a pudding with delicate texture variations—some grains slightly firm, others melting into the custard base.
The beauty of mastering this recipe extends beyond special occasions. Rice pudding works as a sophisticated dinner party dessert, a quick weeknight treat, or even a breakfast dish in many European countries. It’s naturally gluten-free, can be made dairy-free with substitutions, and scales easily for feeding crowds. This versatility makes it invaluable for any home cook’s repertoire.
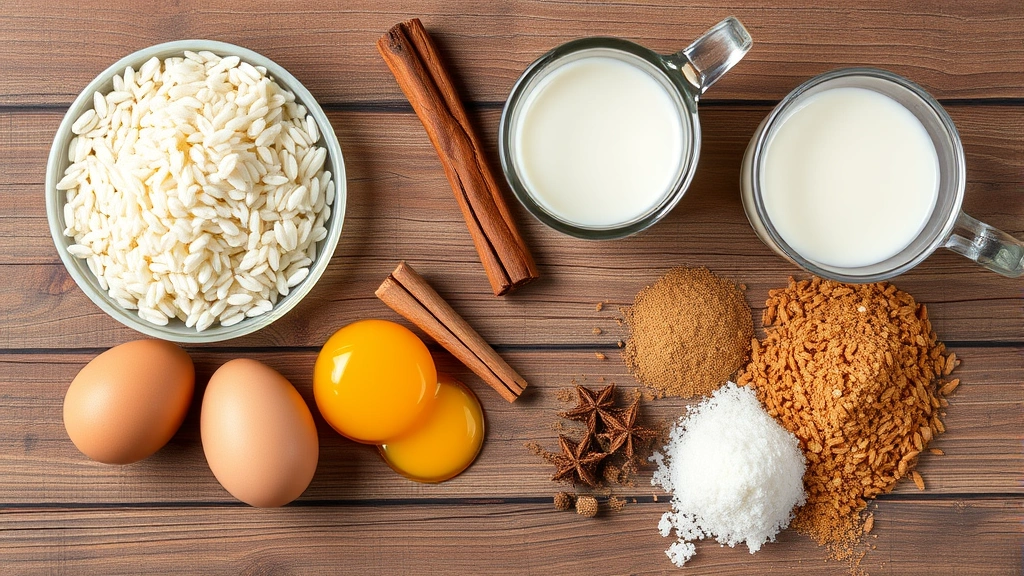
The Essential Ingredients Explained
Grandma’s secret begins with understanding each ingredient’s role in the final product. This isn’t a recipe where substitutions happen carelessly—each component serves a specific function in achieving that legendary creamy texture.
Rice Selection: Short-grain rice, specifically Arborio or sushi rice, is non-negotiable. These varieties contain higher amylose content—the starch molecules responsible for creaminess. Long-grain rice won’t provide the same luxurious texture because it releases starch differently during cooking. Never use instant or minute rice; the texture becomes mushy rather than silky.
Dairy Foundation: Whole milk forms the base because its fat content and lactose contribute to both flavor and mouthfeel. Some versions use a combination of whole milk and heavy cream, but traditional recipes rely primarily on milk with eggs providing richness. If you’re using ingredients from Trader Joe’s recipes collections, their organic whole milk works beautifully.
Eggs: Egg yolks create the custard structure through coagulation. Whole eggs can work, but yolks alone provide better control over creaminess without making the pudding rubbery. Typically, two to three egg yolks per two cups of milk creates the ideal ratio.
Sweetener: Sugar not only adds sweetness but also affects the pudding’s texture by interfering with starch gelatinization. White sugar dissolves cleanly, though brown sugar adds complexity. Grandma preferred a combination of both—white sugar for sweetness, brown sugar for depth.
Aromatics: Vanilla extract, cinnamon, and nutmeg aren’t optional additions; they’re essential flavor foundations. Grandma always used real vanilla extract, never imitation. A pinch of salt amplifies all flavors, making the pudding taste more like itself.
Step-by-Step Cooking Instructions
The cooking method separates extraordinary rice pudding from disappointing versions. Grandma’s technique involves two distinct cooking phases: rice preparation and custard integration.
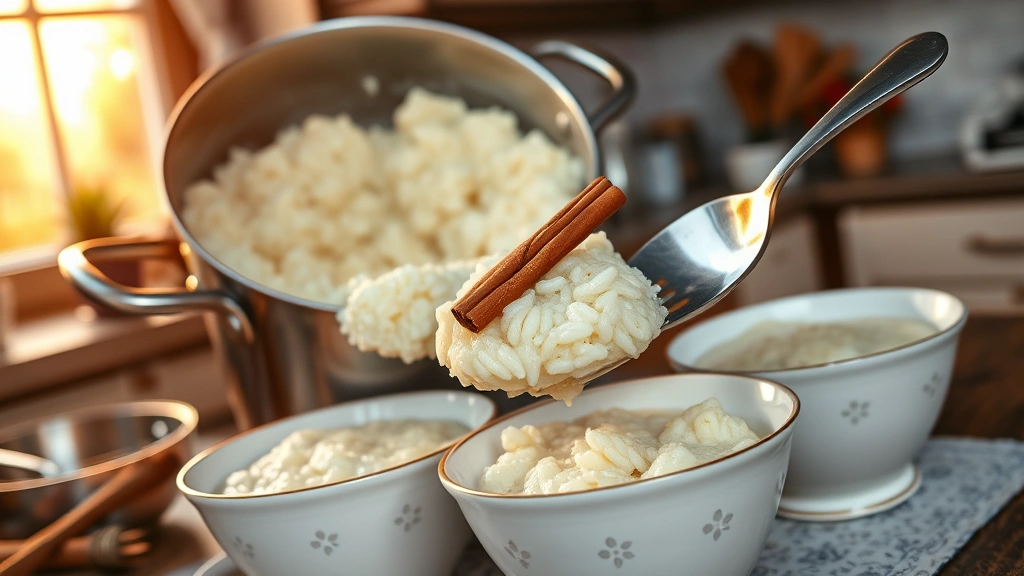
Phase One: Rice Preparation (20 minutes)
- Measure one cup of short-grain rice and rinse thoroughly under cold water until water runs clear. This removes surface starch that would create excess cloudiness.
- In a heavy-bottomed pot, combine rinsed rice with two cups of whole milk and a pinch of salt.
- Bring to a gentle simmer over medium heat, stirring occasionally to prevent sticking.
- Once simmering, reduce heat to low and cover with a lid, leaving a small gap for steam to escape.
- Cook for 15-18 minutes until rice is tender but still holds its shape. The milk should be mostly absorbed but some liquid should remain.
- Stir occasionally during this phase to ensure even cooking and prevent the bottom from scorching.
Phase Two: Custard Creation (15-20 minutes)
- While rice cooks, whisk three egg yolks with one-third cup white sugar and two tablespoons brown sugar in a bowl until pale and slightly thick.
- Add one teaspoon vanilla extract, one-quarter teaspoon cinnamon, and one-eighth teaspoon nutmeg to the egg mixture.
- Slowly pour one cup of heavy cream into the egg mixture while whisking constantly. This tempering prevents the eggs from scrambling.
- Once rice reaches the tender stage, reduce heat to the absolute minimum setting.
- Slowly pour the egg-cream mixture into the rice pot while stirring gently and constantly.
- Continue cooking for 5-8 minutes, stirring frequently, until the pudding thickens noticeably. It should coat the back of a spoon and create a trail when you run your finger across it.
- Remove from heat and stir in one-quarter teaspoon additional vanilla extract.
The key to success in phase two is patience and low heat. High temperatures cause eggs to scramble, creating a grainy texture. The pudding continues thickening as it cools, so it should seem slightly looser than your target consistency when you remove it from heat.
Grandma’s Secret Techniques
Beyond the basic recipe lie several techniques that elevate the pudding to legendary status. These are the details grandma shared only after years of asking.
The Milk Scalding Secret: Grandma always heated her milk to just below boiling before adding rice. This temperatures the milk, speeds up rice cooking, and creates a smoother final texture. Heat two and one-quarter cups of milk until small bubbles form around the edges, then add to rice.
Resting Period: After cooking, she always let the pudding rest for five minutes before serving. This allows the starches to fully hydrate and the custard to set properly. The texture transforms noticeably during this brief rest.
Temperature Control: Grandma used a candy thermometer to monitor the custard phase, removing the pot when the mixture reached exactly 160°F (71°C). This ensures food safety while preventing overcooking.
The Strainer Trick: For an absolutely silky texture, she occasionally pressed the finished pudding through a fine-mesh strainer. This removes any small bits of cooked egg white and creates restaurant-quality smoothness. This technique works especially well if you accidentally overcooked the eggs slightly.
Make-Ahead Advantage: Grandma made her pudding a full day ahead because flavors meld and mature overnight. The pudding thickens further during refrigeration, so if you plan ahead, use slightly more milk initially.
These techniques transform the basic recipe into something transcendent. Each one addresses a specific textural or flavor goal, and together they create pudding that tastes like pure luxury.
Flavor Variations and Customizations
While grandma’s original recipe is perfect, understanding how to modify it opens possibilities for incorporating it into various meal plans. This recipe adapts beautifully to different flavor profiles and dietary needs.
Spiced Autumn Version: Increase cinnamon to one-half teaspoon and nutmeg to one-quarter teaspoon. Add one-eighth teaspoon ground cloves and one-eighth teaspoon ground ginger. This variation works beautifully alongside fall recipes and holiday menus.
Cardamom-Rose Water Variation: Replace one-quarter teaspoon vanilla with one-quarter teaspoon rose water. Add one-quarter teaspoon ground cardamom. This creates an elegant, sophisticated flavor profile inspired by Middle Eastern desserts.
Chocolate Integration: Stir in two ounces of melted dark chocolate during the custard phase, just after removing from heat. Use quality chocolate with at least 60% cocoa content for balanced flavor.
Fruit Additions: Fold in one-half cup of fresh or dried fruit after cooking. Dried cranberries, raisins, or diced dried apricots work beautifully. For fresh berries, add just before serving to prevent discoloration.
Alcohol Infusions: Replace one tablespoon of milk with one tablespoon of rum, brandy, or liqueur. Add after cooking to preserve the alcohol’s flavor notes.
Dairy-Free Adaptation: Substitute whole milk with unsweetened oat milk and heavy cream with coconut cream. The pudding will be slightly less rich but maintains excellent texture. Use only egg yolks, not whole eggs, for best results.
Instant Pot Method: For faster preparation, use the Easy Instant Pot recipes approach: combine rice and milk in the pot, cook on high pressure for five minutes, then perform a quick release. Complete the custard phase on the stovetop afterward.
Storage and Make-Ahead Tips
Proper storage extends the life of your pudding while maintaining its luxurious texture. Understanding how rice pudding changes over time helps you plan meals effectively.
Refrigeration: Store finished pudding in airtight containers for up to five days. The pudding thickens significantly during storage as starches continue hydrating. When serving cold pudding, you may need to thin it slightly with milk.
Freezing Consideration: Rice pudding doesn’t freeze ideally because the texture becomes grainy upon thawing. However, it can be frozen for up to three months if necessary. Thaw in the refrigerator overnight and whisk in milk to restore creaminess.
Reheating Method: Gently warm pudding in a double boiler over simmering water, stirring occasionally. Never microwave, as direct heat causes uneven warming and potential curdling. Add one to two tablespoons of milk while reheating to restore silkiness.
Make-Ahead Strategy: Prepare pudding one day ahead for best results. The flavors deepen, and the texture becomes perfectly set. Store covered with plastic wrap touching the surface to prevent a skin from forming, or embrace the skin as grandma did—it’s actually delicious.
Batch Cooking: This recipe doubles easily for feeding crowds or creating multiple servings for the week. Use the same technique with proportional ingredient increases. A double batch takes approximately the same time as a single batch.
Serving Temperature Options: Serve rice pudding warm, at room temperature, or chilled. Each temperature reveals different flavor notes. Warm pudding emphasizes vanilla and spices. Chilled pudding highlights creamy richness.
Frequently Asked Questions
Why is my rice pudding grainy?
Graininess typically results from overcooked eggs during the custard phase. Ensure you maintain very low heat and stir constantly. If eggs scramble, try straining the finished pudding through a fine-mesh sieve. Future batches benefit from using a thermometer to monitor temperature precisely.
Can I use long-grain rice instead of short-grain?
Long-grain rice won’t produce the same creamy texture because it releases less starch during cooking. Short-grain varieties like Arborio are specifically bred for creaminess. If you only have long-grain rice available, increase cooking time by five minutes and accept a slightly firmer texture.
What if my pudding is too thick?
Whisk in one to two tablespoons of milk at a time until you reach desired consistency. Remember that pudding continues thickening as it cools, so slightly thinner-than-desired consistency when hot is appropriate.
Is it safe to use raw eggs in rice pudding?
No. Always heat the egg mixture to 160°F (71°C) to eliminate food safety risks. Using a thermometer ensures proper temperature without overcooking. Pasteurized eggs can provide additional safety if you’re concerned about raw egg consumption.
How do I prevent a skin from forming on top?
Place plastic wrap directly on the pudding’s surface before refrigerating. Alternatively, press parchment paper onto the surface. Some people prefer the skin and eat it as part of the pudding—grandma certainly did.
Can I make this recipe vegan?
Traditional rice pudding relies on eggs for its custard structure, making true vegan versions challenging. You can approximate it using cornstarch slurry with plant-based milk, but the texture differs significantly from traditional pudding. Coconut milk creates the richest vegan version.
What’s the best rice pudding serving temperature?
Serve according to preference: warm pudding emphasizes spice notes and vanilla, while chilled pudding highlights creamy richness. Room temperature offers a balanced experience of both flavor and texture.
How do I incorporate this into grandma approved dinner recipes?
Rice pudding works as a dessert finale to any meal. It pairs beautifully after lighter dinners and complements rich, savory mains perfectly. Serve in small portions for elegant plating.
Can I use condensed milk in this recipe?
Condensed milk creates a different texture—denser and more pudding-like rather than creamy. If substituting, use equal parts condensed milk and regular milk, then reduce added sugar by one-quarter cup.
What external resources help master rice pudding techniques?
The Serious Eats culinary science articles provide excellent explanations of starch gelatinization and egg coagulation. King Arthur Baking Company’s baking science resources offer precise guidance on custard creation. ChefSteps professional cooking techniques demonstrate advanced temperature control methods.


