Ghirardelli Chocolate Chip Cookie Recipe: The Proven Method
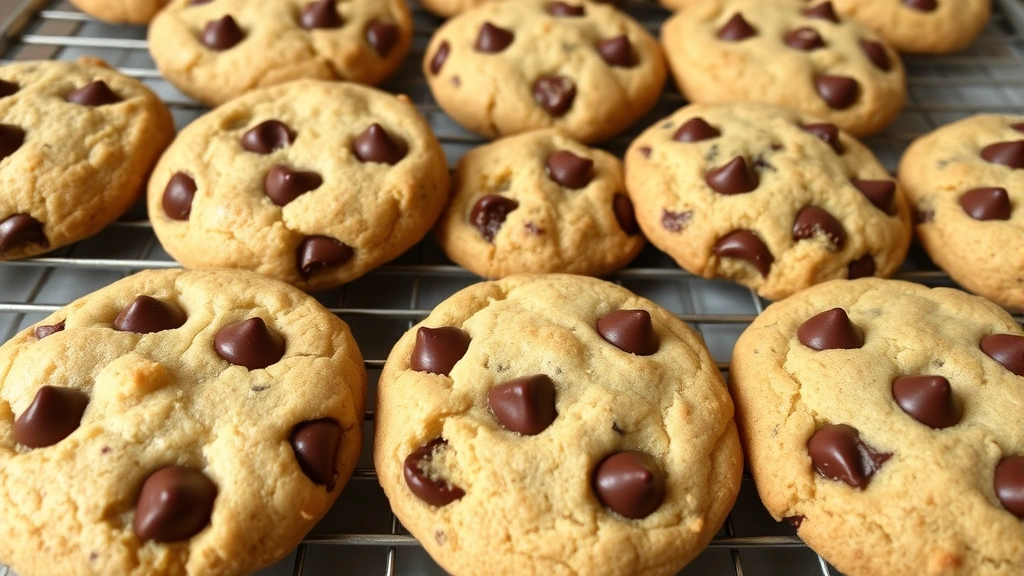
Ghirardelli chocolate chip cookies have become a beloved staple for home bakers seeking that perfect balance of crispy edges and chewy centers. These iconic cookies, inspired by the premium chocolate brand’s rich heritage, deliver bakery-quality results in your own kitchen. The secret lies in understanding the precise technique, ingredient ratios, and timing that transform simple components into extraordinary treats that rival professional bakeries.
Whether you’re a seasoned baker or just starting your culinary journey, this proven Ghirardelli chocolate chip cookie recipe will guide you through every step. We’ll explore the science behind each ingredient, share professional baking techniques, and provide troubleshooting tips to ensure consistent success every single time you bake.
Essential Ingredients & Selection
The foundation of exceptional Ghirardelli chocolate chip cookies begins with understanding each ingredient’s role. Unlike standard cookie recipes, this version emphasizes quality components that create depth of flavor and optimal texture.
Dry Ingredients (The Structure): You’ll need two cups of all-purpose flour, one teaspoon of baking soda, and one teaspoon of fine sea salt. The baking soda is crucial—it promotes spreading and browning while creating that signature crispy-chewy texture. Sea salt enhances chocolate flavor perception and balances sweetness naturally.
Butter (The Fat Base): Use one cup (two sticks) of unsalted butter, softened to room temperature. Butter contributes rich flavor and proper spread during baking. Room-temperature butter creams more efficiently with sugar, incorporating air that creates texture. Cold or melted butter compromises the final result significantly.
Sugars (The Sweetness & Texture): Combine three-quarters cup of granulated white sugar with three-quarters cup of packed brown sugar. Brown sugar contains molasses, which adds moisture, chewiness, and deep caramel notes. The combination of both sugars creates complexity that single-sugar recipes cannot achieve.
Eggs (The Binder): Two large eggs at room temperature integrate smoothly into the dough. Room-temperature eggs emulsify better with butter and sugar, creating a cohesive mixture. Cold eggs can cause separation and result in dense, tough cookies.
Vanilla Extract (The Flavor Enhancer): Two teaspoons of pure vanilla extract (not imitation) provides aromatic depth. Pure vanilla contains natural compounds that enhance chocolate perception and add subtle complexity.
Ghirardelli Chocolate (The Star): Two cups of Ghirardelli semi-sweet chocolate chips or chunks are essential. Ghirardelli chocolate melts smoothly and provides superior flavor compared to standard baking chips. For variation, blend semi-sweet with dark chocolate chips to intensify cocoa notes.
When selecting Ghirardelli chocolate specifically, opt for their premium baking chips rather than economy versions. The cocoa butter content is higher, creating better melting and flavor delivery. Store chocolate chips in a cool, dry location away from heat and moisture, as chocolate absorbs odors and humidity affects quality.
Preparation & Creaming Method
Professional bakers understand that preparation determines success. This recipe requires attention to detail before mixing begins.
Pre-Baking Setup: Preheat your oven to 375°F approximately fifteen minutes before baking. This ensures proper temperature stability. Position racks in the upper-middle and lower-middle sections for even heat distribution if baking multiple sheets simultaneously. Line baking sheets with parchment paper to prevent sticking and ensure even browning.
Ingredient Temperature Matters: Remove butter from refrigeration thirty minutes before mixing. It should yield slightly to gentle finger pressure—soft but not greasy. Crack eggs into a small bowl and let them reach room temperature for five minutes. Room-temperature ingredients combine more smoothly, creating proper emulsification.
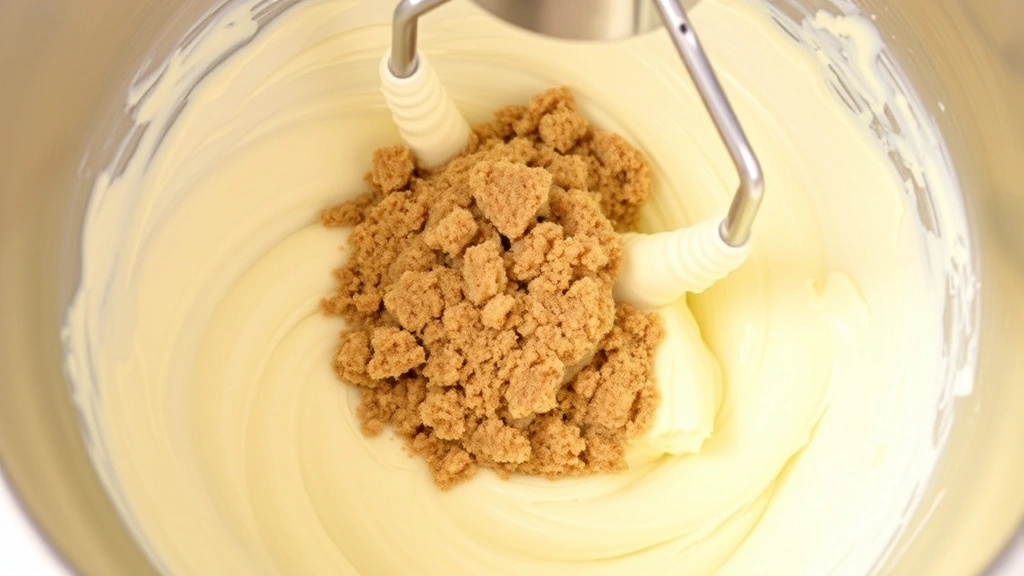
The Creaming Process: In a large mixing bowl, combine softened butter with both sugars. Using an electric mixer on medium speed, beat for three to four minutes until the mixture becomes pale, fluffy, and noticeably lighter in color and volume. This process incorporates air into the dough, creating lift and preventing dense cookies.
Scrape down bowl sides frequently using a rubber spatula. Air incorporation is critical—inadequate creaming results in flat, dense cookies. Proper creaming should roughly double the mixture’s volume. You’ll notice the texture becomes almost mousse-like.
Egg Integration: Add eggs one at a time, beating on medium speed for thirty seconds after each addition. The mixture may look slightly curdled—this is normal. Add vanilla extract and mix until fully incorporated. The dough should appear smooth and homogeneous.
Dry Ingredient Incorporation: In a separate bowl, whisk together flour, baking soda, and salt. This pre-mixing distributes leavening agents evenly. Reduce mixer speed to low and gradually add dry ingredients to the wet mixture. Mix only until combined—overmixing develops gluten, creating tough cookies. Stop mixing as soon as no flour streaks remain.
Chocolate Addition: Fold in Ghirardelli chocolate chips using a rubber spatula with gentle, sweeping motions. Avoid using the mixer, which can break chips and overdevelop gluten. Ensure chips distribute evenly throughout the dough. The dough should be thick and chunky, not smooth.
The Baking Process
Baking technique separates amateur results from bakery-quality cookies. Proper execution during this stage creates the ideal texture profile.
Portioning Dough: Using a two-tablespoon cookie scoop or measuring spoon, portion dough onto prepared baking sheets, spacing cookies about two inches apart. Uniform sizing ensures even baking. Slightly flatten each portion with your palm—this promotes even heat penetration. Avoid pressing too hard, which compacts the dough and creates dense cookies.
Baking Temperature & Time: Bake at 375°F for eleven to thirteen minutes. The precise time depends on your oven’s characteristics. Cookies should appear golden brown at edges but still appear slightly underdone at centers. This is intentional—residual heat continues cooking after removal, creating the perfect chewy-crispy balance.
If baking multiple sheets simultaneously, rotate them halfway through baking. Swap top and bottom racks and rotate sheets front-to-back. This compensates for uneven oven heat distribution.
Visual Doneness Cues: Properly baked cookies display golden-brown edges while centers appear slightly lighter and softer. The cookies will look slightly underbaked when removed from the oven—this is the desired state. Overbaking creates hard, brittle cookies that lack chewiness.
If your oven runs hot or cold, adjust temperature by 25°F accordingly. Every oven has personality. Keep detailed notes about timing and temperature adjustments for future reference.
Cooling & Storage Tips
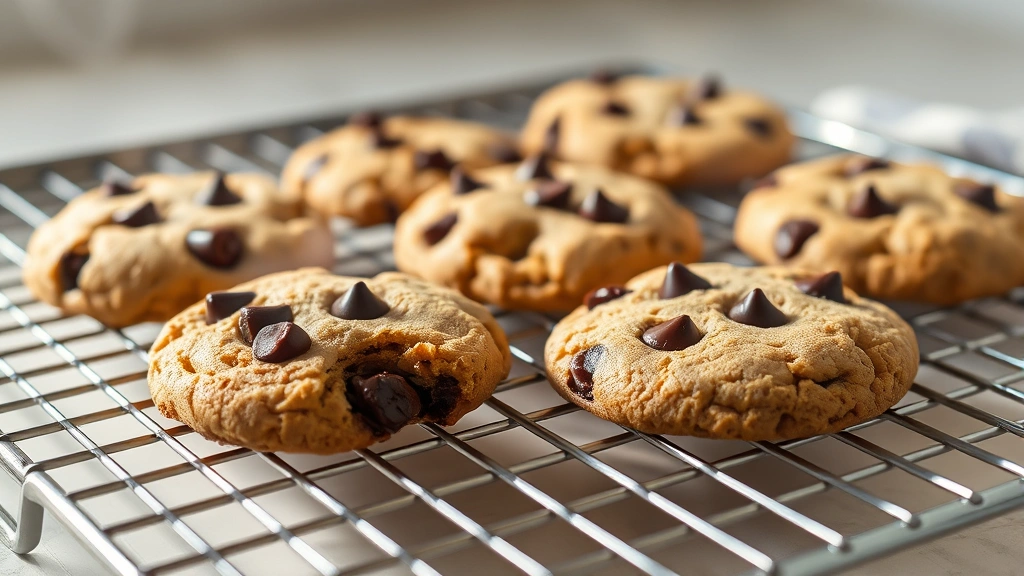
Immediate Cooling: Remove baking sheets from the oven and let cookies rest on the hot pan for three to four minutes. This allows carryover cooking to finish while cookies remain soft enough to transfer without breaking. The residual heat firms the structure just enough for handling.
After three to four minutes, transfer cookies to a wire cooling rack using a thin spatula. Handle gently, as they’re still delicate. Complete cooling takes approximately twenty minutes on the rack. Resist the urge to eat warm cookies immediately—they firm up as they cool, developing optimal texture.
Storage for Optimal Freshness: Once completely cooled, store cookies in an airtight container at room temperature. Layer cookies with parchment paper to prevent sticking. Properly stored cookies maintain freshness for five to seven days. The airtight container prevents moisture loss, maintaining chewiness.
For longer storage, freeze baked cookies in freezer-safe containers for up to three months. Thaw at room temperature for thirty minutes before serving. Alternatively, freeze unbaked dough portions and bake as desired—this provides fresh-baked cookies on demand.
Variations & Pro Tips
Chocolate Combinations: Enhance complexity by combining Ghirardelli semi-sweet chips with dark chocolate chunks or milk chocolate pieces. A seventy-thirty semi-sweet to dark ratio creates sophisticated flavor depth. For flavor layering techniques, consider adding a small amount of espresso powder (one-quarter teaspoon) to intensify chocolate notes without adding bitterness.
Texture Modifications: For crunchier cookies, slightly reduce brown sugar by two tablespoons and increase baking time by one to two minutes. For chewier results, add one additional tablespoon of brown sugar and reduce baking time by one minute.
Add-In Options: Toast chopped nuts (walnuts, pecans, or macadamia) and fold in with chocolate chips for textural contrast. Sea salt sprinkled on top before baking creates sophisticated sweet-salty balance. Finely grated citrus zest (lemon or orange) adds brightness that complements chocolate beautifully.
Professional Techniques: Chilling dough for thirty minutes before baking reduces spreading and creates thicker cookies. For uniform browning similar to controlled heat application methods, use an oven thermometer to verify accurate temperature. Many home ovens run 25-50°F hotter or cooler than displayed.
Ingredient Quality Notes: Ghirardelli chocolate specifically contains cocoa butter rather than vegetable oil, creating superior melting and flavor. This quality difference justifies the premium price. For understanding baking science principles, consult Serious Eats baking science resources, which explain the chemistry behind each ingredient.
Batch Testing: Bake a test batch before preparing large quantities. This identifies your oven’s specific characteristics and allows timing adjustments. Note the exact baking time that produces your preferred texture, then use this baseline for future batches.
Frequently Asked Questions
Why do my cookies spread too much?
Excessive spreading typically results from warm dough, hot baking sheets, or insufficient baking soda. Ensure butter is softened but not melted, use cool baking sheets, and verify baking soda isn’t expired. Chilling dough for thirty minutes before baking also controls spread significantly.
How can I achieve chewy centers with crispy edges?
This texture profile results from proper baking temperature and timing. Bake at 375°F and remove cookies when edges are golden but centers appear slightly underdone. The residual heat on the hot pan completes cooking, creating the desired contrast. Avoid overbaking, which creates uniformly hard cookies.
Can I substitute other chocolate brands for Ghirardelli?
While other quality brands work, Ghirardelli specifically provides superior melting and flavor due to higher cocoa butter content. If substituting, choose brands containing cocoa butter rather than vegetable oil. The recipe remains successful with substitutions, though flavor intensity may vary slightly.
How do I prevent cookies from becoming hard after storage?
Airtight storage is essential for maintaining moisture and chewiness. Include a slice of bread in the cookie container—it absorbs excess moisture while keeping cookies soft. Replace the bread slice every other day if storing longer than three days.
Why are my cookies cake-like instead of chewy?
Cake-like texture results from overmixing (developing excess gluten), too much flour, or insufficient brown sugar. Measure flour by spooning into measuring cups and leveling rather than scooping directly from the bag, which compacts flour. Ensure you’re using the correct ratio of brown to white sugar, and mix only until dry ingredients are barely incorporated.
Can I use melted butter instead of softened butter?
Melted butter produces different results—cookies become thinner and crisper rather than chewy. If you prefer this texture, melted butter works, but expect less thickness and chewiness. Softened butter is essential for the traditional chewy-crispy balance this recipe delivers.
How long can I freeze cookie dough?
Frozen dough portions maintain quality for up to three months when stored in freezer-safe containers. Bake directly from frozen, adding one to two minutes to baking time. No thawing is necessary. This allows fresh-baked cookie enjoyment whenever desired, similar to convenience found in make-ahead cooking methods.
What oven temperature is best for even browning?
375°F provides ideal results for this recipe. Using an oven thermometer ensures accuracy—many home ovens display incorrect temperatures. If your oven runs hot, reduce to 350°F; if it runs cold, increase to 400°F. Keep detailed notes about your specific oven’s behavior.
Should I use parchment paper or silicone baking mats?
Both work effectively. Parchment paper is disposable and prevents sticking, while silicone mats are reusable and heat-resistant. Silicone mats may cause slightly faster browning on bottoms. Choose based on preference—both deliver excellent results.
How do I know when cookies are perfectly baked?
Properly baked cookies display golden-brown edges with slightly lighter, softer centers. When removed from the oven, centers should appear slightly underdone. They’ll continue cooking on the hot pan for three to four minutes, developing the ideal texture. Resist eating immediately—wait until completely cooled to experience the full texture profile.


