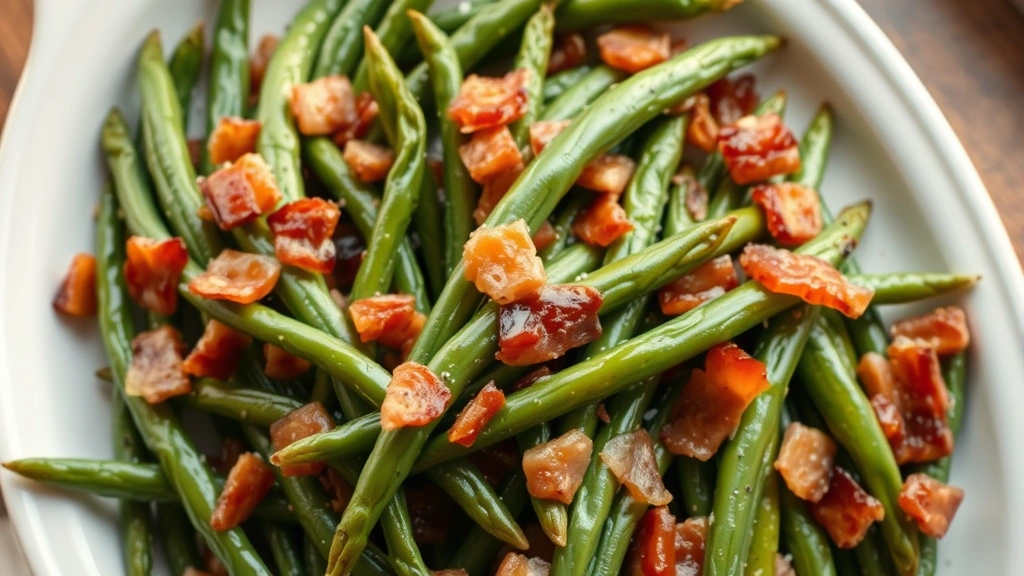
Crispy Green Beans & Bacon? Grandma’s Secret Recipe
There’s something magical about the combination of crispy green beans and bacon that takes us back to family dinners and holiday gatherings. My grandmother guarded this recipe like treasure, and now I’m sharing her secrets with you. This isn’t just any green bean casserole—it’s a masterpiece of texture, flavor, and nostalgia that’ll have everyone asking for seconds. The key lies in understanding how to achieve that perfect crispy exterior while maintaining a tender-crisp interior, something most home cooks struggle with.
What makes this recipe truly special is the technique my grandmother developed over decades of cooking. She discovered that the timing of when you add the bacon, how you prepare the green beans, and the cooking temperature all work together to create something extraordinary. This green bean and bacon recipe has become a staple in our family, requested at every celebration, and now it’s your turn to master it.
Why This Recipe Works
The science behind crispy green beans and bacon starts with understanding moisture and heat. Green beans contain significant water content, which is your enemy when pursuing crispiness. Traditional methods often result in soggy, steamed vegetables. Grandma’s approach eliminates moisture through a combination of techniques: proper blanching, thorough drying, and high-heat cooking that creates a Maillard reaction on the surface.
Bacon fat is crucial here—it’s not just flavoring. The rendered fat creates a protective barrier that prevents water from softening the bean’s exterior while simultaneously adding incredible depth. The salt in bacon seasons the beans throughout, reducing the need for additional seasoning. This recipe demonstrates why fat carries flavor, a principle that separates good cooking from exceptional cooking.
Temperature control separates amateurs from masters. You need enough heat to crisp the beans quickly without burning the bacon. Most home cooks use insufficient heat, resulting in limp vegetables. This recipe requires a hotter pan and shorter cooking time than you’d expect, which is counterintuitive but absolutely essential.
Essential Ingredients & Preparation
For this green bean and bacon recipe, you’ll need:
- 1.5 pounds fresh green beans, trimmed
- 8-10 ounces thick-cut bacon (crucial for texture)
- 3 tablespoons reserved bacon fat
- 4 cloves garlic, minced
- 1/2 teaspoon red pepper flakes (optional but recommended)
- Sea salt and freshly ground black pepper
- 2 tablespoons unsalted butter
- 1 tablespoon apple cider vinegar or sherry vinegar
Preparation is everything: Select fresh, firm green beans without blemishes. Limp beans won’t crisp properly regardless of technique. Trim both ends and rinse thoroughly under cold water. Pat completely dry with paper towels—this step cannot be rushed. Any residual moisture will steam the beans instead of crisping them.
For the bacon, thick-cut bacon is non-negotiable. Thin bacon burns before rendering properly, and you lose that essential fat. Cut bacon into roughly 1-inch pieces before cooking, which allows better heat distribution and more surface area for rendering.
Mince garlic fresh rather than using pre-minced varieties. The flavor difference is substantial, and you’ll understand why grandma insisted on fresh ingredients. Have all ingredients prepped and within arm’s reach before you start cooking—this recipe moves quickly once heat is applied.
Step-by-Step Cooking Instructions
Step 1: Blanch the Green Beans
Bring a large pot of salted water to a rolling boil. The water should taste like seawater—this seasons the beans internally. Add green beans and cook for exactly 4 minutes. This partial cooking (called blanching) removes the raw taste and begins the cooking process without fully softening the beans. Immediately transfer to an ice bath to stop the cooking process. This preserves the bright green color and halts enzyme activity that causes browning.
Drain thoroughly and spread on paper towels. Pat dry completely—moisture is your enemy. You can prepare beans up to 4 hours ahead, refrigerated in an airtight container. This is a game-changer for meal prep and explains how my grandmother could serve this at large gatherings without stress.
Step 2: Render the Bacon
In a large skillet over medium-high heat, cook bacon pieces until they reach medium crispiness—not quite fully crisp. This usually takes 8-10 minutes depending on your heat source. At this point, the bacon should be mostly cooked but still slightly chewy in the center. Using a slotted spoon, transfer bacon to a paper towel-lined plate, reserving 3 tablespoons of bacon fat in the pan.
This step requires attention. Too little cooking and the bacon won’t contribute enough fat and flavor. Too much and it becomes brittle and bitter. The perfect point is when the edges are dark and crispy but the interior still has slight flexibility.
Step 3: Build the Flavor Base
With the bacon fat still in the pan, add minced garlic and red pepper flakes (if using). Reduce heat to medium and cook for exactly 1 minute, stirring constantly. This blooms the garlic’s flavor and distributes the heat evenly. The kitchen should smell incredible at this point—that’s how you know it’s working. Do not allow garlic to brown, as burnt garlic tastes acrid and bitter, completely ruining your dish.
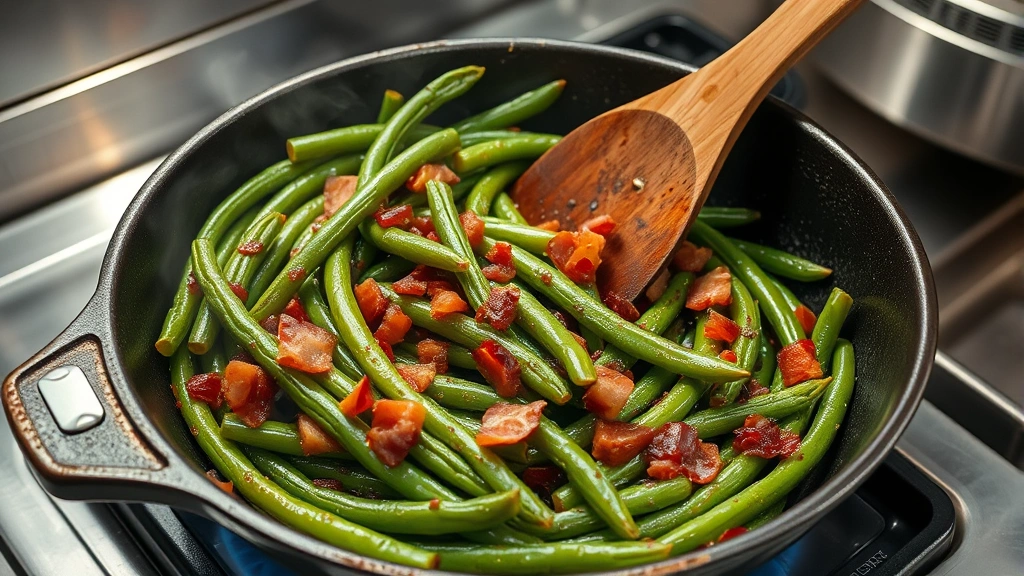
Step 4: Cook the Green Beans
Increase heat to high and carefully add the blanched, dried green beans to the pan. This is where technique becomes critical. Spread them in a single layer and let them sit undisturbed for 2-3 minutes. This allows the bottoms to make contact with the hot fat and develop color. Stir and continue cooking for another 3-4 minutes, stirring occasionally, until the beans develop spotty brown coloring on their surfaces.
The beans should be tender-crisp, not mushy. If you prefer them slightly softer, add 2 tablespoons of water, cover briefly, and steam for 1 minute. For maximum crispiness (grandma’s preference), skip this step entirely.
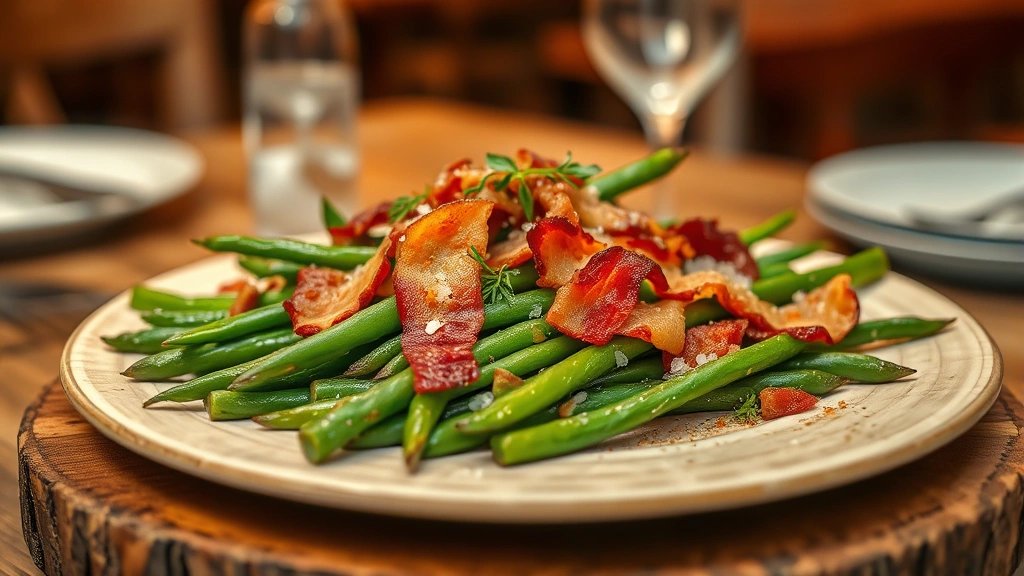
Step 5: Finish and Serve
Remove from heat and add butter, vinegar, and the cooked bacon pieces. Toss to combine, coating every bean with the fat mixture. The butter adds richness, while the vinegar provides brightness that cuts through the richness and enhances the bacon flavor. Season with sea salt and freshly ground black pepper to taste. Remember that bacon is already salty, so taste before adding excessive salt.
Transfer to a serving dish immediately. This recipe is best served hot, with the beans still steaming and the bacon still crispy. The contrast between temperatures and textures is part of the magic.
Grandma’s Pro Tips for Maximum Crispiness
The Moisture Removal Strategy: My grandmother always said that moisture is the enemy of crispiness, which is why she developed a multi-step drying process. After blanching, she would spread beans on cloth towels rather than paper towels, pressing gently to remove maximum moisture. The cloth absorbs water better than paper, and the gentle pressure extracts liquid without damaging the beans.
Heat Management: She insisted on using a cast-iron skillet, which retains heat better than stainless steel or non-stick pans. Cast iron develops a seasoned surface that prevents sticking and distributes heat evenly. If you don’t have cast iron, use a heavy-bottomed stainless steel pan. Non-stick pans don’t conduct heat efficiently enough for proper crisping.
The Bacon Fat Ratio: Using exactly the right amount of fat is crucial. Too little and the beans dry out; too much and they become greasy. Three tablespoons is the sweet spot for 1.5 pounds of beans. This ratio ensures every bean gets coated while excess fat remains minimal.
Timing is Everything: Grandma timed her cooking with precision. The 2-3 minute initial sear without stirring allows the pan’s heat to concentrate on bean bottoms, creating the crispy exterior. The subsequent 3-4 minutes of stirring ensures even cooking throughout. Total cooking time should be 5-7 minutes after beans enter the pan.
The Salt Strategy: Rather than salting at the end, grandma salted the blanching water heavily. This seasons the beans internally, allowing less salt to be added at the end, which helps maintain crispiness. Internal seasoning distributes more evenly than surface seasoning.
Variations & Flavor Combinations
While the classic crispy green beans and bacon recipe is perfection, grandma also experimented with variations. Here are her favorite adaptations:
Garlic & Herb Version: Add 1 teaspoon fresh thyme leaves and 1/2 teaspoon fresh rosemary in addition to the garlic. These herbs complement the bacon beautifully and add complexity. Fresh herbs work better than dried for this recipe.
Spicy Asian-Inspired: Replace apple cider vinegar with rice vinegar and add 1 tablespoon soy sauce. Include 1/4 teaspoon white pepper instead of black pepper. Add sesame seeds as garnish. This creates an entirely different flavor profile while maintaining the crispy texture.
Parmesan & Black Pepper: After removing from heat, toss in 1/4 cup freshly grated Parmesan cheese and increase black pepper to 1/2 teaspoon. The cheese adds a nutty, umami flavor that complements bacon beautifully.
Balsamic & Walnut: Substitute balsamic vinegar for apple cider vinegar and add 1/3 cup toasted walnuts, roughly chopped. This variation appeals to those who prefer earthier flavors and adds textural contrast.
These variations work because they respect the foundation of the recipe. The blanching, drying, and high-heat cooking techniques remain constant—only the seasonings change. This is why understanding technique matters more than memorizing recipes.
Storage & Reheating Guide
Fresh green beans and bacon are best served immediately, but leftovers can be stored properly. Allow to cool completely, then transfer to an airtight container. Refrigerate for up to 3 days. The beans will soften slightly during storage, which is unavoidable.
To reheat, spread on a sheet pan and warm in a 375°F oven for 8-10 minutes, stirring halfway through. This method restores some crispiness better than microwave reheating, which will turn them mushy. Do not add additional fat during reheating, as they’ll become greasy.
Grandma’s trick for party planning: prepare the blanched beans and cooked bacon separately, storing in different containers. Cook them together just before serving. This allows you to serve hot, crispy beans even when entertaining large groups. The components stay fresh longer when separated.
Freezing is possible but not recommended. The texture changes significantly during freezing, and the beans become mushy when thawed. If you must freeze, do so only before cooking. Freeze blanched, dried beans in a single layer on a baking sheet, then transfer to freezer bags once frozen. Cook from frozen, adding 2-3 minutes to cooking time.
This recipe pairs beautifully with fall recipes and holiday menus. If you’re planning a complete meal, consider complementary sides. The richness of this dish works well with lighter proteins and fresh salads. Many people serve it alongside roasted chicken or turkey, where the acidity from the vinegar cuts through the heavier proteins.
Frequently Asked Questions
Can I use frozen green beans instead of fresh?
Frozen green beans contain more water and won’t achieve the same crispiness. If you must use frozen, thaw completely and pat extremely dry. Reduce the initial sear time to 1-2 minutes as they’re already partially cooked. The texture will be different, but acceptable results are possible with careful technique.
What if my bacon isn’t crispy enough?
Return the finished dish to the pan over medium-high heat for 1-2 minutes without stirring. This will crisp the bacon further. Alternatively, cook bacon to nearly full crispiness in step 2, understanding it will cook slightly more during the final combination.
Can I make this recipe without bacon?
Technically yes, but the dish loses its identity. For a vegetarian version, substitute bacon fat with olive oil or butter, increasing to 4 tablespoons. Add 2 teaspoons of smoked paprika to mimic bacon’s smoky flavor. The result won’t be identical, but it will be delicious and maintains the crispy texture.
Why are my green beans soggy despite following the recipe?
The most common culprit is insufficient drying after blanching. Ensure beans are completely dry before cooking. The second issue is low heat—the pan must be hot enough to sear the beans. Use medium-high heat minimum. Finally, avoid adding water unless you specifically prefer softer beans.
Can I prepare this recipe ahead for a dinner party?
Blanch and dry the beans up to 4 hours ahead. Cook the bacon and prepare garlic 1-2 hours ahead. Combine everything just before serving. This approach takes 7-10 minutes total cooking time right before plating, ensuring maximum crispiness for your guests.
What’s the best pan for this recipe?
Cast iron is ideal for heat retention and even cooking. A 12-inch cast iron skillet accommodates 1.5 pounds of beans without overcrowding. Heavy stainless steel works well as a second choice. Avoid non-stick pans, which don’t conduct heat efficiently enough for proper crisping.
How do I know when the beans are perfectly crispy?
Look for spotty brown coloring on the bean surfaces—not uniform browning, but scattered patches of darker color. The beans should bend slightly when picked up but snap if you apply pressure. They should feel firm, not limp. Taste one to confirm the interior is tender while the exterior has some resistance.
This green bean and bacon recipe represents generations of kitchen wisdom distilled into a simple technique. Once you master the fundamentals—proper blanching, thorough drying, high-heat cooking, and timing—you’ll understand why my grandmother served this at every important meal. It’s a recipe that rewards precision but forgives minor mistakes, a hallmark of truly great cooking. Your family gatherings will never be the same once you perfect this dish. Start with the classic version, master the technique, then explore variations that suit your palate.
For more inspiration on classic dishes elevated to perfection, explore our collection of levain cookies and thumbprint cookies recipes that use similar precision techniques. Understanding how to achieve perfect texture applies across all cooking disciplines.


