IHOP Pancake Recipe: Achieve Restaurant-Quality Pancakes at Home
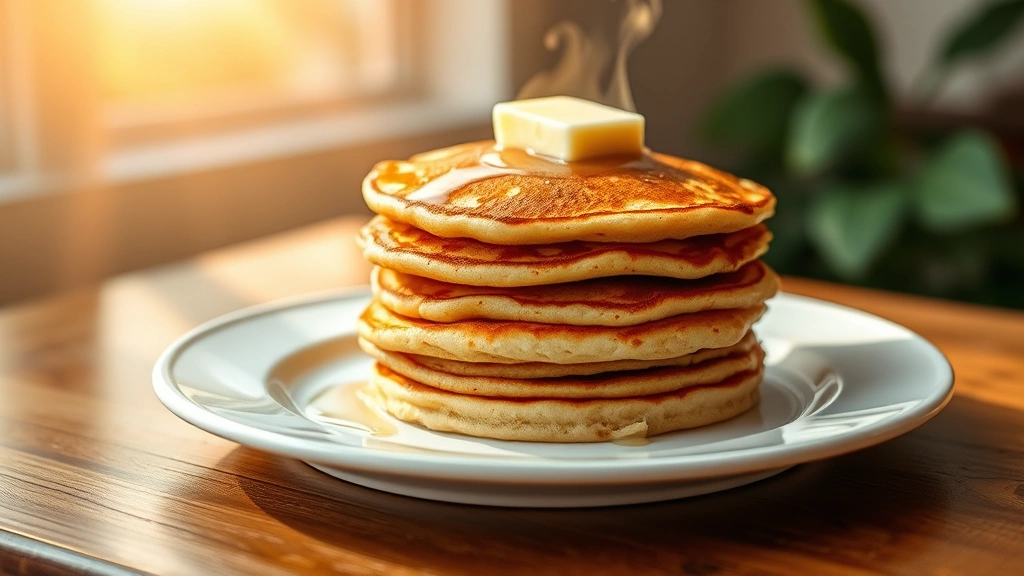
Few breakfast experiences rival the fluffy, golden pancakes served at IHOP, but the good news is that you can recreate this beloved restaurant favorite in your own kitchen. The secret lies not in complicated techniques or exotic ingredients, but rather in understanding the fundamental principles that make IHOP pancakes so distinctly delicious. Their pancakes are known for their light, airy texture, subtle vanilla flavor, and that perfect golden-brown exterior that gives way to an impossibly soft interior.
This comprehensive guide will walk you through everything you need to know to master the IHOP pancake recipe at home. Whether you’re looking to impress family on a lazy Sunday morning or simply want to satisfy a craving for restaurant-quality breakfast, you’ll discover that the ingredients are straightforward and the technique is entirely achievable for home cooks of all skill levels. Let’s explore how to bring that IHOP magic to your breakfast table.
Understanding IHOP Pancake Characteristics
The distinctive quality of IHOP pancakes stems from their specific texture profile and flavor composition. These pancakes are characteristically thicker than many homemade varieties, with a texture that’s remarkably tender and moist throughout. The crumb structure remains light and fluffy rather than dense, which is achieved through careful ingredient ratios and proper mixing techniques.
IHOP pancakes also feature a subtle sweetness and vanilla undertone that makes them distinctly recognizable. Unlike overly sweet breakfast items, these pancakes allow the delicate flavor of quality ingredients to shine through. The exterior develops a beautiful caramelized crust when cooked properly, providing textural contrast to the soft interior. Understanding these characteristics will help you identify what makes these pancakes special and guide your cooking decisions.
The restaurant uses a commercial griddle that maintains consistent temperature, which contributes to their uniform appearance. However, you can achieve nearly identical results with a standard home griddle or non-stick skillet by understanding temperature control and cooking timing.
Essential Ingredients Breakdown
Creating authentic IHOP pancakes requires attention to ingredient quality and proper measurements. Here’s what you’ll need for a batch that serves approximately four people:
- All-purpose flour: 2 cups (use a quality brand for best results)
- Baking powder: 2 tablespoons (essential for lift and fluffiness)
- Salt: 1/2 teaspoon (enhances all flavors)
- Sugar: 2 tablespoons (provides subtle sweetness)
- Eggs: 2 large eggs (add structure and richness)
- Milk: 1 3/4 cups (whole milk works best)
- Vanilla extract: 1 teaspoon (creates signature flavor)
- Butter: 3 tablespoons melted, plus more for cooking
The quality of these ingredients matters significantly. Use fresh baking powder, real vanilla extract rather than imitation, and whole milk for optimal results. If you’re interested in exploring alternative flour options, our wheat bread recipe discusses different flour varieties that might interest you. For those with dietary restrictions, we also offer a gluten-free bread recipe that uses similar substitution principles.
Step-by-Step Preparation Method
Proper preparation is crucial for achieving that signature IHOP pancake texture. Follow these steps carefully:
- Combine dry ingredients: In a large mixing bowl, whisk together flour, baking powder, salt, and sugar. Ensure these ingredients are evenly distributed throughout the mixture, which helps create consistent rise and flavor.
- Prepare wet ingredients: In a separate bowl, beat the eggs lightly, then add milk, vanilla extract, and melted butter. Mix until well combined but don’t overmix, as this can introduce too much air at this stage.
- Combine wet and dry: Create a well in the center of your dry ingredients and pour in the wet mixture. This is the critical step where many home cooks make mistakes. Stir gently until the ingredients are just combined—the batter should be slightly lumpy. Overmixing develops gluten, resulting in tough, rubbery pancakes rather than the tender texture you’re after.
- Rest the batter: Allow the batter to rest for 5 minutes. This resting period allows the baking powder to begin activating and gives the flour time to fully hydrate, resulting in better texture and fluffiness.
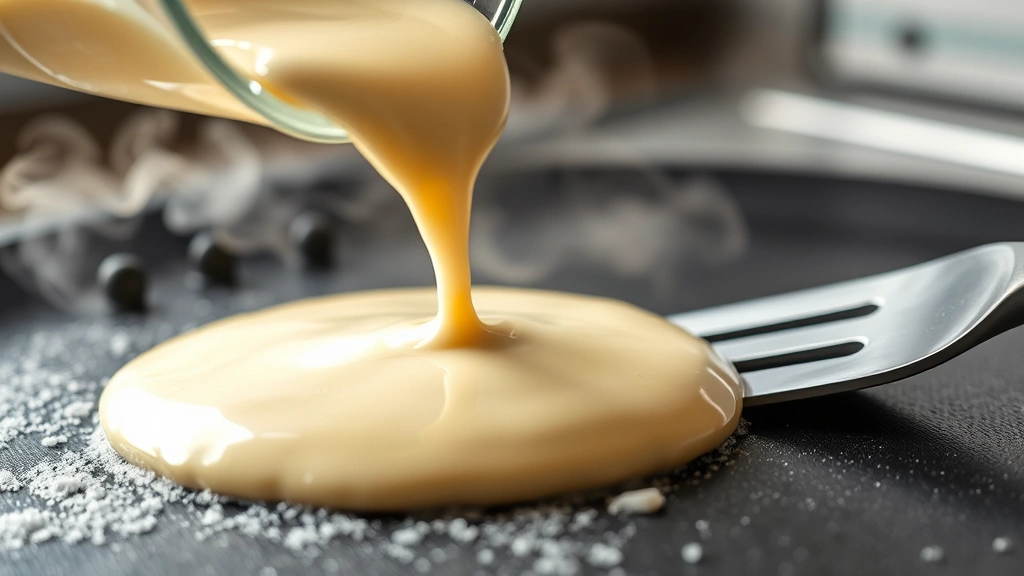
The consistency of your batter should be pourable but not too thin. If your batter seems too thick, add milk one tablespoon at a time. If it’s too thin, add a tablespoon of flour. The batter should flow easily from a measuring cup but maintain its shape briefly on the griddle.
Cooking Techniques for Perfect Results
Cooking technique directly impacts your final results. Here’s how to achieve IHOP-quality pancakes:
Temperature control: Preheat your griddle or non-stick skillet to medium heat (approximately 350°F if using an electric griddle). The temperature is critical—too hot and the outside burns while the inside remains raw; too cool and you’ll get thin, dense pancakes. Test the temperature by sprinkling a few water droplets on the surface; they should sizzle immediately and dance across the surface.
Buttering the cooking surface: Lightly butter your griddle before each batch. Use just enough butter to create a thin coating—excessive butter creates greasy pancakes. A paper towel dampened with melted butter works perfectly for this task.
Pouring the batter: Use a 1/4 cup measuring cup to portion batter onto your griddle. Pour from a height of about 2-3 inches, which helps create more uniform pancakes. Leave at least 2 inches between pancakes to allow them to expand without touching.
First-side cooking: Let pancakes cook on the first side until you see bubbles forming on the surface and the edges appear set, approximately 2-3 minutes. This is your signal that the bottom has cooked sufficiently and it’s time to flip.
Flipping technique: Use a thin, flexible spatula and flip with confidence in one smooth motion. A hesitant flip can deflate your pancakes. Cook the second side for approximately 1-2 minutes until golden brown.
The finished pancakes should be golden brown on both sides with a tender, fluffy texture throughout. Stack them on a warm plate and serve immediately while they’re at their best.
Serving and Topping Suggestions
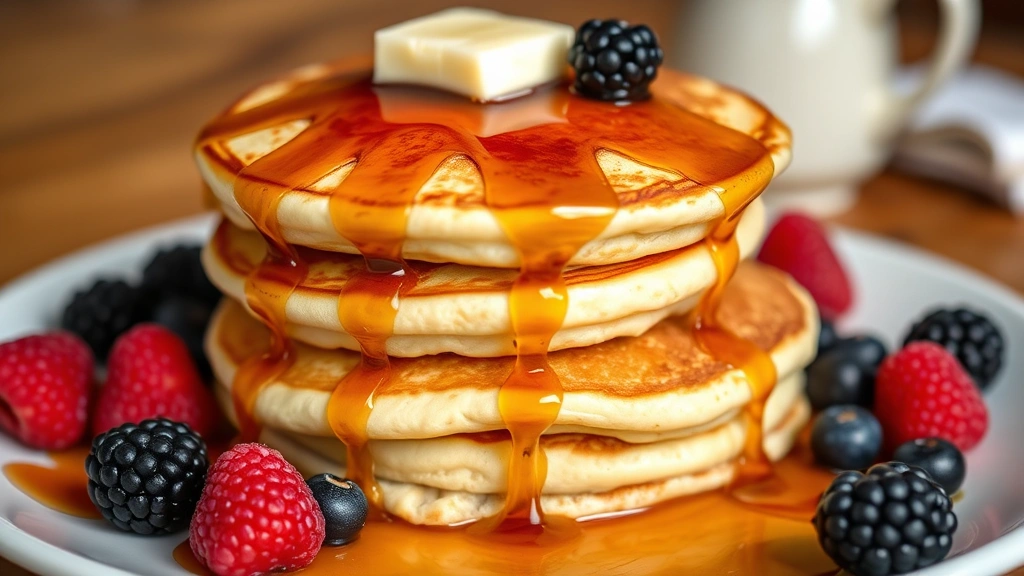
IHOP pancakes shine with simple, quality toppings. The classic presentation features real maple syrup, but you have numerous options:
- Maple syrup: Use pure maple syrup rather than pancake syrup for authentic flavor. Warm it slightly for better absorption.
- Butter: A pat of real butter melting into warm pancakes is essential. IHOP uses this classic combination for good reason.
- Fresh fruit: Blueberries, strawberries, or bananas add freshness and natural sweetness. Add berries to the batter before cooking for embedded pancakes, or place on top after cooking.
- Whipped cream: A dollop of whipped cream adds richness and elegance.
- Powdered sugar: A light dusting adds visual appeal and subtle sweetness.
If you enjoy sweeter breakfast options, explore our healthy dessert recipes for creative serving ideas. For those seeking protein-rich breakfast options, our keto chicken recipes offer interesting savory alternatives to pair alongside your pancakes.
Troubleshooting Common Issues
Dense, rubbery pancakes: This typically results from overmixing the batter. Remember to stir until just combined, leaving some lumps. Overmixing develops gluten, which creates toughness. Additionally, ensure your baking powder is fresh and hasn’t expired.
Pancakes that spread too thin: Your batter is too thin. Add flour one tablespoon at a time until you achieve proper consistency. Alternatively, your griddle temperature might be too high, causing rapid spreading.
Uncooked centers: Lower your heat slightly and cook pancakes longer on each side. You may need to adjust your temperature downward by 25-50 degrees.
Burnt bottoms with raw centers: Your heat is too high. Reduce the temperature and ensure you’re allowing adequate cooking time. Remember that medium heat, not medium-high, is appropriate for pancakes.
Flat pancakes without fluff: This indicates your baking powder isn’t fresh or your batter is overmixed. Use new baking powder and mix minimally. Also ensure you’re allowing the batter to rest for five minutes before cooking.
Pancakes stick to the griddle: You need more butter on your cooking surface. Ensure your non-stick skillet is truly non-stick or use a griddle designed for pancakes. Some skillets lose their non-stick coating over time.
Variations and Dietary Modifications
Once you’ve mastered the basic IHOP pancake recipe, you can explore variations:
Buttermilk pancakes: Replace regular milk with buttermilk for tanginess. Use the same measurement, but reduce baking powder to 1 1/2 tablespoons and add 1/2 teaspoon baking soda. The acid in buttermilk reacts with baking soda to create lift.
Whole wheat variation: Substitute 1 cup of the all-purpose flour with whole wheat flour. This creates a more substantial pancake with nutty flavor. The texture will be slightly denser but still delicious. For more information about working with whole wheat flour, see our wheat bread recipe.
Gluten-free option: Use a quality gluten-free all-purpose flour blend in equal measure. Ensure your blend includes xanthan gum for proper texture. You may need to add an extra tablespoon of liquid. Our gluten-free bread recipe provides additional guidance on working with alternative flours.
Chocolate chip pancakes: Fold 1 cup of chocolate chips into the batter just before cooking. Pour batter onto the griddle, then sprinkle additional chips on top before flipping.
Blueberry pancakes: Fold 1 1/2 cups fresh or frozen blueberries into the batter. If using frozen berries, don’t thaw them first as they’ll bleed less into the batter.
Banana pancakes: Mash one ripe banana and add it to the wet ingredients before mixing. This adds natural sweetness and creates slightly denser pancakes.
Protein-enhanced pancakes: Add 2 tablespoons of vanilla protein powder to your dry ingredients. This boosts nutritional value without significantly altering flavor or texture.
Frequently Asked Questions
Can I make IHOP pancake batter ahead of time?
Yes, you can refrigerate the batter for up to 24 hours in an airtight container. The batter may thicken slightly as it sits; thin it with a tablespoon or two of milk before cooking. However, freshly made batter produces the fluffiest pancakes, so cooking within a few hours of preparation is ideal.
Why are restaurant pancakes fluffier than mine?
Restaurants use several advantages: commercial griddles maintain precise temperatures, they use batter that’s often formulated with additional leavening agents, and they cook high volumes ensuring consistency. However, you can match their fluffiness by using fresh baking powder, avoiding overmixing, and properly controlling your griddle temperature.
Should I use a griddle or skillet?
Both work well, but griddles offer advantages. They provide more cooking surface, maintain more consistent temperature, and allow you to cook multiple pancakes simultaneously. However, a large non-stick skillet produces excellent results if that’s what you have available.
What’s the best way to keep pancakes warm while cooking the rest?
Place cooked pancakes on a baking sheet in a 200°F oven. This keeps them warm without drying them out. Alternatively, stack them on a plate and loosely cover with foil.
Can I freeze pancake batter?
Yes, freeze batter in ice cube trays, then transfer frozen cubes to freezer bags. Thaw in the refrigerator overnight before cooking, or cook from frozen using slightly lower heat and longer cooking times.
How do I make pancakes ahead for meal prep?
Cook pancakes completely, cool them on a rack, then refrigerate in airtight containers for up to 5 days. Reheat in a toaster oven at 350°F for 5-7 minutes. You can also freeze cooked pancakes for up to 3 months; reheat from frozen.
What’s the difference between pancake syrup and maple syrup?
Pancake syrup (also called table syrup) is typically corn syrup with maple flavoring, while pure maple syrup comes directly from maple trees. Pure maple syrup offers superior flavor, though it costs more. For IHOP-style pancakes, pure maple syrup is worth the investment.
Can I make these pancakes dairy-free?
Yes, substitute milk with an equal amount of non-dairy milk (almond, oat, or soy work well) and replace butter with melted coconut oil or dairy-free butter. The texture will be similar, though coconut oil may impart subtle coconut flavor.
How do I know when to flip the pancakes?
Flip when you see bubbles breaking on the surface and the edges appear set and slightly dry. This typically occurs 2-3 minutes into cooking the first side. If you flip too early, the pancake will be raw inside and difficult to flip cleanly.
Why do my pancakes sometimes stick to the spatula when flipping?
This usually means they haven’t cooked long enough on the first side. Wait until the edges are visibly set and dry before flipping. Additionally, ensure your spatula is thin and flexible, and use confident, quick flipping motions.


