
Steak Quesadilla Perfection: Chef-Approved Method for Restaurant-Quality Results
A perfectly executed steak quesadilla represents the pinnacle of handheld comfort food—crispy, golden tortillas enveloping tender, seasoned beef with melted cheese and complementary ingredients. This isn’t just a quick weeknight dinner; it’s a culinary technique that requires precision in meat preparation, temperature control, and assembly. Professional chefs understand that the difference between a mediocre quesadilla and an exceptional one lies in the details: how the steak is cut and cooked, the cheese selection, and the cooking method itself.
Whether you’re cooking for family or impressing guests, mastering the steak quesadilla opens doors to countless variations and improvisations. The foundation, however, remains constant—quality ingredients treated with respect and technique. This comprehensive guide walks you through every step, from selecting the right steak to achieving that perfect tortilla char that locks in flavor and texture.
Selecting and Preparing Your Steak
The foundation of an outstanding steak quesadilla begins at the butcher counter. You need a cut that offers excellent flavor while remaining tender when sliced thin. Ribeye steaks are ideal because of their marbling—those white lines of intramuscular fat that render during cooking, creating juiciness and flavor. New York strip steaks work beautifully too, offering a leaner profile with robust beef taste. Avoid overly thick cuts; aim for steaks between three-quarters and one inch thick, which cook quickly and evenly.
Before cooking, bring your steak to room temperature for approximately 20-30 minutes. This ensures even cooking throughout the meat rather than a cold center surrounded by cooked edges. Pat the steak completely dry with paper towels—moisture is the enemy of browning. When water sits on the surface, the steak steams rather than sears, preventing that flavorful crust development that professional chefs prioritize.
Season generously with kosher salt and freshly ground black pepper immediately before cooking. Many home cooks fear over-seasoning, but salt enhances the beef’s natural flavors rather than masking them. For added depth, consider using a custom steak seasoning recipe that incorporates garlic powder, paprika, and dried herbs. Apply these seasonings on both sides and the edges of the steak.
Essential Ingredients and Equipment
For the steak quesadilla, gather these core ingredients:
- One ribeye or New York strip steak (6-8 ounces)
- Two large flour tortillas (10-inch diameter)
- One and a half cups shredded cheese (combination of Oaxaca and sharp cheddar works beautifully)
- Fresh jalapeños, thinly sliced
- One small red onion, thinly sliced
- Fresh cilantro leaves
- Two tablespoons unsalted butter
- One tablespoon high-smoke-point oil (avocado or grapeseed)
- Salt and freshly ground black pepper
- Optional: lime juice, sour cream, avocado
Equipment requirements are straightforward but important:
- Cast iron skillet or heavy-bottomed stainless steel pan (12-inch preferred)
- Instant-read meat thermometer
- Sharp chef’s knife for slicing
- Cutting board
- Tongs for flipping
- Spatula with thin edge for quesadilla manipulation
The cast iron skillet deserves special mention. Its superior heat retention and even heat distribution make it the professional choice for searing steak and cooking quesadillas. If you don’t own cast iron yet, this is the perfect excuse to invest in one—it becomes a lifetime kitchen companion.
Cooking the Steak Properly
Place your cast iron skillet over high heat for 3-4 minutes until it’s genuinely hot—you should be able to hold your hand over it only briefly. This temperature is crucial. A properly heated pan creates the Maillard reaction, the chemical process that develops the savory crust on the steak’s surface while keeping the interior tender and juicy.
Add your high-smoke-point oil to the pan. You’ll know it’s ready when the oil shimmers and moves freely across the surface. Carefully place your seasoned steak in the center of the pan. You should hear an immediate, aggressive sizzle. Resist the urge to move it. Let it cook undisturbed for 3-4 minutes, developing that golden-brown crust.
Flip the steak once using tongs—never pierce it with a fork, as this releases precious juices. Cook the second side for another 3-4 minutes for medium-rare, which is the ideal doneness for quesadilla applications. Insert your instant-read thermometer into the thickest part, aiming for 130-135°F (54-57°C). The temperature will rise a few degrees while resting, reaching the perfect medium-rare plateau.
Transfer the cooked steak to a cutting board and tent loosely with foil. Let it rest for 5 minutes—this allows muscle fibers to relax and reabsorb juices, ensuring tender, moist slices. After resting, slice the steak against the grain (perpendicular to the muscle fibers) into thin strips, roughly quarter-inch thick. This technique maximizes tenderness by shortening the muscle fibers you’re biting through.
Assembling Your Quesadilla
Assembly is where organization matters most. Have all ingredients prepped and within arm’s reach—this is called mise en place, the professional kitchen practice of having everything in its place before cooking begins. Your steak should still be warm from resting.
Place one flour tortilla on a clean work surface. Distribute half your cheese blend across the entire surface, leaving a half-inch border. The cheese acts as an adhesive, holding everything together during cooking. Layer your warm steak slices evenly across the cheese, then add jalapeño slices, red onion, and fresh cilantro. The cilantro provides brightness that cuts through the richness of the beef and cheese.
Now comes the critical step: distribute the remaining cheese over the toppings. This top layer of cheese melts and binds everything together, creating structural integrity. Place the second tortilla on top and press gently but firmly, ensuring good contact between tortilla and filling.
Some chefs brush the top tortilla lightly with melted butter at this point, which encourages golden-brown color and adds richness. This step is optional but highly recommended for achieving that restaurant-quality appearance.
The Cooking Technique
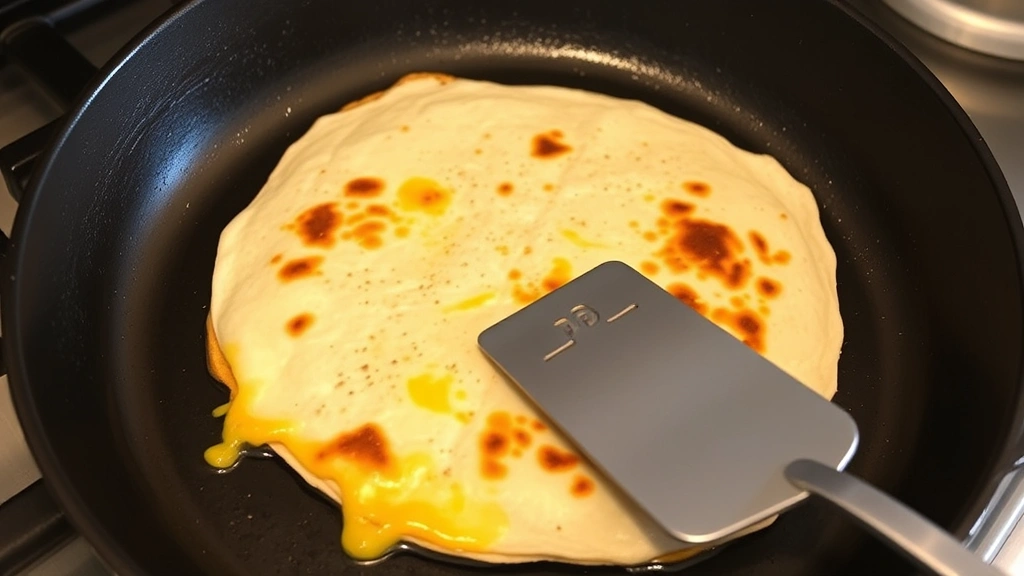
Wipe out your cast iron skillet with a paper towel—you want it clean but still hot from the previous cooking. Reduce heat to medium (this is important; you don’t want the exterior burning before the interior cheese melts). Add one tablespoon of butter to the pan, swirling to coat evenly.
Once the butter is foaming, carefully transfer your assembled quesadilla to the pan. Cook for 3-4 minutes without moving it, allowing the bottom tortilla to develop a golden-brown color with slight charring. The tortilla should be crispy and have visible brown spots.
Using a thin-edged spatula, carefully slide it underneath the quesadilla, supporting the entire surface. Flip decisively and confidently—hesitation leads to quesadillas breaking apart. The second side cooks for another 2-3 minutes until equally golden and crispy. You’ll see cheese beginning to ooze from the edges, which indicates everything is melting beautifully inside.
The internal temperature should reach approximately 160°F (71°C) when measured with an instant-read thermometer inserted through the side. This ensures all cheese has melted completely and the filling is heated through without the tortilla becoming tough or burnt.
Flavor Variations and Toppings
While the classic steak quesadilla is perfection itself, experimentation keeps cooking exciting. Consider adding caramelized onions for deep sweetness, or roasted poblano peppers for subtle smokiness. Some chefs incorporate black beans or refried beans for additional texture and earthiness.
For a healthier variation, use whole wheat tortillas and add sautéed bell peppers and mushrooms alongside the steak. Corn tortillas offer authentic flavor, though they’re more delicate to flip—practice with flour first.
Cheese selection dramatically influences the final product. Oaxaca cheese provides exceptional melting qualities and mild flavor. Sharp cheddar adds complexity. Gruyère brings nuttiness. Experiment with combinations to discover your preference. A blend typically outperforms a single cheese, offering balanced flavor and superior melting properties.
Fresh herbs elevate any quesadilla. Beyond cilantro, try epazote for authentic Mexican flavor, or basil for Italian-inspired variations. A squeeze of fresh lime juice right before serving adds brightness that balances richness.
Serving and Pairing Suggestions
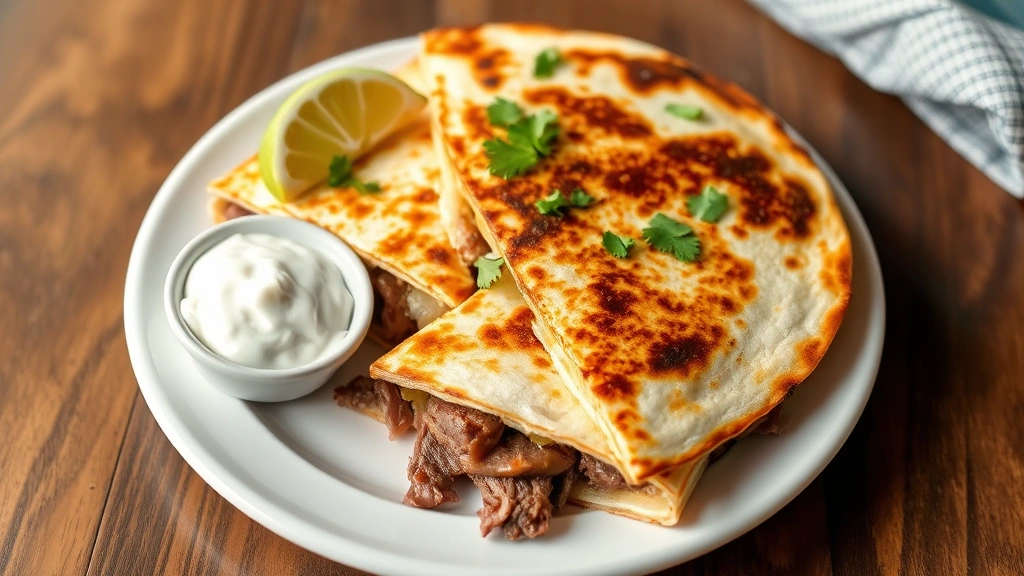
Cut your finished quesadilla into quarters using a sharp knife or pizza cutter, cutting from corner to corner or side to side. Serve immediately while the cheese is still molten and the tortillas are at peak crispiness. Plating matters—arrange quarters on a warm plate with a small pile of fresh cilantro and lime wedges.
Accompany steak quesadillas with traditional Mexican sides: fresh guacamole, pico de gallo, and sour cream for dipping. A simple salad with lime vinaigrette provides refreshing contrast. Black beans or refried beans round out the meal satisfyingly.
For beverages, Mexican lagers pair beautifully, their crisp profiles cutting through richness. Margaritas—whether traditional lime or featuring fresh fruit—complement the flavors excellently. Non-alcoholic options include aguas frescas (refreshing fruit drinks) or simply ice-cold agua con limón.
This dish works equally well for casual family dinners or entertaining guests. The technique is straightforward enough for weeknight execution yet impressive enough for special occasions. Pair your steak quesadillas with other hearty recipes for a complete Mexican-inspired feast.
FAQ
Can I prepare quesadillas ahead of time?
Yes, you can assemble them up to 4 hours ahead, refrigerated and covered. Cook them straight from the refrigerator, adding 1-2 minutes to cooking time. For best results, cook fresh, but this method works for meal prep or entertaining.
What if my quesadilla breaks when flipping?
This happens to even experienced cooks. Use a large, thin-edged spatula and support the entire surface. Ensure your heat isn’t too high—medium is ideal. Practice builds confidence. If it does break, simply push it back together; it will continue cooking and hold together.
Can I use a different steak cut?
Absolutely. Flank steak, skirt steak, or even sirloin work well. Avoid very thick cuts or those requiring long cooking times. Thinner cuts cook quickly and slice easily, making them ideal for quesadillas.
Is cast iron necessary?
While not absolutely necessary, cast iron’s heat retention and distribution make it superior for both searing steak and cooking quesadillas. A heavy-bottomed stainless steel pan is an acceptable alternative, though results may vary slightly.
How do I prevent the tortilla from burning while cheese melts?
Use medium heat rather than high. Medium heat allows the tortilla to crisp while the interior cheese melts completely. If your burner runs hot, even lower temperature may be necessary. Every stove is different; adjust based on your results.
Can I make these on a griddle?
Yes, a griddle works excellently, especially when cooking multiple quesadillas. Preheat it thoroughly and maintain medium heat. The larger surface area makes flipping easier, though you’ll need a large, sturdy spatula.
What’s the best way to store leftovers?
Refrigerate leftover quesadillas in an airtight container for up to 3 days. Reheat in a 350°F (175°C) oven for 8-10 minutes until warmed through and crispy. Microwaving works but produces softer results. Freezing is possible for up to 1 month—thaw overnight before reheating.
How do I make this vegetarian?
Replace steak with grilled portobello mushrooms, seasoned and sliced, or sautéed zucchini and eggplant. The technique remains identical; focus on using flavorful vegetables and quality cheese to create depth.
Can I use corn tortillas?
Corn tortillas are traditional and delicious but more fragile when hot. They’re thinner and tear more easily during flipping. If using corn, handle very gently and ensure your spatula fully supports the quesadilla. Many prefer flour tortillas for ease, though corn offers authentic flavor.
What’s the ideal cheese-to-filling ratio?
Use approximately 1.5 cups cheese for an 8-inch quesadilla, distributed in two layers (bottom and top). Too little cheese means poor binding; too much creates an oily, unbalanced result. This ratio provides excellent melting and structural integrity.


