Table of Contents
Introduction
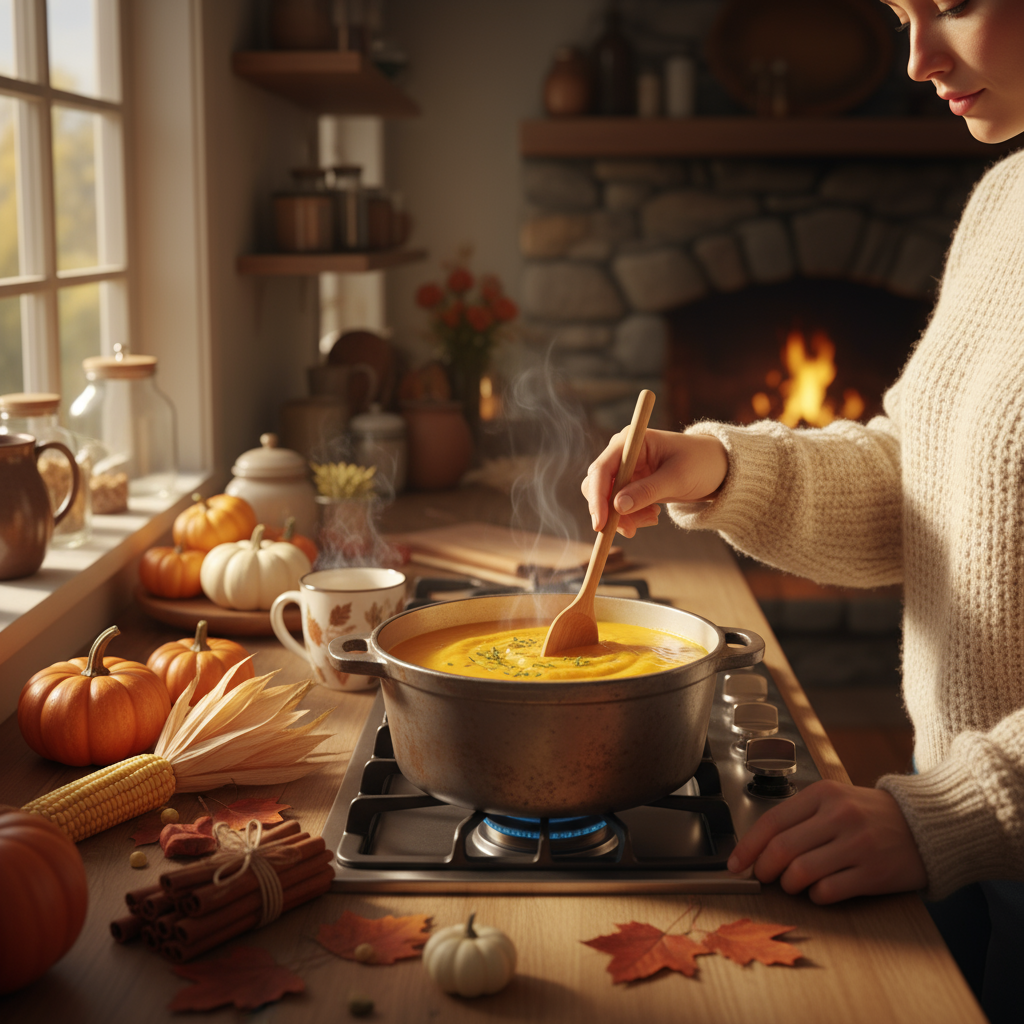
There’s something magical about opening a jar of homemade fruit preserves on a cold winter morning. That burst of summer sweetness? Pure gold. Making your own preserves isn’t just about saving money (though that’s nice too)—it’s about capturing those perfect moments when fruit is at its peak and making them last all year long.
Think about it: every spoonful tells a story. Maybe it’s those strawberries you picked with your kids last June, or the peaches from your neighbor’s tree that were almost too ripe to eat fresh. When you make preserves at home, you’re not just cooking—you’re creating edible memories.
Here’s what’s really cool about fruit preserves. They’ve been around forever. Like, centuries forever. Our great-grandmothers knew something we’re just rediscovering: there’s real power in being able to preserve food yourself. No weird additives, no mysterious ingredients you can’t pronounce. Just fruit, sugar, and a little kitchen magic.
And the variety? Mind-blowing. Chunky strawberry jam that’s perfect on toast. Smooth grape jelly for the kids’ sandwiches. Sophisticated orange marmalade that makes you feel fancy at breakfast. Once you start exploring, you’ll wonder why you ever bought the store-bought stuff.
The best part is how this connects to everything else you’re doing in the kitchen. If you’re already into how to make homemade jams, preserves are just the next logical step. And speaking of kitchen skills that go together—learning how to preserve herbs means you can flavor your preserves naturally with things like mint or lavender. Game changer.
Now, if you’re thinking about the health angle (and who isn’t these days?), making your own preserves puts you in complete control. You decide how much sugar goes in. You choose organic fruit if that’s your thing. For anyone following a healthy nutrition plan, this kind of control over ingredients is huge. You can create preserves that actually support your health goals instead of sabotaging them.
What You’ll Learn in This Guide
We’re going to walk through everything you need to know to start making incredible preserves at home. No guesswork, no crossed fingers—just solid techniques that actually work.
- Types of Fruit Preserves: What makes jam different from jelly? How about conserves and marmalades? We’ll break down all the types so you know exactly what you’re making.
- Ingredients and Equipment: The essential fruits, sugars, pectin, and tools that’ll set you up for success (without breaking the bank on fancy equipment).
- Step-by-Step Process: From prep to pot to jar, we’ll cover every single step so your preserves turn out perfect every time.
- Tips and Storage: The insider tricks that make the difference between good preserves and amazing ones, plus how to store them safely so they last.
As we get into the nitty-gritty, you’ll start to see why people get so passionate about this stuff. There’s something deeply satisfying about the whole process—the bubbling pot, the sweet aroma filling your kitchen, that satisfying pop when the jars seal properly. And if you’re already into homemade cooking, this pairs beautifully with other skills like how to make homemade pasta. (Trust me, fresh pasta with homemade preserves for dessert? Your dinner guests will never forget it.)
By the time we’re done here, you’ll have the confidence to experiment. Maybe you’ll try that strawberry-basil combo you’ve been curious about. Or perhaps you’ll finally use up all those apples from your tree. The point is, you’ll know how to turn any fruit into something special that can sit in your pantry for months, ready to brighten up ordinary meals.
Ready to get started? Let’s dive into the wonderful world of fruit preserves and turn your kitchen into a preserve-making powerhouse. Your future self (and your taste buds) will thank you.

There’s something magical about opening a jar of homemade fruit preserves in the middle of winter and tasting summer all over again. Whether you’re spreading it on warm toast or stirring it into yogurt, good preserves can transform an ordinary snack into something special. And here’s the best part—making your own isn’t nearly as complicated as you might think. Sure, it takes a bit of patience and the right know-how, but once you get the hang of it? You’ll wonder why you ever bought the store-bought stuff. We’re going to walk through everything you need to know about fruit preserves, from understanding the different types to nailing the perfect batch every single time.
Understanding Fruit Preserves: Types and Key Ingredients
Not all preserves are created equal, and that’s actually a good thing. Each type has its own personality and purpose. The magic happens when you combine fresh fruit, sugar, something to help it set (like pectin), and a splash of citrus for that bright tang. These simple ingredients work together like a well-rehearsed team—the sugar preserves and sweetens, the pectin gives you that perfect spreadable texture, and the acid keeps everything safe and delicious.
Let’s break down the players in the preserve game. Jams are the chunky, rustic cousins—they keep pieces of fruit intact and have that homemade feel we all love. Jellies? They’re the smooth operators, crystal clear and refined (think grape jelly from your childhood). Conserves get fancy by mixing in nuts or dried fruits for extra texture and complexity. And then there are marmalades—usually citrus-based with bits of peel that give you that perfect sweet-bitter balance. Each one needs a slightly different approach, but they all follow the same basic rules.
Key Aspects of Fruit Preserves Types and Ingredients
Want to take your preserve game to the next level? Pay attention to these game-changers:
- Varieties of Fruit and Their Characteristics: Fresh, ripe fruit is everything. It’s where your flavor comes from, and it determines how much natural pectin you’re working with. Apples and citrus fruits are pectin powerhouses, while strawberries and peaches need a little extra help to set properly.
- The Role of Sugar in Preservation: Sugar does way more than just make things sweet—it’s actually what keeps your preserves safe to eat. It prevents harmful bacteria from growing, so don’t go cutting it drastically without understanding how it affects both taste and safety.
- Using Pectin and Natural Thickeners: Think of pectin as your setting insurance policy. Some people prefer the natural route with chia seeds or just cooking longer to reduce the liquid. Both work—it’s really about what texture you’re after.
- Acidity and Preservation: That squeeze of lemon juice isn’t just for flavor (though it does brighten everything up beautifully). The acid helps your pectin do its job and keeps everything safe for long-term storage. It’s a small addition that makes a big difference.
Once you understand these basics, you can start getting creative. Maybe you want to try a strawberry-basil jam or experiment with reducing the sugar. The foundation gives you the confidence to play around and make preserves that are uniquely yours.
Step-by-Step Process and Tips for Making Perfect Preserves
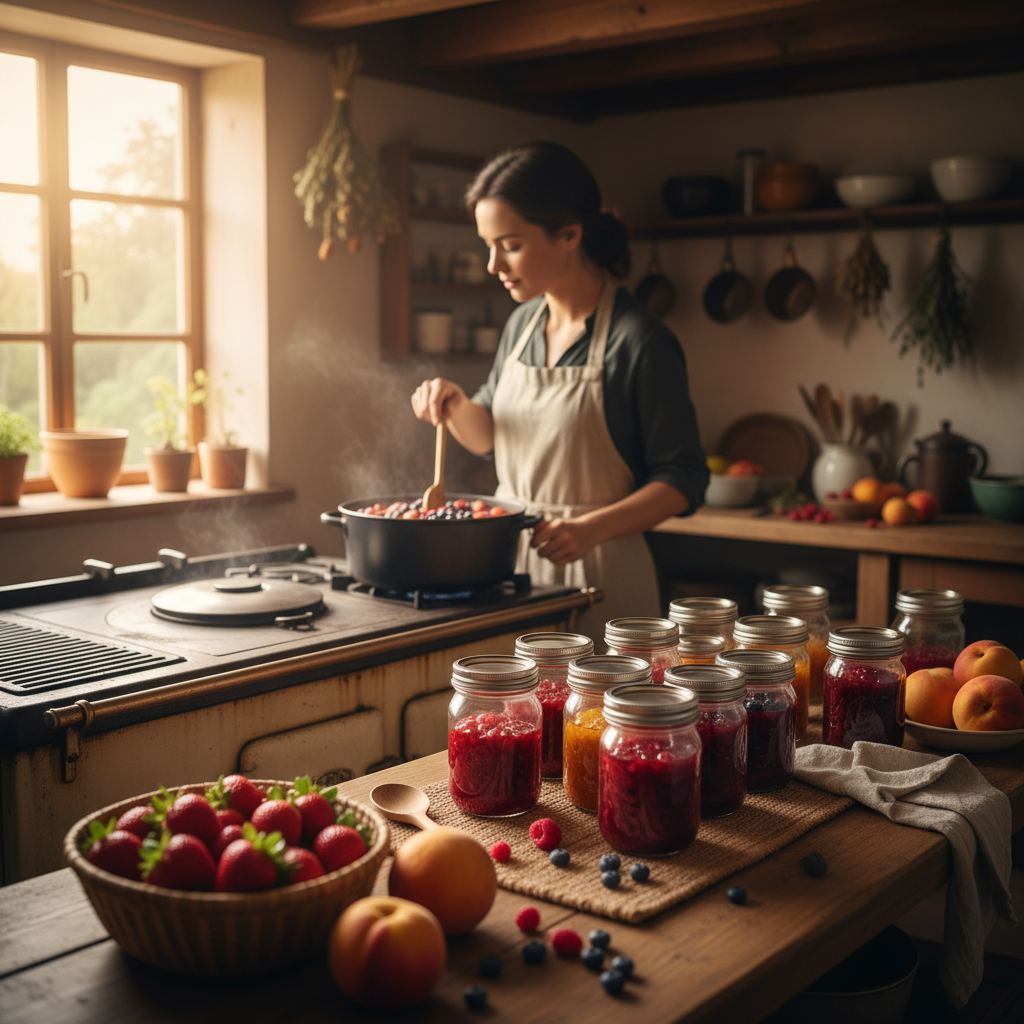
Ready to get your hands sticky? Making preserves is part science, part art, and entirely satisfying. The key is taking your time and not rushing the process. You’ll need clean equipment (seriously, cleanliness matters here), quality ingredients, and a little patience. But don’t worry—it’s more forgiving than you might expect.
The real secret to great preserves lies in the details. Use a heavy-bottomed pot to prevent scorching. Get yourself a candy thermometer if you’re serious about this. And please, please use proper canning jars—they’re designed for this exact purpose. Follow tested recipes, especially when you’re starting out. There’s time to experiment once you’ve mastered the basics.
Key Steps and Best Practices for Fruit Preserves
Here’s your roadmap to preserve perfection:
- Preparation of Fruit and Ingredients: Start with squeaky-clean fruit. Wash, hull, chop, or slice as needed—this isn’t the time to rush. Measure everything beforehand because once you start cooking, things move quickly. Trust me on this one.
- Cooking and Monitoring Consistency: Bring everything to a rolling boil, then stir like your life depends on it. You’re looking for that perfect gel point—try the cold plate test by dropping a small amount on a chilled plate. If it wrinkles when you push it with your finger, you’re golden.
- Safe Canning and Storage: Pour your hot preserves into sterilized jars, leaving about a quarter-inch of headspace. Wipe the rims clean (any residue can prevent proper sealing), and process in a boiling water bath if you want shelf-stable preserves. Let them cool completely before storing.
- Tips for Flavor and Texture Enhancement: Use the ripest fruit you can find—it makes all the difference. Don’t be afraid to taste as you go and adjust. A pinch of salt can enhance fruit flavors, and vanilla or spices can add unexpected depth. Keep stirring to prevent burning, and remember that your preserves will thicken more as they cool.
The more you make preserves, the more intuitive the process becomes. You’ll start recognizing the signs—the way the mixture sounds when it’s ready, how it looks when you lift the spoon. It’s oddly meditative once you get into the rhythm. For even more detailed guidance and recipe ideas, check out our complete resource on how to make homemade jams—it’s packed with techniques that’ll turn you into a preserve pro.

Here’s what I love about making fruit preserves at home—it’s so much more than just another kitchen project. It’s pure magic, really. You’ve just walked through everything from picking the perfect fruit to mastering those tricky techniques that turn simple ingredients into something extraordinary. Whether you’re team chunky jam, smooth-as-silk jelly, or that wonderfully bitter-sweet marmalade (my personal favorite), you now know exactly how to make each one shine. And that knowledge? It changes everything. You’re not just following a recipe anymore—you’re creating something that’s uniquely yours.
The best part about going homemade? You’re in the driver’s seat. Want less sugar? Done. Prefer a chunkier texture? Easy. Worried about weird additives you can’t pronounce? Not your problem anymore. You get to decide what goes into every single jar, and honestly, that feels pretty empowering. Plus, there’s something deeply satisfying about connecting with this age-old tradition—your grandmother probably made preserves, and her grandmother before that. Each jar you make is part of that beautiful chain, creating memories one spoonful at a time.
Ready to take things up a notch? Start experimenting! Mix unexpected fruits together, throw in some herbs, get a little wild with it. If you want to dive deeper into the jam-making world specifically, check out our comprehensive guide on how to make homemade jams—it’s packed with expert tips that’ll make you feel like a preserve pro. And speaking of getting creative, our guide on how to preserve herbs will show you how to add those amazing fresh flavors that make your preserves truly special. Want to make sure you’re enjoying all this deliciousness as part of a balanced lifestyle? Our healthy nutrition plan can help you enjoy every jar guilt-free. And for more kitchen inspiration beyond preserves, don’t miss our collection of best healthy food recipes to keep your culinary creativity flowing.
So go ahead—start your preserve-making adventure today. Trust me, once you taste that first spoonful of something you made completely from scratch, you’ll be hooked. It’s that perfect blend of science and art, patience and passion that makes this whole process so rewarding. Every jar you seal isn’t just preserving fruit—you’re capturing a moment, creating something healthy and delicious, and joining a tradition that spans generations. Keep experimenting, keep tasting, and most importantly, keep having fun with it. You’ve got all the tools and knowledge you need to turn any fruit into liquid gold.
Frequently Asked Questions
-
Can I use frozen fruit to make preserves?
- Yes, frozen fruit can be used but may require adjustments in cooking time and pectin to achieve the desired consistency and flavor.
-
How do I know when my preserves are set?
- The cold plate test is a reliable method; place a small amount of preserves on a chilled plate and see if it wrinkles when pushed gently indicating it has set.
-
Do I need to add pectin to all fruit preserves?
- No, not all fruits require added pectin. Some naturally contain enough to set properly, while others like strawberries or peaches may need additional pectin.
-
How long can homemade preserves be stored?
- Properly canned preserves can last up to a year unopened. After opening, refrigeration is necessary, and it’s best to consume within a few weeks for quality and safety.
-
What should I do if my preserves don’t set?
- If your preserves fail to set, re-cook them with added pectin or sugar and repeat the canning process to achieve the right consistency.