Fluffy Brioche Buns? Baker Approved Recipe
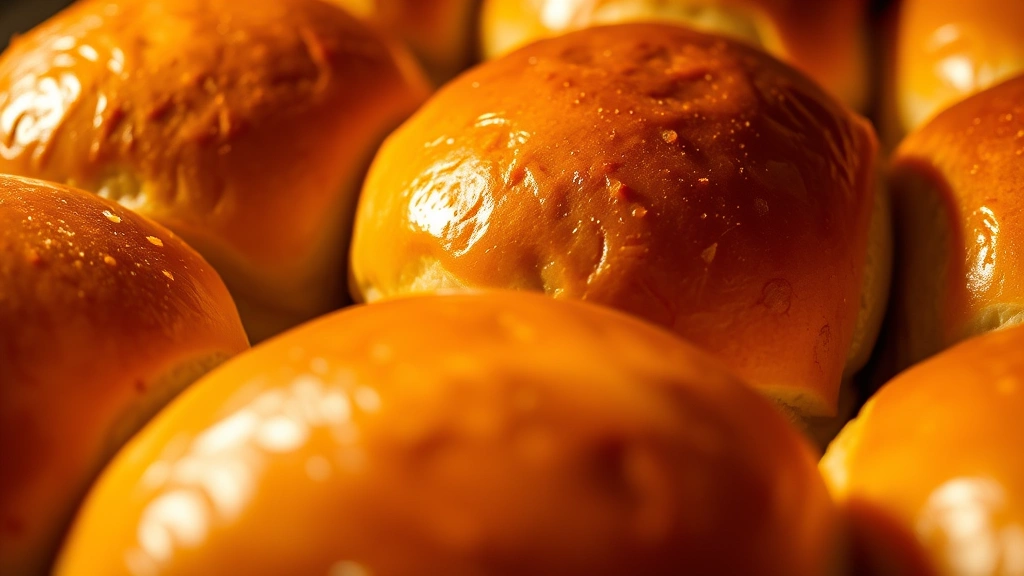
Brioche buns represent the pinnacle of soft, pillowy bread that melts in your mouth with every bite. These golden-brown beauties are enriched with butter, eggs, and milk, creating a tender crumb structure that’s far superior to standard burger buns. Whether you’re crafting gourmet sandwiches, serving alongside roasted meats, or simply enjoying them fresh from the oven, homemade brioche buns deliver bakery-quality results that will impress family and friends.
This baker-approved recipe has been tested and refined to ensure consistent, foolproof success. The secret lies in understanding the role of fat and proper fermentation—two elements that transform ordinary dough into something extraordinarily delicious. If you’ve ever wondered why artisan bakery buns taste so much better than store-bought versions, the answer is simple: quality ingredients and patience.
Ingredients You’ll Need
The foundation of exceptional brioche begins with premium ingredients. Each component plays a crucial role in developing the characteristic soft texture and rich flavor profile. Here’s what you’ll need to create twelve perfect brioche buns:
- All-purpose flour – 500g (about 4 cups) for structure and gluten development
- Warm milk – 240ml (1 cup) at 110°F for activating yeast
- Active dry yeast – 7g (2¼ teaspoons) for fermentation
- Granulated sugar – 50g (¼ cup) to feed yeast and add subtle sweetness
- Eggs – 3 large room-temperature eggs for richness and binding
- Unsalted butter – 100g (7 tablespoons) softened, plus extra for brushing
- Sea salt – 8g (1½ teaspoons) for flavor enhancement
- Vanilla extract – 5ml (1 teaspoon) optional but recommended
- Egg wash – 1 egg beaten with 15ml water for golden finish
- Sesame seeds or poppy seeds – optional for topping
Temperature control matters significantly when working with brioche dough. Room-temperature eggs incorporate more smoothly into the dough, preventing clumping and ensuring even distribution of fat. Cold eggs can shock the dough and create an uneven crumb.
Essential Equipment
While brioche can be made entirely by hand, certain tools make the process more efficient and consistent:
- Stand mixer with dough hook attachment (highly recommended for this enriched dough)
- Digital kitchen scale for accurate measurements
- Instant-read thermometer to monitor dough and milk temperature
- Two large mixing bowls for bulk fermentation
- Muffin tin or brioche molds (preferably non-stick)
- Bench scraper for handling sticky dough
- Proofing box or warm oven for optimal rising conditions
- Pastry brush for egg wash application
Step-by-Step Instructions
This recipe divides into five key phases: activation, mixing, bulk fermentation, shaping, and final proof. Each stage builds upon the previous one to develop flavor and structure.
Phase 1: Activating the Yeast (5 minutes)
Pour 240ml of warm milk (110°F or 43°C) into your stand mixer bowl. Sprinkle 7g of active dry yeast over the surface and add 50g of sugar. Let this mixture sit for 2-3 minutes until foamy—this confirms yeast viability. If no foam appears, your yeast may be dead, and you should start over with fresh yeast.
Phase 2: Mixing the Dough (12 minutes)
Add 500g of flour to the yeast mixture and mix on low speed for 2 minutes until a shaggy dough forms. Increase speed to medium and knead for 3 minutes. Reduce speed back to low and add three room-temperature eggs one at a time, waiting 30 seconds between additions. The dough will look wet and slack—this is normal.
Once eggs are fully incorporated, increase speed to medium-high and add 100g of softened butter in six pieces, waiting about 1 minute between additions. This gradual incorporation prevents the butter from coating the flour and inhibiting gluten development. Continue mixing for 5-6 minutes until the dough becomes smooth, elastic, and slightly glossy. Add 8g of sea salt and 5ml of vanilla extract, mixing for another minute.
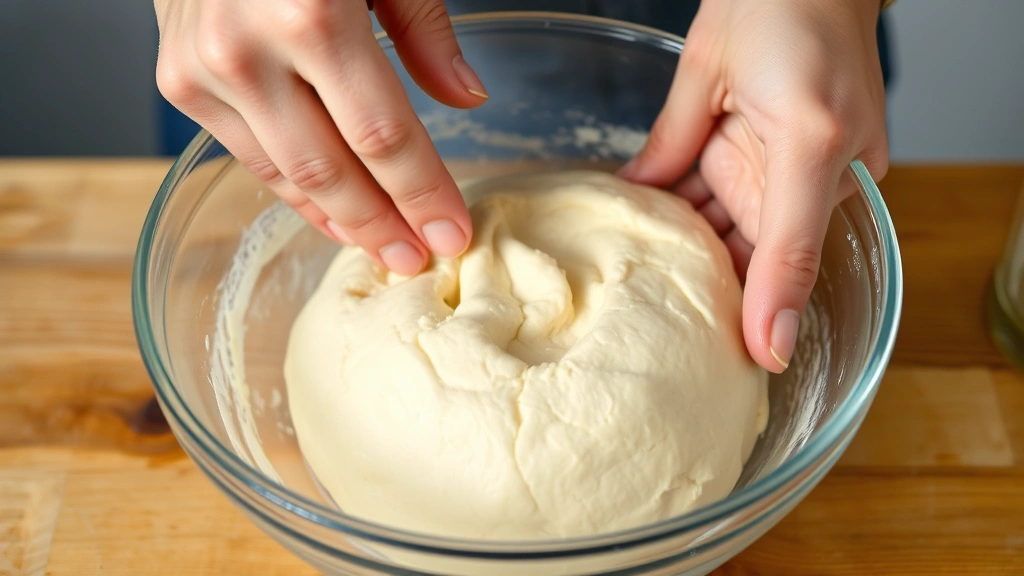
The dough should be soft, slightly sticky, and hold together when squeezed. If it seems too wet, add flour 5g at a time. If too dry, add milk by the teaspoon.
Phase 3: Bulk Fermentation (90 minutes)
Transfer dough to a lightly oiled bowl, turning to coat all sides. Cover with plastic wrap or a damp kitchen towel. Place in a warm location (75-78°F is ideal) for 90 minutes. The dough should increase in volume by about 50% and feel noticeably lighter and airier.
For consistent results, many bakers use a proofing box set to 77°F. If your kitchen is cool, place the bowl in a turned-off oven with the light on, or in a microwave with a cup of hot water beside it.
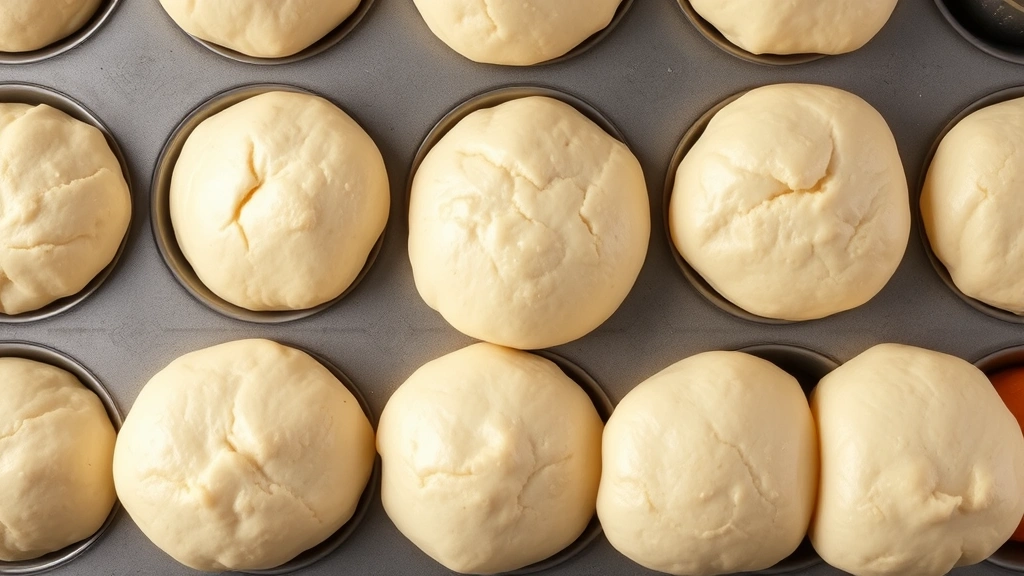
Phase 4: Shaping the Buns (15 minutes)
Gently deflate the dough and transfer to a lightly floured work surface. Divide into twelve equal pieces (approximately 80g each) using a bench scraper or kitchen scale for precision. Shape each piece into a tight ball by rolling it toward you with cupped hands, creating surface tension that helps the bun rise upward rather than outward.
Place shaped buns into a greased 12-cup muffin tin, or arrange them 2 inches apart on parchment-lined baking sheets. Cover with plastic wrap.
Phase 5: Final Proof (60-90 minutes)
Allow buns to proof in a warm location until they’re puffy and spring back slowly when poked with a finger. This typically takes 60-90 minutes depending on room temperature. You want them noticeably risen but not so over-proofed that they collapse during baking.
While buns proof, preheat your oven to 375°F (190°C). Prepare egg wash by beating one egg with 15ml of water.
Baking (18-22 minutes)
Once proofed, brush each bun generously with egg wash, covering the entire surface. Sprinkle with sesame seeds or poppy seeds if desired. Bake for 18-22 minutes until deep golden brown. The internal temperature should reach 200°F (93°C) when measured with an instant-read thermometer inserted into the center of a bun.
Remove from oven and brush immediately with melted butter while still hot—this creates that signature shiny finish and adds richness. Transfer to a wire rack to cool for at least 15 minutes before serving.
Baker’s Note: The butter-brushing step is non-negotiable for authentic brioche character. It adds moisture, shine, and that luxurious mouthfeel that distinguishes professional brioche from amateur attempts.
Pro Baking Tips
Understanding the science behind brioche elevates your results dramatically. Here are expert techniques that separate good buns from exceptional ones:
Temperature Management
Brioche dough ferments best between 75-80°F. At cooler temperatures, fermentation slows dramatically, extending bulk fermentation to 2-3 hours. At warmer temperatures, the process accelerates but may develop uneven flavor. Consistency in temperature produces consistent results.
Dough Development
The mixing time seems long (10-12 minutes at medium speed) because brioche requires full gluten development to support the high fat content. Under-mixed dough yields dense, gummy crumbs. Over-mixing is nearly impossible with a stand mixer, so don’t worry about overdoing it.
Hydration Balance
Brioche contains less water relative to flour than standard bread doughs. This concentration of fat creates the tender crumb, but it also means the dough handles differently. Resist the urge to add excess flour when shaping—the slight stickiness is intentional.
Proofing Indicators
Avoid relying solely on time for proofing. Visual cues matter more: the buns should increase visibly in size and feel light when touched. The “poke test” is reliable—gently press a finger into the dough; it should spring back slowly, leaving a slight indentation.
Oven Spring Optimization
Place your oven rack in the lower-middle position. This allows heat to reach the bun bottoms, promoting browning and proper structure development. If buns brown too quickly on top, tent them loosely with foil during the final 5-8 minutes of baking.
Serving Ideas
Brioche buns shine in numerous applications beyond traditional burger presentations. Consider these creative serving suggestions:
Gourmet Sandwiches: Layer with shredded chicken recipes featuring herb-infused preparations, or create elevated versions using quality deli meats and fresh vegetables.
Breakfast Sandwiches: Split and toast brioche buns, then fill with scrambled eggs, crispy bacon, and melted cheese for a sophisticated morning meal.
Sliders: Use brioche buns as the foundation for elegant appetizer sliders featuring short ribs, pulled pork, or herb-marinated seafood.
Sides for Main Courses: Serve warm brioche buns alongside roasted meats and vegetables as a luxurious bread accompaniment.
Sweet Applications: Transform brioche into bread pudding, French toast, or serve alongside avocado dip recipe applications for brunch entertaining.
For easy dinner recipes for beginners, brioche buns elevate simple preparations into restaurant-quality presentations.
Storage and Make-Ahead Guide
Proper storage preserves brioche quality for extended periods:
Room Temperature Storage
Completely cooled brioche buns keep in an airtight container at room temperature for 2-3 days. The tender crumb gradually dries out after this period, though the buns remain edible for up to 5 days.
Refrigeration
While possible, refrigeration accelerates staling due to moisture migration. Reserve refrigeration for buns with fillings that require cool storage.
Freezing for Long-Term Storage
Cool buns completely, then wrap individually in plastic wrap and place in freezer bags. Frozen brioche buns maintain quality for 2-3 months. Thaw at room temperature for 2-3 hours or refresh in a 300°F oven for 8-10 minutes until warmed through.
Make-Ahead Strategy
Prepare dough through the bulk fermentation stage, then refrigerate overnight. The next morning, shape and proof for 90 minutes before baking. This flexibility makes brioche practical for entertaining.
Alternatively, bake buns 1-2 days ahead and store at room temperature. Refresh in a 325°F oven for 5 minutes before serving to restore softness.
These techniques align well with quick and easy pasta recipes when you need complementary bread components prepared in advance.
FAQ
Why is my brioche dough so sticky?
Brioche dough contains high proportions of butter and eggs, making it naturally stickier than standard bread doughs. This is correct. Resist adding excess flour, as it will produce dense, tough buns. Instead, use a bench scraper and work on a lightly floured surface. If your dough is literally dripping, you may have added liquid incorrectly—verify your measurements with a scale.
Can I make brioche without a stand mixer?
Yes, though it requires significant hand-kneading effort. Mix flour, yeast, milk, and sugar with a wooden spoon until shaggy. Add eggs one at a time, incorporating each thoroughly before adding the next. Then knead by hand for 15-20 minutes, gradually incorporating softened butter in small pieces. This method is doable but physically demanding.
What’s the difference between brioche and challah?
Both are enriched doughs, but brioche contains more butter and eggs, creating a richer, more tender crumb. Challah typically uses oil instead of butter and often features braided shaping. Brioche is slightly sweeter and more indulgent, while challah offers a more delicate, less rich texture.
Why do my buns collapse after baking?
This indicates over-proofing. The dough has fermented so long that gluten structure weakens and can’t support the expansion during baking. Use the poke test: buns should spring back slowly but completely. If they spring back instantly, they need more time. If they don’t spring back at all, they’re over-proofed.
Can I use instant yeast instead of active dry yeast?
Yes, instant yeast and active dry yeast are largely interchangeable. Instant yeast particles are slightly smaller, so you might reduce the amount to 6g, though the difference is minimal in home baking.
How do I achieve that glossy, shiny finish?
Two factors create shine: egg wash applied before baking, and melted butter brushed immediately after baking while buns are still hot. Don’t skip either step. Some bakers also brush with a simple sugar syrup (equal parts sugar and water heated until combined) for extra shine.
What if I want to add flavor variations?
Add 2-3g of cardamom powder, 5ml of orange zest, or 2g of saffron threads to the dough during mixing. These additions complement brioche’s richness without overwhelming the delicate flavor profile. For high protein low calorie recipes, brioche isn’t ideal, but these flavor variations maximize satisfaction in reasonable portions.
Can I make mini brioche buns?
Absolutely. Divide dough into 24 pieces instead of 12, and reduce baking time to 12-15 minutes. Mini buns are perfect for sliders or elegant appetizer presentations. They proof slightly faster due to smaller mass, so monitor them carefully.
Why did my buns turn out dense?
Dense brioche typically results from under-mixing (insufficient gluten development), under-proofing (inadequate fermentation), or too much flour. Verify measurements with a scale, mix for the full recommended time, and use visual proofing cues rather than relying solely on time estimates.
How do I know when brioche is fully baked?
Visual cues include deep golden-brown color on top and sides. The internal temperature should reach 200°F when measured with an instant-read thermometer. You can also tap the bottom of a bun—it should sound hollow. If in doubt, bake 1-2 minutes longer; slightly over-baked brioche is preferable to under-baked.


