Crispy Korean Fried Chicken? Pro Chef’s Secret
Korean fried chicken, or chimaek, has taken the world by storm, and for good reason. This isn’t your typical American-style fried chicken—it’s a masterpiece of texture and flavor that combines an impossibly crispy exterior with juicy, tender meat inside. The secret lies not in a single ingredient but in a combination of techniques that professional Korean chefs have perfected over decades. Whether you’re aiming to recreate the magic of your favorite Korean restaurant or simply want to elevate your home cooking game, understanding these professional methods will transform your fried chicken game entirely.
What sets Korean fried chicken apart is the meticulous attention to detail in every step of the process. From the precise brining method to the double-frying technique and the application of signature glazes, each element plays a crucial role in achieving that signature crunch. This guide will walk you through the exact methods used by professional chefs, breaking down the science behind each technique so you can replicate restaurant-quality results in your own kitchen.
Understanding the Korean Fried Chicken Difference
Korean fried chicken operates on completely different principles than Western fried chicken. While American fried chicken often relies on a thick, seasoned breading, Korean versions prioritize a thin, shatteringly crisp exterior that shatters between your teeth. This textural contrast is what makes professionals’ versions so addictive.
The key difference stems from moisture management and the cooking method itself. Professional Korean chefs understand that moisture is the enemy of crispiness, which is why they employ multiple techniques to remove it from the chicken before and during cooking. Additionally, the double-frying method—cooking the chicken twice at different temperatures—creates a unique texture that’s nearly impossible to achieve with a single fry.
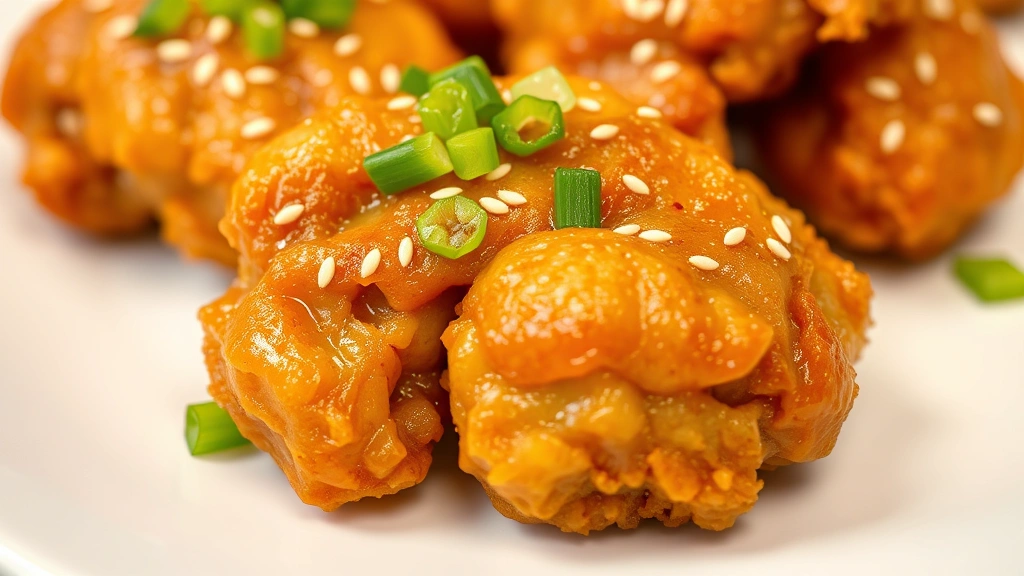
Another critical distinction is the glaze application. Rather than relying solely on seasoning in the breading, Korean fried chicken features sticky, flavorful glazes applied after frying. These glazes caramelize on the hot chicken surface, creating layers of flavor without compromising the crucial crispiness underneath.
The Brining Process: Your Foundation
Before any frying happens, professional chefs start with a critical step that many home cooks skip: proper brining. This isn’t just about adding salt—it’s about scientifically transforming the chicken’s protein structure to retain moisture during cooking while allowing the exterior to crisp up perfectly.
The Basic Brine Formula:
- 1 cup water or buttermilk
- 2 tablespoons kosher salt
- 1 tablespoon sugar
- 2 cloves garlic, minced
- 1 teaspoon ginger, grated
- ½ teaspoon white pepper
- 1 tablespoon soy sauce (optional)
Mix these ingredients together until the salt and sugar fully dissolve. The brine works by breaking down muscle fibers and allowing them to retain more moisture, which keeps your chicken juicy. Submerge your chicken pieces completely in this brine and refrigerate for at least 2-4 hours, though overnight is ideal. Professional chefs often brine for 12-24 hours to maximize the effect.
The choice between water-based and buttermilk-based brines matters. Buttermilk adds slight acidity and tang while creating a more tender result, whereas water-based brines are cleaner and allow other flavors to shine. For classic Korean fried chicken, either works, but buttermilk creates a subtly softer texture that some prefer.
After brining, remove the chicken and pat it completely dry with paper towels. This step is non-negotiable—any remaining moisture will create steam during frying, preventing the crispy crust from forming. Take your time here; professionals often pat for a full minute per piece.
Flour Mixture and Coating Secrets
This is where many home cooks miss the mark. The flour coating for Korean fried chicken isn’t just flour and salt. Professional chefs use a sophisticated blend that creates the characteristic light, crispy, almost paper-thin crust.
The Pro Coating Mixture:
- 1 cup all-purpose flour
- ¼ cup cornstarch
- 2 tablespoons potato starch
- 1 tablespoon baking powder
- 1 teaspoon salt
- ½ teaspoon white pepper
- ½ teaspoon garlic powder
- ½ teaspoon onion powder
- ¼ teaspoon cayenne (optional, for subtle heat)
The cornstarch and potato starch are absolutely essential. These starches fry up much crisper than flour alone, and they absorb less oil, resulting in a lighter, less greasy final product. The baking powder is a professional secret that adds extra lift and crispiness by creating tiny air pockets in the coating. This is what gives Korean fried chicken that signature shattering texture.
Combine all dry ingredients thoroughly in a bowl. Some professional chefs sift this mixture through a fine-mesh strainer to ensure even distribution and to break up any lumps. This extra step makes a noticeable difference in the final coating consistency.
For the wet coating, use either your remaining brine or a mixture of buttermilk and water in a 1:1 ratio. Some professionals add a beaten egg, though this creates a slightly thicker crust. For the thinnest, crispiest results, skip the egg. Dip your brined chicken pieces into the wet mixture, coating thoroughly but not excessively—you want a light coating, not a thick layer.
Immediately transfer the wet chicken to your flour mixture and coat thoroughly. Here’s a pro tip: professionals use one hand for the wet mixture and one hand for the dry mixture to avoid clumping up their hands. Coat each piece thoroughly, gently shaking off excess flour. For extra crispiness, some chefs double-coat by repeating the wet-dry process once more, which creates additional texture layers.
The Double-Frying Technique
This is the cornerstone technique that separates professional Korean fried chicken from everything else. The double-frying method involves cooking the chicken twice at different temperatures, and understanding why this works is crucial to executing it properly.
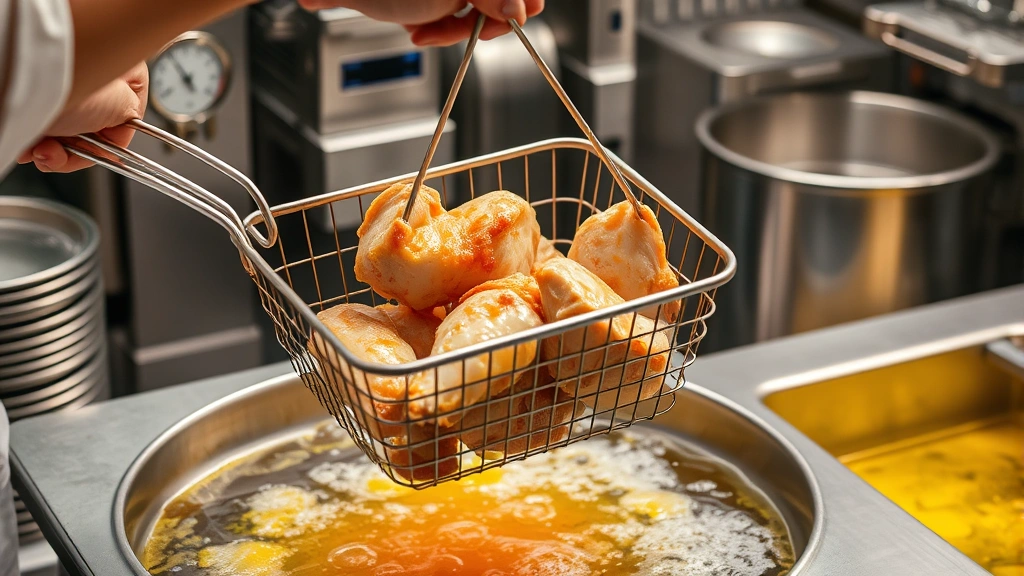
First Fry (Lower Temperature):
Heat your oil to 300-320°F (150-160°C). This lower temperature ensures the chicken cooks through completely without the exterior burning. This first fry takes longer—typically 8-12 minutes depending on piece size—but it allows the heat to penetrate to the center of the chicken while the coating begins setting up. You’ll notice the chicken won’t be crispy at this stage; it will appear pale and slightly translucent.
Don’t overcrowd your pan or fryer. Professional kitchens never fry more than 3-4 pieces at a time in a standard home fryer. Overcrowding drops the oil temperature dramatically, resulting in greasy, soggy chicken. Maintain consistent temperature throughout this first fry by monitoring your thermometer closely and adjusting heat as needed.
Remove the chicken and let it rest on a wire rack (not paper towels, which trap steam) for at least 5-10 minutes. This resting period is crucial—it allows the interior to finish cooking via carryover heat while the coating sets up completely. This is also when you can prepare your glazes or make homemade sauces to accompany your chicken.
Second Fry (Higher Temperature):
Increase your oil temperature to 350-375°F (175-190°C). This higher temperature creates the shattering, ultra-crispy exterior that defines professional Korean fried chicken. The second fry only takes 2-3 minutes—you’re not cooking the chicken again, you’re creating maximum crispiness on an already-cooked interior. The exterior should turn deep golden brown and become incredibly crispy.
Remove the chicken immediately when it reaches this color and transfer to a wire rack. Do not use paper towels, as they will trap steam and soften your carefully achieved crispiness. If you must rest on paper, use only the briefest moment before transferring to a wire rack or serving immediately.
The science behind this technique is fascinating: the first fry cooks the chicken evenly and allows the coating to set. The second fry at higher temperature causes rapid water evaporation from the coating surface, creating those shattered, crispy layers. The rest period between fries is essential because it allows the coating to firm up, preventing oil absorption during the second fry.
Creating Signature Glazes and Sauces
Once your chicken is perfectly crispy, the glaze is what elevates it from good to extraordinary. Korean fried chicken is typically served with one of several signature glazes that caramelize on the hot chicken surface.
Classic Soy Garlic Glaze:
- ¼ cup soy sauce
- 3 tablespoons honey or corn syrup
- 2 tablespoons rice vinegar
- 6 cloves garlic, minced
- 1 tablespoon ginger, grated
- 1 teaspoon sesame oil
- 1 tablespoon butter
- 1 teaspoon cornstarch mixed with 1 tablespoon water
Combine soy sauce, honey, and vinegar in a small saucepan over medium heat. Add garlic and ginger, simmering for 2-3 minutes until fragrant. Add butter and sesame oil, then stir in the cornstarch slurry to thicken. The sauce should coat the back of a spoon. Apply this glaze to your hot chicken immediately after the second fry, tossing gently to coat evenly. The heat will help the glaze set and caramelize.
Spicy Gochujang Glaze:
- 3 tablespoons gochujang (Korean red chili paste)
- 2 tablespoons honey
- 2 tablespoons soy sauce
- 1 tablespoon rice vinegar
- 4 cloves garlic, minced
- 1 tablespoon ginger, grated
- 1 tablespoon butter
Whisk gochujang with honey until smooth, then add remaining ingredients. Heat gently and apply to hot fried chicken. This glaze creates a beautiful reddish coating with complex heat and umami flavor.
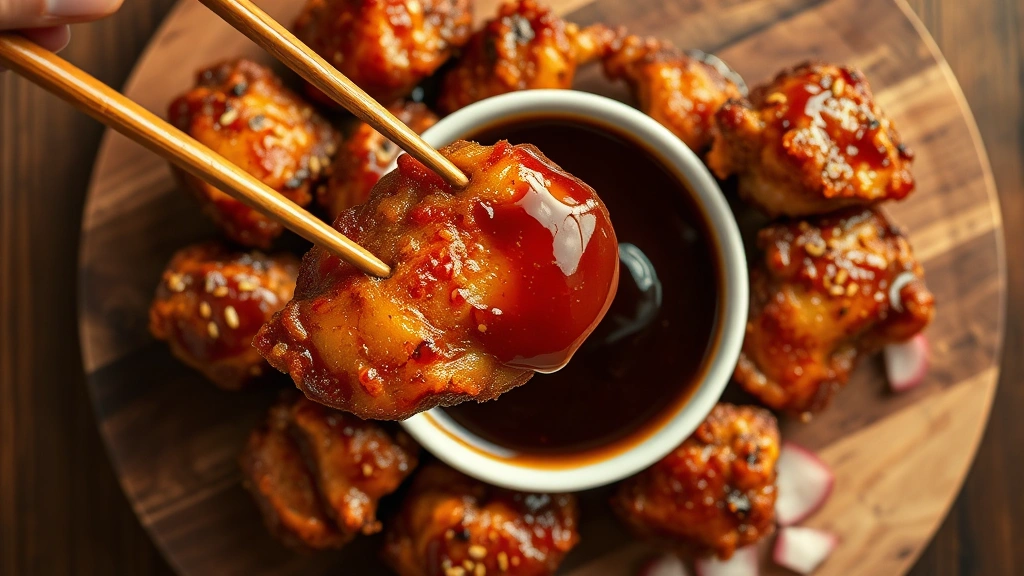
For those seeking simpler preparations, many professionals also serve plain crispy chicken with a side of dipping sauce. This allows diners to control the flavor intensity and enjoy the pure texture of the chicken. Consider making homemade dipping sauces for maximum freshness and control over ingredients.
Equipment and Temperature Control
Professional results require proper equipment. While you can fry chicken in a regular pot, a dedicated deep fryer or heavy-bottomed Dutch oven gives you much better temperature control. The most important tool is an accurate thermometer—preferably a digital instant-read thermometer for constant monitoring.
Oil selection matters significantly. Use neutral oils with high smoke points: peanut oil (450°F smoke point), vegetable oil (400-450°F), or canola oil (400°F). Avoid olive oil and butter, which burn at lower temperatures. Professional Korean restaurants typically use peanut oil for its neutral flavor and high smoke point.
Oil temperature is the single most important factor in achieving crispy results. Fluctuations in temperature directly affect crispiness and oil absorption. Invest in a quality thermometer and check temperature frequently. If your oil is too cool, the chicken absorbs excess oil. If it’s too hot, the exterior burns before the interior cooks.
Change your oil regularly—professionals typically change after every 4-5 batches or sooner if you notice degradation in crispiness. Used oil accumulates food particles and moisture, which negatively impacts results. For home cooking, this might mean changing oil every 2-3 batches depending on your fryer size.
Serving and Pairing Suggestions
Korean fried chicken is traditionally served with pickled radish (무), sliced cucumber, and beer—a pairing so iconic it has its own name: chimaek (chicken + beer). The acidity and crunch of the pickled vegetables cut through the richness of the fried chicken perfectly.
Serve your chicken immediately after glazing while the coating is still maximally crispy. Arrange on a serving platter lined with parchment paper to allow air circulation. If you must hold chicken before serving, place it on a wire rack in a warm (200°F) oven for no more than 10 minutes.
For complete meals, consider pairing with fresh summer salads or healthy food options to balance the richness. Steamed rice, homemade bread, or quick pasta dishes also complement Korean fried chicken beautifully. The beauty of this dish is its versatility—it works equally well as a casual weeknight dinner or an impressive centerpiece for entertaining.
Beverage pairing is crucial. Traditional Korean beer like Cass or Hite is the classic choice, but crisp lagers, pilsners, or even sparkling water work wonderfully. The carbonation helps cleanse the palate between bites. For non-alcoholic options, cold ginger ale or yuzu juice provide excellent flavor contrast.
Professional Korean chefs often share one final secret: patience. Rushing through any step—brining, coating, or frying—compromises results. The techniques outlined here have been refined over decades specifically because each step serves a scientific purpose. When you understand why each technique matters, you can execute them with confidence and consistency.
The transformation from ordinary chicken to restaurant-quality Korean fried chicken happens through accumulated small details. Your brining develops proper moisture retention. Your coating mixture creates the signature crispiness. Your double-frying technique achieves that impossible contrast between shatteringly crisp exterior and juicy interior. Your glaze adds the final flavor dimension. Together, these elements create magic.
FAQ
Can I brine the chicken for longer than 24 hours?
Yes, though results plateau after about 24 hours. Beyond 48 hours, the chicken can become overly soft from extended salt exposure. For optimal texture, aim for 12-24 hours of brining.
What if I don’t have a thermometer?
A thermometer is genuinely essential for consistent results. Inexpensive digital instant-read thermometers cost under $15 and make an enormous difference. Without one, you’re essentially guessing at oil temperature, which directly affects your success rate.
Can I use chicken thighs instead of breasts?
Absolutely. Thighs actually work beautifully for Korean fried chicken because they’re more forgiving and stay juicier. Thighs may require slightly longer cooking times in the first fry—aim for 12-15 minutes instead of 8-12 minutes.
How do I store leftover fried chicken?
Store in an airtight container in the refrigerator for up to 3 days. To reheat while maintaining crispiness, place on a wire rack in a 350°F oven for 8-10 minutes rather than microwaving, which creates sogginess.
Why is my chicken greasy?
Greasiness typically indicates oil temperature was too low during frying. When oil isn’t hot enough, the chicken absorbs excess oil before the exterior crisps. Verify your thermometer accuracy and maintain 300-320°F for the first fry and 350-375°F for the second fry.
Can I make this ahead for a party?
Yes, but with caveats. Complete both fries and glaze shortly before serving for maximum crispiness. You can brine the chicken up to 24 hours ahead and prepare glazes several hours in advance. The actual frying should happen within 30 minutes of serving.
What’s the difference between Korean fried chicken and Japanese karaage?
While similar in concept, Korean fried chicken emphasizes thinner, crispier coatings and glossy glazes, while Japanese karaage typically has a slightly thicker, spiced coating and is often served with lemon and mayo rather than glazes. The double-frying technique is distinctly Korean.


