Cherry Crisp Delight: Grandma’s Secret Recipe
There’s something magical about cherry crisp that transports you straight to grandmother’s kitchen on a warm summer afternoon. This beloved dessert combines tender, juicy cherries with a buttery, golden-brown topping that crackles between your teeth with pure satisfaction. What makes a cherry crisp recipe truly special isn’t just the quality of ingredients—it’s the love and tradition baked into every layer. My grandmother guarded her cherry crisp recipe like a treasured heirloom, and after years of watching her work her magic in the kitchen, I’m thrilled to share her secrets with you.
This isn’t your average fruit crisp. Grandma’s version elevates the classic dessert through careful attention to detail, the perfect balance of spices, and a technique that ensures the cherry filling remains perfectly juicy while the topping achieves that coveted crispy-yet-chewy texture. Whether you’re preparing this for a family gathering, a potluck dinner, or simply craving something homemade and comforting, this cherry crisp recipe will become your go-to dessert. The beauty of this recipe lies in its versatility—it works wonderfully served warm with vanilla ice cream, whipped cream, or even a drizzle of fresh cream.
Why Cherry Crisp Is the Ultimate Dessert
Cherry crisp holds a special place in the dessert world because it strikes the perfect balance between simplicity and sophistication. Unlike more complicated desserts that require extensive baking knowledge, a cherry crisp recipe can be mastered by home cooks of all skill levels. The layered structure—tart fruit on bottom, crunchy topping on top—creates a textural experience that keeps people coming back for more.
What sets this particular cherry crisp apart from standard recipes is the depth of flavor achieved through careful spice selection and the technique of macerating the cherries. Grandma always said that allowing the cherries to sit with sugar and spices before baking allows them to release their natural juices and deepen in flavor. This step transforms ordinary cherries into something extraordinary. The cherry filling becomes almost syrupy, creating a luxurious sauce that mingles with the crispy topping as you eat.
This dessert also offers practical advantages. You can prepare it ahead of time, store it in the refrigerator, and bake it when needed. It’s naturally gluten-free adaptable, can accommodate various dietary preferences, and scales easily for small or large gatherings. Whether you’re serving four people or twenty, this cherry crisp recipe maintains its integrity and deliciousness.
Essential Ingredients for Authentic Cherry Crisp
The foundation of any great cherry crisp recipe starts with quality ingredients. Grandma always emphasized that you cannot make exceptional desserts with mediocre components. Here’s exactly what you’ll need:
For the Cherry Filling:
- 5 pounds fresh cherries, pitted (about 6 cups when pitted)
- ¾ cup granulated sugar
- ¼ cup brown sugar
- 2 tablespoons fresh lemon juice
- 1 tablespoon cornstarch
- ½ teaspoon almond extract
- ¼ teaspoon ground cinnamon
- ¼ teaspoon nutmeg
- ¼ teaspoon sea salt
For the Crispy Topping:
- 1½ cups old-fashioned rolled oats
- 1 cup all-purpose flour
- ¾ cup cold butter, cubed
- ½ cup brown sugar, packed
- ¼ cup granulated sugar
- ¼ cup chopped raw almonds or pecans
- 1 teaspoon vanilla extract
- ½ teaspoon sea salt
- ¼ teaspoon ground cinnamon
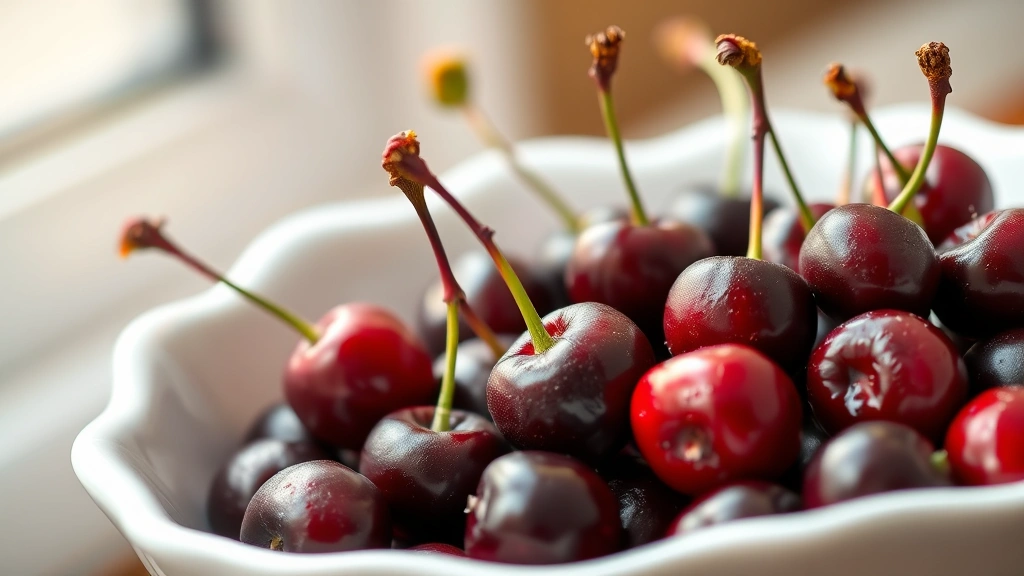
When selecting cherries, look for deep red or dark burgundy ones—they offer the most robust flavor and beautiful color. If fresh cherries aren’t available, frozen cherries work wonderfully; simply thaw them and drain excess liquid before using. You can also explore homemade jam techniques to preserve your cherry harvest for year-round enjoyment.
Preparing Your Cherry Filling
The cherry filling is where grandma’s secret technique truly shines. Many cooks skip the crucial maceration step, but this is what elevates her recipe above standard versions.
Step One: Pit Your Cherries
Begin by pitting your cherries. While this requires some patience, it’s essential for the final texture. Use a cherry pitter for efficiency—it’s a worthwhile kitchen investment. If you don’t have one, a small paring knife works, though it takes longer. Arrange pitted cherries in a large bowl, collecting all the juices as you work.
Step Two: Create the Maceration Mixture
In a separate bowl, combine both sugars, lemon juice, cornstarch, almond extract, cinnamon, nutmeg, and sea salt. Whisk these ingredients together until the mixture is uniform and the cornstarch is evenly distributed. Grandma’s secret was adding a pinch of almond extract—it complements cherry flavor beautifully without being identifiable, creating that “what is that?” moment guests always ask about.
Step Three: Macerate the Cherries
Pour the sugar mixture over your pitted cherries and stir gently but thoroughly, ensuring every cherry is coated. Cover the bowl with plastic wrap and refrigerate for at least 4 hours, though overnight is ideal. This resting period allows the cherries to release their natural juices, creating a thick, flavorful filling. You’ll notice the mixture becomes syrupy and the cherries deepen in color—this is exactly what you want.
Step Four: Prepare the Baking Dish
When ready to bake, preheat your oven to 350°F (175°C). Lightly butter a 9×13-inch baking dish. Pour your macerated cherry mixture, including all accumulated juices, into the prepared dish. Spread the cherries in an even layer. The liquid should come about halfway up the cherries—if it seems too thick, add a tablespoon or two of cherry juice or water.
Creating the Perfect Crispy Topping
The topping is what transforms this from a simple fruit compote into a proper crisp. The key to achieving that signature crispy-yet-chewy texture lies in the proportion of oats to flour and the technique for incorporating the cold butter.
Combining Dry Ingredients
In a large mixing bowl, combine oats, flour, brown sugar, granulated sugar, chopped nuts, sea salt, and cinnamon. Whisk these together thoroughly, breaking up any clumps in the brown sugar. The mixture should be relatively uniform in color and texture. This step ensures even distribution of all flavor components throughout the topping.
Incorporating the Cold Butter
This is crucial for texture. Cut your cold butter into small cubes—each piece should be roughly the size of a pea. Add the butter cubes to your dry mixture. Using a pastry cutter, two knives, or your fingertips, work the butter into the dry ingredients until the mixture resembles coarse breadcrumbs or wet sand. Some larger butter pieces (about the size of small peas) should remain visible—these create the crispy texture.
Grandma’s technique was to use her fingertips, working quickly so the butter stayed cold. She’d rub the butter between her thumb and fingers, letting it fall back into the bowl. This gentle method prevents overworking the mixture, which would result in a dense, cake-like topping rather than a crispy one.
Adding the Final Touch
Drizzle the vanilla extract over the mixture and toss gently with a fork, incorporating it evenly. The topping should hold together slightly when squeezed but still feel crumbly. If it seems too dry, add a teaspoon of water at a time until you achieve the right consistency.
Step-by-Step Baking Instructions
Now comes the moment where all your preparation transforms into golden, delicious reality. Following these instructions precisely ensures perfect results every time.
Assembling Your Crisp
Spread the prepared topping evenly over your cherry filling. Don’t pack it down—let it sit naturally on top, creating an uneven surface. This uneven surface allows more edges to become crispy during baking. Leave about ½ inch of space around the edges to allow steam to escape and prevent overflow.
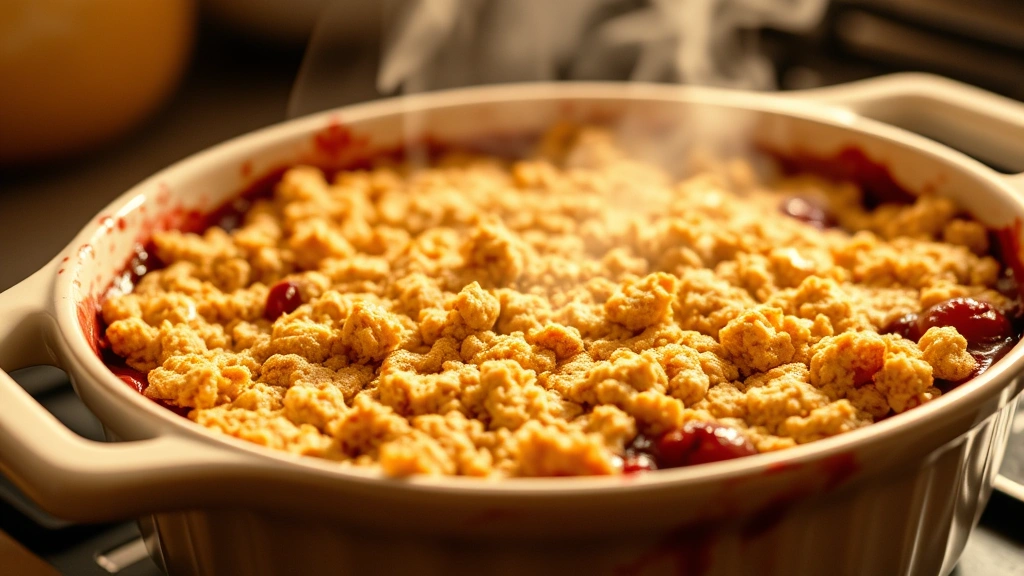
The Baking Process
Place your assembled crisp on a baking sheet (this catches any drips) and transfer to your preheated 350°F oven. Bake for 45-55 minutes, until the topping is golden brown and you can see the cherry filling bubbling around the edges. The exact time depends on your oven’s characteristics, so begin checking at 40 minutes.
During baking, you’ll notice the most wonderful aroma filling your home. Resist the urge to open the oven frequently, as this releases heat and can affect baking time. If the topping begins browning too quickly before the cherries are bubbling, loosely tent the crisp with aluminum foil for the final 10-15 minutes.
Cooling and Setting
Once the crisp emerges from the oven with its golden-brown topping, resist the immediate urge to dig in. Allow it to cool for at least 15-20 minutes. This resting period allows the cherry filling to set slightly, creating better structure for serving. However, serving it while still warm is part of the charm—the filling will be at its most luscious, and the topping will still have that fresh-from-the-oven crispness.
Tips for Cherry Crisp Success
Beyond the basic recipe, grandma shared several pro tips that ensure consistent, spectacular results.
Selecting Your Cherries
Fresh, ripe cherries are non-negotiable for the best flavor. Look for firm cherries with deep color and no soft spots. Avoid any that feel mushy or have visible blemishes. If purchasing from farmers’ markets, ask the vendor which variety they recommend for cooking—some cherries are better suited for eating fresh, while others excel in desserts.
The Cornstarch Question
The tablespoon of cornstarch in the filling serves an important purpose: it thickens the cherry juices without creating a gummy texture. However, if you prefer a more liquid filling, reduce it to ½ teaspoon. For a thicker filling, increase to 1½ teaspoons. The amount depends on how juicy your particular cherries are and your personal preference.
Make-Ahead Strategy
You can prepare the cherry filling up to 2 days in advance, storing it covered in the refrigerator. Prepare the topping mixture (without the vanilla) up to 1 day ahead, storing it in an airtight container at room temperature. Add the vanilla and assemble just before baking for optimal texture. This flexibility makes cherry crisp perfect for entertaining, as you can handle most preparation beforehand.
Nut Alternatives and Allergies
The almond extract in the filling complements cherries beautifully, but if you have almond allergies, substitute with vanilla extract or omit it entirely. For the topping, pecans, walnuts, or hazelnuts work as well as almonds. You can also omit nuts entirely—the crisp will still be delicious, though you’ll lose some textural variety.
Spice Adjustments
These spice amounts reflect grandma’s preferences, but feel free to adjust. If you love cinnamon, increase it to ½ teaspoon. If nutmeg isn’t your favorite, reduce it to a pinch. Some cooks add a whisper of cardamom or cloves. The beauty of this recipe is its adaptability to your taste preferences.
Serving and Storage Guide
A perfect cherry crisp deserves equally perfect serving and storage methods.
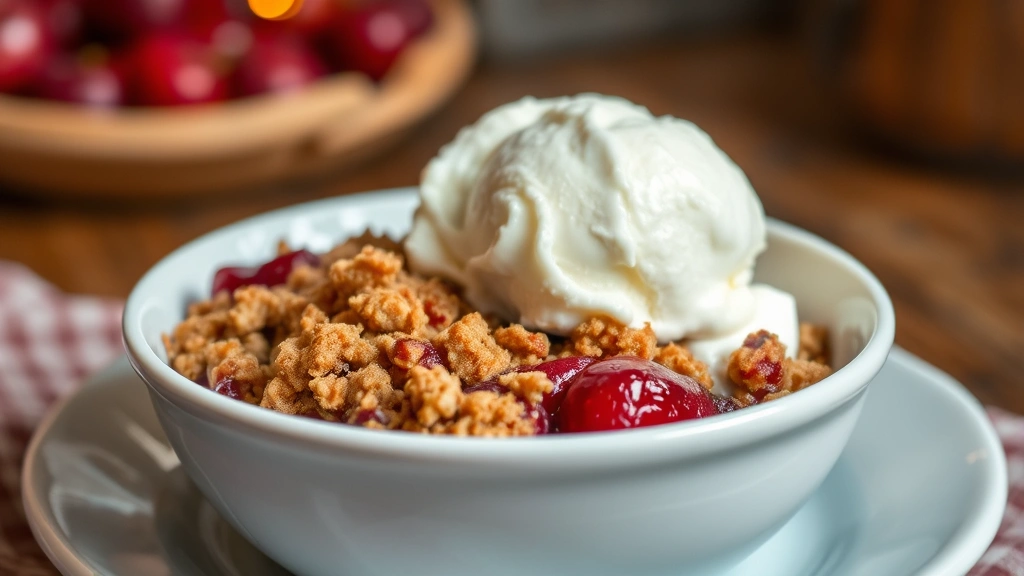
Ideal Serving Suggestions
Serve your cherry crisp warm with vanilla ice cream—the contrast between cold cream and warm crisp is heavenly. Whipped cream, Greek yogurt, or custard sauce also complement the dessert beautifully. For a lighter option, serve with a dollop of fresh whipped cream and a sprinkle of fresh mint. Some guests might appreciate it with a small glass of dessert wine—the acidity pairs wonderfully with the sweet, tart cherries.
If you’re planning a special meal, consider pairing this with savory dishes. After a main course featuring ground beef rice recipes or other hearty fare, this light, fruity dessert provides a refreshing conclusion.
Storage Instructions
Cover leftover cherry crisp loosely with plastic wrap or aluminum foil and store at room temperature for up to 2 days. For longer storage, refrigerate for up to 5 days. You can also freeze the baked crisp for up to 3 months—wrap it well in plastic wrap and then aluminum foil. Thaw at room temperature and reheat gently in a 300°F oven for 15-20 minutes before serving.
Reheating for Optimal Texture
While you can eat cold cherry crisp directly from the refrigerator, it’s far better reheated. Place it in a 300°F oven, covered with foil, for 15 minutes. Remove the foil and bake an additional 5 minutes to restore some crispness to the topping. This gentle reheating prevents the topping from becoming soggy while warming the filling through.
Flavor Development
Interestingly, the flavors of cherry crisp actually deepen as it sits. Leftover crisp often tastes even better the next day, as the spices continue melding with the cherry filling and the topping absorbs some of the fruit’s moisture while maintaining its structure. This makes it an excellent dessert for advance preparation.
FAQ
Can I use canned or frozen cherries instead of fresh?
Absolutely. If using frozen cherries, thaw them completely and drain off excess liquid before maceration. Canned cherries work too, though they’re often softer—reduce the maceration time to 2 hours and use only ½ cup sugar since canned cherries are typically packed in syrup. Fresh cherries yield the best results, but these alternatives are perfectly acceptable.
What if my cherry crisp topping isn’t crispy?
The most common reason for a soggy topping is overmixing the butter into the dry ingredients, which creates a dense, cake-like texture. Ensure your butter is cold and work it in gently, leaving small visible pieces. Also, don’t cover the crisp while it cools, as steam will soften the topping. If it does become soft, you can restore some crispness by placing it uncovered in a 300°F oven for 10 minutes.
Can I make this crisp in advance and bake it later?
Yes, this is one of the recipe’s greatest advantages. Prepare the cherry filling up to 2 days ahead. Prepare the topping mixture (without vanilla) up to 1 day ahead. Assemble the crisp, cover with plastic wrap, and refrigerate for up to 8 hours before baking. Add 5-10 minutes to the baking time since it will be cold from the refrigerator.
What’s the difference between a crisp and a crumble?
These terms are often used interchangeably, but technically, a crisp contains oats while a crumble doesn’t. Both feature a buttery, crunchy topping over fruit filling. This recipe is definitely a crisp due to the oats, which provide that signature texture grandma loved.
Can I double this recipe?
Yes, you can easily double it. Use a 9×13-inch baking dish for the original amount, or two 8×8-inch dishes for a doubled batch. A doubled batch in a 9×13-inch dish will need an additional 10-15 minutes baking time. Monitor the topping color carefully and tent with foil if it’s browning too quickly.
Are there any dietary modifications I can make?
For gluten-free versions, substitute the flour with a gluten-free all-purpose blend using the same amount. For dairy-free, use cold dairy-free butter (ensure it’s solid, not spreadable). For vegan, use plant-based butter and ensure all other ingredients are vegan-certified. The recipe adapts well to these modifications without sacrificing quality.
How do I know when the cherry crisp is done baking?
The topping should be golden brown, and you should see the cherry filling bubbling around the edges of the dish. The filling bubbling is the most important indicator—it means the cherries have released their juices and the cornstarch has thickened them properly. If the topping is golden but the filling isn’t bubbling, continue baking.


