Cherry Delight Recipe: Grandma’s Favorite Dessert
There’s something magical about a dessert that has been passed down through generations. This cherry delight recipe is exactly that—a beloved family treasure that brings back memories of warm kitchens and loving hands. Whether you’re celebrating a special occasion or simply craving something sweet, this classic treat delivers the perfect balance of tart cherries, creamy filling, and buttery crust that makes it truly unforgettable.
Grandma’s cherry delight is more than just a dessert; it’s a connection to tradition and comfort. The beauty of this recipe lies in its simplicity and the way it showcases the natural sweetness of fresh or canned cherries. With straightforward ingredients and easy-to-follow steps, even novice bakers can create a showstopping dessert that will have everyone at the table asking for seconds.
This comprehensive guide will walk you through every aspect of making this cherished family recipe, from selecting the best cherries to mastering the layering technique that makes it truly special.
Essential Ingredients for Cherry Delight Recipe
Understanding your ingredients is the first step toward creating an exceptional cherry delight. This recipe combines simple pantry staples with quality cherries to create layers of flavor and texture that work in harmony. The beauty of this dessert is that you likely already have most of these ingredients on hand.
For the Crust:
- 2 cups all-purpose flour
- 1/2 cup granulated sugar
- 1/2 cup (1 stick) cold butter, cubed
- 1 egg yolk
- 1/4 teaspoon salt
- 2-3 tablespoons cold water
For the Filling:
- 2 cans (15 oz each) pitted cherries, drained (or 3 cups fresh cherries, pitted)
- 3/4 cup granulated sugar
- 1/4 cup cornstarch
- 2 tablespoons cherry juice or water
- 1 tablespoon fresh lemon juice
- 1/2 teaspoon almond extract
- 1/4 teaspoon vanilla extract
For the Creamy Layer:
- 8 oz cream cheese, softened
- 1/2 cup powdered sugar
- 1 teaspoon vanilla extract
- 1/2 cup heavy whipping cream
For the Topping:
- 1 cup whipped cream
- Fresh cherries for garnish (optional)
- 2 tablespoons chopped almonds or pecans
- Cocoa powder for dusting (optional)
Preparation Guide
Proper preparation sets the foundation for success when making this cherry delight recipe. Taking time to organize your workspace and prepare ingredients will make the baking process smoother and more enjoyable. This is where attention to detail truly matters.
Gathering Your Equipment:
- 9×13 inch baking dish
- Mixing bowls (various sizes)
- Electric mixer or whisk
- Measuring cups and spoons
- Wooden spoon or spatula
- Sifter or fine-mesh strainer
- Pastry cutter (optional)
- Parchment paper
Preparing Your Ingredients:
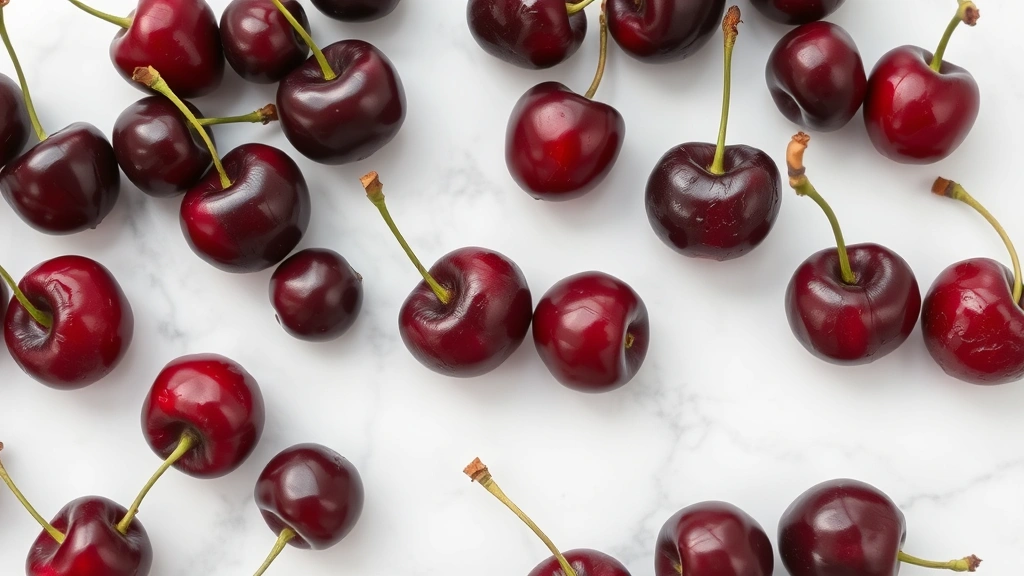
Start by removing your butter and cream cheese from the refrigerator 30 minutes before baking. Room temperature ingredients blend more smoothly and create a better texture. If using fresh cherries, wash them thoroughly and pat dry with paper towels. For canned cherries, drain them well and reserve the juice for the filling. This step prevents excess moisture that could make your dessert soggy.
Measure all your dry ingredients and combine them in separate bowls. This technique, known as mise en place, ensures you won’t miss any ingredients during the baking process. It’s a professional practice that home bakers can easily adopt.
[IMAGE_1]
Step-by-Step Instructions for Cherry Delight Recipe
Creating the Perfect Crust:
- Preheat your oven to 350°F (175°C). Line your 9×13 inch baking dish with parchment paper, allowing some overhang for easy removal later.
- In a large mixing bowl, combine flour, sugar, and salt. Whisk together until well combined.
- Add cold, cubed butter to the dry mixture. Using a pastry cutter or your fingertips, work the butter into the flour until the mixture resembles coarse breadcrumbs. This texture is crucial for a flaky crust.
- In a small bowl, whisk together the egg yolk and cold water. Drizzle this mixture over the flour-butter combination while gently tossing with a fork.
- Mix until the dough just comes together. Be careful not to overwork it, as this develops gluten and creates a tough crust.
- Press the dough evenly into the bottom of your prepared baking dish. Use your hands or the bottom of a measuring cup for uniform pressure.
- Bake the crust for 12-15 minutes until it’s lightly golden but not fully cooked. This pre-baking step prevents a soggy bottom.
Preparing the Cherry Filling:
- While the crust bakes, prepare your cherry filling. In a medium saucepan, combine drained cherries, sugar, and cornstarch.
- Add cherry juice (or water if using fresh cherries), lemon juice, and almond extract. Stir gently to combine without crushing the cherries.
- Cook over medium heat, stirring occasionally, for about 8-10 minutes until the mixture thickens and becomes glossy. The cornstarch will create a beautiful glaze that coats each cherry.
- Remove from heat and stir in the vanilla extract. Let cool for 5 minutes before using.
Making the Creamy Layer:
- In a medium mixing bowl, beat softened cream cheese with powdered sugar until smooth and fluffy, about 2-3 minutes.
- Add vanilla extract and mix well.
- In a separate bowl, whip heavy cream to stiff peaks using an electric mixer.
- Gently fold the whipped cream into the cream cheese mixture in two additions, being careful to maintain the airy texture.
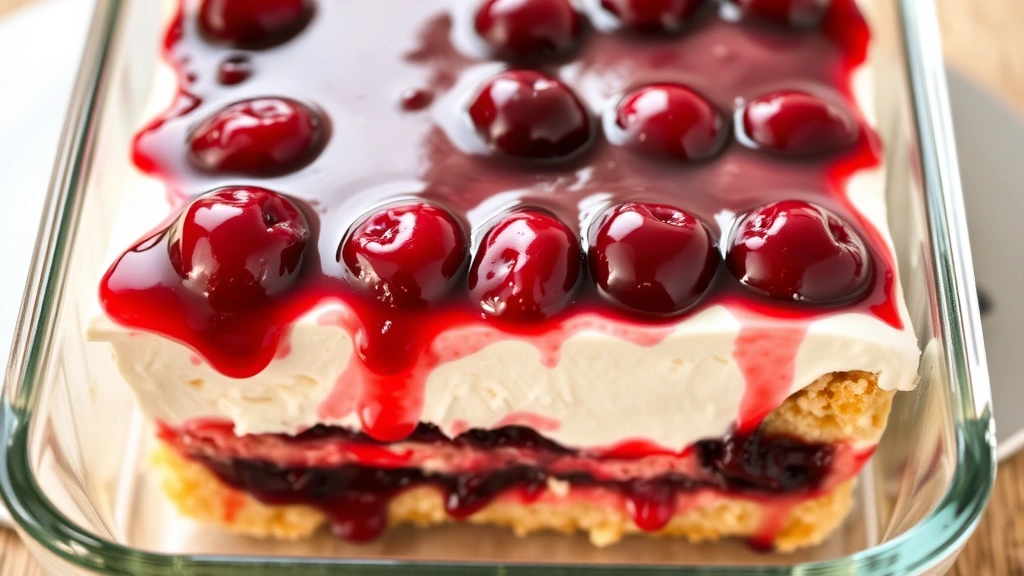
Assembling Your Cherry Delight:
- Remove the pre-baked crust from the oven and let cool for 5 minutes.
- Spread the cream cheese mixture evenly over the cooled crust, creating an even layer about 1/2 inch thick.
- Carefully pour the cherry filling over the cream cheese layer, distributing the cherries evenly. The glossy syrup will settle between the layers beautifully.
- Cover the baking dish with plastic wrap and refrigerate for at least 4 hours, preferably overnight. This resting period allows flavors to meld and the dessert to set properly.
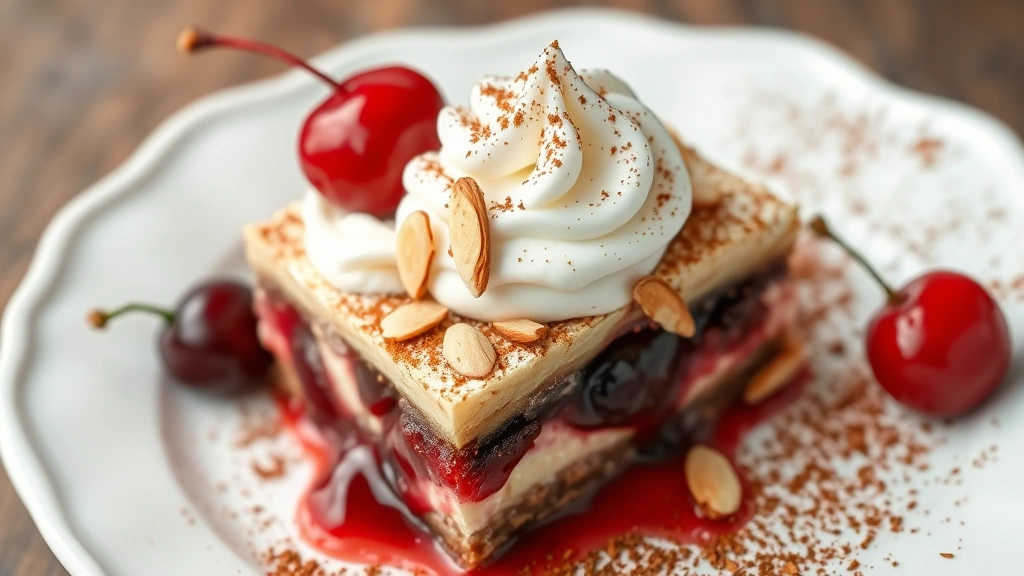
Final Touches:
- Just before serving, top with fresh whipped cream and scatter chopped almonds or pecans across the surface.
- Optional: dust lightly with cocoa powder for an elegant presentation.
- Garnish with fresh cherries if desired for a beautiful finishing touch.
Baker’s Tips for Success
Making a perfect cherry delight recipe requires attention to detail and understanding the science behind each step. These professional tips will elevate your baking game and ensure consistent results every time.
Temperature Matters: Always allow ingredients to reach room temperature before mixing. This creates smoother blends and better emulsification, especially for the cream cheese layer. Cold ingredients can create lumps and uneven texture.
Cherry Selection: While canned cherries work wonderfully and provide consistent flavor, fresh cherries offer a more delicate taste. If using fresh cherries, choose ripe ones at peak season—typically June through August. Avoid over-ripe cherries that may become mushy during cooking. When preparing easy dinner recipes for beginners, understanding ingredient quality becomes second nature.
Moisture Control: The most common issue with layered desserts is excess moisture. Drain your canned cherries thoroughly and don’t skip the pre-baking step for the crust. This prevents sogginess and maintains the structural integrity of each layer.
Cornstarch Technique: When thickening the cherry filling, ensure you cook it long enough for the cornstarch to fully activate. The mixture should appear glossy and coat a spoon. Under-cooked cornstarch results in a runny filling that won’t set properly.
Whipping Cream Properly: For the creamiest texture, chill your mixing bowl and beaters before whipping cream. Cold equipment helps the cream reach stiff peaks without becoming butter. Add a tablespoon of powdered sugar to help stabilize the whipped cream.
No Oven Spring Needed: Unlike bread or certain cakes, this crust doesn’t need to rise significantly. The pre-baking ensures it stays crispy and doesn’t absorb excess moisture from the filling layers above.
Creative Variations on Cherry Delight Recipe
Once you’ve mastered the classic cherry delight, consider these exciting variations that maintain the spirit of the original while adding new dimensions of flavor. Experimentation is part of the joy of cooking.
Chocolate Cherry Delight: Add 1/4 cup cocoa powder to the crust mixture for a rich chocolate base. This pairs beautifully with the tart cherries and creates a sophisticated flavor combination reminiscent of classic chocolate-covered cherries.
Almond Crust Version: Replace 1/2 cup of flour with finely ground almonds. This adds nuttiness and complements the almond extract in the filling perfectly. The texture becomes slightly more delicate and refined.
Liqueur-Enhanced Filling: Add 2 tablespoons of Kirsch (cherry liqueur) or Amaretto to the cherry filling for an adults-only version. This adds complexity and depth to the flavor profile.
No-Bake Version: Skip the crust entirely and use 2 cups of crushed vanilla wafers mixed with melted butter as your base. Press firmly and refrigerate for 30 minutes. This creates a quicker version perfect for busy schedules.
Cottage Cheese Alternative: For a lighter version, replace half the cream cheese with ricotta or cottage cheese (strained through cheesecloth). This reduces richness while maintaining creaminess.
Spiced Cherry Variation: Add 1/4 teaspoon cinnamon, 1/8 teaspoon nutmeg, and a pinch of cloves to the cherry filling. These warm spices transform the dessert into something more autumnal and complex.
Storage and Serving Suggestions
Proper storage extends the life of your cherry delight recipe and ensures it tastes fresh for days. Understanding how to maintain quality is essential for meal planning.
Refrigeration: Store your completed cherry delight covered in the refrigerator for up to 5 days. The cool temperature helps maintain the firmness of the cream cheese layer and keeps the crust from absorbing excess moisture.
Freezing: You can freeze the unbaked assembled dessert (before adding the whipped cream topping) for up to 2 months. Thaw overnight in the refrigerator before serving. The crust may be slightly softer but the flavor remains excellent.
Serving Temperature: Serve directly from the refrigerator for the best texture. The cold temperature contrasts beautifully with the room-temperature fruit and creates a refreshing eating experience. Allow individual portions to sit at room temperature for 5 minutes if you prefer a softer texture.
Portion Size: Cut into 12-16 pieces depending on desired serving size. A sharp knife dipped in hot water between cuts creates clean edges and prevents dragging.
Pairing Suggestions: Serve alongside quick and easy pasta recipes for a complete meal, or enjoy as a standalone dessert. Coffee, tea, or a dessert wine like Moscato d’Asti complements the flavors beautifully.
For those interested in complementary desserts, exploring healthy crockpot recipes might reveal warm fruit-based options that pair well with your cherry delight.
Frequently Asked Questions
Can I use frozen cherries for this cherry delight recipe?
Absolutely! Frozen cherries work wonderfully. Thaw them completely and drain excess liquid before using. The flavor is just as vibrant as fresh or canned cherries, and they’re often more economical, especially outside cherry season.
What if my cream cheese layer is too thick or too thin?
The cream cheese layer should be about 1/2 inch thick. If yours is thicker, spread it more thinly across the surface. If it’s too thin, you can always add a bit more whipped cream mixture before layering the cherries.
How far in advance can I make this dessert?
You can assemble the cherry delight up to 2 days in advance. Add the whipped cream topping and nuts no more than 4 hours before serving to maintain the best texture and appearance. This makes it perfect for entertaining!
Can I reduce the sugar content?
Yes, you can reduce sugar in the cherry filling by 2-3 tablespoons if you prefer less sweetness. However, be cautious with the crust and cream cheese layers, as sugar affects texture and stability. Reducing it too much may result in a tougher crust.
What’s the best way to pit fresh cherries?
Use a cherry pitter tool, which removes the pit cleanly while keeping the fruit intact. Alternatively, cut each cherry in half with a small knife and remove the pit with your fingernail or the knife tip. This method takes longer but requires no special equipment.
Is this dessert suitable for dietary restrictions?
The traditional recipe contains dairy and gluten. However, you can adapt it: use gluten-free flour for the crust, dairy-free cream cheese and whipped cream for vegan versions. The cherry filling is naturally vegan and gluten-free as written.
Why did my crust become soggy?
Soggy crusts typically result from insufficient pre-baking or excess moisture in the filling. Always pre-bake for the full 12-15 minutes and ensure your canned cherries are well-drained. The syrupy cherry filling should coat rather than drown the crust.
Can I make individual cherry delight servings?
Yes! Divide all ingredients proportionally and assemble in individual mason jars or dessert cups. Layer crust crumbles, cream cheese mixture, and cherry filling. This presentation is elegant for entertaining and makes portion control easy.
How do I prevent the cherry delight from cracking?
Cracks typically form when the dessert is too cold or the cream cheese layer is too thick. Let it cool gradually before refrigerating, and keep the cream cheese layer to about 1/2 inch thick. The whipped cream topping will cover any minor imperfections.
What other fruits pair well with this recipe base?
Blueberries, raspberries, blackberries, and strawberries all work beautifully. You could also try peaches or apricots for a different flavor profile. Adjust cooking time slightly depending on the fruit’s natural moisture content.


