Gluten-Free Waffles? Nutritionist Approved Recipe
Whether you’re managing celiac disease, non-celiac gluten sensitivity, or simply exploring healthier breakfast options, finding a reliable gluten-free waffle recipe that actually tastes delicious can feel impossible. Most gluten-free baked goods fall flat, taste gritty, or require an intimidating list of specialty ingredients. But here’s the good news: creating fluffy, golden waffles without gluten is absolutely achievable when you understand the science behind the substitution.
This nutritionist-approved recipe combines the best gluten-free flour blends with binding agents that mimic the structure typically provided by wheat flour. You’ll end up with waffles that are crispy on the outside, tender on the inside, and so satisfying that your gluten-eating family members won’t even notice the difference. Plus, we’ve loaded this recipe with protein and nutrients to keep you fuller longer—making it a breakfast win for everyone at the table.
Let’s dive into what makes gluten-free waffles work, how to avoid common pitfalls, and exactly how to make a batch that’ll become your new weekend staple.
Why Gluten-Free Matters for Breakfast
Gluten is a protein found in wheat, barley, and rye that gives baked goods their characteristic elasticity and chewiness. When you remove gluten, you’re essentially removing the structural scaffolding that holds everything together. This is why traditional gluten-free baking requires a different approach—one that focuses on finding alternative binders and achieving the right moisture balance.
For people with celiac disease, consuming gluten triggers an immune response that damages the small intestine. For others with non-celiac gluten sensitivity, gluten can cause bloating, digestive discomfort, and fatigue. Even if you don’t have either condition, exploring alternative breakfast ideas can help you discover new favorite meals and expand your culinary repertoire.
A nutritionist-approved gluten-free waffle recipe focuses on three key elements: whole grain gluten-free flours for nutrition and fiber, proper binding agents to replace gluten’s structural role, and balanced wet and dry ingredients to achieve the ideal texture. This recipe checks all those boxes while keeping added sugars minimal and protein content respectable.
Choosing the Right Gluten-Free Flour Blend
The foundation of any successful gluten-free waffle starts with flour selection. Unlike regular wheat flour, gluten-free flours behave differently when mixed with liquids. Some absorb more moisture, others contribute grittiness, and many lack the binding power you need.
For this recipe, we recommend using a quality gluten-free all-purpose flour blend that already includes xanthan gum or psyllium husk as a binder. Brands like Bob’s Red Mill 1-to-1, King Arthur Baking Company Measure for Measure, or Costco’s Kirkland Organic are all reliable options. These blends typically contain a mixture of rice flour, tapioca starch, potato starch, and other ingredients that work together to mimic wheat flour’s behavior.
If you prefer to make your own flour blend, combine 1 cup brown rice flour, ½ cup tapioca starch, ½ cup potato starch, ¼ cup almond flour, and 1½ teaspoons xanthan gum. This homemade blend provides better nutrition than starches alone and creates a more sophisticated flavor profile.
Alternatively, if you’re looking to boost the nutritional content even further, try substituting up to ¼ cup of your gluten-free all-purpose flour with buckwheat flour (which is gluten-free despite its name) or sorghum flour. These whole grain flours add fiber, minerals, and a subtle nutty flavor that elevates your waffles from basic to bakery-quality.
Complete Ingredient List
For the waffle batter:
- 2 cups gluten-free all-purpose flour blend (with xanthan gum)
- 2 tablespoons organic cane sugar or coconut sugar
- 2½ teaspoons baking powder
- ½ teaspoon sea salt
- ½ teaspoon vanilla extract
- ¼ teaspoon cinnamon (optional but recommended)
- 2 large eggs, separated
- 1¾ cups unsweetened almond milk (or milk of choice)
- 4 tablespoons melted ghee, coconut oil, or butter
- 1 tablespoon raw honey or maple syrup
Optional add-ins:
- ½ cup fresh blueberries or chocolate chips
- 2 tablespoons ground flaxseed (for extra fiber and omega-3s)
- 1 tablespoon unsweetened cocoa powder (for chocolate waffles)
- Zest of one lemon (for bright, citrusy waffles)
For serving:
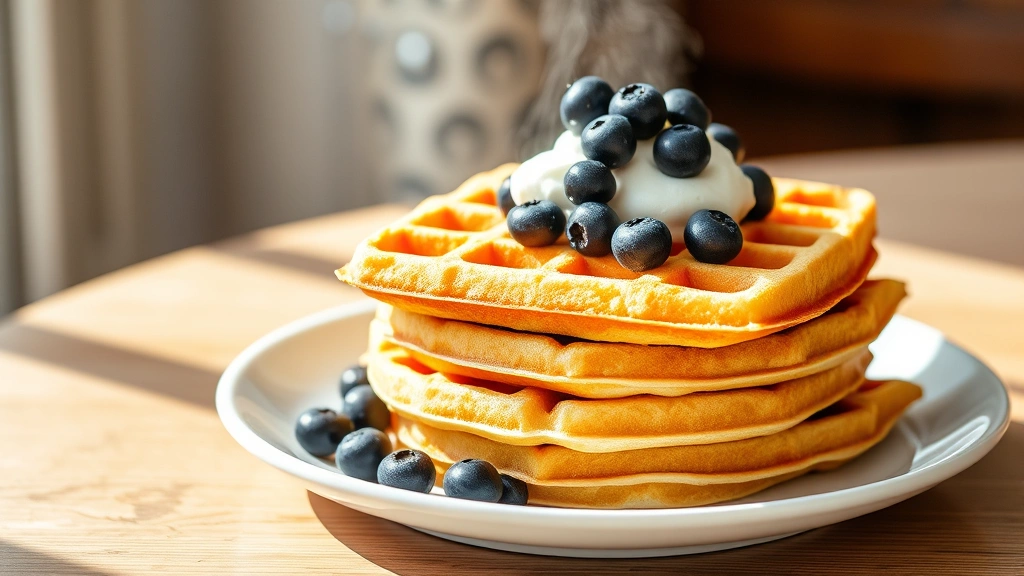
- Greek yogurt, coconut yogurt, or whipped cream
- Fresh berries or sliced fruit
- Pure maple syrup or honey
- Nut butter of choice
- Toasted nuts or seeds
Step-by-Step Instructions
Step 1: Prepare Your Waffle Iron
Preheat your waffle iron according to manufacturer instructions, typically 3-5 minutes. Lightly brush or spray the cooking surfaces with cooking spray or oil. This is crucial for gluten-free waffles—they’re slightly more delicate than traditional waffles and need proper non-stick preparation to release cleanly.
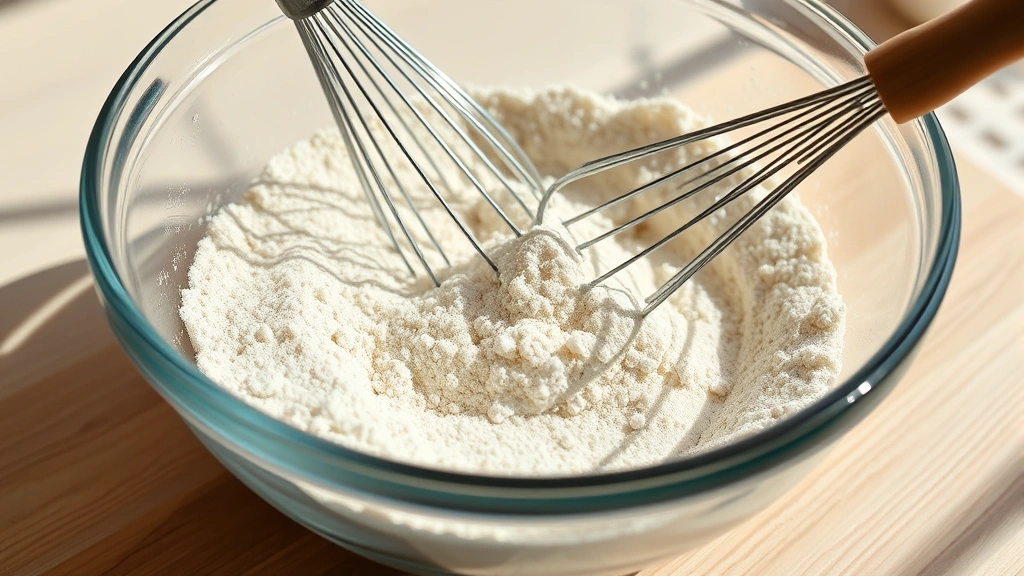
Step 2: Mix Dry Ingredients
In a large mixing bowl, whisk together gluten-free all-purpose flour, sugar, baking powder, sea salt, cinnamon, and any dry add-ins like ground flaxseed or cocoa powder. Make sure to break up any clumps in the flour blend and distribute the baking powder evenly. This ensures even leavening throughout your waffles.
Step 3: Separate and Prepare Eggs
Crack your eggs, separating whites from yolks into two different bowls. The yolks will go into your wet ingredients, while the whites will be whipped separately. This technique is the secret to achieving fluffy, light gluten-free waffles. Using a hand mixer or whisk, beat the egg whites until stiff peaks form—this takes about 2-3 minutes and incorporates crucial air into your batter.
Step 4: Combine Wet Ingredients
In another bowl, whisk together egg yolks, unsweetened almond milk, melted ghee or coconut oil, honey, and vanilla extract. Whisk until thoroughly combined. The mixture should be smooth and homogeneous. Let this sit for 1-2 minutes to allow the gluten-free flour to begin hydrating.
Step 5: Combine Wet and Dry (Gently!)
Pour the wet ingredients into the dry ingredients and gently fold together using a spatula or large spoon. Do not overmix—some lumps are perfectly fine and actually desirable. Overmixing develops gluten-like networks in gluten-free flour (through starch hydration) that can make waffles tough and dense. Mix just until the dry ingredients are moistened, then add any mix-ins like blueberries.
Step 6: Fold in Egg Whites
Gently fold the whipped egg whites into your batter in two additions, being very careful not to deflate them. This is what gives your waffles that cloud-like texture. Use an underhand folding motion rather than stirring, and stop as soon as no white streaks remain.
Step 7: Cook the Waffles
Pour about ¾ cup batter into your preheated waffle iron (adjust based on your iron’s size). Close the lid immediately. Gluten-free waffles take slightly longer to cook than regular waffles—typically 5-7 minutes rather than 3-4. They’re done when they’re golden brown and steam has mostly stopped escaping from the sides. Don’t open the iron mid-cook, as this can cause them to stick.
Step 8: Keep Warm and Serve
Transfer cooked waffles to a wire rack rather than a plate (this prevents them from getting soggy on the bottom). If you’re making a batch and want to keep them warm, place finished waffles on a baking sheet in a 200°F oven while you cook the remaining batter. Serve immediately with your choice of toppings.
Pro Tips for Perfect Waffles
Temperature Matters
Make sure all your ingredients are at room temperature before mixing. Cold eggs and cold milk won’t combine smoothly with your batter, and you’ll end up with lumpy, uneven waffles. Take eggs out of the refrigerator 15-20 minutes before cooking.
Don’t Skip the Rest
After mixing wet and dry ingredients, letting the batter sit for 2-3 minutes allows the gluten-free flour to fully hydrate. This produces more tender, evenly-cooked waffles. This resting period is non-negotiable for gluten-free baking success.
Waffle Iron Matters
Invest in a quality waffle iron with adjustable heat settings. Some gluten-free batters cook better at slightly lower temperatures (to allow them to set through before browning too quickly). If your waffles are browning too fast on the outside while remaining raw inside, lower your heat setting by one notch.
Batter Consistency
Your batter should be slightly thicker than traditional pancake batter but thinner than cookie dough. If it’s too thick, your waffles will be dense and won’t cook through evenly. If it’s too thin, they’ll spread too much and become crispy rather than fluffy. Add milk 1 tablespoon at a time if you need to adjust consistency.
Use Fresh Baking Powder
Baking powder loses potency over time. For the best rise, use baking powder that’s less than 6 months old. Write the purchase date on the container with a marker so you know when to replace it.
Delicious Variations to Try
Protein-Powered Waffles
Add ¼ cup vanilla or unflavored protein powder to your dry ingredients and reduce the flour by ¼ cup. This boosts protein content significantly—perfect if you’re trying to build muscle or stay satisfied until lunch. These waffles are especially delicious topped with Greek yogurt and berries.
Chocolate Chip Waffles
Fold ½ cup gluten-free chocolate chips into your batter after combining wet and dry ingredients. Serve with whipped cream and fresh raspberries for an indulgent breakfast that feels like dessert.
Pumpkin Spice Waffles
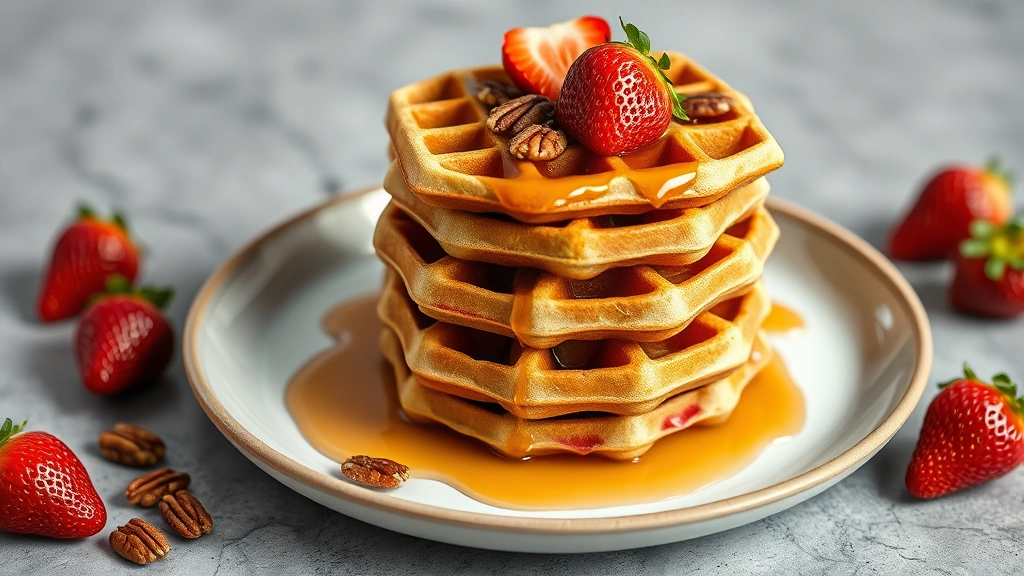
Replace ¼ cup of the almond milk with ¼ cup pumpkin puree, add an extra ½ teaspoon cinnamon, ¼ teaspoon nutmeg, ⅛ teaspoon cloves, and ⅛ teaspoon ginger. These autumn-inspired waffles are perfect September through November and pair beautifully with maple syrup and toasted pecans.
Savory Herb Waffles
Omit the sugar and vanilla. Add 1 teaspoon dried Italian seasoning, ½ teaspoon garlic powder, ¼ cup grated Parmesan cheese, and ¼ cup fresh chives to your dry ingredients. Serve these waffles with a fried egg, avocado, and everything bagel seasoning for a savory breakfast that doubles as lunch.
Buckwheat and Blueberry Waffles
Replace 1 cup of your gluten-free all-purpose flour with buckwheat flour and fold in 1 cup fresh blueberries. Buckwheat adds a wonderful nutty flavor and boosts the mineral content. These are particularly good topped with Greek yogurt and a drizzle of honey.
If you’re looking for more breakfast inspiration beyond waffles, explore our collection of easy vegan breakfast ideas for additional morning options that work well for various dietary needs.
Storage and Make-Ahead Guide
Refrigerator Storage
Leftover cooked waffles can be stored in an airtight container in the refrigerator for up to 3 days. To reheat, place them directly on an oven rack at 375°F for 5-7 minutes until warmed through and crispy again. Avoid using the microwave, which makes them soggy.
Freezer Storage
Gluten-free waffles freeze beautifully for up to 3 months. Let them cool completely on a wire rack, then arrange in a single layer on a baking sheet and freeze until solid (about 2 hours). Transfer to a freezer-safe bag or container, removing as much air as possible. Toast directly from frozen in your toaster or toaster oven for a quick weekday breakfast.
Make-Ahead Batter
You can prepare the dry ingredients the night before and store in an airtight container. However, don’t mix wet and dry ingredients until you’re ready to cook. The batter is best used within 30 minutes of mixing, as the baking powder will gradually lose its potency.
Egg White Preparation
For maximum convenience, whip your egg whites the night before and store them in a covered container in the refrigerator. They’ll deflate slightly, but you can re-whip them for 30 seconds just before folding into your batter. This is a huge time-saver on busy mornings.
FAQ
Can I make these waffles without separating eggs?
Yes, but they won’t be quite as fluffy. If you don’t separate eggs, whisk all ingredients together and add an extra ½ teaspoon baking powder to compensate for the lost leavening from egg whites. The texture will be more cake-like than cloud-like, but they’ll still be delicious.
What’s the best milk substitute for dairy-free waffles?
Unsweetened almond milk, oat milk, or coconut milk all work beautifully. Avoid heavily sweetened varieties, which can make your waffles too sweet. Oat milk creates the most tender crumb, while coconut milk adds richness. For the best results, use full-fat versions.
Why are my waffles coming out dense and gummy?
This usually indicates overmixing of the batter, which develops starch networks that make gluten-free baked goods tough. Mix only until dry ingredients are barely moistened. If you’re still having issues, ensure your gluten-free flour blend contains xanthan gum or add 1½ teaspoons separately. Dense waffles can also result from old baking powder—check your expiration date.
Can I use regular all-purpose flour in this recipe?
Yes, but you’ll need to reduce the liquid slightly since wheat flour absorbs less moisture than most gluten-free blends. Use 1½ cups milk instead of 1¾ cups, and you can omit any added xanthan gum if your recipe calls for it separately. The cooking time may also be slightly shorter with regular flour.
How do I prevent waffles from sticking to the iron?
Proper preheating and adequate non-stick preparation are essential. Brush or spray your waffle iron generously before each batch. If sticking persists, your iron may need cleaning—residue from previous cooking can reduce non-stick effectiveness. Wash with warm soapy water and dry thoroughly.
Are these waffles suitable for a vegan diet?
Not as written since they contain eggs. However, you can easily veganize them by replacing eggs with a flax egg (1 tablespoon ground flaxseed mixed with 3 tablespoons water per egg, let sit 5 minutes) and using plant-based milk and oil. You may need to add an extra ½ teaspoon baking powder to compensate for lost leavening.
Can I add protein powder to boost nutrition?
Absolutely. Replace ¼ cup of flour with ¼ cup vanilla or unflavored protein powder. This increases protein content from about 6g to 15-20g per waffle. Make sure to choose a high-quality protein powder without artificial sweeteners, which can affect taste and texture.
What’s the nutritional information per waffle?
Each waffle (this recipe makes 8 waffles) contains approximately 180-200 calories, 6-8g protein, 22-25g carbohydrates, 8-10g fat, and 1-2g fiber, depending on your specific flour blend and add-ins. These are estimates—calculate exact values based on your ingredient brands for dietary tracking purposes.
Why do I need to separate eggs for this recipe?
Whipped egg whites incorporate air into your batter, creating lift and a fluffy texture that compensates for gluten’s structural role. This technique is particularly important in gluten-free baking because without gluten’s elasticity, we rely on mechanical leavening (air bubbles) and chemical leavening (baking powder) to achieve height and tenderness.
Can I make these waffles in a regular waffle iron versus a Belgian waffle maker?
Yes, either works fine. Belgian waffle makers create deeper pockets and slightly thicker waffles, so you may need to use slightly more batter per waffle. Regular waffle irons work great too—you might just get slightly thinner, crisper waffles. Adjust batter amount based on your iron’s size and depth.


