Creamy Ice Cream Recipe: A Family Favorite That Everyone Will Love
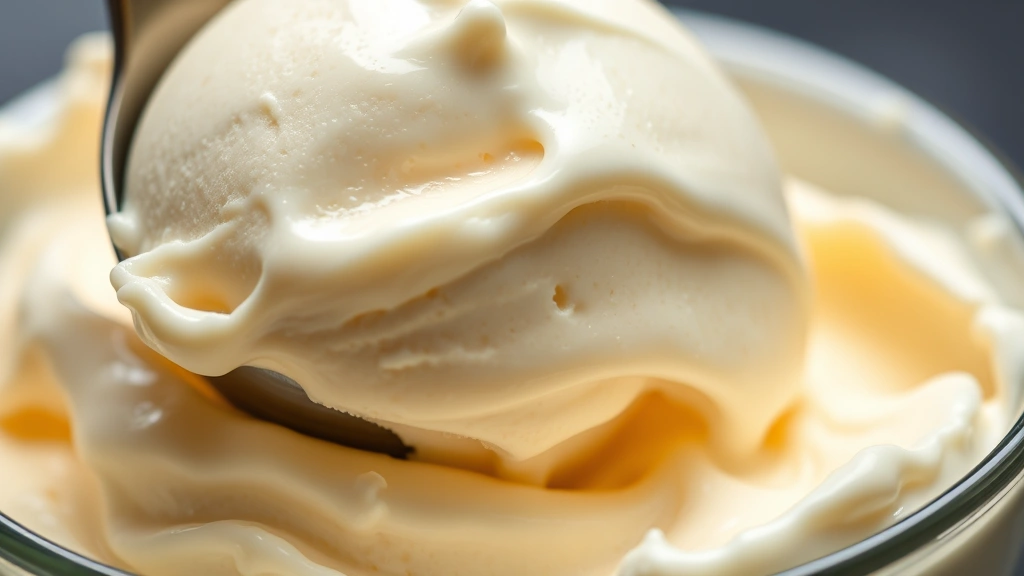
There’s nothing quite like homemade ice cream on a warm summer day. Unlike store-bought versions laden with stabilizers and artificial ingredients, a truly creamy ice cream recipe with cream delivers pure, unadulterated flavor that brings families together around the dessert table. Making ice cream at home might seem intimidating, but with the right technique and quality ingredients, you’ll create frozen treats that rival any premium ice creamery.
This comprehensive guide walks you through everything you need to know about crafting the perfect creamy ice cream. Whether you’re a beginner grabbing an ice cream maker for the first time or an experienced home cook looking to refine your technique, you’ll discover professional tips, ingredient ratios, and flavor variations that guarantee success. The beauty of homemade ice cream lies in complete control over sweetness, texture, and ingredients—making it ideal for families with dietary preferences or allergies.
Why Homemade Ice Cream Tastes Better
The difference between homemade and commercial ice cream comes down to three fundamental factors: fat content, air incorporation, and ingredient quality. Commercial ice cream manufacturers add gums and emulsifiers to achieve a smooth texture without proper churning, while homemade versions rely on the natural emulsifying properties of egg yolks combined with proper freezing technique.
When you make ice cream with cream at home, you control the exact ratio of heavy cream to milk, which directly impacts richness and smoothness. Most premium ice cream contains 14-16% fat content, achieved by using a combination of heavy cream and whole milk. The fat molecules coat your palate, creating that luxurious mouthfeel that budget brands simply cannot replicate.
Furthermore, homemade ice cream develops better flavor because you’re using fresh, whole ingredients rather than flavor compounds and artificial vanilla. The custard base—typically made with egg yolks—acts as a natural emulsifier, binding fat and water molecules together to create that signature creamy texture without any gritty ice crystals.
According to The Spruce Eats culinary experts, the key to restaurant-quality ice cream at home involves understanding the science behind freezing point depression and proper tempering of eggs. This knowledge transforms a basic recipe into a sophisticated dessert worthy of special occasions.
Essential Ingredients for Creamy Ice Cream
Before diving into technique, let’s discuss the foundation of any excellent ice cream recipe with cream. Quality ingredients make an enormous difference in the final product.
Heavy Cream: This is your primary fat source. Look for pasteurized (not ultra-pasteurized) heavy cream whenever possible, as ultra-pasteurization can interfere with proper churning. Heavy cream should contain at least 36% butterfat. One quart of heavy cream provides the richness that defines premium ice cream.
Whole Milk: Balancing heavy cream with whole milk creates the ideal texture. Whole milk (3.5-4% fat) dilutes the cream slightly while maintaining creaminess. This combination prevents the ice cream from becoming too dense or rich.
Egg Yolks: These provide natural emulsification and create a silky custard base. The lecithin in egg yolks helps bind fat and water, resulting in smoother ice cream with fewer ice crystals. Always use fresh, high-quality eggs from trusted sources.
Sugar: Granulated white sugar remains the standard choice, though some recipes incorporate corn syrup or honey for different textures. Sugar lowers the freezing point of the mixture, which is why ice cream stays somewhat soft even when frozen solid.
Vanilla Extract: Use pure vanilla extract rather than imitation vanilla. The depth of flavor from real vanilla beans (or extract made from them) elevates homemade ice cream significantly. Some recipes call for vanilla bean paste for even more intense flavor and visible specks.
Salt: A tiny pinch of sea salt enhances sweetness perception and balances flavors without making the ice cream taste salty.
The Perfect Base Recipe
This classic vanilla ice cream recipe with cream serves as the foundation for countless variations. The custard base method ensures silky texture and rich flavor that lasts.
Ingredients:
- 2 cups heavy cream (pasteurized, not ultra-pasteurized)
- 1 cup whole milk
- ¾ cup granulated sugar
- 1 tablespoon pure vanilla extract
- 5 large egg yolks (from fresh eggs)
- ¼ teaspoon sea salt
Instructions:
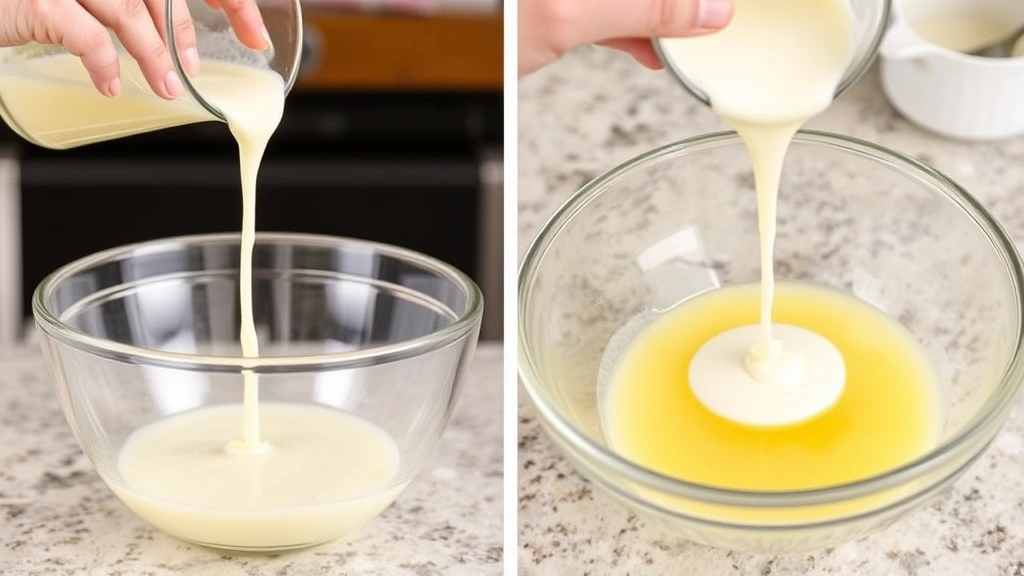
- Combine Cream and Milk: Pour heavy cream and whole milk into a medium saucepan. Heat over medium heat, stirring occasionally, until small bubbles form around the edges (approximately 160°F). Do not boil.
- Prepare Egg Mixture: While cream heats, whisk egg yolks with sugar in a separate bowl for 2-3 minutes until pale yellow and slightly thickened. This step, called tempering, prevents scrambled eggs in your final mixture.
- Temper the Eggs: Slowly add hot cream mixture to egg yolks while whisking constantly. Pour just a small amount initially, whisking vigorously to raise the temperature of eggs gradually. Continue adding cream in a thin stream while whisking until you’ve incorporated about half the cream. This slow process prevents curdling.
- Complete Combination: Pour the tempered egg mixture back into the saucepan with remaining cream, whisking constantly. Heat over medium-low heat to 170°F, stirring frequently with a wooden spoon. The mixture should coat the back of the spoon when ready.
- Strain and Cool: Pour the custard through a fine-mesh strainer into a clean bowl to remove any cooked egg bits. Stir in vanilla extract and salt. Cover and refrigerate for at least 4 hours, preferably overnight. Cold custard churns more efficiently and produces smoother ice cream.
- Churn: Follow your ice cream maker’s instructions, typically churning for 20-25 minutes until the mixture reaches soft-serve consistency.
- Freeze: Transfer to a freezer-safe container and freeze for at least 4 hours before serving.
This base recipe yields approximately one quart of ice cream—perfect for a family dessert or entertaining guests.
The custard method differs from no-cook ice cream recipes, which skip the heating step. While no-cook versions are quicker, they lack the silky texture and food safety assurance of properly pasteurized custard. For families with young children or elderly members, the custard method provides peace of mind.
Mastering the Churning Process
Proper churning transforms cold custard into creamy ice cream through mechanical action and controlled freezing. Understanding this process ensures consistent, excellent results.
Ice Cream Maker Selection: Three main types exist: dasher (requires ice and salt), compressor (built-in freezing unit), and sorbet machines (for non-dairy frozen desserts). Dasher machines are affordable but require planning. Compressor models cost more but offer convenience and consistent results. For serious home cooks, a compressor machine represents the best investment.
Pre-Freezing Your Equipment: If using a dasher machine with a freezer bowl, freeze it solid for 24 hours before churning. Some compressor machines require brief pre-chilling. Always check manufacturer instructions to ensure optimal performance.
The Churning Action: As your ice cream maker churns, it simultaneously freezes the mixture at the bowl’s edges while stirring constantly. This dual action prevents large ice crystals from forming, creating smooth texture instead of icy graininess. The churning typically takes 20-30 minutes, depending on your machine and ambient temperature.
Achieving Proper Consistency: Stop churning when the mixture reaches soft-serve consistency—thick enough to hold peaks but still pourable. Over-churning creates butter; under-churning results in icy texture. Most machines have a sensor indicating when churning is complete.
For advanced texture, Serious Eats culinary scientists recommend understanding the role of overrun—the amount of air incorporated during churning. Homemade ice cream typically has 25-50% overrun, while commercial ice cream can exceed 100% overrun, making it lighter but less creamy.
Flavor Variations and Mix-Ins
Once you’ve mastered the basic creamy ice cream recipe with cream, endless flavor possibilities await. The beauty of homemade ice cream lies in customization.
Classic Vanilla Enhancements: Split a vanilla bean lengthwise and scrape the seeds into your custard before heating. The tiny black specks indicate premium quality. Alternatively, steep vanilla bean pods in your cream and milk overnight before making custard for subtle, complex flavor.
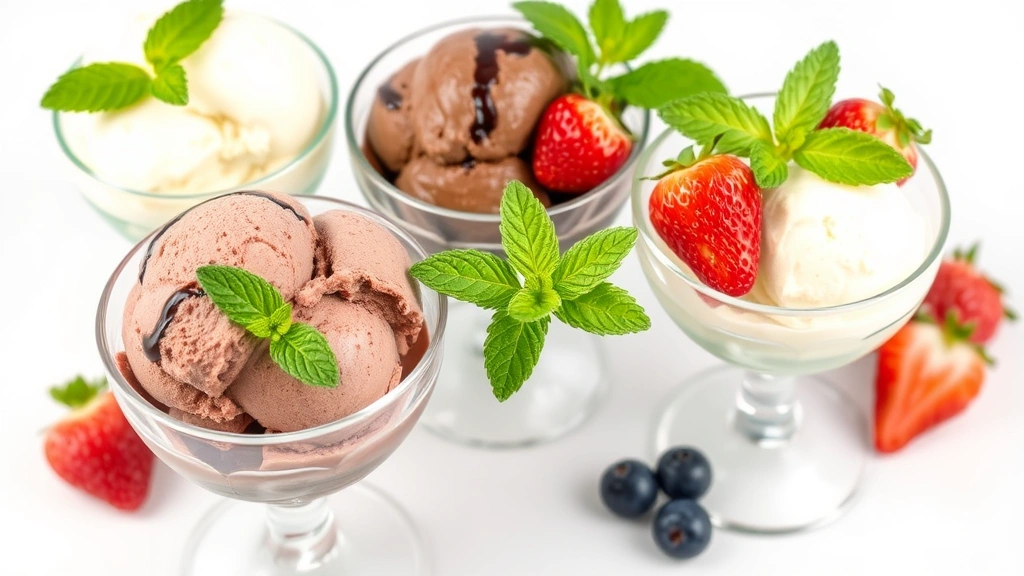
Chocolate Ice Cream: Add 4 ounces of melted, high-quality dark chocolate to your custard base after straining. Whisk thoroughly to incorporate without lumps. The chocolate creates richness that pairs beautifully with cinnamon or espresso powder.
Strawberry Ice Cream: Prepare the basic custard, then fold in 1 cup of fresh strawberry puree before churning. For more intense flavor, cook strawberries with sugar to create a compote, then cool before adding to custard.
Coffee Ice Cream: Dissolve 2 tablespoons of instant espresso powder in your warm cream before adding to egg yolks. This creates sophisticated coffee flavor that appeals to morning coffee enthusiasts.
Salted Caramel: Prepare a caramel sauce by heating 1 cup sugar until amber-colored, then carefully whisk in 6 tablespoons butter and ½ cup heavy cream. Cool completely, then swirl into churned ice cream before final freezing. Add a pinch of fleur de sel for authentic salted caramel complexity.
Mix-In Strategy: Add chunky mix-ins (brownies, cookies, candy) after churning, during the soft-serve stage. Adding them before churning can damage your ice cream maker. Popular mix-ins include crushed Oreos, brownie chunks, cookie dough, nuts, and candy pieces. Fold gently to distribute evenly without over-mixing.
Alcohol-Infused Variations: Small amounts of liqueur lower the freezing point slightly, creating softer ice cream with sophisticated flavor. Try Bailey’s Irish Cream, Kahlua, or bourbon in moderation (no more than ¼ cup per quart).
If you enjoy creating new desserts, you might appreciate making unexpected flavor combinations in the kitchen. The same creative approach applies to ice cream innovation.
Storage and Serving Tips
Proper storage maintains ice cream quality and prevents unwanted ice crystal formation.
Freezer Storage: Transfer churned ice cream to a freezer-safe container, pressing plastic wrap directly against the surface to prevent freezer burn. Homemade ice cream typically stays fresh for 3-4 weeks, though flavor peaks within the first 2 weeks. Label containers with the flavor and date created.
Ideal Serving Temperature: Remove ice cream from the freezer 5-10 minutes before serving. This brief thaw softens the ice cream to perfect scooping consistency without melting completely. Dip your scoop in warm water and wipe between scoops for cleaner presentation.
Serving Suggestions: Homemade ice cream pairs beautifully with fresh fruit, warm desserts, or simple preparations. Serve alongside elegant dinner party fare as a sophisticated finish, or enjoy with family in bowls during casual summer evenings.
Preventing Melting: Pre-chill serving bowls and spoons in the freezer. Serve ice cream in chilled bowls that have been frozen for at least 15 minutes. This simple step extends your ice cream’s firmness and improves the eating experience.
Texture Issues and Solutions: If your ice cream develops large ice crystals over time, it may not have been churned enough initially or was exposed to temperature fluctuations. Next time, ensure proper churning duration and store in the coldest part of your freezer away from the door.
For families who enjoy Asian-inspired desserts, consider creating green tea, black sesame, or lychee ice cream using this same custard base with flavor modifications.
FAQ
Can I make ice cream without an ice cream maker?
Yes, though results won’t be quite as smooth. Pour your churned custard into a shallow pan and freeze for 2 hours. Remove and vigorously whisk for 2-3 minutes to break up ice crystals. Repeat every 30 minutes for 3-4 hours total. This manual method requires effort but works acceptably for basic ice cream.
What’s the difference between ice cream and gelato?
Gelato contains less fat (around 8-10% versus ice cream’s 14-16%) and is churned more slowly, incorporating less air. Gelato’s denser texture and intense flavor make it different from creamy American ice cream. This recipe creates traditional ice cream; gelato requires different proportions and slower churning.
Why did my ice cream turn icy and hard?
Ice crystal formation occurs from insufficient churning, inadequate sugar content (which lowers freezing point), or temperature fluctuations during storage. Ensure your custard is completely cold before churning, churn for the full recommended time, and store in the coldest freezer location.
Can I use ultra-pasteurized cream?
Ultra-pasteurized cream works but may not churn as efficiently due to heat treatment affecting milk proteins. Pasteurized cream produces superior texture, so seek it out when possible. Check labels carefully—most grocery store cream is ultra-pasteurized, but specialty stores often carry pasteurized versions.
How can I make dairy-free ice cream?
Substitute heavy cream with coconut cream and whole milk with unsweetened coconut milk or oat milk. Omit egg yolks (which aren’t vegan) and add ½ teaspoon xanthan gum as a stabilizer. Churn and freeze using the same method. The result differs slightly in texture but delivers creamy, delicious dairy-free ice cream.
Is it safe to use raw eggs in ice cream?
The custard method heats eggs to 170°F, pasteurizing them and eliminating food safety concerns. Never use raw eggs in no-cook ice cream recipes. Always use fresh eggs from reliable sources and maintain proper food safety practices.
What’s the best vanilla extract to use?
Pure vanilla extract made from vanilla beans provides superior flavor to imitation vanilla (which contains vanillin synthesized from other sources). Madagascar vanilla offers classic flavor; Tahitian vanilla provides floral notes; Mexican vanilla delivers bold intensity. Choose based on your flavor preference.
Can I make ice cream ahead for parties?
Absolutely! Make ice cream 2-3 days before your event and store in a freezer-safe container. Remove from the freezer 5-10 minutes before serving. This advance preparation allows you to focus on other party details while ensuring fresh, homemade dessert.
How do I prevent ice cream from melting too quickly?
Serve in pre-chilled bowls, use smaller scoops (larger surface area melts faster), and keep the main container in the coldest freezer section. Avoid leaving ice cream at room temperature. For outdoor summer events, nest your serving bowl in a larger bowl filled with ice.
What’s the ideal sugar amount for smooth ice cream?
The standard ratio is ¾ cup sugar per quart of cream and milk mixture. This creates proper freezing point depression—the sugar lowers the freezing point so ice cream stays scoopable even when frozen solid. Less sugar results in rock-hard ice cream; more sugar prevents proper freezing.


