How to Make Limoncello: Authentic Italian Method
Limoncello is one of Italy’s most beloved digestifs, a vibrant yellow liqueur that captures the essence of sun-ripened lemons in a bottle. This traditional after-dinner drink originates from the Campania region, particularly around the Amalfi Coast, where the perfect balance of sweetness and citrus brightness has been perfected over generations. Making limoncello at home is surprisingly simple, requiring just three basic ingredients and patience—yet the results rival any commercial version you’ll find in specialty shops.
The beauty of homemade limoncello lies in its purity and customization. You control the intensity of lemon flavor, the sweetness level, and the final proof. Whether you’re planning a dinner party, creating gifts for food-loving friends, or simply want to master this classic Italian technique, this comprehensive guide will walk you through every step of the authentic method. The process takes approximately one month from start to finish, making it an ideal project for those who appreciate good things coming to those who wait.
Understanding Limoncello Basics
Limoncello is fundamentally a lemon-infused spirit, created by steeping lemon zest in high-proof alcohol to extract the essential oils and flavor compounds that give this liqueur its distinctive character. Unlike many commercial digestifs that rely on artificial flavoring or shortcuts, authentic limoncello develops its complexity through time and proper technique. The traditional method involves a two-stage process: first infusing the alcohol with lemon oils, then combining it with a simple syrup to achieve the perfect balance of strength and sweetness.
The history of limoncello traces back centuries, though it gained international prominence only in recent decades. The liqueur became popular as a digestif because the citric acid aids digestion, while the alcohol content helps settle the stomach after heavy meals. The lemon zest infusion creates a naturally bright yellow color without any artificial additives, making it as visually appealing as it is delicious. Understanding these fundamentals helps you appreciate why each step matters and why rushing the process compromises the final product.
The alcohol content in authentic limoncello typically ranges from 30-40% ABV (alcohol by volume), making it stronger than many liqueurs but still approachable when served properly. The infusion method ensures that the lemon flavor is never harsh or one-dimensional; instead, it develops subtle layers that unfold on the palate. This is what distinguishes homemade limoncello from mass-produced versions that often taste overly sweet or artificially citrusy.
Essential Ingredients and Equipment
Creating authentic limoncello requires remarkably few ingredients, which is why quality matters tremendously. You’ll need fresh lemons, high-proof vodka or grain alcohol, sugar, and water—that’s truly all. The simplicity of the ingredient list means there’s nowhere to hide; every component contributes directly to the final flavor profile. Many cooks also prepare complementary recipes to serve alongside limoncello for entertaining.
Ingredients:
- 6-8 organic lemons (preferably Amalfi or other thick-skinned varieties)
- 1 liter (34 oz) vodka or grain alcohol (at least 80 proof, ideally 100 proof)
- 1 cup granulated sugar
- 1 cup water
Equipment needed:
- Glass jars with tight-fitting lids (at least 2 quarts capacity)
- Microplane zester or vegetable peeler
- Fine-mesh strainer or cheesecloth
- Glass bottles for storage
- Coffee filters (optional, for final filtration)
- Small saucepan
- Measuring cups and spoons
- Labels for dating and identifying your batch
The choice of alcohol is crucial—vodka is traditional because its neutral flavor allows the lemon to shine, though some Italian recipes use grain alcohol for a purer infusion. Avoid flavored vodkas or anything with additives. Glass jars are essential because plastic can interact with the alcohol and affect the taste. Dark glass is ideal for storage to protect the finished limoncello from light degradation.
Selecting the Perfect Lemons
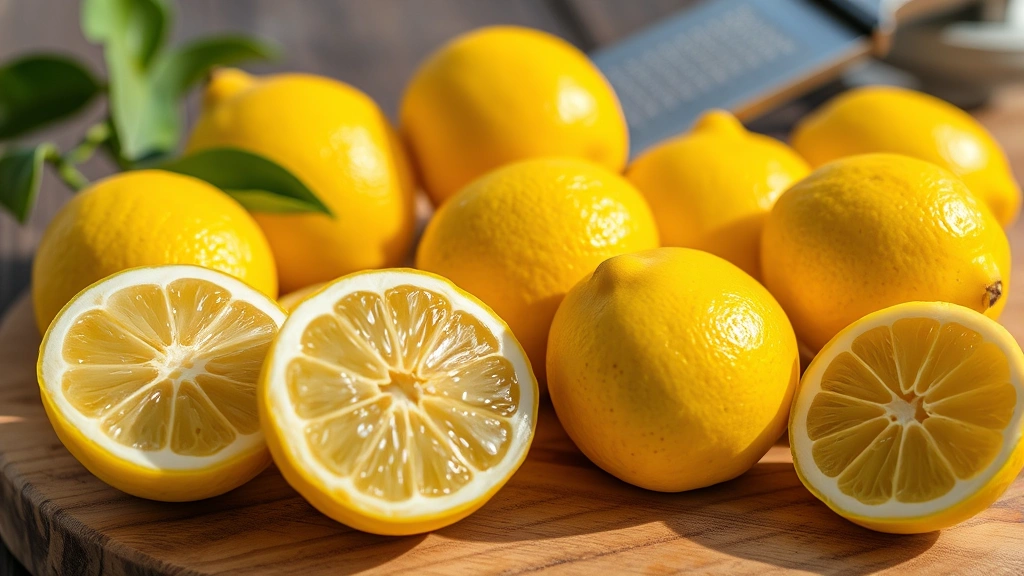
The quality of your lemons directly determines the quality of your limoncello. This is not a recipe where you can use whatever citrus happens to be on sale. Seek out thick-skinned, fragrant lemons that feel heavy for their size, indicating they’re full of juice and oil. The best varieties are Amalfi lemons from Italy, Lisbon lemons, or Eureka lemons—all have the thick pith and aromatic zest necessary for superior infusions.
Organic lemons are strongly recommended because you’ll be using the zest extensively, and you want to avoid any pesticide residues. If organic lemons aren’t available, wash conventional lemons thoroughly under running water and scrub them gently with a soft brush to remove surface chemicals. The timing of harvest matters too; lemons picked at peak ripeness (late winter through early spring in the Northern Hemisphere) contain maximum essential oils and flavor compounds.
The ideal lemon will have a bright yellow color with no soft spots, mold, or discoloration. Avoid lemons that feel lightweight or have thin skin, as these typically have less flavor and aroma. A good test is to scratch the surface of the peel slightly with your fingernail; if you immediately smell intense lemon fragrance, you’ve found a winner. You want lemons that announce their presence before you even cut into them.
Plan to use approximately 6-8 lemons depending on their size. Smaller, denser lemons often pack more flavor than large, watery ones. You’ll be using only the colored zest, not the white pith, so the size of the fruit matters less than the thickness and quality of the outer layer. Some cooks prefer to use lemons that are just beginning to turn from green to yellow, as these contain peak essential oil content.
The Infusion Process Step-by-Step
The infusion stage is where limoncello’s magic truly happens. This is the longest part of the process, requiring patience but virtually no active work. Start by preparing your lemons: wash them thoroughly and pat completely dry. Any moisture left on the surface can dilute your alcohol and compromise the infusion. Using a microplane zester, carefully remove only the colored yellow zest, avoiding the white pith underneath. The pith is bitter and will negatively impact your final product.
Step-by-step infusion process:
- Zest all lemons, collecting the colored strips in a clean glass jar
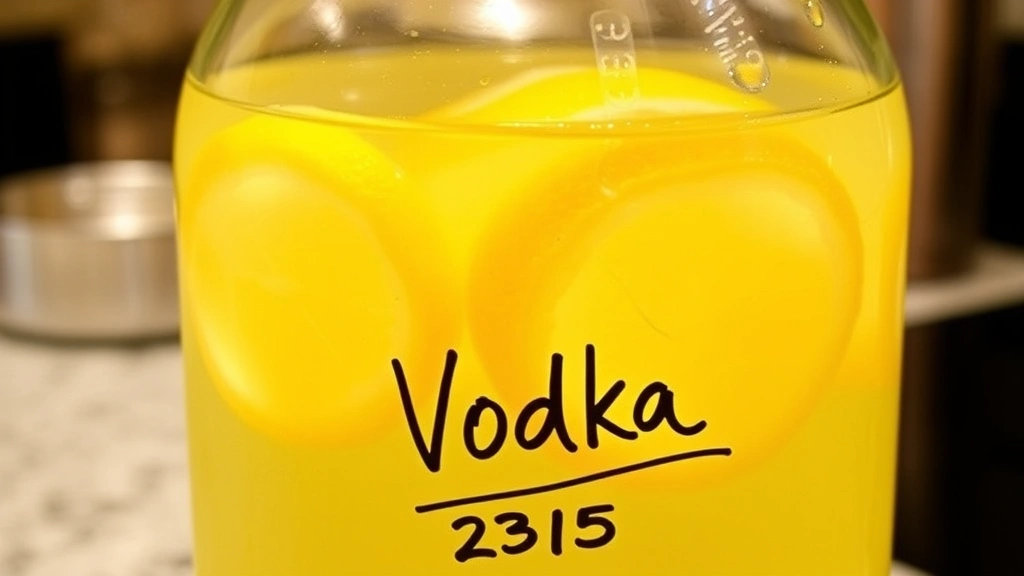
- Pour the vodka or grain alcohol over the zest, ensuring it’s completely submerged
- Seal the jar tightly and label it with the start date
- Store in a cool, dark place away from direct sunlight
- Wait 2-3 weeks, shaking the jar gently every few days to distribute the oils
- After 2-3 weeks, strain through fine-mesh strainer or cheesecloth into another clean jar
- Discard the spent zest and reserve the infused alcohol
During the infusion period, you’ll notice the alcohol gradually turning from clear to pale yellow, then progressively deeper yellow as the lemon oils and pigments extract. This visual transformation is satisfying and helps you gauge the infusion’s progress. The longer you infuse, the more intense the flavor becomes, but be cautious not to exceed 4 weeks, as the infusion can become overly bitter.
The key to successful infusion is consistency in temperature and light exposure. Fluctuating temperatures can cause the alcohol to expand and contract, potentially affecting the seal. Direct sunlight can degrade the lemon oils and fade the color. A pantry, cellar, or interior cabinet provides the ideal environment. Shake the jar gently every 2-3 days to ensure even extraction, but don’t be aggressive—you simply want to redistribute the zest and keep the oils in suspension.
Some traditional recipes call for a 40-day infusion, while others recommend 3 weeks. The difference is subtle but worth noting: longer infusions develop more complex flavors with slight herbal notes, while shorter infusions maintain brighter, fresher lemon character. Your preference determines the timeline. If you prefer bold, assertive lemon flavor, lean toward 3-4 weeks. If you prefer something more delicate, stop at 2-3 weeks.
Creating the Syrup
Once your infusion reaches the desired strength, it’s time to create the syrup that transforms the lemon-infused alcohol into finished limoncello. The syrup serves multiple purposes: it sweetens the liqueur to balance the bright acidity, it slightly dilutes the alcohol to a more approachable proof, and it adds body and texture to the final product. The ratio of sugar to water creates the foundation for this crucial component.
Simple syrup preparation:
- Combine 1 cup granulated sugar and 1 cup water in a small saucepan
- Heat over medium heat, stirring occasionally, until sugar completely dissolves
- Do not allow the mixture to boil; you simply want it hot enough to dissolve the sugar
- Remove from heat and allow to cool completely to room temperature
- This cooling step is essential—adding hot syrup to the infused alcohol can create unwanted chemical reactions
The quality of your sugar matters, though less dramatically than the lemons and alcohol. Granulated white sugar is traditional and produces the clearest, brightest final product. Some cooks experiment with organic cane sugar or other varieties, but these can add color or subtle flavor notes that may not align with authentic limoncello. Stick with standard granulated sugar unless you have specific reasons to deviate.
The syrup-to-infusion ratio is crucial for balance. The standard formula is equal parts infused alcohol and simple syrup, though some recipes call for slightly more or less syrup depending on personal sweetness preferences. If you prefer a drier limoncello, use slightly less syrup. If you prefer something sweeter, add a touch more. The beauty of homemade limoncello is this flexibility—you can adjust to your exact taste preferences.
Never rush the cooling process. Adding hot syrup to the alcohol can cause temperature shock, potentially affecting flavor development and clarity. Some cooks prepare the syrup a day in advance, allowing it to cool completely before combining with the infused alcohol. This extra step ensures optimal results, especially if you’re making large batches or want to guarantee consistency.
Bottling and Storage
Once your infused alcohol and cooled syrup are ready, combining them is straightforward. Pour the infused alcohol and the cooled simple syrup into a clean glass container and stir well to combine thoroughly. At this point, your limoncello is technically complete, though many cooks prefer to let it rest for another week before bottling to allow flavors to fully marry and integrate. This resting period isn’t essential, but it does improve the final product slightly.
For storage and presentation, transfer your limoncello into clean glass bottles. Dark glass bottles provide the best protection against light degradation, but clear glass is acceptable if you store bottles in a dark location. Some cooks use vintage glass bottles with cork stoppers for an elegant presentation, while others use modern swing-top bottles for practicality. Whatever you choose, ensure bottles are completely clean and dry before filling.
Storage guidelines:
- Store in the freezer for traditional serving (limoncello is best enjoyed ice-cold)
- If freezer space is limited, store in a cool, dark cabinet for up to one year
- Properly stored limoncello maintains quality for 2-3 years, though it’s typically consumed much sooner
- Label bottles with the date of creation and any special notes about the batch
- The high alcohol content prevents spoilage, making limoncello very shelf-stable
Many Italian households keep limoncello in the freezer year-round, where the cold temperature makes it naturally thick and syrupy—ideal for sipping as a digestif. The freezing doesn’t affect the alcohol content negatively; the high proof prevents freezing even at typical freezer temperatures. This creates the perfect serving consistency without dilution from ice.
Serving Suggestions
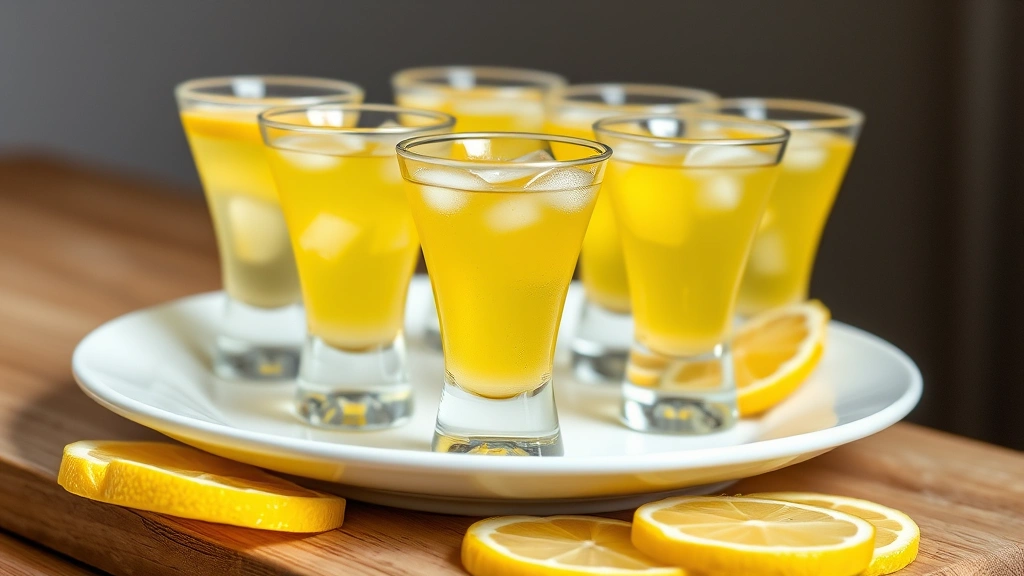
Authentic limoncello is traditionally served as a digestif—a small shot glass of ice-cold liqueur consumed after dinner to aid digestion and refresh the palate. The proper serving temperature is crucial; limoncello should be served straight from the freezer, creating a thick, syrupy consistency that coats the mouth pleasantly. The intense cold actually mellows the alcohol burn while intensifying the lemon flavor.
Traditional serving methods:
- Pour 1-2 ounces into a chilled shot glass directly from the freezer
- Serve in small ceramic or glass cups, pre-chilled in the freezer
- Consume as a single shot, allowing it to slowly melt on the tongue
- Never add ice; the limoncello itself should be frozen enough
Beyond the traditional digestif approach, limoncello offers versatility in modern cocktails and culinary applications. A splash of limoncello brightens desserts like panna cotta, sorbet, or fresh fruit compotes. Many bartenders incorporate it into sophisticated cocktails that balance its sweetness with spirits like gin or vodka. Some cooks drizzle warm limoncello over vanilla ice cream for an elegant dessert.
For entertaining, serve limoncello alongside hearty main courses as a palate cleanser between courses, or as the final touch after rich meat dishes. The bright acidity cuts through fat beautifully, making it the perfect complement to Italian cuisine. Some traditionalists serve it alongside savory reductions to demonstrate how the citrus balances umami-rich elements.
Troubleshooting Common Issues
Despite the simplicity of limoncello-making, a few issues occasionally arise. Understanding these common problems and their solutions ensures success on your first attempt. Most issues stem from either ingredient quality, improper storage conditions, or timing variations. Knowing what to expect helps you identify whether something has gone wrong or whether you’re simply experiencing normal variation in the process.
Cloudiness in finished limoncello: This typically indicates either incomplete filtering or residual pith particles in the infusion. Solution: strain through fine-mesh strainer lined with cheesecloth, or pass through coffee filters for additional clarification. A slightly hazy appearance is normal and doesn’t affect flavor, but clarity indicates proper technique.
Overly bitter or harsh flavor: This usually results from either including white pith during zesting or infusing for too long. Solution: ensure you’re using a microplane zester that removes only the colored layer, and limit infusion to 3-4 weeks maximum. If this occurs, you can add slightly more simple syrup to balance the bitterness, though prevention is preferable.
Insufficient lemon flavor: This happens when using low-quality lemons or not infusing long enough. Solution: use fragrant, thick-skinned lemons and allow at least 3 weeks infusion time. You can also increase the lemon zest quantity in your next batch—some cooks use 8-10 lemons instead of 6-8 for more intensive flavor.
Crystallization or cloudiness appearing during storage: This can occur if sugar wasn’t fully dissolved in the syrup or if the mixture was stored in very cold temperatures. Solution: gently warm the bottle under warm running water to dissolve crystals, or simply accept the crystals as a sign of natural, additive-free production. They don’t affect flavor and are harmless.
Flat or muted flavor after weeks of storage: Essential oils can gradually fade, especially if bottles were exposed to light or temperature fluctuations. Solution: store in dark glass in consistent cool temperatures. Consume within 1-2 years for optimal flavor, or prepare fresh batches annually to ensure peak quality.
Most issues are easily prevented through attention to detail during preparation. Use quality ingredients, maintain consistent storage conditions, and follow the timing guidelines. The process is quite forgiving; even small deviations rarely result in completely unsuccessful batches. Your first attempt will teach you valuable lessons about your personal preferences and ideal infusion timeline.
FAQ
Can I use regular vodka from the grocery store?
Yes, absolutely. Standard 80-proof vodka works perfectly well for limoncello. The key is choosing a neutral-flavored vodka without additives or flavorings. Premium vodka brands aren’t necessary; what matters is purity and lack of additional ingredients. Some cooks prefer 100-proof vodka for a slightly more intense infusion, but standard proof is perfectly acceptable.
How long does homemade limoncello last?
Properly stored limoncello remains excellent for 2-3 years, and the high alcohol content means it won’t spoil even if stored longer. However, flavor quality gradually diminishes over time as essential oils fade, especially with light or temperature exposure. Most people consume their homemade limoncello within the first year when flavor is brightest and most vibrant.
Can I make limoncello with bottled lemon juice instead of fresh lemons?
Not really. Bottled lemon juice lacks the essential oils and aromatic compounds that make limoncello special. These volatile compounds are what create the distinctive flavor and aroma that fresh lemon zest provides. Using bottled juice would result in something more like lemon-flavored vodka than authentic limoncello. Fresh lemons are non-negotiable for proper results.
What’s the difference between limoncello and other lemon liqueurs?
Authentic limoncello uses only fresh lemon zest, alcohol, sugar, and water—nothing else. Commercial varieties sometimes include artificial flavoring, citric acid, or other additives. Homemade limoncello is purer and more complex because the flavor develops naturally through infusion rather than through chemical enhancement. The taste difference is immediately apparent to anyone familiar with both versions.
Can I use lime zest to make similar liqueurs?
Absolutely! The same method works beautifully with limes (creating limecello), blood oranges, or regular oranges. Each citrus variety produces unique flavor profiles. Limes create a more tropical, complex result. The infusion time might vary slightly depending on the citrus type, but the fundamental process remains identical. Experimenting with different citrus varieties is a fun way to expand your homemade liqueur repertoire.
Is it necessary to freeze limoncello, or can it be served at room temperature?
While traditional Italian service involves freezing, room temperature serving is perfectly acceptable. Frozen limoncello has a syrupy, smooth consistency that many prefer, but room temperature allows the complex flavor notes to express themselves more fully. Serve it however you prefer—there’s no single correct way. Many cooks serve both versions at different occasions depending on the setting and their mood.
Can I reduce the sugar content for a drier limoncello?
Yes, definitely. If you prefer less sweetness, simply reduce the amount of simple syrup you add. You might use 3/4 cup syrup instead of 1 cup, or even 1/2 cup for a very dry version. Start with standard proportions, then adjust in future batches based on your taste preferences. This flexibility is one of the great advantages of homemade limoncello over commercial versions.


