How to Make Pepper Jelly: Grandma’s Secret Recipe
Pepper jelly is one of those timeless condiments that transforms ordinary meals into something special. My grandmother has been making this vibrant, sweet-and-spicy jelly for decades, and it’s become a treasured family staple that I’m thrilled to share with you. Whether you’re spreading it on cream cheese appetizers, glazing ham, or adding a kick to your quick and easy pasta recipes, this homemade pepper jelly recipe delivers restaurant-quality results from your own kitchen.
What makes this recipe special isn’t just the balance of heat and sweetness—it’s the technique passed down through generations that ensures perfect consistency every single time. Unlike store-bought versions that often contain artificial thickeners, grandma’s method relies on natural pectin and precise cooking temperatures to create that ideal gel texture. The beauty of this pepper jelly lies in its versatility; it works equally well as a condiment, a glaze, or even a sophisticated gift for food-loving friends and family.
This comprehensive guide will walk you through every step of creating this beloved preserve, from selecting the perfect peppers to mastering the jelling point. You’ll discover the secrets that make this recipe foolproof and learn how to customize it to match your preferred heat level. Let’s dive into the art and science of making pepper jelly that tastes just like grandma’s.
Essential Ingredients for Pepper Jelly
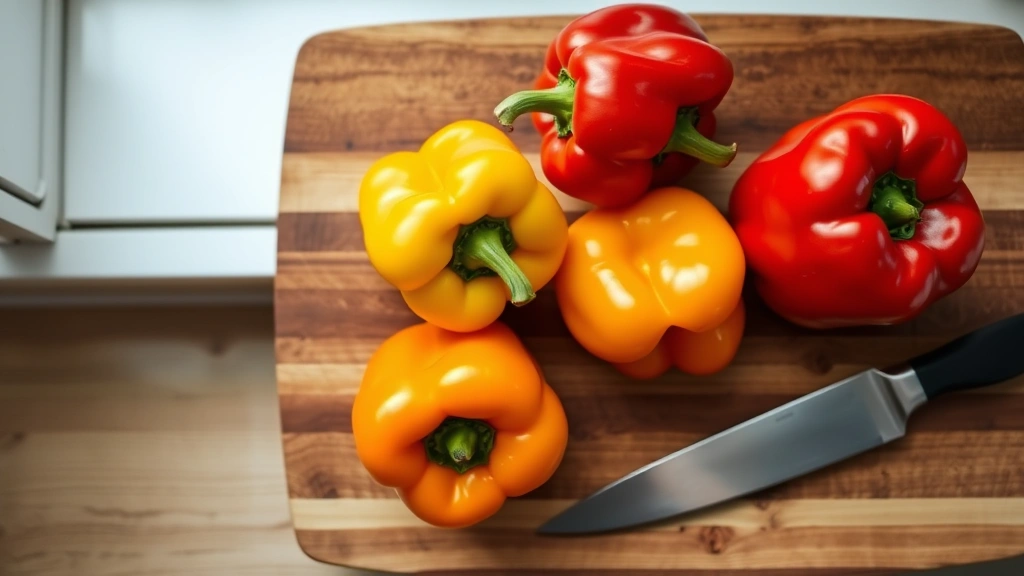
The foundation of exceptional pepper jelly starts with quality ingredients. You’ll need 6 large bell peppers (a mix of red and yellow works beautifully for color), 2-3 jalapeño peppers for heat, and 1 habanero pepper if you want extra spice. The bell peppers provide sweetness and body, while the hot peppers deliver that signature kick that makes this condiment so addictive.
Beyond the peppers, gather 6 cups of granulated sugar, 1 cup of apple cider vinegar, and 1 packet of liquid pectin (or ¼ teaspoon of powdered pectin mixed with water). You’ll also need ½ teaspoon of salt, ¼ teaspoon of black pepper, and ¼ teaspoon of cayenne pepper for depth of flavor. Some variations include a pinch of red pepper flakes or a splash of hot sauce, but grandma’s recipe keeps things simple and lets the fresh peppers shine.
The quality of your sugar and vinegar matters more than many realize. Use pure cane sugar rather than alternatives, and select a vinegar with around 5% acidity for proper preservation. Many home canners recommend National Pressure Canners resources for understanding proper preservation ratios and safety standards.
Selecting and Preparing Your Peppers
The pepper selection process is crucial for achieving that perfect sweet-spicy balance. Visit your local farmers market if possible and choose peppers that are firm, glossy, and heavy for their size—these indicate peak ripeness and optimal juice content. Bell peppers should feel substantial in your hand, and hot peppers should have smooth, unblemished skin.
Start by washing all peppers thoroughly under cool running water. Pat them dry with clean kitchen towels, then carefully remove the stems and seeds. This is where most people make a mistake: they don’t remove enough of the white pith inside the peppers. This pith can create bitterness in your finished jelly, so take extra time to scrape it away with a sharp knife or spoon.
Once cleaned, finely dice all peppers into small, uniform pieces—about ¼ inch cubes. This consistent size ensures even cooking and helps the peppers break down uniformly. If you prefer a smoother jelly, you can pulse the diced peppers in a food processor, but be careful not to create a paste. You want distinct pepper pieces suspended throughout your jelly for texture and visual appeal.
For those with sensitive skin or eyes, wear food-grade gloves when handling hot peppers. The capsaicin oils can linger on your hands and cause irritation if you accidentally touch your face. Some experienced cooks recommend working with jalapeños and habaneros under a ventilation hood, as the fumes can irritate your respiratory system.
Step-by-Step Cooking Process
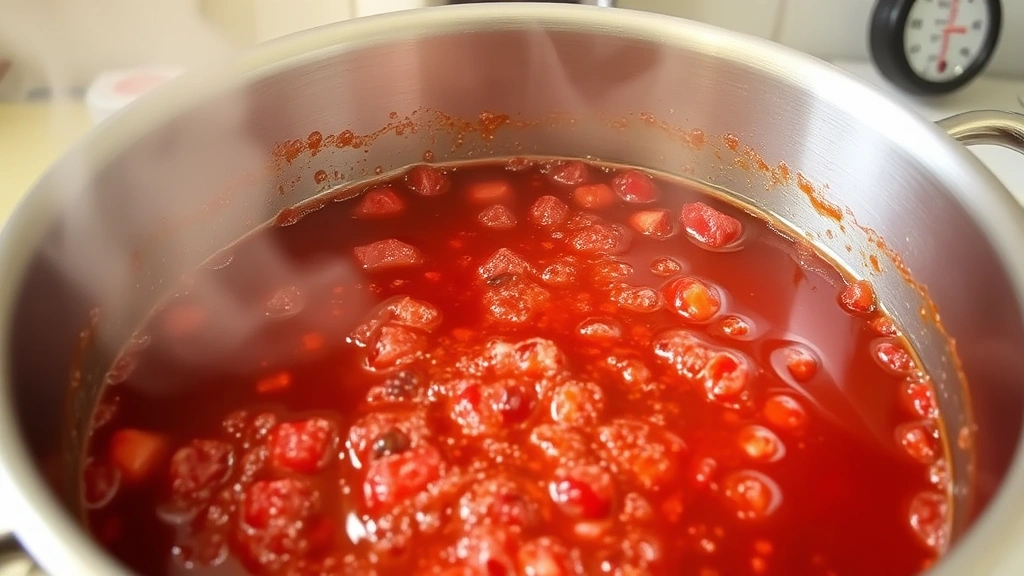
Combine your diced peppers, sugar, and vinegar in a large, heavy-bottomed pot—stainless steel or enameled cast iron works best. Never use aluminum, as the vinegar will react with it and affect both flavor and color. Stir the mixture well over medium heat until the sugar completely dissolves, which typically takes about 5-7 minutes. You should see no grains of sugar remaining when you run a spoon along the bottom of the pot.
Once the sugar dissolves, increase the heat to medium-high and bring the mixture to a rolling boil. This is the point where the cooking magic truly begins. The mixture needs to reach a temperature of 220°F (104°C) for proper gel formation—this is called the jelling point. Use a reliable kitchen thermometer rather than eyeballing it, as temperature accuracy is essential for consistent results.
Maintain a vigorous boil for approximately 15-20 minutes, stirring occasionally to prevent sticking on the bottom. You’ll notice the mixture beginning to darken slightly and thicken. The peppers will soften and become more translucent. This is normal and desired. Continue cooking until you reach that critical 220°F mark.
Once you’ve reached the proper temperature, remove the pot from heat and immediately add your liquid pectin, stirring vigorously for 2 minutes. If using powdered pectin, first dissolve it in ¼ cup of cold water and stir until smooth, then add to your pepper mixture. The pectin acts as the binding agent that transforms your liquid mixture into a spreadable jelly with that perfect consistency.
Add the salt, black pepper, and cayenne pepper at this stage, stirring well to distribute evenly. Taste a small spoonful on a clean spoon—let it cool slightly before tasting. This is your moment to adjust seasonings. If you want more heat, add additional cayenne or hot sauce. If you prefer less spice, you’ve already achieved the right balance.
Achieving the Perfect Jell
The jelling point is the most critical aspect of successful pepper jelly making. At 220°F, the mixture contains the right ratio of sugar and pectin to create that ideal gel texture. Undercooked jelly will remain too runny, while overcooked jelly becomes tough and rubbery. This is why a reliable thermometer is non-negotiable.
If you don’t have a thermometer, grandma’s generation used the cold plate test. Place a small white plate in your freezer before you start cooking. When you think your mixture is ready, drop a small spoonful onto the cold plate and let it sit for 30 seconds. Push your finger through the jelly—if it wrinkles and doesn’t flow back together, you’ve reached the jelling point. This method requires practice but works reliably once you develop the feel for it.
Some variations of pepper jelly recipes use different pectin ratios. Low-sugar versions require high-methoxyl pectin and slightly longer cooking times. If you’re reducing sugar content, consult Ball Fresh Preserving guidelines for exact modifications to ensure food safety and proper gel formation.
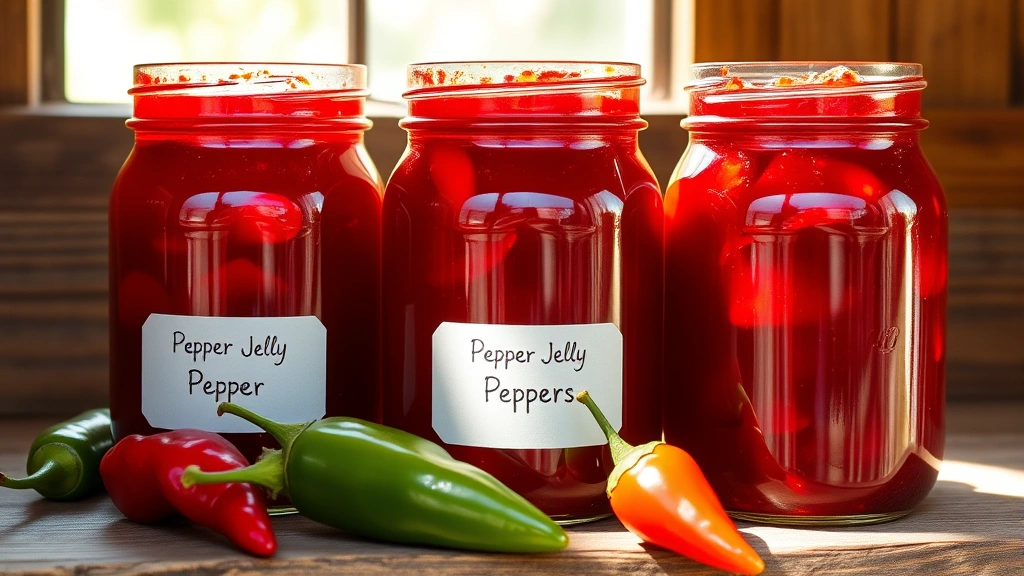
Allow your jelly to cool in the pot for 5 minutes before transferring to sterilized jars. This brief resting period allows the pectin to begin setting and prevents the jelly from separating in the jars. Stir gently one final time to ensure the pepper pieces are evenly distributed before ladling into jars.
Canning and Storage Methods
Proper canning is essential for safe storage and shelf stability. Begin by sterilizing your jars, lids, and bands in boiling water for 10 minutes. You can use a dishwasher’s sterilize setting if preferred. Keep them hot until you’re ready to fill them—cold jars can cause the hot jelly to crack.
Using a canning funnel and ladle, carefully pour the hot pepper jelly into sterilized jars, leaving ¼ inch of headspace at the top. This space is crucial for proper sealing. Wipe the rims clean with a damp cloth to remove any spills, then place the lids on top and screw the bands finger-tight.
Process your jars in a boiling water bath canner for 10 minutes. This step ensures any bacteria are eliminated and creates a proper seal. After processing, remove the jars carefully and place them on a clean kitchen towel to cool completely—this typically takes 12-24 hours. You’ll hear a satisfying pop sound as each jar seals. Once cooled, check that the center of each lid is slightly concave, indicating a proper seal.
Store sealed jars in a cool, dark place like a pantry or basement. Properly canned pepper jelly keeps for up to one year, though the flavor is brightest within the first six months. Opened jars should be refrigerated and used within three weeks. If you prefer not to process jars, refrigerate your pepper jelly immediately and use within two weeks.
For those interested in advanced preservation techniques, National Center for Home Food Preservation offers evidence-based canning guidelines and troubleshooting resources for any issues you encounter.
Creative Uses for Your Pepper Jelly
This versatile condiment extends far beyond simple toast spreading. Use pepper jelly as a glaze for roasted meats—brush it on ham during the last 15 minutes of baking for a glossy, caramelized finish. It pairs beautifully with pork chops, duck breast, and grilled chicken. The sweet-spicy combination cuts through rich proteins and adds complexity to simple preparations.
Create an elegant appetizer by spreading cream cheese on crackers and topping with a small spoonful of pepper jelly. Garnish with fresh cilantro or a sprinkle of chopped nuts for texture contrast. This simple combination has impressed countless dinner guests and becomes a conversation starter at parties.
Incorporate pepper jelly into your chicken burrito recipe for an unexpected flavor dimension, or swirl it into cream cheese for a spicy-sweet dip. It works wonderfully with cheese boards, adding a bright accent to sharp cheddar or creamy brie. For breakfast enthusiasts, dollop it on your quick breakfast recipes like scrambled eggs or French toast.
Savvy cooks also use pepper jelly in salad dressings—whisk it with vinegar and oil for a complex vinaigrette, or thin it with a bit of water and combine with mayo for a spicy sandwich spread. It’s equally at home in Asian-inspired dishes, glazing grilled salmon or serving as a dipping sauce for spring rolls and dumplings.
For those interested in foods rich in antioxidants, red and yellow peppers provide substantial health benefits. The capsaicin in hot peppers offers anti-inflammatory properties, making homemade pepper jelly not just delicious but nutritionally valuable.
FAQ
Why didn’t my pepper jelly set properly?
Improper setting usually results from not reaching the correct temperature, using old or expired pectin, or cooking at too high an altitude (which lowers water’s boiling point). Always verify your thermometer’s accuracy by placing it in boiling water—it should read 212°F. If using powdered pectin, ensure you’re using the correct type for your recipe.
Can I make pepper jelly without pectin?
Yes, though results are less predictable. Traditional recipes rely on extended cooking to naturally concentrate sugars and pectin. You’ll need to cook the mixture longer—sometimes 45-60 minutes—to reach the jelling point. The texture will be slightly different, more like a thin preserve than a firm jelly.
How much heat should my pepper jelly have?
Grandma’s recipe provides moderate heat—noticeable but not overwhelming. If you prefer milder jelly, omit the habanero and use fewer jalapeños. For spicier versions, add more habanero, increase cayenne to ½ teaspoon, or include a dash of hot sauce. Always taste and adjust before canning.
Can I freeze pepper jelly instead of canning?
Absolutely. Pour cooled jelly into freezer-safe containers, leaving ½ inch headspace for expansion, and freeze for up to one year. Thaw in the refrigerator before serving. This method is perfect if you’re uncomfortable with canning or want to preserve small batches.
What’s the difference between pepper jelly and pepper jam?
Technically, jelly contains no fruit or pepper pieces and is perfectly clear, while jam contains visible fruit pieces. This recipe creates a hybrid—a jelly with suspended pepper pieces. Some prefer straining through cheesecloth for clear jelly, though that loses some texture and flavor.
Why use both bell peppers and hot peppers?
Bell peppers provide sweetness, body, and natural pectin without excessive heat. Hot peppers deliver the signature spicy kick. Together they create balanced flavor that neither could achieve alone. The combination is key to grandma’s secret success.


