Spicy Pickled Jalapeños: Grandma’s Secret Recipe
There’s something magical about opening a jar of homemade pickled jalapeños and knowing you created that tangy, spicy perfection yourself. My grandmother guarded her pickled jalapeños recipe like a culinary treasure, bringing jars to family gatherings where they’d mysteriously disappear within hours. The secret wasn’t just in the ingredients—it was in the technique, the timing, and understanding how vinegar transforms fresh peppers into something extraordinary. After years of watching her work in the kitchen, I finally cracked the code, and now I’m sharing her time-tested method with you.
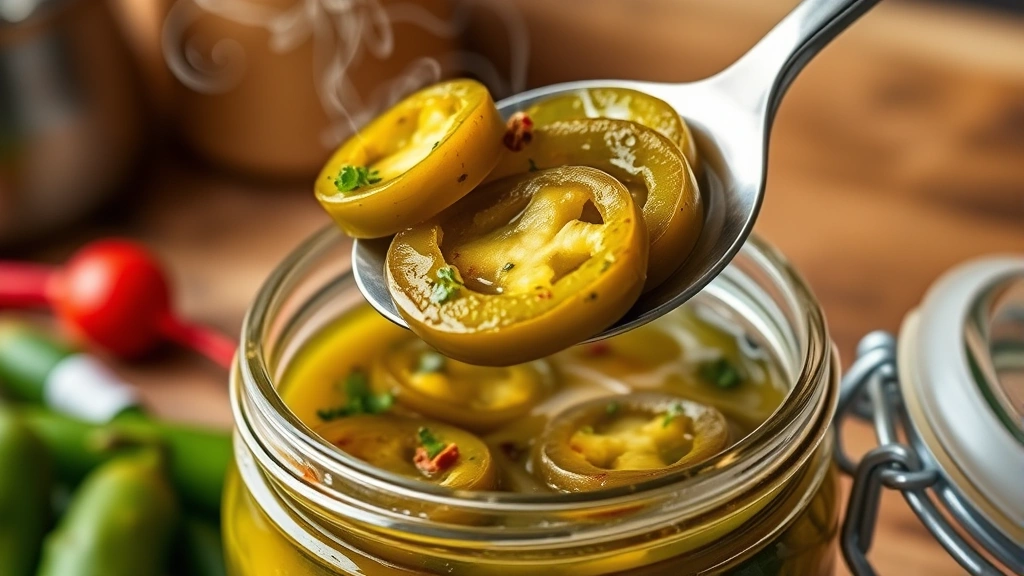
Making pickled jalapeños at home is easier than you’d think, yet the results taste infinitely better than store-bought versions. You control the heat level, the sweetness, the garlic intensity, and even the crunch factor. Whether you’re serving them on nachos, tacos, burgers, or straight from the jar as a spicy snack, homemade pickled jalapeños elevate every dish they touch. This recipe has been tested countless times and refined to perfection—it’s foolproof, requires minimal equipment, and yields shelf-stable jars that last for months.
Why Make Pickled Jalapeños at Home
Commercial pickled jalapeños often contain preservatives, excessive sodium, and lack the vibrant flavor that fresh-made versions deliver. When you make pickled jalapeños yourself, you’re in complete control. My grandmother always said the difference between mediocre and magnificent comes down to freshness and intention. Homemade versions maintain the pepper’s natural crunch and bright color while developing complex, layered flavors that commercial products simply can’t match.
Beyond taste, there’s the economic advantage. A single jalapeño plant or a pound of fresh peppers from the farmer’s market costs far less than multiple jars of store-bought pickled versions. You’ll also avoid unnecessary additives and can adjust the spice level to your preference. Whether you prefer them mild, medium, or face-melting hot, you control every variable. Plus, there’s an undeniable satisfaction in serving something you’ve preserved yourself—it’s a connection to traditional food preservation methods that our ancestors relied upon.
Making healthy food recipes at home, including pickled vegetables, ensures you know exactly what’s going into your body. You can use organic peppers, quality vinegar, and fresh spices without compromise.
Essential Ingredients and Equipment
For the Pickled Jalapeños (Makes 3-4 Pint Jars):
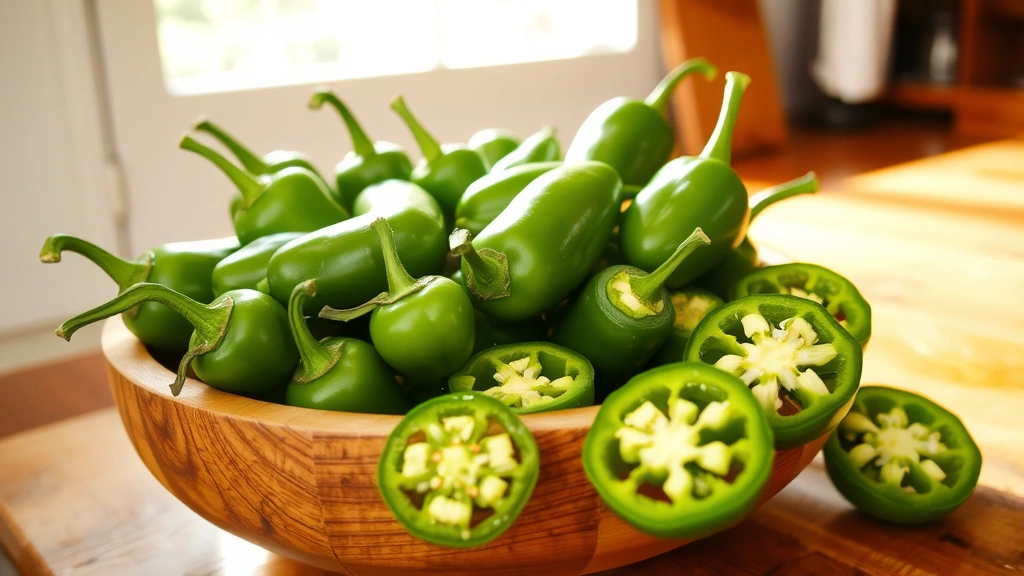
- 2 pounds fresh jalapeño peppers (firm, bright green)
- 4 cups white vinegar (5% acidity)
- 2 cups water
- 4 tablespoons pickling salt or kosher salt
- 8 garlic cloves, peeled and halved
- 2 tablespoons sugar (optional, for balance)
- 1 tablespoon black peppercorns
- 1 tablespoon mustard seeds
- 4 bay leaves
- 1 teaspoon red pepper flakes (or more for extra heat)
- 4-5 fresh dill sprigs (optional but recommended)
- 2-3 fresh thyme sprigs (optional)
Equipment You’ll Need:
- Clean glass jars (pint or quart size) with lids
- Large stainless steel pot
- Cutting board and sharp knife
- Measuring cups and spoons
- Wooden spoon or silicone spatula
- Jar funnel (helpful but not essential)
- Clean kitchen towels
- Canning tongs or regular tongs
The quality of your ingredients matters tremendously. Source fresh jalapeños that feel firm and have unblemished skin. Avoid any with soft spots or wrinkles. For vinegar, standard white vinegar works perfectly, though some cooks prefer a blend of white and apple cider vinegar for added complexity. Pickling salt (which lacks anti-caking agents) is ideal, but kosher salt works in a pinch. Avoid iodized table salt, which can cloud your brine and affect flavor.
Step-by-Step Preparation Guide
Washing and Sanitizing:
Begin by thoroughly washing your jars, lids, and all equipment with hot soapy water. This step is crucial for food safety. Rinse everything completely to remove soap residue. If you’re concerned about sterilization (especially for long-term storage), you can run jars through a dishwasher’s hot cycle or boil them in water for 10 minutes. Allow them to air-dry on clean kitchen towels.
Preparing the Jalapeños:
Rinse your fresh jalapeños under cool running water and pat them dry thoroughly—moisture affects the pickling process. Using a sharp knife, carefully slice the peppers into rings, about ¼-inch thick. Some people prefer leaving them whole or cutting them in half lengthwise; the choice is yours and affects both appearance and how quickly they pickle. For this recipe, rings work beautifully and look appealing in the jar. Important safety tip: Wear gloves while handling jalapeños, and avoid touching your face. The capsaicin oils can irritate skin and eyes intensely.
As you slice, discard any peppers with blemishes or soft spots. Place your sliced jalapeños in a large bowl. If you’re making a large batch, you might need to work in stages. The peppers should fill your jars about three-quarters full, leaving room for brine.
Preparing Aromatics:
While your jalapeños rest, prepare the garlic, spices, and herbs. Peel garlic cloves and cut them in half lengthwise—this exposes more surface area for flavor infusion. If using fresh dill and thyme, keep the sprigs whole. Measure out your peppercorns, mustard seeds, bay leaves, and red pepper flakes. Having everything prepared before you start heating the brine ensures smooth workflow and prevents mistakes.
My grandmother always said to taste a tiny piece of fresh garlic before adding it—if it tastes good raw, it’ll be magnificent pickled. This simple quality check prevented any off-flavored batches.
The Pickling Process Explained
Creating the Perfect Brine:
The brine is where pickling magic happens. In your large stainless steel pot, combine 4 cups white vinegar, 2 cups water, and 4 tablespoons pickling salt. The ratio of vinegar to water is crucial—this balance ensures proper preservation while maintaining flavor. Stir well until the salt completely dissolves. If you’re using sugar (which some prefer for slight sweetness that balances heat), add it now and stir thoroughly.
Place the pot over medium-high heat and bring the brine to a rolling boil. You’ll notice the aroma becoming quite pungent—that’s the vinegar’s natural compounds releasing. This is normal and temporary. The brine should boil for about 2-3 minutes before you begin filling jars. This heating step ensures proper preservation and helps extract flavors from the spices.
Layering for Optimal Flavor:
This is where technique elevates your pickled jalapeños from good to extraordinary. Begin filling your clean jars in layers. Start with a thin layer of sliced jalapeños (about ½ inch). Then add a few garlic pieces, a pinch of mustard seeds, a few peppercorns, a pinch of red pepper flakes, and a small piece of bay leaf. Repeat this layering pattern until your jar is about three-quarters full, ending with jalapeños on top.
Why layer? This distribution ensures every bite contains balanced flavor. If you simply dumped everything in randomly, some portions might have too much garlic or insufficient spice. Layering creates harmony throughout the jar. My grandmother would layer while softly humming—she said the intention mattered. While I’m skeptical about intention affecting taste, I’m certain that careful layering does.
Pouring the Brine:
Once your jars are layered, carefully pour the hot brine over the jalapeños, leaving about ½-inch headspace at the top. This headspace is essential—it allows for expansion and ensures proper sealing. Pour slowly and steadily, watching the brine fill around each layer. The heat from the brine will begin softening the peppers slightly, which is exactly what you want.
If you’re using fresh dill or thyme sprigs, tuck them in now, positioning them so they’re visible through the glass. This isn’t just practical—it looks beautiful and hints at the flavors within.
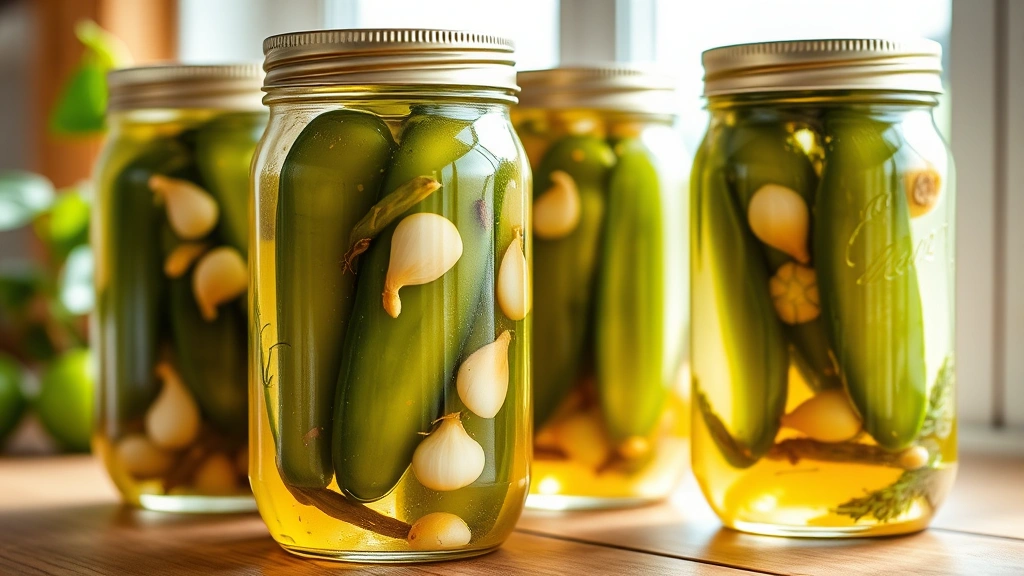
Sealing and Cooling:
Once filled, immediately place lids on your jars and screw them on until just finger-tight (not overly tight). The hot brine will create steam, which helps form a vacuum seal as the jars cool. Place your filled jars on a clean kitchen towel in a cool location away from drafts. You may hear a satisfying popping sound as they cool—this indicates proper sealing.
Allow the jars to cool completely at room temperature, which takes 12-24 hours. Resist the urge to refrigerate them during this cooling period. Once cooled, test the seal by pressing the center of each lid. If it’s solid and doesn’t flex, you’re sealed. If it flexes, that jar didn’t seal properly and should be refrigerated and consumed within a week.
For optimal flavor development, visit our food blog for more preservation techniques and allow your pickled jalapeños to rest for at least 3-5 days before opening. The flavors deepen and meld beautifully during this time. I know it’s tempting to crack them open immediately, but patience rewards you with superior taste.
Storage and Shelf Life Tips
Properly sealed jars of pickled jalapeños remain shelf-stable in a cool, dark pantry for up to one year. The vinegar’s acidity and salt content act as natural preservatives, preventing bacterial growth. However, flavor and texture are best within the first 6 months. After opening, store your jar in the refrigerator and consume within 2-3 months for peak quality.
Store unopened jars in a pantry or cupboard away from direct sunlight and heat sources. Light can fade the vibrant color of your peppers, and heat accelerates flavor deterioration. A cool basement, pantry shelf, or dark cabinet is ideal. If you notice any cloudiness, unusual odors, or mold growth, discard the jar immediately—these indicate contamination.
For those who prefer to refrigerate from the start (which is perfectly fine and adds a refreshing crunch), your pickled jalapeños will last 2-3 months in the fridge. Cold storage slows the pickling process, so flavors develop more slowly but remain fresher-tasting longer.
When serving, always use clean utensils to remove peppers from the jar. Never use your fingers, which can introduce bacteria. The remaining brine can be reused for another batch of pickled vegetables—simply strain out the old peppers and spices, and use the brine again with fresh ingredients. My grandmother reused her brine 2-3 times before discarding it, always stretching every drop of value.
Flavor Variations and Customizations
Heat Level Adjustments:
My grandmother’s original recipe used one teaspoon of red pepper flakes for moderate heat. If you prefer milder pickled jalapeños, reduce this to ½ teaspoon or omit it entirely. For those who love extreme heat, increase to 2 tablespoons of red pepper flakes or add fresh Thai chili peppers to the jars. Some adventurous cooks add habaneros mixed with jalapeños for compounded heat.
Sweet and Spicy Version:
Increase the sugar to 4-5 tablespoons for a sweet-and-spicy profile that works beautifully on pulled pork sandwiches or with healthy chicken recipes. Some cooks add 2-3 tablespoons of honey for additional depth. This variation appeals to those who prefer balanced flavors over pure heat.
Herb-Infused Variations:
Beyond dill and thyme, consider adding fresh cilantro, oregano, or rosemary. Each herb imparts distinct character. Cilantro creates a bright, fresh profile perfect for Mexican cuisine. Oregano adds Mediterranean notes ideal for Greek salads. Rosemary provides earthy sophistication for gourmet applications. Add fresh herb sprigs during the layering stage.
Garlic-Forward Version:
Increase garlic from 8 cloves to 12-16 cloves for a more robust garlic flavor. Some cooks add a teaspoon of garlic powder to the brine for concentrated garlic presence. This version is exceptional for garlic lovers and pairs wonderfully with cheese boards.
Mustard Seed Emphasis:
Increase mustard seeds from 1 tablespoon to 2-3 tablespoons for pronounced tangy notes. You can also add ½ teaspoon of mustard powder to the brine for additional complexity. This variation appeals to those who enjoy bold, assertive flavors.
Spiced Version with Warming Notes:
Add ½ teaspoon of ground cumin, ¼ teaspoon of ground coriander, and a pinch of cinnamon to the brine. These spices add warmth and sophistication, creating pickled jalapeños that work beautifully in fusion cuisines and creative applications.
The beauty of making pickled vegetables at home is experimentation. Once you master the basic technique, you can customize batches to match specific dishes or personal preferences. Keep notes on what you add so you can recreate successful variations.
For professional insight into pickling science and techniques, Serious Eats offers comprehensive guides on fermentation and preservation. Additionally, the National Center for Home Food Preservation provides evidence-based canning and pickling guidelines. For culinary technique mastery, Culinary Kids offers foundational cooking methods that enhance preservation skills.
When you’re ready to incorporate your pickled jalapeños into dishes, consider making easy homemade bread recipes with jalapeño cornbread or serving them alongside pressure cooker chili and stews for added brightness and heat.
FAQ
Can I use jalapeños that aren’t perfectly fresh?
While fresh is always best, slightly older jalapeños can work if they’re still firm. Avoid any with soft spots, mold, or significant wrinkles. The fresher your starting ingredient, the better your finished product.
Why did my jars not seal properly?
Several factors can prevent proper sealing: lids that were old or damaged, insufficient headspace, jars that weren’t hot enough when filled, or lids that were screwed too tightly (preventing steam escape). For next batches, use new lids, maintain ½-inch headspace, and tighten lids only finger-tight.
Can I reuse the brine from opened jars?
Yes, absolutely. The brine can be reused 2-3 times for fresh batches. Simply strain out old peppers and spices, bring the brine to a boil again, and use with fresh ingredients. The flavor becomes more concentrated with each use.
How long should I wait before eating my pickled jalapeños?
While technically edible immediately, waiting 3-5 days allows flavors to fully develop and meld. The peppers soften slightly and absorb the brine’s complexity. This patience yields noticeably superior results.
Can I freeze pickled jalapeños?
Freezing isn’t recommended for traditional pickled jalapeños as the texture becomes mushy upon thawing. However, if you prefer softer peppers, freezing accelerates this process. For best results, keep them refrigerated or shelf-stored in their brine.
What if my pickled jalapeños taste too vinegary?
This typically indicates you used a higher vinegar ratio or didn’t wait long enough for flavors to balance. For future batches, reduce vinegar slightly or add an extra tablespoon of sugar. The longer they sit, the less harsh the vinegar becomes.
Can I make pickled jalapeños without canning?
Yes, simply refrigerate them without formal canning. They’ll last 2-3 months in the fridge in a sealed container. This quick-pickle method is ideal for immediate consumption and eliminates canning concerns.
What’s the difference between pickled and fermented jalapeños?
Pickled jalapeños use vinegar for preservation and develop flavor quickly (days). Fermented jalapeños use salt and natural bacteria, requiring weeks to develop and creating probiotic benefits. This recipe focuses on pickling, which is faster and more foolproof.


