Raspberry Jam Recipe: Grandma’s Secret to Perfect Homemade Preserves
There’s something magical about opening a jar of homemade raspberry jam on a quiet morning, spreading it thick on warm toast, and tasting the essence of summer captured in every spoonful. My grandmother guarded her raspberry jam recipe like a treasure map, passing it down only when she deemed someone ready to appreciate the art behind it. After years of watching her work in her kitchen, I finally unlocked the secrets that make her version taste so incomparably better than anything store-bought.
The difference between ordinary jam and extraordinary jam lies not in expensive ingredients or complicated techniques, but in understanding the science of pectin, sugar ratios, and the perfect boil. This guide reveals everything my grandmother taught me about creating homemade jam that sets beautifully, tastes intensely of fresh raspberries, and keeps its vibrant color for months. Whether you’re a seasoned preserver or making jam for the first time, you’ll discover the methods that have made this recipe a family heirloom.
Why This Raspberry Jam Recipe Works
My grandmother’s approach to jam-making differs fundamentally from modern shortcuts. She believed that quality raspberries and patience were the only non-negotiables. Her secret wasn’t a special ingredient—it was understanding how heat, time, and natural fruit pectin work together to create something transcendent.
Fresh raspberries contain natural pectin, especially when slightly underripe. This pectin acts as a gelling agent, allowing your jam to set without relying heavily on commercial pectin packets. My grandmother preferred this method because it produces jam with a more delicate texture and pure raspberry flavor. The cooking process concentrates the fruit’s natural sugars and develops deeper, more complex flavors that emerge only through proper caramelization.
The ratio of sugar to fruit matters tremendously. Grandma used equal parts raspberries and sugar by weight—a 1:1 ratio that might seem high by modern standards, but it serves multiple purposes. Sugar preserves the jam, helps it set properly, and balances the fruit’s natural tartness. Less sugar produces runny jam; more sugar creates an overly sweet preserve that masks the raspberry flavor.
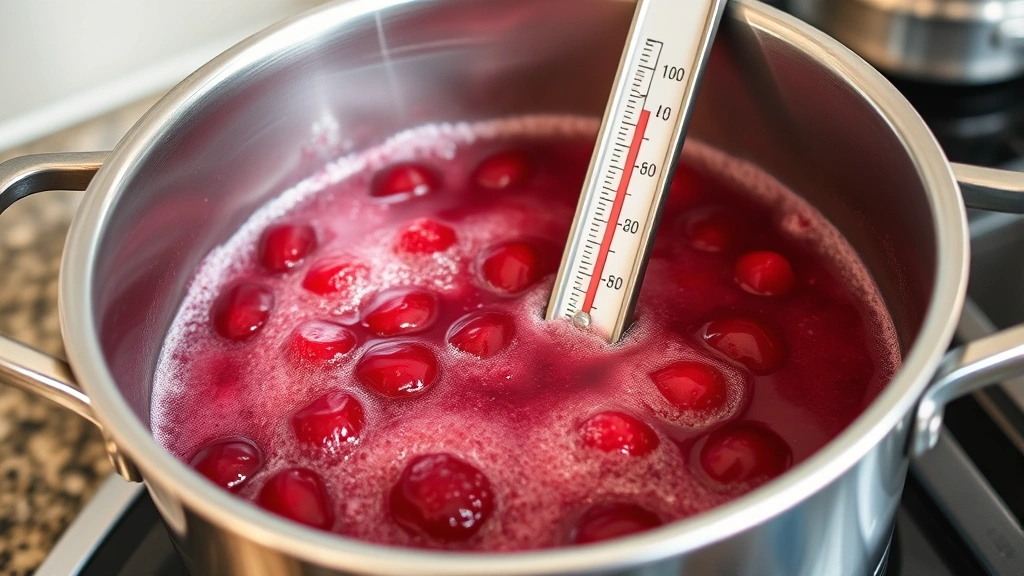
Temperature control is where most home cooks struggle. Grandma used a candy thermometer religiously, watching for the moment when the mixture reached 220°F (104°C)—the precise temperature at which jam sets properly. She taught me that rolling boil appearance means nothing; only temperature tells the true story of doneness.
Learn more about how to make homemade jams to understand the broader context of preserving techniques used across different fruit jams.
Essential Ingredients and Equipment
For the Jam (Makes approximately 6-8 half-pint jars):
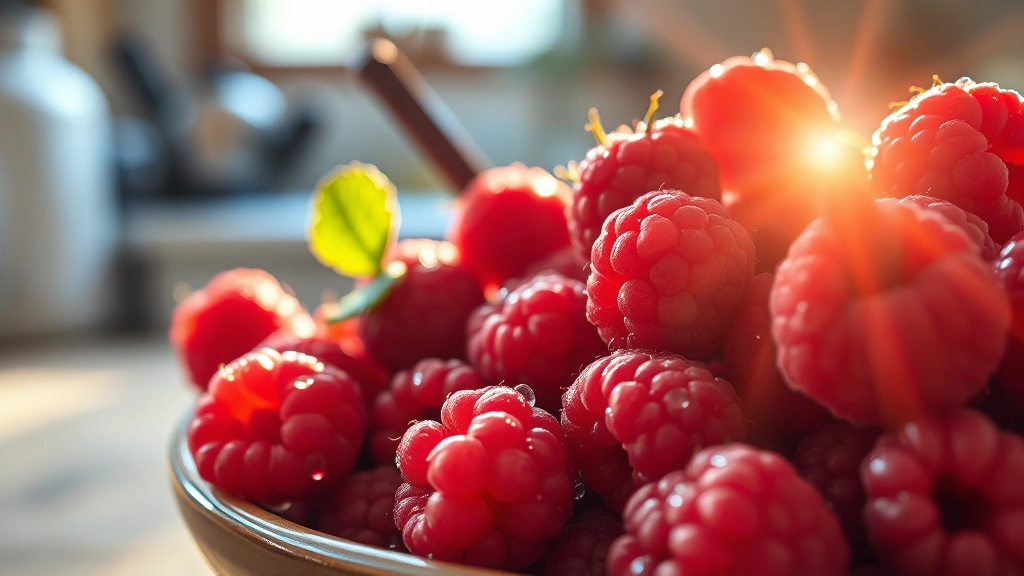
- 4 pounds fresh raspberries (about 12 cups), preferably picked the day before or early morning
- 4 pounds granulated sugar
- 3 tablespoons fresh lemon juice (about 1 large lemon)
- 1/4 teaspoon butter (optional, reduces foaming)
- Pinch of sea salt (enhances raspberry flavor)
Equipment You’ll Need:
- Large, heavy-bottomed stainless steel pot (at least 8-quart capacity)
- Candy or instant-read thermometer
- Wooden spoon or heat-resistant silicone spatula for stirring
- Canning jars (half-pint or pint sizes) with lids and bands
- Jar lifter for safe handling of hot jars
- Wide-mouth canning funnel
- Cheesecloth or fine mesh strainer
- Large bowl for testing jam consistency
- Clean kitchen towels
Grandma always insisted on quality equipment, particularly a heavy-bottomed pot. Thin pots create hot spots that scorch the bottom of your jam, leaving bitter flavors. A pot that’s too small causes boil-over disasters and uneven cooking. She used the same pot for decades, seasoning it properly so nothing would stick.
Step-by-Step Instructions
Preparation Phase:
Begin by preparing your jars at least 30 minutes before you start cooking. Wash them in hot soapy water and rinse thoroughly. Place them in a 200°F oven for 15 minutes to sterilize and keep them warm—cold jars cause thermal shock when filled with hot jam. Grandma learned this lesson the hard way when several jars cracked during her first attempts.
Sort through your raspberries carefully, removing any moldy or damaged berries. Grandma never washed her raspberries; she believed water dilutes the flavor and makes them more fragile. Instead, she gently picked through them by hand, removing debris. If you feel you must rinse them, do so very gently and pat dry immediately with paper towels.
Measure your raspberries and sugar precisely. Place both in your large pot, stirring gently to combine. Add the lemon juice, which serves multiple purposes: it brightens the flavor, prevents crystallization, and provides pectin to aid setting. The pinch of salt might seem unusual, but it amplifies the raspberry flavor without making the jam taste salty.
Cooking Phase:
Place the pot over medium-high heat. Stir occasionally until the sugar dissolves completely—you’ll notice the mixture becoming more liquid as the berries release their juice. This takes about 10-15 minutes. Grandma always waited until she saw no granules of undissolved sugar before increasing the heat.
Once the sugar dissolves, add the butter if using. It helps reduce foaming, which makes skimming easier and produces a clearer final product. Increase the heat to high and bring the mixture to a rolling boil. You’ll notice foam forming on the surface—this is normal and should be skimmed away with a spoon or fine mesh skimmer. Grandma saved this foam in a bowl; she’d eat it warm as a special treat.
Insert your candy thermometer, ensuring it doesn’t touch the bottom of the pot. This is critical—the thermometer’s reading will be inaccurate if it touches metal. Maintain a vigorous rolling boil and monitor the temperature constantly. The mixture will climb slowly at first, then suddenly accelerate. Stir occasionally but not constantly; excessive stirring breaks down the fruit too much.
Watch for the moment when the temperature reaches 220°F (104°C). At this precise temperature, the jam contains the right amount of moisture to set properly. Remove the pot from heat immediately. Grandma emphasized that even a few degrees higher produces jam that’s too firm; a few degrees lower produces jam that never sets.
Testing for Doneness:
Before canning, perform the cold plate test. Place a small white plate in your freezer before you start cooking. When the jam reaches temperature, drop a small spoonful onto the cold plate and return it to the freezer for 1 minute. Push your finger through the jam; if it wrinkles and doesn’t flow back together immediately, it’s set. If it’s still runny, continue cooking and test again in 2 minutes.
Grandma trusted the thermometer most, but she always did the cold plate test as confirmation. She said the two methods together created a foolproof system for perfect jam.
Filling and Sealing:
Let the jam cool for 5 minutes off heat. This brief rest allows the bubbles to settle and helps prevent siphoning of liquid during cooling. Using your canning funnel, carefully fill hot jars, leaving 1/4 inch headspace at the top. This space allows for expansion and ensures proper sealing.
Wipe the rim of each jar with a clean, damp cloth to remove any jam drips. Place sterilized lids on jars and screw on bands until finger-tight—not too loose, not too tight. Process the jars in a boiling water bath for 10 minutes (for half-pint jars; 15 minutes for pint jars). This step ensures shelf stability and creates the satisfying “pop” when you open a jar months later.
Remove jars using a jar lifter and place them on a clean kitchen towel to cool completely—this usually takes 12-24 hours. You’ll hear the lids sealing with a distinctive “ping” sound as they cool. Once completely cool, test the seals by pressing the center of each lid; it should be concave and not flex up and down.
Mastering the Perfect Set
The difference between jam that spreads beautifully and jam that runs off your toast comes down to understanding pectin chemistry. Pectin is a naturally occurring carbohydrate in fruit that, under the right conditions of heat, acid, and sugar, forms a gel network that traps liquid.
Raspberries contain moderate amounts of natural pectin, concentrated in their seeds. This is why Grandma never strained the seeds from her jam—they’re essential for proper setting. The seeds also provide the characteristic texture that makes homemade jam feel so satisfying on your tongue.
The lemon juice serves two purposes beyond flavor. Its acidity lowers the pH of the jam, which is essential for pectin gelation. Without sufficient acid, your jam won’t set properly, no matter how long you cook it. Grandma measured lemon juice precisely because she understood this chemistry, even if she didn’t always articulate it in scientific terms.
Sugar concentration affects setting dramatically. The water content in your finished jam determines its texture. At 220°F, you’ve evaporated enough water that the sugar concentration reaches approximately 65-68%, the ideal range for jam. This is why reaching the precise temperature matters more than cooking for a specific time—different batches of raspberries contain different water content.
If your jam doesn’t set properly, you have options. Grandma taught me that you can re-cook it. Pour the jam back into your pot, add a tablespoon of lemon juice, and cook again to 220°F. Some cooks add powdered pectin at this stage, stirring it in thoroughly before bringing back to temperature. This method works well when you’ve made an error but catches the problem early enough to correct it.
Conversely, if your jam sets too firmly, you can adjust future batches by cooking to 218°F instead of 220°F, or by adding an extra tablespoon of lemon juice, which slightly reduces setting.
Storage and Shelf Life
Properly canned raspberry jam keeps for 1-2 years in a cool, dark pantry. Grandma had jars from previous years that were still perfectly safe and delicious. The high sugar content and proper processing create an environment where spoilage organisms cannot grow.
Once opened, store your jam in the refrigerator and consume within 3-4 weeks. The cold slows mold and bacteria growth, but the jar is no longer a sterile environment. Some people prefer keeping unopened jars in the refrigerator from the start, which extends shelf life even further.
Store jars in a cool location away from direct sunlight. Light can fade the beautiful ruby color of your jam over time. A basement pantry or dark kitchen cabinet is ideal. Avoid storing near heat sources like ovens or sunny windowsills.
Grandma labeled all her jars with the date and contents. She used a simple white label and pencil, which she could erase and reuse. This practice meant she could easily identify which jars to use first and track how long she’d been storing them.
If you notice mold, crystallization, or off-smells when opening a jar, discard it immediately. These signs indicate spoilage, though they’re rare with proper technique. The beauty of homemade jam is its stability—Grandma often said that properly made jam is one of the safest foods you can preserve at home.
Enhance your breakfast experience by pairing this jam with quick breakfast recipes that showcase your homemade preserves beautifully.
Troubleshooting Common Issues
Jam Won’t Set:
The most common problem is jam that remains runny after cooling. This usually happens when the temperature didn’t reach 220°F or the cooking time was too short. Grandma’s solution: re-cook the batch. Pour jam back into your pot, add one tablespoon of fresh lemon juice, and cook to 220°F again. You can also add 1-2 tablespoons of powdered pectin mixed with a tablespoon of sugar, stirring thoroughly before returning to temperature.
Jam Crystallizes:
Sugar crystallization appears as grainy texture in cooled jam. This happens when you don’t add enough lemon juice, or when sugar crystals form during cooling. Grandma prevented this by always including the lemon juice and by not stirring constantly while cooking—excessive stirring encourages crystal formation. If crystallization occurs, gently warm the jar (place it in hot water) and stir until crystals dissolve.
Jam Scorches on Bottom:
A thin pot or uneven heating causes scorching, which creates bitter flavors. Use a heavy-bottomed pot and stir occasionally. If you notice a burnt smell, stop immediately and pour into a new pot, leaving the scorched portion behind. The batch may still be salvageable if only a small amount scorched.
Too Much Foam:
Excessive foaming usually means you’re cooking too vigorously. Reduce heat slightly to maintain a rolling boil rather than a frantic boil. Skim foam regularly with a fine mesh skimmer. Grandma’s trick: add a tiny piece of butter at the beginning of cooking, which significantly reduces foaming.
Jam Tastes Too Tart:
The lemon juice is essential for setting, but you can use less in future batches. Try reducing to 2 tablespoons instead of 3. The tartness also mellows over time as the jam ages, so taste it again after a few weeks.
Jars Don’t Seal:
If a jar doesn’t seal (the lid flexes up and down), refrigerate it immediately and use within 3-4 weeks. Never store an unsealed jar at room temperature. Ensure jars are filled to proper headspace (1/4 inch) and rims are clean before sealing. Process time matters too—ensure you’re processing for the full 10-15 minutes in boiling water.
Discover more preservation techniques by exploring detailed jam-making fundamentals to troubleshoot advanced issues.
FAQ
Can I use frozen raspberries for this recipe?
Yes, though fresh raspberries produce superior flavor and color. Frozen raspberries work well for jam-making because freezing breaks down cell walls, helping them release juice. Thaw them completely before measuring, and drain excess liquid if they’re packed in syrup. You may need to cook slightly longer because frozen berries contain more water. Grandma preferred fresh when available but kept frozen berries on hand for off-season jam-making.
Do I need to add pectin?
No, this recipe relies on natural pectin in the raspberries. However, if your jam doesn’t set, you can add powdered pectin to a re-cooked batch. Some cooks prefer adding pectin from the start for guaranteed results. If using commercial pectin, follow package directions, as it changes the cooking method and sugar ratio.
Why does my jam have a flat flavor?
Overcooked jam loses volatile flavor compounds that evaporate at high temperatures. Cook to exactly 220°F—not higher. Also ensure your raspberries are fully ripe and flavorful before cooking. Underripe berries produce less flavorful jam. Grandma always said the flavor starts with the fruit quality, not the cooking technique.
Can I use brown sugar or honey instead of white sugar?
Brown sugar and honey change the flavor profile and color of your jam. Grandma stuck with white granulated sugar because it allows the raspberry flavor to shine. Brown sugar adds molasses notes that can overpower delicate raspberry taste. Honey works differently in gel formation and requires adjusting cooking temperature. For best results, use the white sugar called for in this recipe.
How do I know if my jam is sealed properly?
Once cooled, press the center of each lid. A properly sealed jar has a concave (slightly indented) center that doesn’t flex when pressed. If the lid flexes up and down, the jar didn’t seal and should be refrigerated for immediate use. Some jars may seal hours after cooling—you might hear the distinctive “ping” sound as they cool completely.
Can I make jam without a candy thermometer?
A thermometer is highly recommended because it’s the most reliable method. The cold plate test works but requires experience to interpret correctly. Grandma used both methods together. If you don’t have a thermometer, use the cold plate test exclusively, testing every 2 minutes once the mixture looks thick. Expect more variability in results without a thermometer.
What’s the difference between jam, jelly, and preserves?
Jam contains crushed fruit and seeds, creating a thick spread. Jelly is strained clear with no fruit solids. Preserves contain larger chunks of whole fruit. This recipe produces jam. To make jelly, strain the cooked fruit through cheesecloth overnight before measuring sugar. Preserves require a different technique of adding sugar partway through cooking to keep fruit intact.
Can I double this recipe?
Doubling works, but requires a larger pot and more careful monitoring. Don’t triple or quadruple—larger batches cook unevenly and take much longer to reach proper temperature. If making multiple batches, cook them separately. Grandma never made more than one batch at a time, saying quality suffered when she tried to be efficient.
For additional jam inspiration and breakfast applications, explore quick breakfast recipes featuring homemade preserves.
Understanding jam-making connects to broader food preservation knowledge. Learn more about proper canning procedures from the National Center for Home Food Preservation, the authoritative source for safe food preservation techniques.
Explore culinary education resources for deeper understanding of food science principles behind jam-making and other preservation methods.
For advanced pectin knowledge and jam chemistry, consult Serious Eats’ detailed food science articles that explain the molecular basis of gelation and jam-making success.
My grandmother’s legacy lives on through this recipe. She taught me that jam-making isn’t mysterious—it’s simply understanding a few key principles and respecting the ingredient quality. Every jar you make becomes part of your own culinary story, a gift to future breakfasts and a connection to generations of home cooks who’ve perfected this timeless craft. Start with quality raspberries, follow the temperature precisely, and you’ll create jam worthy of Grandma’s approval.


