How to Make Snow Ice Cream: A Kid-Friendly Recipe
There’s something magical about transforming fresh snow into a delicious frozen treat that tastes like homemade ice cream. Snow ice cream is one of the simplest and most fun desserts you can make with kids, requiring just a handful of ingredients and a few minutes of preparation. This nostalgic winter dessert has been enjoyed by families for generations, offering a unique way to celebrate snowy weather while creating lasting memories in the kitchen.
Unlike traditional ice cream that requires an ice cream maker, snow ice cream comes together in minutes using nature’s own freezing agent. The beauty of this recipe lies in its versatility and ease—kids can participate in every step, from collecting clean snow to mixing ingredients and customizing flavors. Whether you’re looking for a quick winter activity or a special treat after a snow day, snow ice cream delivers creamy results without complicated equipment or lengthy preparation times.
What You Need to Know About Snow Ice Cream
Snow ice cream is fundamentally different from traditional ice cream because it relies on fresh snow as its base rather than cream and eggs. The snow provides the frozen foundation, while sweetened condensed milk or a simple sugar mixture creates the creamy texture and sweetness. This combination transforms ordinary snow into a dessert that tastes remarkably similar to soft-serve ice cream, making it a beloved winter tradition across many cultures.
The science behind snow ice cream is straightforward: when you mix cold snow with sweetened liquid, the mixture maintains its frozen state while achieving a smooth, creamy consistency. The snow acts as both the freezing agent and the primary ingredient, meaning you don’t need electricity or special equipment to create this treat. This makes snow ice cream particularly appealing for families without ice cream makers or those looking for a quick, impromptu dessert option.
The texture of homemade snow ice cream differs slightly from commercial ice cream because it lacks the churning process that incorporates air throughout the mixture. However, this doesn’t diminish its appeal—many people prefer the denser, more substantial texture of snow ice cream. The key to achieving the best results is working quickly once you’ve mixed the ingredients, as the snow can melt rapidly if exposed to room temperature for extended periods.
Making snow ice cream is an excellent opportunity to teach children about food preparation, temperature control, and creativity in the kitchen. Kids can learn how simple ingredients combine to create something delicious, and they’ll enjoy the hands-on nature of the activity. If you’re looking for other kid-friendly desserts, check out our summer salad recipes for lighter options during warmer months.

Essential Ingredients and Substitutions
The basic snow ice cream recipe requires remarkably few ingredients, making it accessible for any household. Here’s what you’ll need:
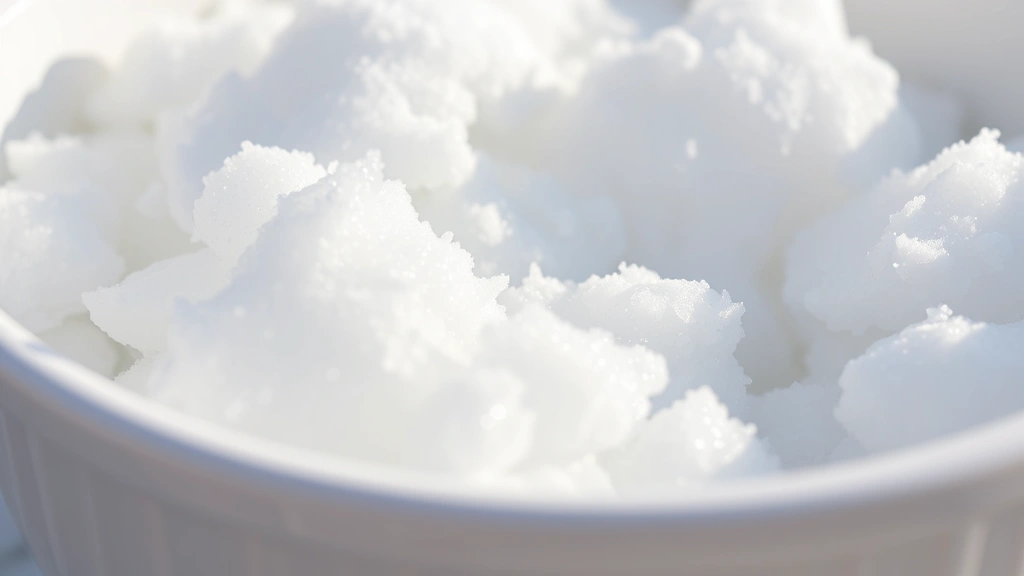
- Clean snow: 8 cups (approximately 2 liters) of fresh, clean snow collected from your yard
- Sweetened condensed milk: 1 can (14 ounces) for the classic version
- Vanilla extract: 1 to 2 teaspoons for flavor enhancement
- Milk or cream: ½ cup for additional creaminess
- Salt: A pinch to enhance flavors
If you don’t have sweetened condensed milk on hand, you can create an alternative mixture using regular milk and sugar. Combine ½ cup of whole milk with ½ cup of granulated sugar and stir until the sugar dissolves. This homemade sweetener works well, though you may need to adjust the proportions depending on how sweet you prefer your ice cream.
For those with dietary restrictions, several substitutions work effectively. You can replace regular milk with almond milk, oat milk, or coconut milk to create dairy-free snow ice cream. If you’re avoiding condensed milk, mixing maple syrup or honey with milk creates a naturally sweet base. Some families use evaporated milk as a creamier alternative to regular milk, which produces a richer final texture.
When selecting snow, ensure it comes from a clean area away from roads, gutters, or areas where animals frequent. Fresh, newly fallen snow is ideal, as it hasn’t had time to accumulate dirt or pollutants. If you’re concerned about snow quality, many families collect snow from the highest point in their yard or from areas that receive the least foot traffic.
Step-by-Step Instructions
Step 1: Collect Your Snow
Begin by gathering approximately 8 cups of clean snow into a large mixing bowl. If you’re making multiple batches or serving a larger group, you may need more snow. Use a clean container or bowl for collection, and avoid packing the snow tightly—you want it loose and fluffy to mix easily with the sweetened ingredients. If the snow has been sitting outside for a while, freshly fallen snow will yield better results.
Step 2: Prepare Your Sweetened Mixture
Pour one can of sweetened condensed milk into a separate bowl. Add 1 to 2 teaspoons of vanilla extract and ½ cup of milk or cream. Stir these ingredients together thoroughly, ensuring the vanilla distributes evenly throughout the mixture. If using homemade sweetener instead of condensed milk, combine your milk and sugar solution before mixing with vanilla and additional milk.
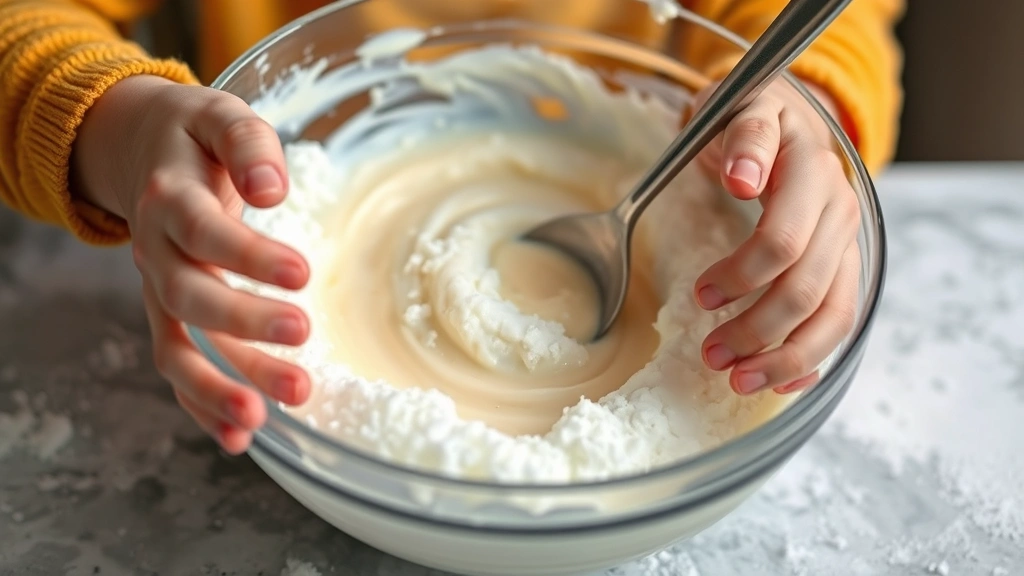
Step 3: Combine Ingredients Quickly
Pour the sweetened milk mixture over the collected snow gradually while stirring constantly. Begin with about half the liquid and mix thoroughly, then add the remaining liquid as needed. The key to success is working quickly and continuously stirring—the friction from mixing helps distribute the sweetened liquid evenly while the snow remains frozen. Add a pinch of salt to enhance the overall flavor profile.
Step 4: Achieve the Perfect Consistency
Continue stirring until the mixture reaches a soft-serve ice cream consistency. This typically takes 2 to 4 minutes of continuous mixing. The snow will gradually incorporate the sweetened liquid while maintaining its frozen state. If the mixture becomes too thin, you’ve likely added too much liquid—in future batches, reduce the milk amount slightly. If it remains too icy, add a bit more liquid and continue mixing.
Step 5: Serve Immediately
Snow ice cream is best enjoyed immediately after mixing, while it maintains its optimal texture. Scoop the mixture into bowls or cones and serve right away. If you need to store it temporarily, place it in the freezer in an airtight container, though the texture may become harder and more icy over time.
Flavor Variations and Creative Ideas
The basic snow ice cream recipe serves as a perfect foundation for countless flavor variations. Once you’ve mastered the classic vanilla version, experiment with different extracts and mix-ins to create unique combinations that appeal to your family’s tastes.
Chocolate Snow Ice Cream
Add 2 to 3 tablespoons of chocolate syrup or cocoa powder mixed with a tablespoon of sugar to your sweetened milk mixture. Stir until well combined before adding to the snow. For a more intense chocolate flavor, use chocolate syrup rather than cocoa powder, as it distributes more evenly throughout the mixture.
Strawberry and Fruit Variations
Puree fresh or frozen strawberries and strain through a fine-mesh sieve to remove seeds. Mix the puree into your sweetened milk mixture for fruity snow ice cream. Other fruits like raspberries, blueberries, or peaches work wonderfully using this same method. If using frozen fruit, thaw it completely before pureeing.
Peppermint and Candy Flavors
Add ½ teaspoon of peppermint extract to your mixture for a festive winter treat, or crush candy canes and fold them in during the final mixing stages. Crushed cookies like Oreos, graham crackers, or gingerbread cookies also add delightful texture and flavor complexity.
Maple and Caramel Creations
Replace vanilla extract with ½ teaspoon of maple extract, or drizzle caramel sauce into your mixture during the final seconds of stirring. These variations add sophisticated flavors that appeal to both children and adults.
For inspiration on creating other delicious treats, explore our caldo de pollo recipe for warm comfort food alternatives during winter months.
Safety Tips for Snow Ice Cream
While snow ice cream is generally safe to consume, certain precautions ensure a healthy experience. The most important consideration is snow source—only use snow from areas you know are clean and unpolluted. Avoid snow collected near roads where salt and vehicle emissions accumulate, from gutters that may contain debris, or from areas where pets frequent.
Supervise children during the snow collection process to ensure they don’t consume raw snow or allow contaminated snow to enter the mixture. Teach kids to use clean utensils and containers specifically designated for food preparation. If anyone in your household has compromised immune function or is particularly vulnerable to foodborne illness, consider using boiled and cooled snow instead of raw snow.
Ensure all ingredients are fresh and properly stored before use. Check expiration dates on condensed milk and other dairy products. If you’re using milk from an open container that’s been in the refrigerator for more than a week, replace it with fresh milk.
Be aware that snow ice cream melts quickly, so keep it in the freezer until serving time. If anyone in your household has dairy allergies or lactose intolerance, use non-dairy milk alternatives and condensed coconut milk instead of traditional condensed milk.
Storage and Serving Suggestions
Snow ice cream is best consumed immediately after preparation, but you can store leftover portions in an airtight container in the freezer for up to 2 days. The texture will become harder and more icy as it sits, resembling traditional ice rather than soft-serve ice cream. To restore some creaminess, allow the container to sit at room temperature for 5 to 10 minutes before serving, then stir vigorously.
Serve snow ice cream in chilled bowls or sugar cones to slow melting. Pair it with toppings like chocolate sprinkles, crushed cookies, fresh fruit, or whipped cream for an enhanced experience. Kids particularly enjoy customizing their own toppings, turning snow ice cream into an interactive treat.
For a special presentation, serve snow ice cream at winter gatherings or snow day celebrations. It pairs wonderfully with warm beverages like hot chocolate or coffee for adults. Consider making it part of a winter dessert spread alongside other treats—if you’re planning a full menu, check our ground beef and rice recipes for hearty main courses to serve beforehand.
Snow ice cream also works as an educational tool for teaching children about states of matter, temperature, and food science. Use the activity to discuss how freezing point depression works and why adding salt to snow can create even colder temperatures for more advanced ice cream making.
If you’re interested in learning more about food safety and ingredient quality, explore our guide on organic vs non-organic food: what you need to know to make informed choices about your ingredients.
FAQ
Can I make snow ice cream without sweetened condensed milk?
Yes, absolutely. Mix ½ cup of whole milk with ½ cup of granulated sugar and stir until the sugar dissolves. You can also use honey, maple syrup, or agave nectar as sweeteners. The texture and sweetness level may vary slightly, but the result will still be delicious. Experiment with different sweeteners to find your preferred flavor profile.
How much snow do I need for this recipe?
The basic recipe calls for approximately 8 cups of loosely packed snow. However, the exact amount depends on how many people you’re serving and how creamy you want the final product. More snow yields a lighter, icier texture, while less snow creates a creamier result. Start with 8 cups and adjust based on your preferences.
What if the snow ice cream is too icy or too soft?
If your snow ice cream is too icy, you haven’t added enough sweetened liquid—next time, increase the milk and condensed milk proportions slightly. If it’s too soft or melting too quickly, you’ve added too much liquid; reduce the milk amount in your next batch. The ratio should be approximately 8 cups snow to 1 can condensed milk plus ½ cup milk.
Can I use snow from any part of my yard?
No, collect snow from the cleanest area available, away from roads, gutters, and high-traffic areas. Fresh snow that has just fallen is preferable to snow that’s been sitting outside for several days. Avoid collecting snow near where pets play or from areas where you use salt for de-icing.
How long can I store snow ice cream?
Snow ice cream is best enjoyed immediately but can be stored in an airtight freezer container for up to 2 days. The texture becomes increasingly icy during storage. Before serving stored snow ice cream, allow it to soften slightly at room temperature and stir to redistribute any separated ingredients.
Is snow ice cream safe for everyone to eat?
Snow ice cream is generally safe when made with clean snow and fresh ingredients. However, people with dairy allergies should use non-dairy milk alternatives and coconut condensed milk. Individuals with compromised immune systems should consider using boiled and cooled snow instead of raw snow. Always check ingredient expiration dates before use.
Can I make snow ice cream indoors?
You can, but you’ll need to collect clean snow and bring it indoors quickly. Work rapidly since indoor temperatures will cause the snow to melt faster. Some people freeze snow in the freezer before mixing, though this makes the texture slightly different. For best results, prepare snow ice cream outdoors in cold weather.
What are good toppings for snow ice cream?
Popular toppings include chocolate sprinkles, crushed cookies (Oreos, graham crackers, gingerbread), fresh fruit, whipped cream, chocolate syrup, caramel sauce, and candy pieces. Let kids choose their own toppings for a fun, interactive experience. Keep toppings in small bowls so they can customize their servings.


