Ultimate Strawberry Pie: Grandma’s Secret Recipe
There’s something magical about a homemade strawberry pie that takes you straight back to childhood summers. This isn’t just any strawberry pie—it’s the treasured recipe passed down through generations, perfected by grandmothers who understood that the best desserts are made with love, patience, and quality ingredients. Whether you’re preparing for a family gathering or simply craving that nostalgic taste of summer, this ultimate strawberry pie recipe will become your go-to dessert.
What makes this strawberry pie truly special is the balance between a buttery, flaky crust and a filling that celebrates the natural sweetness of fresh strawberries without overwhelming them with sugar. Unlike many modern recipes that rely heavily on gelatin or cornstarch, grandma’s secret involves a technique that preserves the authentic strawberry flavor while achieving that perfect slice-able consistency. This guide will walk you through every step, from selecting the ripest berries to mastering the crust, ensuring your strawberry pie becomes legendary in your own family.
The Secret Behind Grandma’s Recipe
The true secret to this ultimate strawberry pie lies in understanding that less is often more. Grandma knew that fresh strawberries have their own natural pectin and moisture content, which means they don’t need excessive thickening agents that can mask their delicate flavor. The genius of this recipe is in the two-part filling technique: some berries are cooked down into a jammy sauce while others remain fresh, creating texture and authentic taste simultaneously.
Another crucial element is the quality of your crust. A homemade butter crust, made with cold butter and minimal handling, creates those coveted flaky layers that make every bite memorable. Store-bought crusts simply cannot replicate the tender, melt-in-your-mouth texture that distinguishes grandma’s version from ordinary strawberry pies. The combination of these elements—fresh berries, proper thickening, and an exceptional crust—creates a dessert that’s worthy of your finest occasions.
The recipe also emphasizes the importance of proper timing. Unlike pies that can be assembled days in advance, the best strawberry pie is made with fresh berries added to the crust shortly before serving. This prevents the crust from becoming soggy and ensures maximum flavor impact. This is why understanding the complete process from start to finish is essential for success.
Selecting and Preparing Your Strawberries
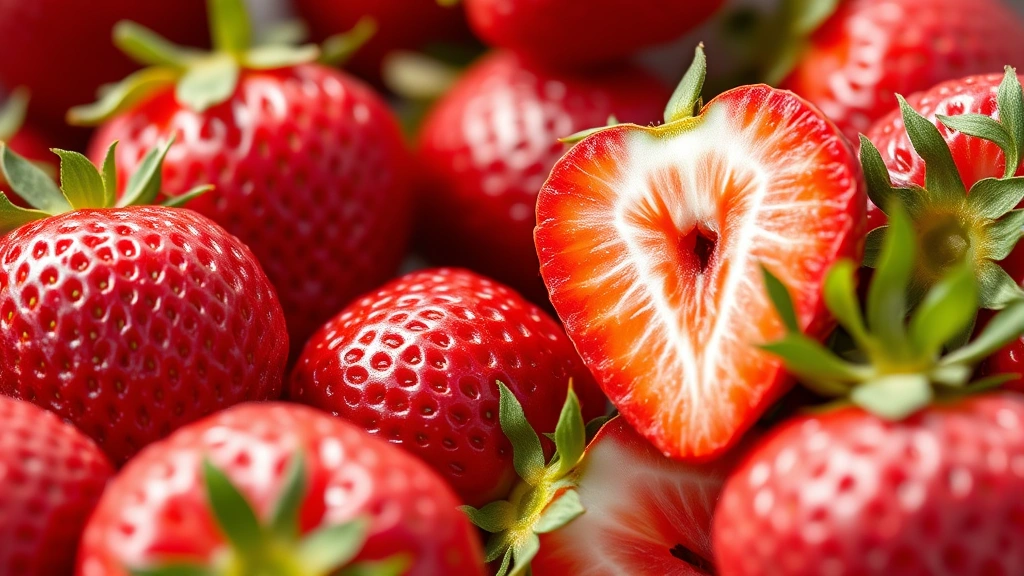
The foundation of any exceptional strawberry pie starts at the market. You need to select berries that are ripe, fragrant, and firm enough to hold their shape during preparation. Look for strawberries that are bright red throughout, with no white or pale shoulders. The berry should smell sweet and strawberry-like—this aroma indicates proper ripeness and flavor development. Avoid berries that are mushy, moldy, or have soft spots, as these will compromise your final dessert.
When shopping, buy your strawberries the day before you plan to make the pie. Store them in the refrigerator in their original container or a breathable container lined with paper towels. This helps maintain their firmness and extends their freshness. Never wash berries until you’re ready to use them, as excess moisture accelerates spoilage.
Preparation is straightforward but requires care. Gently rinse your berries under cool water and pat them completely dry with paper towels. Any residual moisture will dilute the filling. Remove the green tops using a small paring knife or a strawberry huller, being careful not to remove too much of the fruit. For the portion of berries that will be cooked into sauce, you can cut them into halves or quarters. For the fresh berries that will top the pie, keep them whole if they’re medium-sized, or slice larger berries in half lengthwise to showcase their beautiful interior.
Mastering the Perfect Pie Crust
Creating a flaky, buttery crust from scratch intimidates many home cooks, but grandma’s technique is surprisingly forgiving once you understand the principles. The key is keeping everything cold and handling the dough minimally. Cold butter creates steam pockets during baking, which produce those desirable flaky layers. Overworking the dough develops gluten, resulting in a tough, dense crust—the opposite of what you want.
Ingredients for the crust:
- 2½ cups all-purpose flour
- 1 teaspoon salt
- 1 tablespoon granulated sugar
- 1 cup (2 sticks) cold unsalted butter, cubed
- 6-8 tablespoons ice water
Begin by combining flour, salt, and sugar in a large mixing bowl. Cut the cold butter into small cubes and add them to the flour mixture. Using a pastry cutter, two knives, or your fingertips, work the butter into the flour until the mixture resembles coarse breadcrumbs with some pea-sized butter pieces remaining. This texture is crucial—those butter pieces will create the flakiness you’re seeking.
Add ice water one tablespoon at a time, tossing gently with a fork until the dough just comes together. You want a shaggy dough that holds together when squeezed but isn’t wet or sticky. Divide the dough in half, shape each portion into a disk, wrap in plastic wrap, and refrigerate for at least one hour, preferably overnight. This resting period allows the gluten to relax and helps prevent shrinkage during baking.
When ready to roll out your crust, remove one disk from the refrigerator and let it sit at room temperature for 5-10 minutes until it’s pliable but still cold. On a lightly floured surface, roll from the center outward, rotating the dough occasionally to maintain an even thickness of about ⅛ inch. Transfer the rolled dough to a 9-inch pie pan, allowing the edges to hang over slightly. Repeat with the second disk for a top crust, or reserve it for another use.
Creating the Filling with Grandma’s Technique
This is where grandma’s genius truly shines. The filling technique involves creating a cooked strawberry sauce that acts as the binding agent while incorporating fresh berries for texture and authentic taste. This method eliminates the need for excessive cornstarch or gelatin that can create an undesirable texture.
Filling ingredients:
- 2 pounds fresh strawberries, divided
- ¾ cup granulated sugar
- 3 tablespoons fresh lemon juice
- 1 tablespoon cornstarch (minimal amount)
- ¼ teaspoon salt
- 1 teaspoon vanilla extract
Separate your strawberries into two portions: approximately 1 pound for cooking and 1 pound for fresh filling. Slice the berries designated for cooking into halves or quarters and place them in a heavy-bottomed saucepan. Add the sugar, lemon juice, and salt. Cook over medium heat, stirring occasionally, for about 15-20 minutes. The berries will release their juices and break down into a jammy consistency. The lemon juice brightens the flavor and helps the berries maintain their color.
As the mixture cooks, it will reduce significantly. You’re looking for a thick, sauce-like consistency that coats the back of a spoon. In a small bowl, mix the cornstarch with 2 tablespoons of water to create a slurry. When the berry mixture has thickened naturally through reduction, stir in the cornstarch slurry and cook for an additional 2-3 minutes, stirring constantly. This minimal use of cornstarch provides just enough additional thickening without creating a gel-like texture. Remove from heat and stir in the vanilla extract. Allow the sauce to cool completely—this is important, as warm filling will soften your crust.
Once cooled, gently fold the fresh, whole strawberries into the cooked sauce. This creates a filling with distinct texture: some soft, jammy berries and some fresh, intact berries that showcase strawberry flavor. The result is far superior to a uniform gel-like filling.
Assembly and Baking Instructions
Preheat your oven to 400°F. If your pie crust has been refrigerated, remove it from the cold a few minutes before filling to make it slightly more pliable. Brush the bottom crust lightly with an egg wash (one beaten egg mixed with one tablespoon water) to create a moisture barrier that prevents sogginess.
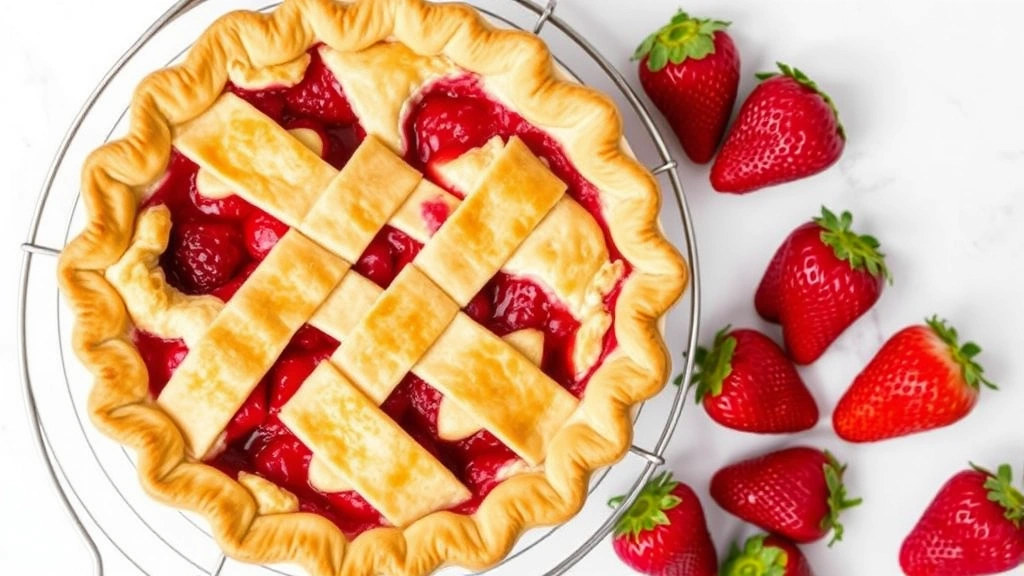
Pour the cooled strawberry filling into the prepared crust, mounding it slightly in the center. If using a top crust, brush the edges of the bottom crust with water to help seal. Place the top crust over the filling and trim excess dough to about 1 inch beyond the pan edge. Fold the edges under and crimp with your fingers or a fork to seal. Cut 4-5 small vents in the top crust to allow steam to escape during baking. Brush the top crust with egg wash and sprinkle lightly with sugar for a beautiful finish.
Place the assembled pie on a baking sheet (to catch any drips) and bake at 400°F for 20 minutes. Reduce the heat to 375°F and continue baking for 25-35 minutes until the crust is deep golden brown and you can see filling bubbling around the edges. If the crust edges brown too quickly, cover them with foil.
Remove the pie from the oven and allow it to cool on a wire rack for at least 3-4 hours before slicing. This cooling period is crucial—it allows the filling to set properly and makes slicing much cleaner. Resist the urge to slice too early; grandma always said patience is the final ingredient.
Storage and Serving Tips
Your strawberry pie is best enjoyed the day it’s made, while the crust is still at its crispiest. However, it will keep well covered in the refrigerator for up to two days. Allow slices to come to room temperature for 15-20 minutes before serving for optimal flavor. The pie can also be frozen for up to one month; wrap it tightly in plastic wrap and foil, and thaw overnight in the refrigerator before serving.
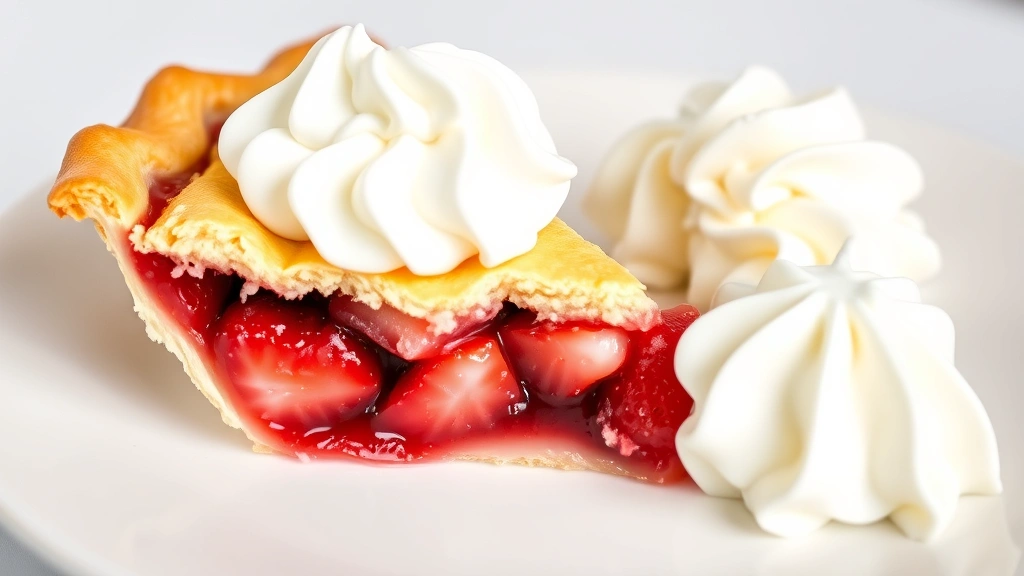
Serve your strawberry pie with a dollop of fresh whipped cream or a scoop of vanilla ice cream. The cool creaminess complements the fresh berries beautifully. You might also consider pairing it with breakfast-friendly desserts if serving at brunch, or exploring easy dinner recipes that could precede dessert service.
For those interested in making this pie part of a healthy food recipe collection, consider using honey or coconut sugar as a partial sweetener substitute, though this will slightly alter the texture. The natural vitamins and antioxidants in strawberries make this dessert more nutritious than many alternatives.
FAQ
Can I make the crust ahead of time?
Absolutely. Pie dough can be made up to three days ahead and refrigerated, or frozen for up to three months. This is actually beneficial, as the extended resting time allows the gluten to relax further, resulting in an even flakier crust. Simply thaw frozen dough in the refrigerator overnight before rolling.
What if my strawberries are very large?
Large strawberries are fine—simply cut them into appropriate sizes. Quarter very large berries for the cooked portion and slice larger fresh berries in half lengthwise. This ensures even cooking and attractive presentation.
Can I use frozen strawberries?
Fresh strawberries are strongly recommended for this recipe because frozen berries have a different texture and moisture content that can make the filling watery. If you must use frozen, thaw them completely and drain off excess liquid before using.
Why is my crust shrinking during baking?
Shrinkage typically occurs from overworking the dough or not allowing adequate resting time. Ensure you handle the dough minimally, chill it properly for at least one hour, and avoid stretching it when placing it in the pan. Let it settle naturally into the pan’s shape.
How do I prevent a soggy bottom crust?
The egg wash barrier is crucial. Additionally, bake your pie on a preheated baking sheet in the lower third of your oven, which exposes the bottom crust to direct heat. Avoid opening the oven door frequently during the first 20 minutes of baking.
Can I make a crumb topping instead of a top crust?
Yes, a buttery crumb topping works beautifully with strawberry filling. However, the traditional top crust is what grandma preferred because it seals in the filling’s moisture and creates that signature appearance.
What’s the best way to reheat leftover pie?
Gently reheat slices in a 300°F oven for 10-15 minutes, covered loosely with foil to prevent over-browning. This restores the crust’s crispness better than microwaving, which can make it tough.
Can I double this recipe?
Yes, but prepare two separate pies rather than trying to use a larger pan. The filling ratio and baking time are calculated for a standard 9-inch pie, and doubling ingredients in a larger pan can result in uneven baking and soggy crusts.


