Crispy Tempura Batter? Chef-Approved Method
Achieving that signature light, crispy tempura coating is an art form perfected over centuries in Japanese cuisine. The secret doesn’t lie in exotic ingredients but rather in understanding the science of gluten development, temperature control, and technique. A proper tempura batter creates a delicate, shattering crust that gives way to tender vegetables or seafood inside—a textural contrast that defines exceptional tempura.
Many home cooks struggle with soggy or dense tempura because they’ve never learned the fundamental principles behind the batter. Temperature, mixing method, ingredient ratios, and oil conditions all play critical roles. This guide walks you through the chef-approved approach that professional tempura specialists use, breaking down each element so you can replicate restaurant-quality results in your own kitchen.
Understanding Tempura Batter Science
The magic of tempura lies in minimizing gluten development while maximizing crispness. Traditional wheat flour contains proteins that form gluten networks when mixed with liquid. In bread-making, we want strong gluten; in tempura, we want to avoid it. This is why Japanese cooks use cake flour or low-protein flour—typically around 8-10% protein content compared to all-purpose flour’s 10-12%.
When you mix flour with ice-cold water, you create a suspension rather than a dough. The cold temperature slows gluten formation, and the lumpy batter (yes, lumps are intentional!) means less mixing overall. As the batter fries, water content rapidly evaporates, creating steam pockets that give tempura its characteristic light, airy texture. The starch granules gelatinize and absorb fat, creating crispness without greasiness.
Cornstarch or potato starch is often added to the flour base. These starches don’t develop gluten and fry up extremely crispy. The combination of wheat flour’s structure and starch’s crispiness creates the ideal balance. Some chefs add a small amount of baking powder or baking soda to create additional lift through carbonation, though traditional tempura skips this.
Understanding that tempura batter is fundamentally about creating steam and minimizing gluten will help you make better decisions throughout the process. Every step—from ingredient selection to frying temperature—serves these two goals.
Essential Ingredients and Ratios
Flour Base: Use cake flour or pastry flour as your primary dry ingredient. If unavailable, you can make a substitute by mixing all-purpose flour with cornstarch (3 parts flour to 1 part cornstarch). This reduces protein content and improves crispiness. Measure flour by weight when possible—1 cup of loosely packed cake flour equals approximately 120 grams.
Starch Addition: Add 2-3 tablespoons of cornstarch or potato starch per cup of flour. This might seem like a small amount, but it significantly impacts texture. The starch fries up exceptionally crispy and helps create that shattering quality professionals achieve.
Liquid: Ice water is non-negotiable. The cold temperature is crucial for preventing gluten development and keeping the batter cold as you work. Some chefs substitute part of the water with ice-cold sparkling water or club soda for extra lift, though this is optional. Use filtered or distilled water if your tap water is heavily chlorinated, as this can affect texture.
Binding Agent: A single egg yolk (not whole egg) helps emulsify the batter and creates a slightly richer coating. Some traditional recipes skip this, but it improves adhesion to ingredients. If you prefer vegan tempura, skip the egg and add 1 tablespoon of cornstarch instead.
Seasoning: Salt is added after frying, not to the batter, as salt draws moisture to the surface. However, a tiny pinch of salt in the batter itself (1/4 teaspoon per cup of flour) can enhance flavor without significantly impacting texture.
Basic Ratio: 1 cup cake flour + 2 tablespoons cornstarch + 1 cup ice water + 1 egg yolk + 1/4 teaspoon salt. This makes enough batter for 2-3 servings of vegetables and proteins.
Step-by-Step Batter Preparation
Step 1: Combine Dry Ingredients Sift your cake flour and cornstarch together into a medium bowl. Sifting incorporates air and removes any lumps from the flour, which helps create a lighter batter. Add your salt and mix briefly. Set aside.
Step 2: Prepare the Wet Base Pour ice water into a separate bowl. You want this as cold as possible—ideally chilled for at least 30 minutes beforehand. Separate an egg and add the yolk to the ice water. Whisk gently until combined. The water will become slightly cloudy from the yolk, which is correct.
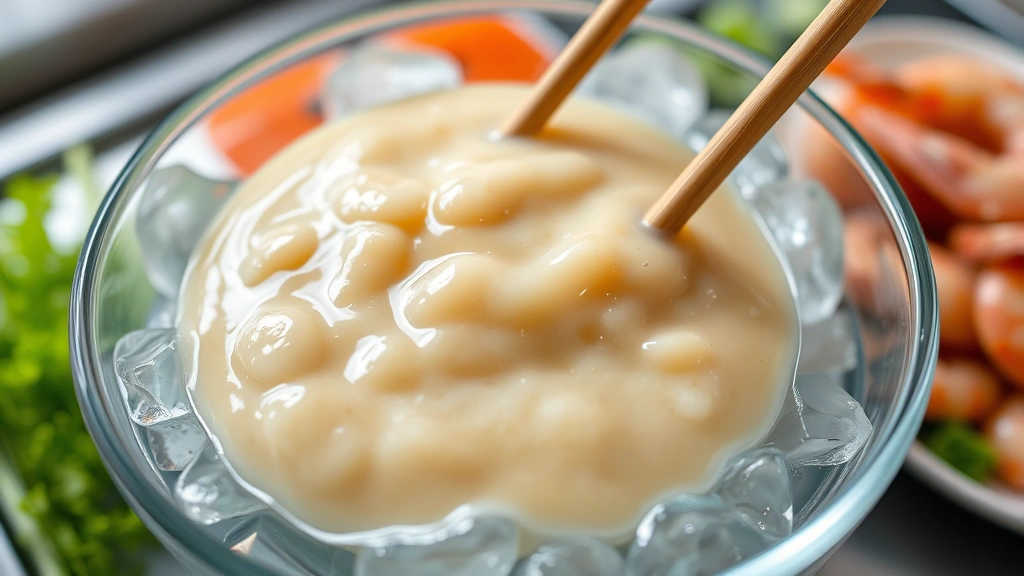
Step 3: The Critical Mix Pour the wet ingredients into the dry ingredients. Using chopsticks or a fork, mix gently and quickly—just until the dry ingredients are moistened. This should take 10-15 seconds maximum. The batter will look lumpy and incomplete, with visible flour streaks and clumps. This is exactly what you want. Do not overmix. Overmixing develops gluten and creates a dense, chewy coating instead of crispy tempura.
Step 4: Check Consistency The batter should coat the back of a spoon but still drip off readily. If it’s too thick, add ice water one tablespoon at a time. If it’s too thin, add flour by the teaspoon. The consistency should be thinner than pancake batter but thicker than milk—somewhere between heavy cream and watery yogurt.
Step 5: Keep It Cold Place the batter bowl inside a larger bowl filled with ice water. The ice bath keeps the batter cold as you work, which is essential. Cold batter creates crispier tempura. If the batter warms up, you’ll notice it becoming thicker and less crispy when fried. Replenish ice as needed.
The entire mixing process should take less than a minute. Speed is your friend here. Many home cooks ruin tempura by over-mixing, trying to create a smooth, lump-free batter. Resist this instinct. Lumps are not a flaw—they’re a feature that creates the perfect texture.
Temperature Control and Oil Selection
Oil temperature is arguably the single most important factor in tempura success. Too cool, and you get greasy, soggy coating. Too hot, and the outside burns before the inside cooks. The ideal range is 340-360°F (170-182°C), with most items cooked at 350°F (175°C).
Oil Selection: Use neutral oils with high smoke points—vegetable oil, canola oil, or peanut oil work excellently. Avoid olive oil, which has a low smoke point and imparts flavor that conflicts with tempura’s delicate taste. Professional tempura restaurants often use a blend of vegetable oil and sesame oil (about 95% vegetable, 5% sesame) for subtle flavor.
Temperature Management: Use a deep-fry or candy thermometer clipped to the side of your pot. Check temperature before adding the first batch and every few minutes during cooking. As you add ingredients, temperature drops slightly—this is normal. Wait for it to return to your target range before adding more items. If temperature rises above 360°F, remove the pot from heat for a minute.
Oil Depth: You need at least 3-4 inches of oil for proper tempura frying. Shallow oil doesn’t allow ingredients to cook evenly and makes temperature control difficult. Use a heavy-bottomed pot—cast iron works beautifully, as discussed in our guide to cooking with cast iron—to maintain consistent heat.
Oil Maintenance: Keep your oil clean by removing any batter bits with a fine-mesh strainer between batches. Burnt bits lower smoke point and create off-flavors. Oil can be reused 3-4 times if strained properly. Store in a cool, dark place and discard if it darkens significantly or develops an off-smell.
Coating and Frying Technique
Ingredient Preparation: Pat all vegetables and proteins completely dry with paper towels. Excess moisture creates splattering and prevents proper crust formation. Cut vegetables into uniform sizes—roughly 2-3 inches long for most items. Thin pieces cook too quickly; thick pieces don’t cook through. Consider your ingredient selection carefully, as discussed in our healthy food recipes guide, which includes nutritious vegetable options perfect for tempura.
Coating Technique: Working with one ingredient at a time, dip it into the batter, ensuring complete coverage. Hold it over the bowl for a second, allowing excess batter to drip off. Too much batter creates thick, doughy coating; the right amount creates a thin, crispy shell. Gently place the item into the oil, moving away from you to prevent splattering.
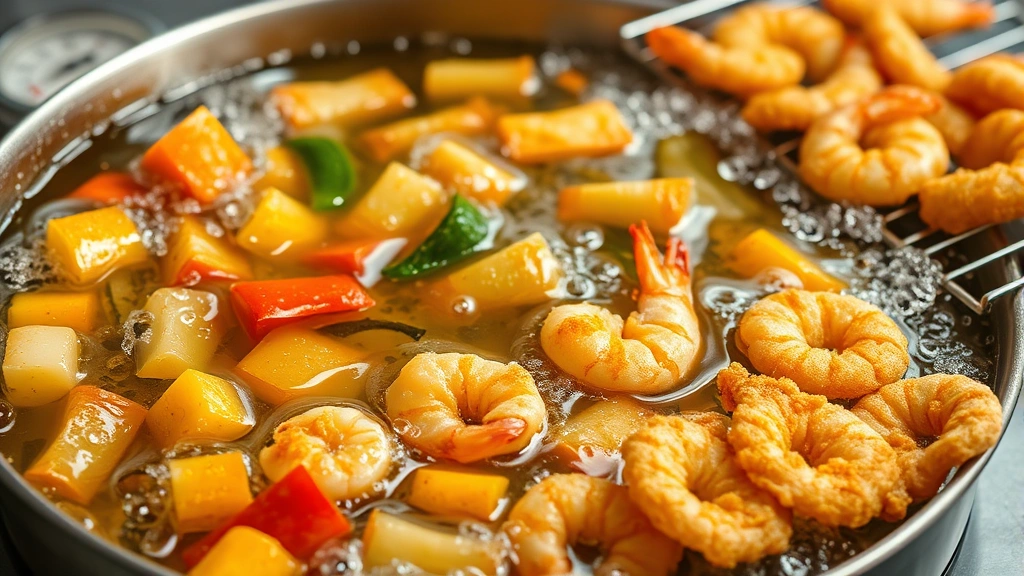
Batch Cooking: Don’t overcrowd the pot. Add only 3-5 pieces at a time, depending on pot size. Overcrowding drops oil temperature too much and causes pieces to stick together. Maintain adequate space between items so they fry evenly.
Frying Duration: Most tempura items cook in 2-4 minutes. Vegetables typically need 2-3 minutes; proteins like shrimp or fish need 3-4 minutes. You’ll know items are done when they float to the surface and develop a light golden color. Remove with a slotted spoon and drain on a wire rack set over paper towels. Never stack hot tempura on paper towels directly—steam gets trapped and makes it soggy.
Maintaining Crispiness: Tempura is best served immediately. If you must hold cooked tempura, place it on a wire rack in a 200°F (95°C) oven for no longer than 10-15 minutes. Keep the oven door slightly ajar to allow steam to escape.
Troubleshooting Common Issues
Greasy, Heavy Tempura: This usually indicates oil temperature too low. Check your thermometer and maintain 350°F throughout cooking. Also ensure you’re not overmixing the batter—lumps are good. If batter is too thick, it absorbs more oil.
Soggy Coating: Moisture is the culprit. Ensure ingredients are completely dry before coating. Drain fried tempura on a wire rack, not paper towels. Don’t stack or cover hot tempura with a lid. If holding cooked tempura, use the low oven method mentioned above.
Thick, Doughy Crust: You’re applying too much batter or the batter is too thick. The batter should be thin enough to drip from a spoon. When coating, hold the item over the bowl for a full second to allow excess to drip. Mix batter with minimal stirring—lumps indicate proper preparation.
Batter Falling Off: Ingredients weren’t dry enough, or batter was too thin. Pat everything thoroughly dry. If batter consistency is correct, this shouldn’t happen. You can also lightly dust ingredients with cornstarch before dipping—this helps batter adhere.
Uneven Cooking: Cut vegetables inconsistently, or oil temperature is fluctuating. Ensure uniform sizing and monitor temperature carefully. Don’t add too many cold ingredients at once, which drops oil temperature.
Burnt Exterior, Raw Interior: Oil temperature too high, or pieces too large. Reduce heat slightly and cut ingredients smaller. If frying thick items like large shrimp, lower temperature to 340°F and increase cooking time.
Serving and Storage
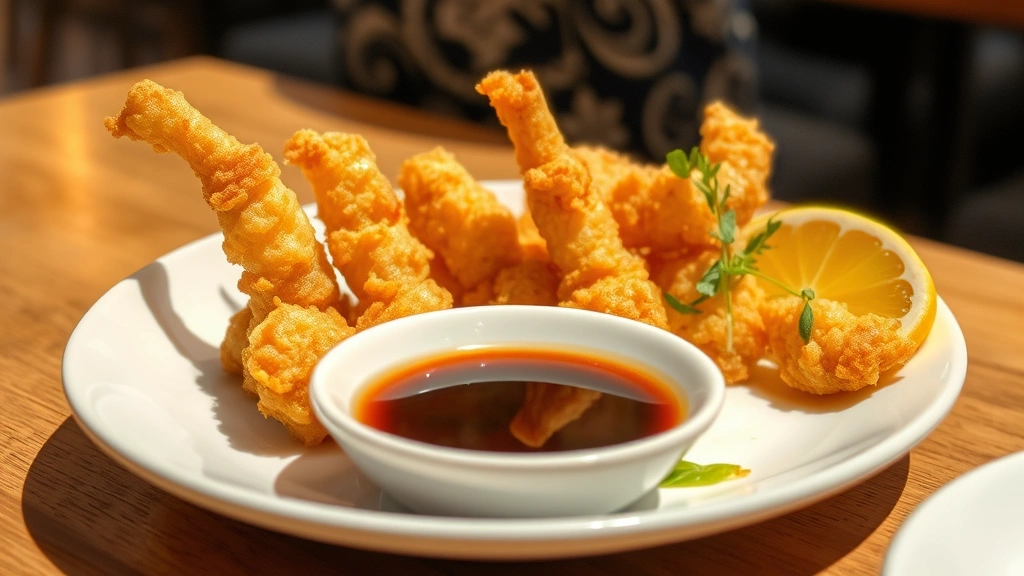
Tempura is consumed fresh, ideally within minutes of frying. Serve on a wire rack or in a shallow bowl lined with absorbent paper. Accompany with traditional dipping sauce—a simple combination of dashi (Japanese stock), mirin (sweet rice wine), and soy sauce, roughly in equal parts. Some diners prefer just salt or a squeeze of fresh lemon.
Tempura pairs beautifully with homemade dressings for lighter meals, or can be served alongside noodles as part of a complete dish. Consider complementary sides like steamed rice or quick pasta recipes for variety.
Storage: Leftover tempura doesn’t reheat well—the coating loses its crispiness. However, you can store cooked tempura in an airtight container in the refrigerator for up to 2 days. To recrisp, place on a wire rack in a 375°F (190°C) oven for 5-7 minutes. The batter will regain some crispiness, though it won’t match fresh tempura.
Uncooked batter should be used immediately and doesn’t store well. The starches begin absorbing water, and the batter becomes thick and unusable. If you must prepare ahead, make the dry ingredients and wet ingredients separately, then combine just before frying. Implementing food waste reduction tips means preparing only the batter you’ll use.
FAQ
Can I use all-purpose flour instead of cake flour?
Yes, but results won’t be quite as crispy. Mix 3 parts all-purpose flour with 1 part cornstarch to approximate cake flour’s protein content. Alternatively, add an extra tablespoon of cornstarch to your all-purpose flour to increase crispiness.
Why is my batter breaking apart in the oil?
Your oil temperature is likely too low. Batter needs high enough heat to set quickly on the outside. Maintain 350°F and ensure ingredients are completely dry. Also check that your batter consistency is correct—it should coat ingredients but still drip readily.
Can I make tempura batter ahead of time?
Not successfully. The batter must be mixed immediately before frying. However, you can prepare dry ingredients in advance and keep them in an airtight container. Mix with ice water only when ready to cook.
What’s the best oil for tempura?
Neutral oils with high smoke points work best—vegetable, canola, or peanut oil. Some professionals blend in a small amount of sesame oil for subtle flavor. Avoid olive oil and other low-smoke-point oils.
How do I know when tempura is done?
Items will float to the surface when done. Look for light golden color—not deep brown. Most tempura finishes cooking in 2-4 minutes. Remove with a slotted spoon and drain on a wire rack immediately.
Can I make vegan tempura batter?
Absolutely. Replace the egg yolk with 1 tablespoon of cornstarch. Use ice water as the liquid. The texture will be slightly less rich but still very crispy. Some vegan cooks substitute part of the water with sparkling water for extra lift.
Why do restaurants’ tempura taste better than mine?
Professional kitchens maintain precise oil temperature, use quality ingredients, and serve tempura immediately—factors that make an enormous difference. They also practice the technique constantly. Your results will improve significantly as you gain experience and attention to temperature control.


