Perfect Cut Out Sugar Cookies: Baker Approved Recipe
There’s something magical about homemade cut out sugar cookies that store-bought versions simply can’t replicate. Whether you’re decorating them for the holidays, celebrating a special occasion, or just satisfying a sweet craving, mastering the art of the perfect cut out sugar cookie recipe is a skill every home baker should develop. The key lies in understanding the balance between texture, flavor, and workability—creating a dough that’s easy to cut into beautiful shapes while maintaining that tender, buttery bite that makes these cookies irresistible.
In this comprehensive guide, we’ll walk you through everything you need to know to bake baker-approved cut out sugar cookies that will impress family and friends. From ingredient selection and mixing techniques to rolling, cutting, and decorating, you’ll discover professional tips that ensure consistent, delicious results every single time. Our recipe has been tested and refined by experienced bakers, and we’re excited to share the secrets that transform basic ingredients into show-stopping treats.
Essential Ingredients for Perfect Cut Out Sugar Cookies
The foundation of exceptional cut out sugar cookies starts with quality ingredients. Unlike some baking projects where substitutions work reasonably well, sugar cookies benefit tremendously from using the best components available. Let’s break down each ingredient and explain why it matters to your final product.
Butter: Use unsalted butter that’s been softened to room temperature. This is crucial because softened butter incorporates air more effectively during creaming, resulting in a lighter texture. Cold or melted butter won’t provide the same structure. We recommend using European-style butter with higher fat content for richer flavor, though standard American butter works perfectly fine.
Sugar: Granulated white sugar is your best choice for cut out cookies. It provides sweetness, helps create the proper texture, and allows the cookie to hold its shape during baking. Some bakers add a small amount of superfine sugar for a more delicate crumb, but this is optional.
Eggs: Use large, room-temperature eggs. The egg acts as a binder and adds moisture, helping the dough come together without requiring excessive liquid. Room-temperature eggs blend more smoothly into the butter mixture.
Vanilla Extract: Pure vanilla extract is worth the investment. It provides authentic flavor that imitation vanilla simply cannot match. You’ll taste the difference in every bite.
All-Purpose Flour: This is the workhorse of your dough. All-purpose flour provides enough gluten development to hold shapes while remaining tender. Some bakers use cake flour for extra tenderness, but this can make the dough more difficult to work with.
Baking Powder: A small amount of baking powder ensures your cookies rise slightly and remain tender rather than dense. This ingredient is non-negotiable for proper texture.
Salt: Even in sweet applications, salt enhances flavor and balances sweetness. Never skip this ingredient.
Step-by-Step Recipe Instructions
Baker-Approved Cut Out Sugar Cookie Recipe
Ingredients:
- 2 3/4 cups all-purpose flour
- 1 teaspoon baking powder
- 1/2 teaspoon salt
- 1 cup (2 sticks) unsalted butter, softened
- 1 1/2 cups granulated sugar
- 1 large egg
- 1 teaspoon pure vanilla extract
- 1/4 teaspoon almond extract (optional but recommended)
Instructions:
- Prepare Your Workspace: Before you begin mixing, preheat your oven to 350°F (175°C). Line baking sheets with parchment paper. Having everything ready prevents stress and ensures consistent baking temperatures.
- Combine Dry Ingredients: In a medium bowl, whisk together flour, baking powder, and salt. Set this mixture aside. Whisking dry ingredients separately ensures even distribution of leavening agents throughout your dough.
- Cream Butter and Sugar: In a large bowl, beat softened butter and sugar together using an electric mixer on medium speed for approximately 3-4 minutes. The mixture should become light, fluffy, and pale in color. This creaming process incorporates air into the butter, which helps create tender cookies with a delicate crumb structure. Don’t rush this step—it’s essential for texture.
- Add Egg and Vanilla: Add the egg to the creamed mixture and beat on medium speed for about 1 minute until fully incorporated. Add vanilla extract and almond extract (if using), and beat for another 30 seconds. Scrape down the sides of the bowl with a spatula to ensure everything is evenly mixed.
- Incorporate Dry Ingredients: Reduce mixer speed to low and gradually add the flour mixture to the wet ingredients. Mix until just combined—do not overmix. Overmixing develops gluten, which makes cookies tough rather than tender. The dough should come together without visible streaks of flour.
- Chill the Dough: Form the dough into a disk, wrap it in plastic wrap, and refrigerate for at least 2 hours, preferably overnight. Chilled dough is much easier to roll and cut, and it produces cookies with better definition and less spreading during baking. This step is crucial and shouldn’t be skipped.

Rolling and Cutting Techniques
Rolling out cookie dough properly is an art form that separates mediocre cookies from exceptional ones. Here’s how professional bakers approach this critical step:
Setting Up Your Station: Remove dough from the refrigerator and let it sit at room temperature for 5-10 minutes. Dough that’s too cold will crack at the edges when you try to roll it; dough that’s too warm will be sticky and difficult to work with. Find that sweet spot where the dough is pliable but still holds its shape.
Work on a clean, flat surface dusted lightly with flour. Use a silicone baking mat or parchment paper to prevent sticking. Dust your rolling pin with flour as well, but be sparing—excess flour incorporated into the dough can make cookies dry.
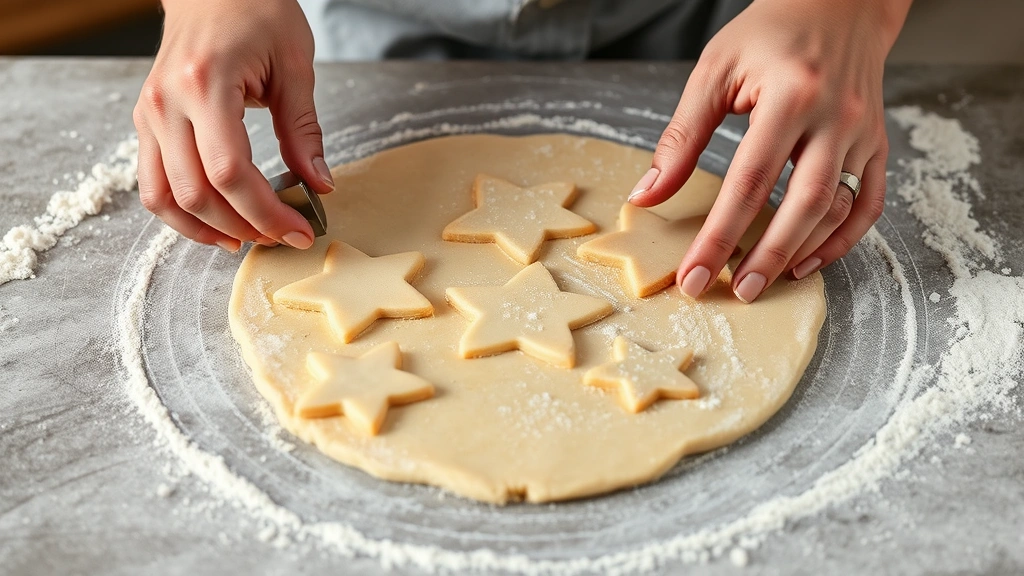
Rolling Technique: Roll dough to approximately 1/4-inch thickness. This thickness is ideal because it allows cookies to bake through completely while remaining tender. Use even pressure with your rolling pin, working from the center outward. Rotate the dough occasionally to ensure even thickness throughout.
Cutting Shapes: Use sharp cookie cutters for clean edges. Dull cutters drag through dough and create rough edges that brown differently during baking. Dip your cutter in flour between each cut to prevent sticking. Press down firmly but don’t twist—twisting can seal edges and prevent proper rising.
Transferring to Baking Sheets: Use a thin spatula to carefully transfer cut cookies to prepared baking sheets. Space them about 2 inches apart to allow for slight spreading. Work quickly so the dough doesn’t warm up too much.
Reroll Scraps: Gather dough scraps and gently press them together. Reroll once more for additional cookies. Note that cookies from rerolled dough may be slightly less tender than first-roll cookies, but they’re still delicious.
Baking Tips for Consistent Results
Baking is where precision becomes your greatest asset. Even small adjustments in temperature or time can dramatically affect your results, so paying close attention during this phase is essential.
Oven Temperature: Use an oven thermometer to verify your oven’s actual temperature. Many home ovens run hot or cold, and this variance can ruin an otherwise perfect batch. If your oven runs 25 degrees hot, your cookies will brown too quickly on the outside while remaining underbaked inside.
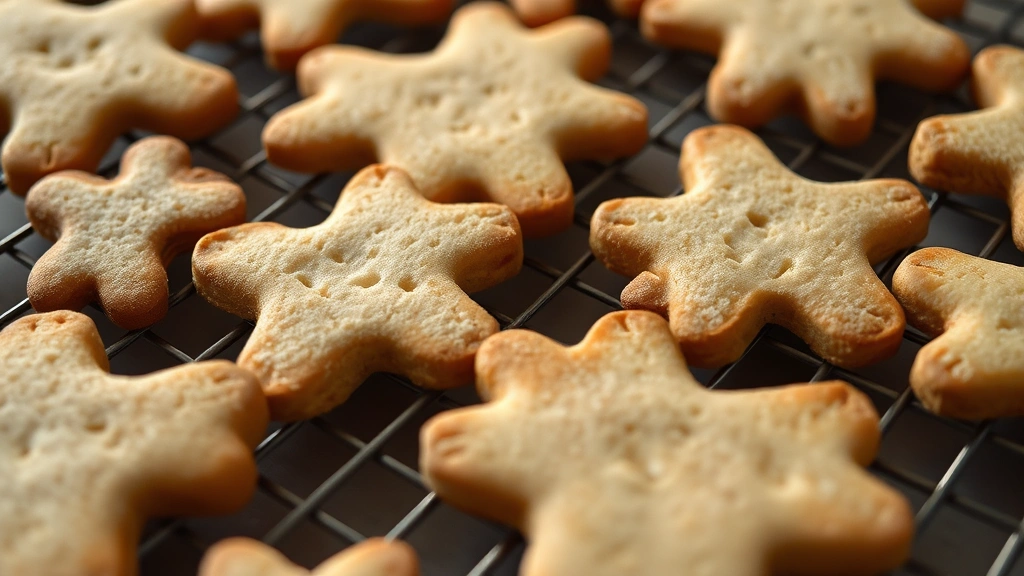
Baking Time: Bake at 350°F for 8-11 minutes, depending on cookie size. Smaller cookies bake faster; larger ones need more time. The cookies are done when the edges are just beginning to turn light golden brown, but the centers still appear slightly underbaked. This is the key to achieving that perfect tender texture—the cookies continue cooking on the hot baking sheet after removal from the oven.
Rotating Pans: If you’re baking multiple sheets simultaneously, rotate them halfway through baking. Swap the top sheet with the bottom sheet and rotate each pan 180 degrees. This ensures even browning across all cookies.
Cooling: Let cookies cool on the baking sheet for 2-3 minutes before transferring to a wire cooling rack. This allows them to set slightly so they don’t break, but not so long that they harden completely. Cool completely before decorating—warm cookies will cause royal icing or frosting to melt.
Decorating Your Sugar Cookies
Decorating is where your cut out sugar cookies truly shine and become works of edible art. Whether you prefer simple glazes or elaborate royal icing designs, proper technique matters.
Royal Icing: This is the gold standard for cookie decoration. Mix 3 egg whites (or meringue powder) with 3-4 cups powdered sugar and a small amount of water until you achieve a thick, spreadable consistency. For piping details, make it thicker; for flooding, make it thinner. Add food coloring as desired.
Simple Glaze: For a quicker option, combine 2 cups powdered sugar with 3 tablespoons milk and 1/2 teaspoon vanilla extract. This creates a smooth, glossy coating that sets beautifully.
Decorating Tips: Allow icing to dry completely between layers to prevent colors from bleeding into each other. Use piping bags with small tips for detailed work. Let decorated cookies sit uncovered for several hours or overnight to allow icing to fully harden before storing.
If you’re interested in exploring more creative dessert recipes beyond cookies, check out our guide on best healthy food recipes for nutritious sweet treats.
Storage and Shelf Life
Proper storage ensures your beautiful cookies remain fresh and delicious for as long as possible.
Short-Term Storage: Store cooled, undecorated cookies in an airtight container at room temperature for up to 5 days. Place parchment paper between layers to prevent sticking.
Decorated Cookies: Decorated cookies can be stored in airtight containers for up to 7 days, as the icing provides additional protection. Keep them in a cool, dry place away from direct sunlight.
Freezing: Baked cookies freeze beautifully for up to 3 months. Freeze undecorated cookies in airtight containers, separating layers with parchment paper. Thaw at room temperature before decorating. You can also freeze the dough for up to 3 months—simply thaw in the refrigerator overnight before rolling and baking.
For more baking inspiration and techniques, explore our collection of easy dinner recipes for beginners which includes simple sweet treat options.
FAQ
Why did my cookies spread too much during baking?
Excessive spreading typically indicates one of these issues: dough wasn’t chilled long enough, oven temperature was too low, or too much sugar was used. Always chill dough for at least 2 hours and verify your oven temperature with a thermometer.
Can I use salted butter instead of unsalted?
While you technically can, unsalted butter gives you better control over salt levels. If using salted butter, reduce the salt in the recipe by half.
What’s the difference between almond extract and vanilla extract?
Almond extract has a more intense, distinctive flavor than vanilla. Adding 1/4 teaspoon almond extract along with vanilla creates a more complex, bakery-quality flavor profile. However, vanilla alone works perfectly fine.
How do I get perfectly uniform cookie thickness?
Use a pastry mat with thickness guides or invest in an adjustable rolling pin that limits thickness. These tools ensure consistent results, which is especially important when baking multiple batches.
Can I make these cookies without eggs?
Eggs provide structure and binding, so substituting them is tricky. You can try using 1/4 cup unsweetened applesauce plus 1 tablespoon cornstarch per egg, but results may vary. The texture will be slightly different.
Why are my cookies cakey instead of tender?
Overbaking is the most common cause. Remove cookies when edges are golden but centers still look slightly underbaked. Additionally, ensure you’re not overmixing the dough, which develops gluten and creates a tougher texture.
How do I prevent my cookies from getting hard?
Store cookies in airtight containers away from air exposure. Adding a slice of bread to the container helps maintain moisture. If cookies do harden, place them in a sealed container with a piece of bread overnight to soften.
For additional baking and cooking guidance, explore external resources like King Arthur Baking Company, a trusted source for professional baking techniques and recipes. You might also enjoy learning about The Kitchn, which offers comprehensive cooking and baking advice from professional chefs.
Mastering the cut out sugar cookie recipe opens doors to countless creative possibilities. Whether you’re baking for holidays, celebrations, or simply to enjoy homemade treats, these baker-approved techniques ensure success every single time. The combination of quality ingredients, proper technique, and attention to detail transforms simple components into cookies that taste as beautiful as they look. Start with this reliable recipe, practice your rolling and decorating skills, and soon you’ll be creating impressive cookies that rival anything from a professional bakery.


