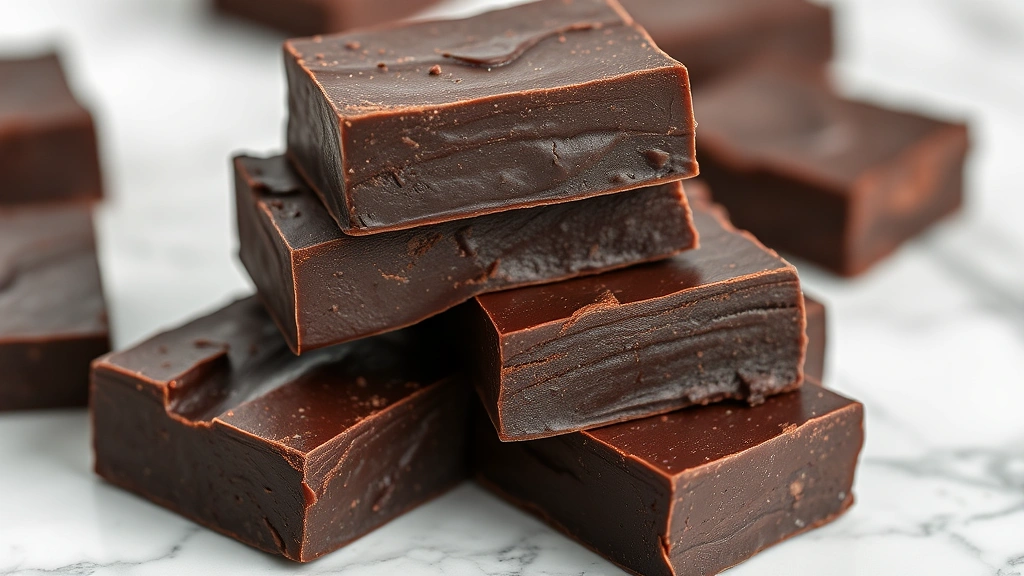
Fantasy Fudge is a beloved no-cook candy that has graced holiday tables and dessert platters for generations. This creamy, decadent treat combines just a handful of ingredients to create something magical—hence the name. My grandmother’s version has been perfected over decades, and today I’m sharing her closely guarded secrets that transform ordinary fudge into an extraordinary confection that keeps people coming back for more.
What makes Fantasy Fudge so special isn’t just the taste; it’s the simplicity of the process combined with professional-looking results. Whether you’re a seasoned candy maker or attempting your first batch of homemade fudge, this recipe delivers consistent, foolproof success. The beauty lies in understanding the foundational techniques and knowing exactly when to stop stirring—a detail that separates mediocre fudge from show-stopping pieces.
This guide will walk you through every step, from ingredient selection to storage tips, ensuring your Fantasy Fudge turns out perfectly every single time. You’ll discover why my grandmother swore by certain brands and techniques, and how small adjustments can elevate your candy-making game considerably.
What is Fantasy Fudge?
Fantasy Fudge is a classic American confection that requires no cooking on the stovetop, making it accessible to candy makers of all skill levels. The traditional recipe relies on a simple combination of sweetened condensed milk, butter, cocoa powder, and powdered sugar to create a smooth, dense candy with a melt-in-your-mouth texture. Unlike traditional fudge that demands precise temperature control and constant monitoring with a candy thermometer, Fantasy Fudge eliminates that stress entirely.
The name “Fantasy” perfectly captures the almost magical transformation that occurs when you combine these basic pantry staples. What begins as separate ingredients becomes a unified, luxurious confection through mixing and patience. This recipe has been passed down through countless families, each generation adding their own twist while respecting the core formula that makes it work.
The appeal of Fantasy Fudge extends beyond its ease of preparation. It’s economical, requiring inexpensive ingredients you likely already have at home. It’s also perfect for gift-giving, as it looks professionally made despite the minimal effort required. Many people who try homemade fudge for the first time choose this recipe because it removes the intimidation factor while delivering impressive results.
Essential Ingredients Breakdown
Understanding each ingredient’s role is crucial for mastering Fantasy Fudge. Let’s examine what makes this recipe work:
- Sweetened Condensed Milk: This ingredient is the foundation of Fantasy Fudge. It provides creaminess, sweetness, and the right consistency without requiring cooking. One 14-ounce can is standard, though some recipes use slightly less for firmer fudge. The milk solids create that signature smooth texture.
- Butter: Quality butter adds richness and helps achieve the proper consistency. Use unsalted butter so you control the salt level. My grandmother always used cold butter straight from the refrigerator, which helped the mixture set faster.
- Unsweetened Cocoa Powder: Dutch-process cocoa provides deeper chocolate flavor and darker color, though natural cocoa works too. The quality of your cocoa powder directly impacts the final taste, so invest in a good brand.
- Powdered Sugar: This provides structure and additional sweetness. Sifting it before adding prevents lumps that can ruin the texture. Some recipes call for up to four cups, depending on desired firmness.
- Vanilla Extract: A teaspoon of pure vanilla enhances the chocolate flavor without making the fudge taste like vanilla. Never skip this ingredient.
- Salt: Just a pinch balances sweetness and enhances chocolate flavor. Sea salt or kosher salt works perfectly.
The ratio of these ingredients is what my grandmother perfected over years of experimentation. Too much powdered sugar creates grainy fudge; too little leaves it too soft. The perfect balance creates fudge that’s firm enough to cut into pieces yet melts beautifully on your tongue.
If you’re interested in making other no-cook treats, check out our guide on easy dinner recipes for beginners, which includes simple candy and dessert techniques. You might also explore our best healthy food recipes to see how you can adapt this fudge with alternative ingredients.
Grandma’s Secret Tips for Perfect Fudge
My grandmother kept detailed notes about what worked and what didn’t, and I’ve compiled her most valuable insights here:
Use Room Temperature Ingredients: This might seem counterintuitive, but room temperature ingredients mix more smoothly together. Cold butter can create small chunks that don’t fully incorporate. Remove butter from the refrigerator 30 minutes before starting.
Sift Everything Twice: Grandma would sift her powdered sugar and cocoa powder separately, then together. This aerates the dry ingredients and prevents lumps that create grainy fudge. This single step transformed her results dramatically.
Don’t Over-Mix: This is perhaps the most critical secret. Mix until ingredients are just combined—about 2-3 minutes total. Over-mixing incorporates too much air and creates a grainy texture. Grandma would stir in one direction using a wooden spoon, counting her strokes.
Line Your Pan Properly: Grandma always used parchment paper, not wax paper, because it doesn’t stick to fudge. She’d butter the parchment lightly to prevent any slipping during pressing. This makes removal and cutting infinitely easier.
Press Firmly and Evenly: Use an offset spatula or the bottom of a measuring cup to press the fudge into an even layer. Uneven thickness means uneven setting and pieces of different textures. Grandma would spend a full minute ensuring perfect evenness.
Refrigerate Properly: Don’t just toss it in the fridge and forget it. Grandma would refrigerate for exactly 2-3 hours at consistent temperature. Too long and it becomes too hard; too short and it won’t set properly for cutting.
Use a Sharp Knife: A hot, sharp knife creates clean cuts without dragging or crumbling. Grandma kept her knife in hot water between cuts, wiping it clean each time. This detail shows in the professional appearance of the finished pieces.
Step-by-Step Instructions
Ingredients:
- 1 (14-ounce) can sweetened condensed milk
- ½ cup unsalted butter, room temperature
- ⅔ cup unsweetened cocoa powder, sifted
- 3-4 cups powdered sugar, sifted
- 1 teaspoon pure vanilla extract
- ¼ teaspoon sea salt
Instructions:
- Prepare Your Workspace: Line an 8×8-inch baking pan with parchment paper, leaving slight overhang on two sides for easy removal. Lightly butter the parchment. Gather all ingredients and have them measured and ready before beginning.
- Combine Wet Ingredients: In a large mixing bowl, combine the room-temperature butter and sweetened condensed milk. Stir together until mostly combined. The mixture will look slightly separated initially—this is normal.
- Add Cocoa and Vanilla: Sift the cocoa powder directly into the mixture. Add vanilla extract and salt. Stir gently but thoroughly, ensuring no cocoa streaks remain. Take your time here to avoid incorporating excess air.
- Incorporate Powdered Sugar Gradually: Add powdered sugar one cup at a time, stirring well after each addition. Start with three cups, then add the fourth cup gradually, stopping when the mixture reaches a consistency similar to thick cookie dough. You may not need all four cups.
- Final Mixing: Once all ingredients are incorporated, stir for exactly one more minute. This ensures everything is evenly distributed without over-mixing. The mixture should be thick enough to hold its shape but still spreadable.
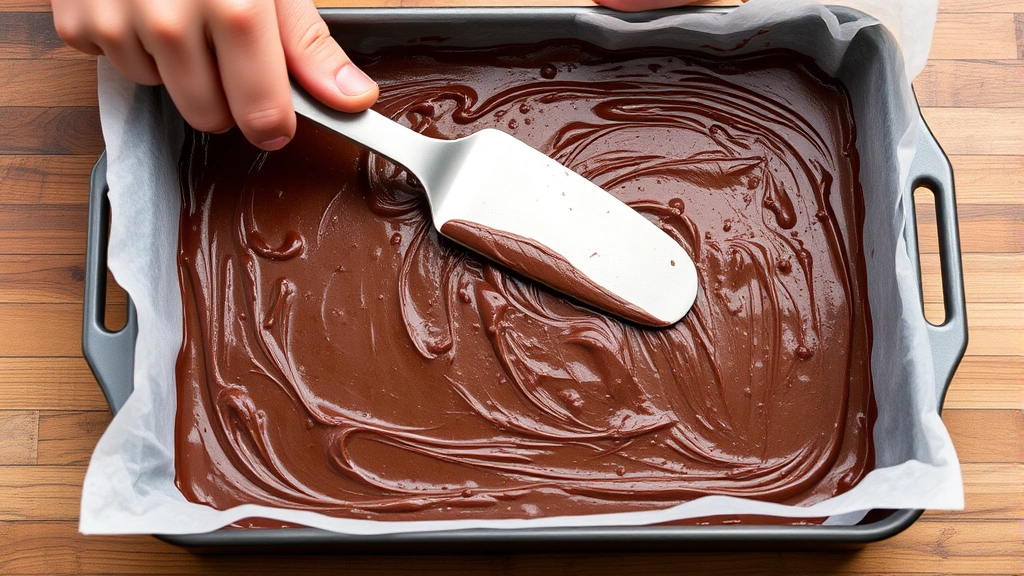
- Transfer and Press: Pour the fudge mixture into your prepared pan. Using an offset spatula or the bottom of a measuring cup, press firmly and evenly into the pan, creating an even layer about ½-inch thick.
- Refrigerate: Cover the pan with plastic wrap and refrigerate for 2-3 hours until completely firm. The fudge should feel solid to the touch and not give when you press gently.
- Cut and Serve: Remove the fudge from the refrigerator and let it sit at room temperature for 5 minutes. Using a sharp knife warmed in hot water, cut into 1-inch squares. Wipe the knife clean between each cut.
- Store Properly: Place fudge pieces in an airtight container with parchment paper between layers. Store at room temperature or in the refrigerator depending on your preference and climate.
Troubleshooting Common Problems
Grainy or Sandy Texture: This usually indicates over-mixing or inadequate sifting of dry ingredients. Ensure you’re sifting both cocoa and powdered sugar before adding them. Mix only until combined, not longer. If this happens, you can sometimes salvage the batch by gently reheating over low heat with a tablespoon of milk and starting fresh.
Fudge Too Soft: If your finished fudge doesn’t hold its shape, you likely used too much condensed milk or too little powdered sugar. Next time, reduce the condensed milk by a tablespoon or increase powdered sugar by ½ cup. You can also refrigerate longer, up to 4 hours.
Fudge Too Hard: Hard, crumbly fudge means too much powdered sugar or insufficient butter. Add powdered sugar more gradually next time, and ensure your butter is truly room temperature. If this happens, crumble the batch and mix with a tablespoon of softened butter to create fudge crumbs for another use.
Oily Separation: This occurs when ingredients aren’t at similar temperatures or when over-mixing incorporates too much air. Ensure all ingredients are room temperature before starting. Mix minimally and in one direction only.
Difficult to Cut: If your knife is dragging or creating crumbles, it’s not hot enough. Keep a cup of hot water nearby and dip your knife frequently, wiping it clean between cuts. A serrated knife sometimes works better than a straight-edged knife for stubborn batches.
Storage and Shelf Life
Proper storage ensures your Fantasy Fudge maintains optimal texture and flavor for weeks. Room temperature storage works well in cool climates, keeping fudge in an airtight container away from direct sunlight and heat sources. In warm or humid environments, refrigeration is preferable. Fudge stored in the refrigerator maintains better texture and can last 3-4 weeks.
For longer storage, freeze fudge pieces in an airtight freezer container for up to three months. Layer pieces with parchment paper to prevent sticking. Thaw at room temperature for 15-20 minutes before serving. The texture remains virtually unchanged after freezing.
Avoid storing fudge near strong-smelling foods, as chocolate readily absorbs odors. Keep it away from direct heat and sunlight, which can cause bloom (white coating) or soften the fudge prematurely. A cool, dark cupboard or the refrigerator provides ideal conditions.
Creative Variations
Once you’ve mastered the basic Fantasy Fudge recipe, experiment with these variations that grandma and I have developed:
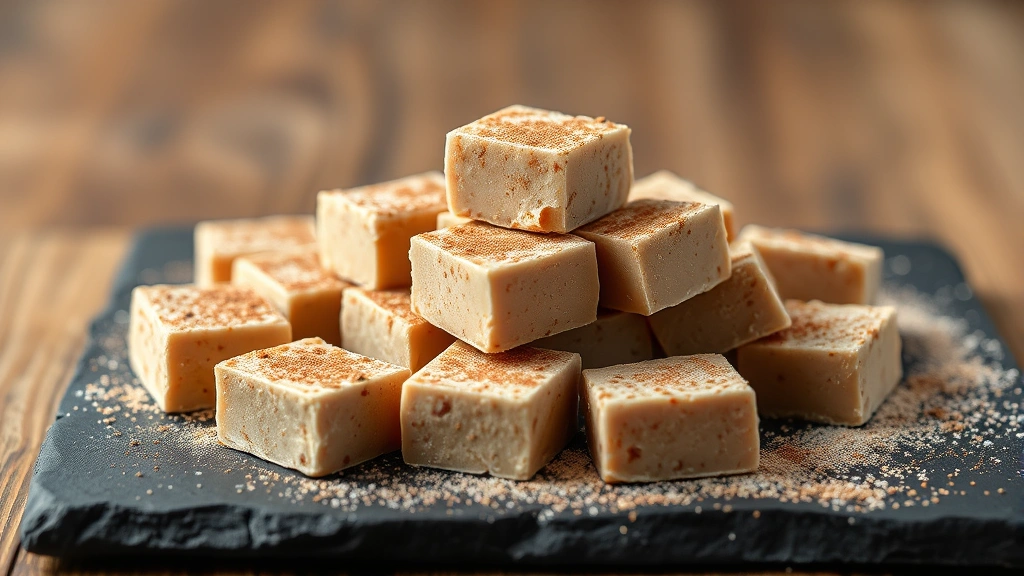
Peanut Butter Fantasy Fudge: Replace ½ cup of powdered sugar with ½ cup creamy peanut butter. This creates a marbled effect and adds rich peanut flavor. Mix the peanut butter with butter before adding other ingredients.
Salted Caramel Fudge: Reduce cocoa powder to ½ cup and add ½ cup caramel sauce. Sprinkle fleur de sel on top before refrigerating. This combination provides sweet, salty, and buttery notes.
Mint Chocolate Fudge: Add ¼ teaspoon pure peppermint extract along with vanilla. For visual appeal, add a few drops of green food coloring. The mint flavor should be subtle, not overpowering.
Espresso-Enhanced Fudge: Dissolve two teaspoons instant espresso powder in the condensed milk before mixing. This deepens chocolate flavor without making the fudge taste like coffee.
Nutty Fudge: Stir in ½ cup finely chopped toasted pecans or walnuts after combining all ingredients. The nuts add texture and sophisticated flavor.
For more inspiration on candy and dessert making, visit the Fresh Plated Daily Blog for additional recipes and techniques. You might also explore Serious Eats for in-depth food science explanations about candy crystallization and texture development.
FAQ
Can I Make Fantasy Fudge Without Sweetened Condensed Milk?
Not with the same results. Sweetened condensed milk provides the specific texture and creaminess that makes Fantasy Fudge distinctive. Alternatives like evaporated milk or regular milk won’t work because they lack the necessary sweetness and solids. If you need a substitute, try making traditional cooked fudge instead.
Why Is My Fudge Separating?
Separation usually indicates temperature inconsistency or over-mixing. Ensure all ingredients are at room temperature before starting. Mix slowly and deliberately in one direction only. If separation occurs, you can sometimes fix it by gently warming the mixture and re-mixing, though prevention is easier than correction.
How Long Does Fantasy Fudge Last?
When stored properly in an airtight container, Fantasy Fudge lasts 2-3 weeks at room temperature in cool climates, 3-4 weeks refrigerated, or up to three months frozen. Always check for signs of mold or unusual odors before consuming.
Can I Double This Recipe?
Yes, doubling works well if you have a large enough mixing bowl and pan. Use a 9×13-inch pan and mix thoroughly but carefully. The most important thing is not to over-mix, which becomes easier to do accidentally with larger batches. Consider making two separate batches if you’re inexperienced.
What’s the Best Knife for Cutting Fudge?
A long, sharp chef’s knife works best, though serrated knives sometimes perform better with stubborn batches. Keep the knife hot by dipping it in hot water frequently, and wipe it clean between cuts. This prevents dragging and creates clean, professional-looking pieces.
Is Fantasy Fudge Better Than Cooked Fudge?
They’re different rather than better or worse. Fantasy Fudge is easier, more forgiving, and requires no special equipment. Traditional cooked fudge offers more control over texture through temperature manipulation. Grandma made both depending on her mood and available time.
Can I Use Cocoa Nibs Instead of Cocoa Powder?
No, cocoa nibs are whole pieces and won’t create the smooth texture Fantasy Fudge requires. Cocoa powder is essential for the proper consistency and flavor distribution.
Should I Use Salted or Unsalted Butter?
Always use unsalted butter so you control the salt level. The ¼ teaspoon of sea salt added separately provides the right amount of salt to enhance flavor without making the fudge taste salty.
Why Does My Fudge Taste Waxy?
This typically means the cocoa powder is old or of poor quality. Cocoa powder loses potency over time. Also, ensure you’re using unsweetened cocoa powder, not hot cocoa mix, which contains sugar and other ingredients.
Can Fantasy Fudge Be Made Vegan?
Yes, with substitutions. Use coconut cream instead of sweetened condensed milk, and vegan butter instead of regular butter. The texture will be slightly different but still delicious. You may need to adjust the powdered sugar amount slightly.


