
Banana Bread Muffins: Grandma’s Favorite Recipe
There’s something magical about the aroma of banana bread baking in the oven—it fills your home with warmth and nostalgia. But what if you could capture that same beloved flavor in a convenient, portable muffin form? Banana bread muffins are the perfect answer for busy mornings, lunch box additions, or afternoon treats. This recipe has been passed down through generations, and today we’re sharing grandma’s cherished version that combines soft, tender crumb with rich banana flavor and just the right amount of sweetness.
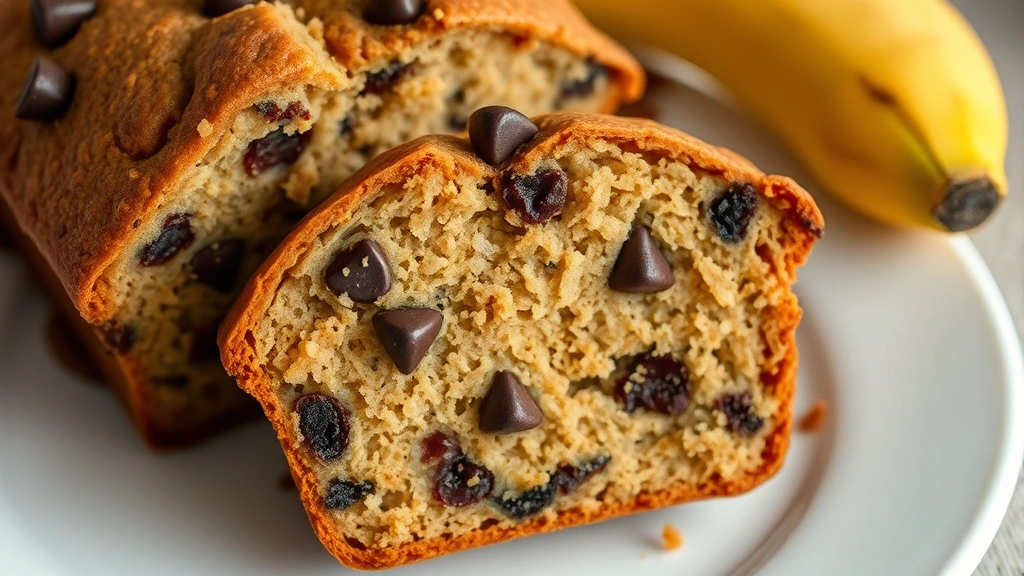
These banana bread muffins are incredibly versatile. You can enjoy them plain, studded with chocolate chips, or mixed with walnuts for extra crunch. They’re also a wonderful way to use up those overripe bananas sitting on your counter—in fact, the riper the bananas, the better the muffins will taste. Unlike traditional banana bread that requires a loaf pan and extended baking time, these muffins bake faster and are perfect for feeding a crowd or meal prepping for the week ahead.
Whether you’re a seasoned baker or just starting your culinary journey, this straightforward recipe delivers impressive results every time. The secret lies in simple techniques and quality ingredients, all of which we’ll explore in detail throughout this guide.
Ingredients You’ll Need
The beauty of banana bread muffins lies in their simplicity. You likely have most of these ingredients in your kitchen right now. Here’s everything you’ll need to create grandma’s famous batch:
- 3 ripe bananas (about 1 cup mashed)
- 1/2 cup unsalted butter, softened to room temperature
- 3/4 cup granulated sugar
- 1 large egg
- 1 teaspoon vanilla extract
- 1 3/4 cups all-purpose flour
- 1 teaspoon baking soda
- 1/4 teaspoon salt
- 1/4 teaspoon ground cinnamon (optional but recommended)
- 1/4 cup sour cream or plain Greek yogurt
- 1/2 cup chocolate chips or chopped walnuts (optional)
When selecting bananas, choose ones with brown speckles on the skin—these are perfectly ripe and contain maximum sweetness and flavor. If your bananas are still slightly green, place them in a paper bag for a day or two to accelerate ripening. For an even more intense banana flavor, you can refrigerate them for several days; the peel will darken significantly while the fruit inside becomes sweeter.
Essential Equipment
You don’t need fancy gadgets to make these muffins, but having the right tools makes the process smoother and more enjoyable:
- Muffin tin (standard 12-cup size)
- Muffin liners (paper or silicone)
- Mixing bowls (two—one for wet ingredients, one for dry)
- Measuring cups and spoons
- Whisk or electric mixer
- Spatula or wooden spoon
- Fork or potato masher (for mashing bananas)
- Toothpick or skewer (for testing doneness)
If you’re interested in exploring different baking methods, consider learning about cooking with cast iron, which can be used for specialty muffin baking projects. Additionally, understanding organic versus non-organic ingredients can help you make informed choices about your baking staples.
Step-by-Step Instructions
Now for the moment you’ve been waiting for—the actual baking process. Follow these detailed steps to create bakery-quality banana bread muffins right in your own kitchen:
Preparation (5 minutes)
- Preheat your oven to 350°F (175°C). This ensures even baking and prevents the bottoms from cooking too quickly.
- Prepare your muffin tin by inserting paper liners or lightly greasing each cup with butter or cooking spray. This prevents sticking and makes cleanup effortless.
- Peel and mash your bananas in a small bowl. You want them mostly smooth with just a few small lumps remaining—this creates better texture in the final muffins.
Wet Ingredients (3 minutes)
- Combine softened butter and sugar in a large mixing bowl. Using an electric mixer on medium speed, beat for 2-3 minutes until the mixture becomes light, fluffy, and pale yellow. This aerates the batter and creates a tender crumb structure.
- Add the egg and vanilla extract. Mix on medium speed for about 1 minute until fully incorporated. Scrape down the sides of the bowl to ensure everything is evenly combined.
- Fold in the mashed bananas and sour cream using a spatula. Gently combine until just mixed—don’t overstir, as this can develop gluten and make the muffins tough.
Dry Ingredients (2 minutes)
- In a separate bowl, whisk together the flour, baking soda, salt, and cinnamon. Whisking combines these dry ingredients evenly throughout, ensuring consistent rising and flavor distribution.
- Make a well in the center of the dry ingredients and pour in the wet mixture.
- Gently fold together until just combined. The batter should look slightly lumpy—this is perfect. Overmixing develops gluten, resulting in dense, tough muffins instead of tender, fluffy ones.
- Fold in chocolate chips or nuts if using. Reserve a few to sprinkle on top of each muffin for visual appeal.
Baking (25-30 minutes)
- Divide the batter evenly among the muffin cups, filling each about two-thirds full. This allows room for the muffins to rise without overflowing.
- Bake for 25-30 minutes until a toothpick inserted into the center of a muffin comes out clean or with just a few moist crumbs. The tops should be golden brown.
- Remove from the oven and let cool in the pan for 10 minutes. This allows the structure to set properly.
- Transfer to a wire rack to cool completely. This prevents condensation from making the bottoms soggy.
Pro Tips for Perfect Muffins
Grandma didn’t just follow recipes—she understood the science behind them. Here are her time-tested tips for achieving muffin perfection:
Temperature Matters
Room temperature ingredients combine more smoothly and create a more uniform batter. Remove butter and eggs from the refrigerator 30 minutes before baking. Cold ingredients can create lumps and uneven mixing, which affects the final texture.
Don’t Overmix
This cannot be overstated. Overmixing develops gluten, which creates tough, rubbery muffins instead of the tender, crumbly texture we’re after. Mix just until the flour disappears into the wet ingredients. A few small lumps in the batter are absolutely fine and actually desirable.
Use Overripe Bananas
The browner the banana skin, the sweeter and more flavorful the fruit inside. Very ripe bananas also mash more easily and blend better into the batter. If your bananas aren’t quite ripe enough, place them in a warm spot or even in the oven (turned off) for a few hours to speed up ripening.
Sour Cream is Essential
Don’t skip this ingredient or substitute it with milk. Sour cream adds moisture, tanginess that enhances banana flavor, and creates a wonderfully tender crumb. Greek yogurt works as a substitute if needed, but regular sour cream is ideal.
Fill Muffin Cups Evenly
Use an ice cream scoop or measuring spoon to distribute batter evenly. This ensures all muffins bake in approximately the same time and achieve similar doneness.
Don’t Open the Oven Door
Resist the urge to peek during the first 20 minutes of baking. Opening the door causes temperature fluctuations that can prevent proper rising. After 20 minutes, you can safely check progress.
Test for Doneness Correctly
Insert a toothpick into the center of a muffin, not into a chocolate chip. A toothpick that hits a chip will appear wet even if the muffin is done. The toothpick should come out clean or with just a few moist crumbs—not wet batter.
Delicious Variations
Once you’ve mastered the basic recipe, experiment with these grandma-approved variations:
Classic Chocolate Chip Version
Add 1/2 cup semi-sweet or dark chocolate chips to the batter. For extra indulgence, sprinkle additional chips on top before baking. The chocolate melts slightly during baking, creating pockets of richness throughout each muffin.
Nutty Banana Muffins
Substitute chopped walnuts or pecans for chocolate chips. Toast the nuts first in a dry skillet for 2-3 minutes to enhance their flavor. You can also add 1/2 teaspoon of nutmeg along with the cinnamon for warmth and depth.
Healthier Version
Replace half the all-purpose flour with whole wheat flour or oat flour. You may need to add an extra tablespoon of sour cream since whole grain flours absorb more moisture. This version pairs well with healthy crockpot recipes for complete meal planning.
Tropical Twist
Add 1/2 cup shredded coconut and 1/4 cup chopped macadamia nuts. Include 1/2 teaspoon of coconut extract along with the vanilla. This variation transports you straight to the tropics with every bite.
Cream Cheese Swirl
Divide the batter between muffin cups, then add a dollop of softened cream cheese mixed with a little sugar to each cup. Swirl gently with a toothpick. The cream cheese creates pockets of tanginess that beautifully complement the sweet banana.

Storage and Make-Ahead Ideas
One of the best things about banana bread muffins is their longevity. Grandma always made extra batches to enjoy throughout the week:
Room Temperature Storage
Store cooled muffins in an airtight container at room temperature for up to 3 days. Place a paper towel on the bottom of the container to absorb any excess moisture. This keeps them fresh and prevents staleness.
Refrigerator Storage
For extended freshness, store muffins in an airtight container in the refrigerator for up to 5 days. Bring them to room temperature or microwave for 15-20 seconds before eating to restore softness.
Freezer Storage
Banana bread muffins freeze beautifully for up to 3 months. Wrap cooled muffins individually in plastic wrap, then place them in a freezer-safe bag. Label with the date for easy reference. Thaw at room temperature for 1-2 hours, or microwave from frozen for 30-45 seconds.
Make-Ahead Strategy
You can prepare the batter the night before and refrigerate it in a covered bowl. In the morning, simply fill your muffin tin and bake as directed. The batter may take an extra 2-3 minutes to bake if it’s still cold. This strategy helps reduce food waste by ensuring you use bananas at peak ripeness.
Freezing Unbaked Batter
Fill muffin liners with batter and freeze on a baking sheet until solid. Transfer frozen muffins to a freezer bag and store for up to 2 months. Bake from frozen, adding 5-7 minutes to the baking time.
Pairing Ideas
Serve your banana bread muffins alongside your favorite breakfast or dessert recipes. They pair wonderfully with coffee, tea, or milk. For evening entertainment, enjoy them with tom yum soup for an interesting contrast of flavors at potluck gatherings, or incorporate them into meal planning alongside easy chicken casserole recipes for complete menu development.
FAQ
Can I use frozen bananas for this recipe?
Absolutely! Frozen bananas work wonderfully in muffins. Thaw them completely and drain any excess liquid before mashing. Frozen bananas are often sweeter than fresh ones, so you might reduce the sugar by a tablespoon or two if desired.
What if I don’t have sour cream?
Plain Greek yogurt is an excellent substitute in equal amounts. You can also make a quick substitute by mixing 1/4 cup milk with 1/2 teaspoon of lemon juice or white vinegar—let it sit for 5 minutes before using. Applesauce also works, though it will slightly alter the flavor profile.
Why are my muffins dense and heavy?
Dense muffins typically result from overmixing the batter. Mix only until the flour is incorporated—lumps are fine. Also ensure your baking soda is fresh (it loses potency over time) and that you’re measuring flour correctly by spooning it into the measuring cup rather than scooping directly from the bag.
Can I make these in a loaf pan instead?
Yes, this recipe works as traditional banana bread. Pour batter into a greased 9×5-inch loaf pan and bake at 350°F for 55-65 minutes until a toothpick inserted in the center comes out clean. The muffin version bakes faster because of the smaller size.
How do I prevent muffin tops from browning too quickly?
If the tops are browning too fast while the insides are still underbaked, tent the muffin tin loosely with aluminum foil for the last 10-15 minutes of baking. This shields the tops from direct heat while allowing the centers to finish cooking.
Can I use oil instead of butter?
Yes, you can substitute oil for butter in equal amounts. Coconut oil, vegetable oil, or canola oil all work well. Oil creates a slightly more tender muffin but less flavor than butter. For best results, use 1/2 cup of neutral-flavored oil.
Are these muffins dairy-free?
The basic recipe contains butter and sour cream, so it’s not dairy-free. However, you can make a dairy-free version by substituting dairy-free butter and coconut milk mixed with lemon juice (1/4 cup coconut milk plus 1/2 teaspoon lemon juice) for the sour cream.
How many muffins does this recipe make?
This recipe yields approximately 12 standard-sized muffins. If you’re using a mini muffin tin, you’ll get 24-30 mini muffins. Reduce baking time to 12-15 minutes for mini muffins.
Can I double this recipe?
Absolutely! Simply double all ingredients. You’ll need two muffin tins and may need to bake them on separate racks or in batches. Baking time should remain approximately the same, though check for doneness starting at 25 minutes.
What’s the best way to reheat leftover muffins?
Microwave individual muffins for 15-20 seconds for a warm, soft texture. For multiple muffins, wrap them in foil and warm in a 300°F oven for 10-15 minutes. This method reheats them evenly without drying them out.


