Create Your Own Recipe Book: A Complete DIY Guide
A blank recipe book is more than just empty pages—it’s a canvas for your culinary journey, a repository of family traditions, and a personalized kitchen companion that no published cookbook can replicate. Whether you’re an experienced home cook looking to preserve your signature dishes or a beginner documenting your first successful meals, creating your own recipe book transforms scattered notes and loose recipe clippings into an organized, beautiful collection you’ll treasure for years.
This comprehensive guide walks you through every step of designing, organizing, and filling a custom recipe book that reflects your cooking style, dietary preferences, and kitchen adventures. From selecting materials to formatting recipes effectively, you’ll discover practical techniques that professional food writers and home cooks use to build functional, heirloom-quality recipe collections.
Choosing the Right Materials for Your Recipe Book
The foundation of any quality blank recipe book starts with selecting appropriate materials that will withstand kitchen use, spills, and frequent handling. Your choice of paper, binding, and cover significantly impacts both the functionality and longevity of your finished book.
Paper Quality Matters
Select paper that’s thick enough to prevent ink bleed-through, especially if you’ll be using markers, watercolors, or food photography. Cardstock or specialty paper (90-110 lb weight) works beautifully for recipe pages. Avoid thin copy paper that becomes fragile after repeated use and spills. Consider paper with a slight texture—it’s more forgiving of kitchen mishaps and adds a professional feel to your finished book. Cream or off-white paper is easier on the eyes during extended reading than bright white, and it photographs better when documenting your recipes.
Cover Materials
Choose durable cover stock that protects your recipes from kitchen splashes and wear. Hardcover options provide maximum protection if you plan to keep your book at arm’s reach while cooking. Soft covers are lighter and more flexible for storage. Laminated covers offer excellent water resistance—a practical choice for an active kitchen recipe book. Consider cover materials that complement your kitchen aesthetic: linen, burlap, kraft paper, or decorative cardboard all create different visual impacts.
Interior Organization Supplies
Invest in divider tabs or cardstock separators in different colors to mark major sections. These help you quickly locate recipe categories while cooking. Acid-free materials ensure your pages won’t yellow over time, preserving your collection for future generations. If you’re binding your book yourself, quality binding supplies—whether spiral binding, comb binding, or traditional stitching—determine how well pages stay secure through years of use.
Planning Your Layout and Organization System
Before writing your first recipe, establish a consistent layout system that works for your cooking style and kitchen workflow. A well-planned layout makes your recipe book intuitive to navigate, even when you’re in the middle of meal preparation with wet hands.
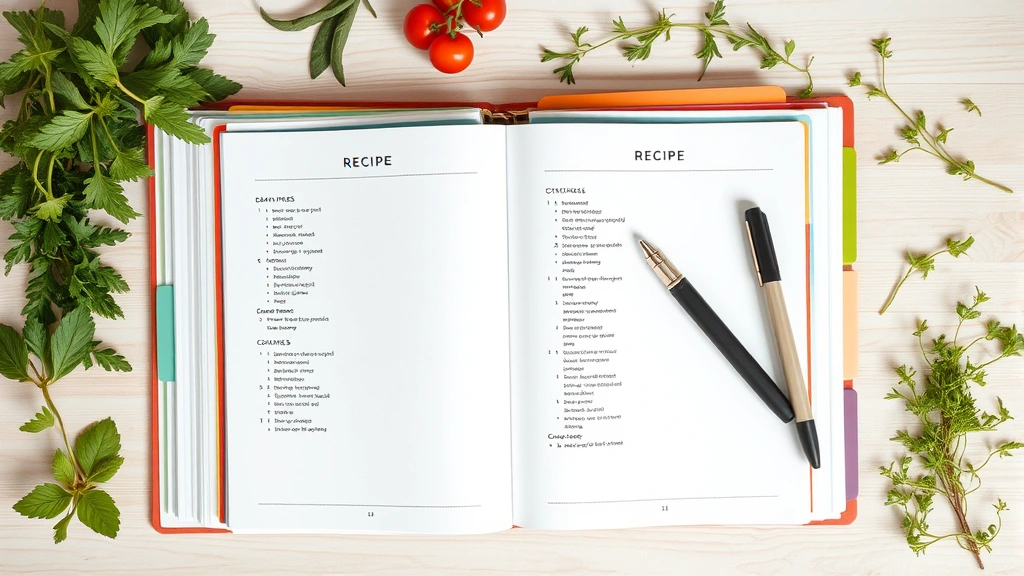
Standard Recipe Page Format
Create a template that includes these essential elements in a consistent order: recipe title, prep time, cook time, servings, ingredients list with measurements, step-by-step instructions, notes section, and space for variations. This standardization helps you quickly locate information without hunting through inconsistently formatted pages. Leave adequate white space—cramped pages are difficult to read under kitchen lighting and harder to write notes in later.
Margin and Spacing Considerations
Allow at least one-inch margins on all sides to prevent text from running too close to binding or edges. This space also provides room for handwritten notes, cooking tips, or ingredient substitutions you discover while preparing recipes. Generous line spacing between ingredients and instructions improves readability, especially important when you’re scanning recipes quickly while cooking.
Index and Navigation System
Designate the first few pages for a comprehensive index organized alphabetically by recipe name. This becomes invaluable when you can’t remember which section contains your favorite soup recipe. Consider creating a secondary index organized by main ingredients—helpful when you have fresh zucchini and want to find all recipes featuring it. Page numbers throughout your book make indexing practical and easy to maintain as you add recipes.
Formatting Recipes for Easy Reading
Clear recipe formatting directly impacts your success in the kitchen. Professional food publications use specific formatting conventions that improve readability and reduce cooking errors.
Ingredient List Best Practices
List ingredients in the exact order they appear in instructions. Include precise measurements in both metric and imperial units if you use both systems. Group related ingredients together—for example, all dry ingredients or all spices—making it easier to gather supplies before starting. Include brand preferences if certain products significantly impact results. When adapting recipes from other sources, you might reference guides like Serious Eats to understand ingredient choices and substitutions.
Instruction Formatting
Break instructions into numbered steps, with each step containing one primary action. This prevents confusion and helps you track progress. Be specific about temperatures, times, and visual cues (“until golden brown” rather than vague “cook until done”). Include important warnings about high heat, sharp tools, or allergens at the beginning of instructions. When creating homemade sauces, precise instructions become especially important since sauce consistency depends on exact technique and timing.
Recipe Metadata
Always include prep time, active cook time, and total time—people need this information to plan meals. Note yield in servings and suggested portion sizes. Include difficulty level (easy, moderate, advanced) to help you select appropriate recipes based on your schedule and skill level. Storage instructions and shelf life information prevent food waste and ensure food safety.
Creating Effective Recipe Categories
Organize your blank recipe book with categories that match your cooking patterns and lifestyle. The best organization system is one you’ll actually use.
Traditional Category Structure
Classic cookbook organization includes: Appetizers & Starters, Soups, Salads, Breads, Main Courses (sometimes subdivided by protein), Side Dishes, Sauces & Condiments, Desserts, and Beverages. This structure works well if you cook across all meal types. When you’re making white sauce recipe variations, having a dedicated sauce section helps you quickly find similar recipes and compare techniques.
Dietary and Lifestyle Categories
Modern cooks often organize by dietary approach: Vegetarian, Vegan, Gluten-Free, Keto, Mediterranean, or Quick Weeknight Meals. This system prioritizes your actual cooking needs over traditional categories. You might include sections for specific cuisines you regularly prepare: Italian, Asian, Mexican, Indian. If you have family members with different dietary needs, separate sections ensure quick access to suitable recipes.
Seasonal Organization
Some cooks prefer organizing by season, highlighting recipes that feature peak-season ingredients. Spring recipes emphasize fresh greens and vegetables, summer features grilling and fresh produce, fall celebrates harvest vegetables and comfort food, and winter includes warming stews and hearty meals. This approach connects you to ingredient seasonality and local food sources.
Occasion-Based Categories
Group recipes by how you’ll use them: Weeknight Dinners (30 minutes or less), Weekend Projects (more time-intensive), Entertaining (impressive presentation), Lunch Ideas, Breakfast Dishes, and Snacks. This system directly reflects your real cooking life and helps you quickly find appropriate recipes for specific situations.
Personalizing Your Pages with Notes and Photos
Your personal recipe book becomes truly special when you add documentation of your cooking journey, family stories, and visual records of your creations.
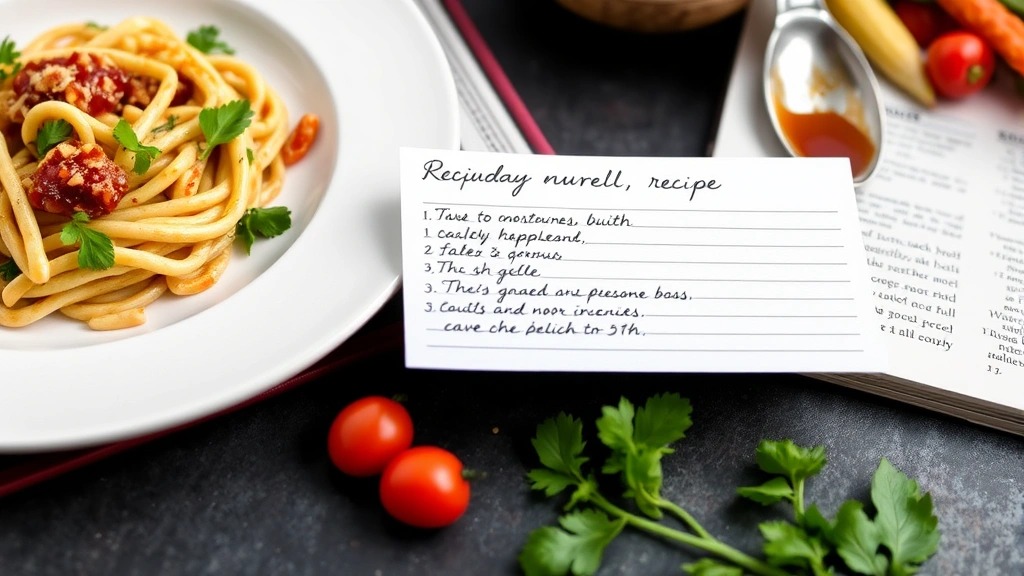
Handwritten Notes and Modifications
Leave space on each recipe page for your cooking notes. Document successful modifications you’ve made—maybe you reduced salt, added extra garlic, or substituted creme fraiche recipe for sour cream. Record the occasions you’ve served each dish and who enjoyed it. Note which ingredients were hard to find or expensive, and suggest substitutes. These personal annotations transform published recipes into your own tested, reliable versions.
Family Recipe Documentation
Include recipes passed down through your family, even if they’re vague or lack precise measurements. Interview family members about the stories behind recipes—why your grandmother made her famous casserole, what occasions featured particular dishes, any family traditions surrounding food. These narratives add depth and meaning to your recipe collection. Add old family photos near relevant recipes, creating visual connections to your culinary heritage.
Food Photography
Photograph your finished dishes using natural lighting and simple backgrounds. Professional-looking food photos aren’t required—genuine kitchen photography showing the actual dish you prepared is more meaningful and useful than perfect magazine-style images. Include photos of plating variations, showing how the same recipe can look different with various presentations. Before and after photos (raw ingredients versus finished dish) help future cooks visualize the transformation.
Binding and Assembly Methods
The binding method you choose affects your recipe book’s durability, flexibility, and ease of adding new recipes.
Spiral and Comb Binding
Spiral binding allows pages to lay completely flat—ideal for kitchen use since your book won’t snap shut while you’re referencing it. Comb binding offers similar advantages with a more professional appearance. Both systems make adding or rearranging pages straightforward. You can purchase spiral and comb binding supplies at office supply stores, along with tools to open and close the binding. These methods work beautifully for recipe books you plan to expand over time.
Saddle Stitch Binding
Traditional saddle stitching (stapling through the fold) creates a neat, booklet-style appearance. This method works well for smaller recipe collections (under 80 pages) and is simple to execute at home. The disadvantage is difficulty adding pages later without rebinding the entire book. Saddle-stitched books have a charming, handmade quality perfect for gifts.
Perfect Binding
Professional perfect binding (like commercial paperback books) glues pages together at the spine, creating a durable, attractive book. This requires special equipment, making it impractical for home binding. However, many print-on-demand services offer perfect binding for custom recipe books, providing a polished final product without the DIY effort.
Stitched Binding
Traditional hand-stitching through the spine creates an elegant, heirloom-quality book that opens flat and accommodates page additions. This method requires learning basic bookbinding techniques but produces beautiful results. Stitched binding is ideal if you’re creating a special recipe book as a meaningful gift or family heirloom.
Maintaining and Updating Your Recipe Book
Your recipe book is a living document that evolves with your cooking interests and skills. Establish maintenance practices that keep it organized and functional.
Adding New Recipes
Develop a system for incorporating new recipes without disrupting your organization. If using spiral or comb binding, simply insert new pages in appropriate sections. For other binding methods, you might maintain a “New Recipes” section at the back, then rebind periodically to integrate them into proper categories. Some cooks maintain a digital backup or spreadsheet tracking new additions, making it easier to reorganize sections when the book becomes full.
Protecting Your Book
Laminate frequently-used pages or cover them with clear plastic sleeves. These protect against splashes and stains while keeping pages readable. Keep your recipe book on a bookstand or holder rather than laying it flat on counters where it’s vulnerable to spills. Consider keeping a backup copy of your favorite recipes—either digitally or as a photocopy—protecting against loss if your original book is damaged.
Seasonal Updates
Review your recipe book seasonally, noting which recipes you actually cooked and which remain untouched. This helps you identify gaps in your collection and remove recipes that don’t match your current cooking style. Add new seasonal recipes and update your index. This annual maintenance keeps your book aligned with your evolving culinary interests. When experimenting with seasonal ingredients, recipes like blackened seasoning recipe and chicken noodle casserole recipe offer adaptable frameworks for various ingredients.
Digital Backup System
Photograph or scan your completed recipe book pages, storing them digitally. This backup protects your collection and makes recipes accessible on phones or tablets while shopping or meal planning. Use recipe management apps or cloud storage to maintain searchable digital versions alongside your physical book. Some cooks maintain both systems, using digital recipes for quick reference and the physical book for actual cooking.
FAQ
What size should my blank recipe book be?
Standard cookbook size (8.5″ x 11″ or 6″ x 9″) works well for most home cooks. Larger books accommodate more detailed notes and photos but take up counter space. Smaller books are portable and fit kitchen shelves easily. Consider your kitchen storage space and whether you prefer a book that lies flat or stands upright. Many cooks prefer 8.5″ x 11″ because standard recipe card and photo sizes fit easily on pages.
How many pages should I include in my blank recipe book?
Start with 50-100 pages, allowing room for approximately 30-50 recipes depending on your formatting style. This size is manageable for a first recipe book without overwhelming you. You can always create a second volume or rebind with additional pages as your collection grows. Consider that each recipe might span 1-3 pages depending on complexity and whether you include photos.
Should I type or handwrite recipes?
Both approaches work beautifully. Typed recipes appear professional and are easy to read, especially important for complex recipes or if you have handwriting that’s difficult to decipher. Handwritten recipes add personal charm and character, creating an heirloom quality. Many cooks use a hybrid approach: typed recipes with handwritten notes, modifications, and personal annotations. Choose based on your preference and the book’s intended purpose.
Can I include recipes from published cookbooks?
Yes, you can transcribe published recipes for personal use. Rewrite recipes in your own words, add your own notes and modifications, and include proper attribution to the original source. This creates a personalized collection of your favorite recipes from various sources. Consider adding your own photos and cooking notes that make the recipes distinctly yours. Many cooks maintain a “cookbook index” page noting which published books inspired their recipes.
How do I prevent stains and damage to my recipe book?
Use laminating sheets or clear plastic sleeves to protect frequently-used pages. Keep your book on a stand or holder rather than on the counter. Wipe your hands before handling your book. Consider keeping your book away from the most active cooking area if you frequently splash or splatter. Store it in a dry location away from direct heat sources. Some cooks maintain a “working copy” of frequently-used recipes in the kitchen while keeping their best copy in a dining room bookshelf.
What’s the best way to organize recipes if I cook multiple cuisines?
Create main sections by cuisine (Italian, Asian, Mexican) with subsections by course (appetizers, mains, desserts). Alternatively, organize by course with cuisine noted in recipe titles and a secondary cuisine index. Choose whichever approach matches your cooking patterns. If you prepare mostly Italian food with occasional Asian cooking, cuisine-first organization makes sense. If you cook diverse cuisines regularly, course-first organization helps you plan complete meals.
Should I include measurements in both metric and imperial units?
Including both systems makes your recipes accessible to international cooks and those comfortable with either measurement type. If space is limited, list primary measurements in the system you use most, with conversions noted. Many recipes include rough conversions (like 1 cup ≈ 240ml) rather than exact conversions, which is adequate for cooking. Consider your intended audience—if sharing your recipe book with friends from different countries, dual measurements are thoughtful.
Can I digitize my recipe book after creating it?
Absolutely. Photograph or scan completed pages, organizing them in recipe management apps or cloud storage. Digital versions make recipes searchable and accessible on your phone while shopping or cooking. Many cooks maintain both physical and digital versions, using the physical book for actual cooking and the digital version for planning and reference. Ensure your digital backup is stored securely and regularly updated as you add new recipes.
What if I want to gift my recipe book to someone?
Create a special edition with your most beloved recipes, adding personal notes about why each recipe is meaningful. Include family history and stories alongside recipes. Add beautiful photos and decorative elements. Consider having it professionally bound or creating an especially beautiful handmade version. Include an inscription or dedication page. Homemade recipe books make extraordinarily meaningful gifts, especially for weddings, housewarming, or family members learning to cook. The personal effort and thought far exceeds commercial cookbook value.
Creating your own recipe book is a rewarding project that results in a uniquely personalized kitchen resource. Whether you’re preserving family traditions, documenting your cooking adventures, or organizing your favorite recipes, a blank recipe book becomes a cherished companion in your culinary journey. Start with quality materials, establish consistent formatting, and fill your pages with recipes that matter to you. Your custom recipe book will become more valuable over time, filled with the memories and flavors that define your cooking life. For additional inspiration on recipe development and cooking techniques, explore resources like The Culinary Institute of America and Bon Appétit Magazine for professional approaches to recipe documentation and food writing.


