
Best Fried Apples? Grandma’s Secret Recipe for Perfect Crispy-Tender Results
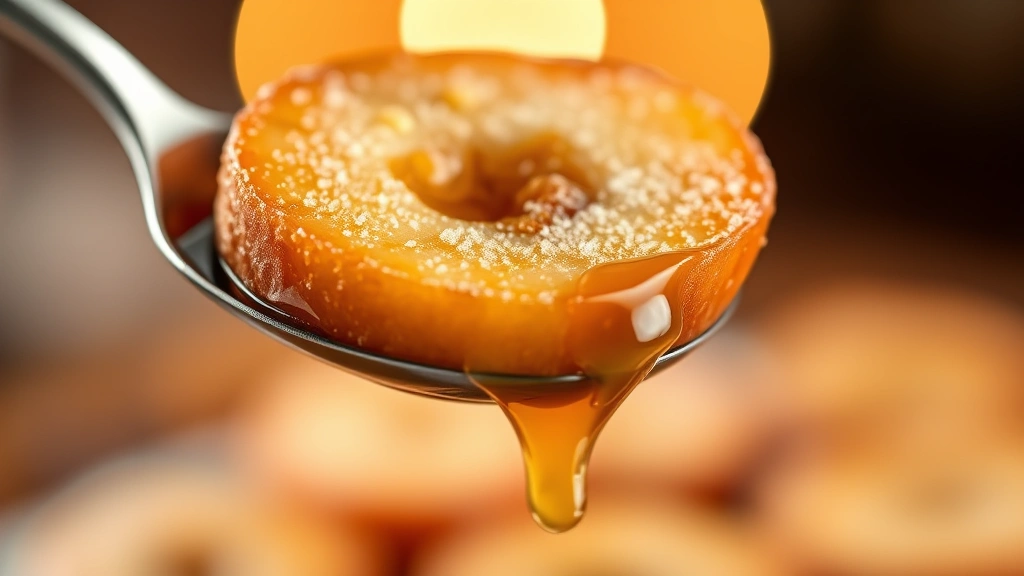
There’s something magical about fried apples that takes us straight back to childhood—that perfect moment when a warm, caramelized apple slice melts on your tongue with just the right balance of crispness and tenderness. This cherished dessert has graced Southern dinner tables for generations, and today we’re unlocking the secrets that make Grandma’s version absolutely irresistible. Whether you’re seeking a simple weeknight treat or an impressive dessert to serve guests, mastering the art of fried apples will become one of your most treasured cooking skills.
The beauty of this classic recipe lies in its elegant simplicity—just a handful of pantry staples transform humble apples into something extraordinary. But don’t let the straightforward ingredient list fool you; there are professional techniques and timing considerations that separate mediocre fried apples from the truly spectacular ones that earn compliments every single time. In this comprehensive guide, we’ll walk you through every step, share insider tips from experienced home cooks, and explore the science behind why this recipe works so beautifully.
Why Fried Apples Are the Ultimate Comfort Dessert
Fried apples occupy a special place in American culinary tradition, particularly in Southern and Appalachian cuisine where they’ve been prepared for centuries. This dessert represents more than just food—it’s edible nostalgia, a connection to generations of family cooks who perfected this technique through countless repetitions. The appeal is universal: the natural sweetness of apples intensifies when concentrated by heat, while the exterior develops a delicate golden crust that provides textural contrast to the soft, spiced interior.
From a practical standpoint, fried apples are remarkably forgiving. Unlike finicky desserts that require precise measurements and perfect timing, this recipe thrives on intuition and slight variations. The cooking process is quick—typically 15-20 minutes from start to finish—making it perfect for spontaneous dessert cravings. Nutritionally, while not a health food in the traditional sense, fried apples retain many of the beneficial properties of fresh apples, particularly if you use varieties high in fiber and antioxidants. When paired thoughtfully with complementary sides, they create a well-rounded dessert experience that satisfies both sweet cravings and comfort food desires.
Selecting the Perfect Apples for Frying
The foundation of exceptional fried apples begins with choosing the right variety. Not all apples are created equal when it comes to frying; you need varieties that hold their shape during cooking while offering good flavor complexity. Granny Smith apples are the traditional choice, prized for their tartness and firm texture that resists turning into mush. Their natural acidity provides essential balance to the sweet caramelization that occurs during frying.
However, Grandma’s secret often involves mixing apple varieties for depth of flavor. Combine Granny Smiths with Honeycrisp, Braeburn, or Pink Lady apples to create layers of taste—tart, sweet, and slightly floral notes that work together beautifully. Avoid Red Delicious apples, which become mealy and lose their structural integrity during cooking. Similarly, Gala and Fuji apples, while delicious fresh, break down too quickly for this application.
When selecting apples, choose medium-sized fruits that are firm to the touch with unblemished skin. Older apples that have been stored longer often develop better flavor complexity than freshly picked ones, as their sugars become more concentrated. Plan to use your apples within a few days of purchase for optimal results. If you must store them, keep them in the refrigerator’s crisper drawer, where they’ll maintain their texture for up to two weeks.
Essential Ingredients and Equipment
Ingredients (serves 4-6):
- 4-5 medium apples (mix of varieties recommended)
- 3 tablespoons unsalted butter
- ¼ cup brown sugar (packed)
- 2 tablespoons granulated sugar
- ½ teaspoon ground cinnamon
- ¼ teaspoon nutmeg
- Pinch of salt
- 1 tablespoon vanilla extract
- Optional: ¼ teaspoon allspice or cloves for extra warmth
Equipment you’ll need:
- Large cast-iron skillet (10-12 inches preferred)
- Sharp chef’s knife or apple slicer
- Vegetable peeler (optional but recommended)
- Wooden spoon or silicone spatula
- Measuring spoons and cups
- Cutting board
Cast iron is genuinely superior for this recipe—the material distributes heat evenly and develops a natural non-stick patina that prevents sticking. If you don’t own cast iron, a heavy-bottomed stainless steel skillet works adequately, though you may need slightly more butter to prevent sticking.
Step-by-Step Preparation Guide
Prep work is crucial—the better organized you are before cooking begins, the smoother your cooking experience will be. Start by washing your apples thoroughly under cool running water, rubbing them gently to remove any residue. Pat them completely dry with a clean kitchen towel; excess moisture prevents proper browning and caramelization.
Peeling your apples: This is where personal preference comes in. Traditional fried apples recipes typically include the peel, which provides fiber and visual appeal. However, some cooks prefer peeling for a smoother texture. If you choose to peel, use a vegetable peeler in downward strokes, rotating the apple as you work. A sharp peeler makes this task quick and minimizes waste. To prevent browning, work quickly and consider tossing peeled apples with a squeeze of fresh lemon juice.
Coring and slicing: Using a sharp chef’s knife, cut each apple in half lengthwise, then slice each half into quarter-inch thick slices. This thickness is intentional—it’s thin enough to cook through quickly but thick enough to maintain structural integrity. If your apple is particularly large, you might cut it into six pieces instead. Remove seeds and any tough core pieces as you work. Aim for uniform thickness so all pieces cook at the same rate, preventing some from becoming mushy while others remain undercooked.
Mixing your spice blend: In a small bowl, combine brown sugar, granulated sugar, cinnamon, nutmeg, salt, and any optional spices. Mix thoroughly with a fork, breaking up any brown sugar clumps. This ensures the spices distribute evenly throughout your apples rather than settling at the bottom of the skillet. If you prefer a more intensely spiced version, you can increase cinnamon to three-quarters teaspoon, though this is a matter of personal taste.
The Perfect Frying Technique
This is where the magic happens. Heat your cast-iron skillet over medium-high heat for about two minutes. You want the pan hot but not smoking—if it’s too cool, apples will release their moisture and steam rather than caramelize; too hot, and they’ll brown before cooking through. The perfect temperature is around 350-375°F if using a thermometer, but experienced cooks judge this by the behavior of the butter.
Add your butter and let it melt completely, tilting the pan to coat the bottom evenly. You should see it foam slightly and smell that nutty, toasted aroma—this indicates the butter is at optimal temperature. If the butter browns too quickly, reduce your heat slightly; if it just sits there passively, increase the heat and wait another 30 seconds.
Add apple slices carefully in a single layer, working in batches if necessary rather than overcrowding the pan. The apples should sizzle immediately upon contact with the butter—that sound is your confirmation that the temperature is correct. Don’t move them immediately; let them sit undisturbed for 2-3 minutes to develop that gorgeous golden-brown exterior through the Maillard reaction, the chemical process that creates complex flavors and appealing color.
Turn and continue cooking: Using a wooden spoon or silicone spatula, gently flip each apple slice and cook for another 2-3 minutes on the second side. While they cook, sprinkle half your spice mixture over the apples. The heat will help release the essential oils from the spices, intensifying their flavor. This is not the time to rush; patience here yields superior results.
Final cooking phase: When most apples show deep golden-brown coloring on both sides, sprinkle the remaining spice mixture and add your vanilla extract. Give everything a gentle toss to combine, cooking for an additional 1-2 minutes until the vanilla is incorporated and the kitchen smells absolutely divine. The apples should be tender when pierced with a fork but still hold their shape—they should never be mushy or falling apart.
Flavor Variations and Enhancements
While the classic recipe is perfection itself, Grandma’s secret often involved subtle tweaks that made her version distinctly hers. Consider these professional enhancements:
Bourbon or rum addition: Substitute one tablespoon of vanilla extract with bourbon or dark rum, added at the very end of cooking. The heat will slightly reduce the alcohol content while infusing the apples with sophisticated warmth. This elevates the dessert for adult gatherings and pairs beautifully with vanilla homemade ice cream.
Caramel drizzle: Prepare a simple caramel by melting two tablespoons of butter with three tablespoons of brown sugar over low heat, stirring constantly until smooth. Drizzle this over finished fried apples just before serving for extra richness and visual appeal.
Citrus zest: Add one-quarter teaspoon of lemon zest or orange zest to your spice mixture. The citrus brightness cuts through the richness and adds a sophisticated note that elevates the entire dish.
Maple syrup integration: Reduce brown sugar by one tablespoon and add one tablespoon of pure maple syrup to your butter before adding apples. This creates subtle maple notes that complement the spices beautifully.
Nutty additions: Toast one-quarter cup of chopped pecans or walnuts in the dry skillet before adding butter, then proceed with the recipe. The nuts add textural contrast and earthy depth.
Serving Suggestions and Pairings
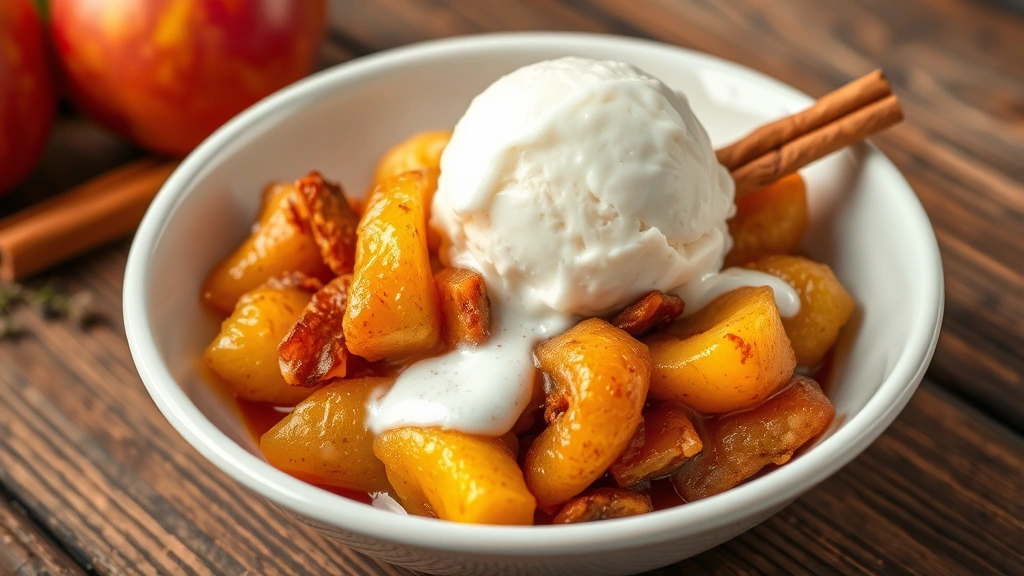
The versatility of fried apples is one of their greatest assets. As a standalone dessert, serve warm in small bowls with a spoon, allowing guests to enjoy the apples and their caramelized juices together. The warm apples will continue to release their juices for several minutes after cooking, creating a delicious sauce.
With ice cream: This is the classic pairing, and for good reason. Serve warm fried apples over a scoop of vanilla ice cream, allowing the cold cream to contrast with warm fruit. For something more adventurous, try Ninja Creami recipes using apple-based frozen bases.
Breakfast application: Fried apples make an excellent addition to morning meals. Serve alongside pancakes, waffles, or oatmeal, where they function as both topping and flavor enhancer. The natural sweetness reduces the need for additional syrup.
Cheese pairings: Sharp cheddar or aged gouda complement fried apples beautifully. Serve a small portion of fried apples alongside a cheese board for unexpected sophistication.
Baked goods: Layer fried apples between layers of pound cake or shortbread for an impromptu dessert. The apples’ moisture keeps everything tender while their flavor shines through.
Yogurt parfaits: Layer cooled fried apples with Greek yogurt and granola for a dessert that feels indulgent but includes nutritional benefits. This works particularly well for brunch settings.
Storage and Make-Ahead Tips
Fried apples can be prepared in advance, making them perfect for entertaining or busy weeknights. Store cooled fried apples in an airtight container in the refrigerator for up to four days. The flavors actually deepen slightly during storage as the spices continue to infuse the apples and their juices.
Reheating: Gently warm fried apples in a skillet over low heat with a splash of water or apple juice, stirring occasionally until heated through. Alternatively, microwave in a covered bowl for 1-2 minutes, stirring halfway through. Avoid high heat, which can cause the apples to break down further.
Freezing: While fried apples freeze adequately, their texture becomes slightly softer upon thawing. If you must freeze them, use within two months and thaw overnight in the refrigerator before reheating. They’re better suited for using in smoothies or baked goods after freezing than for serving as a standalone dessert.
Make-ahead strategy: Peel and slice your apples up to two hours before cooking, storing them in a sealed container in the refrigerator. Prepare your spice blend several hours in advance. This allows you to complete the actual cooking in just 15-20 minutes when ready to serve.
Batch cooking: This recipe doubles or triples easily. Work in batches to maintain proper temperature and avoid overcrowding. Having extra fried apples on hand means you can quickly assemble elegant desserts throughout the week, making it easy to pair with homemade preparations or preserved ingredients from your kitchen.
FAQ
What’s the best way to prevent apples from turning brown while prepping?
The primary cause of browning is oxidation when apple flesh is exposed to air. If you must prep apples more than 15 minutes before cooking, toss them lightly with fresh lemon juice or place them in a container with a damp paper towel. The citric acid in lemon juice slows oxidation significantly. Some cooks use a commercial anti-browning product, though this is generally unnecessary for such a short prep time.
Can I use green apples exclusively instead of mixing varieties?
Absolutely. Granny Smith apples work beautifully on their own, offering consistent tartness and firm texture. The mixing recommendation is for those seeking more complex flavor profiles, but single-variety fried apples are authentic and delicious. If using only tart apples, you might increase brown sugar by one tablespoon for additional sweetness.
Why do my fried apples turn out mushy?
Mushiness typically results from one of three issues: overcrowding the pan (which causes steaming rather than sautéing), cooking at too low a temperature, or cooking too long. Ensure your skillet is hot before adding apples, work in batches if needed, and remember that apples continue cooking slightly after removal from heat. Thicker slices also help maintain structure.
Is butter essential, or can I use oil?
Butter is strongly recommended because it contributes essential flavor that vegetable oil cannot match. The milk solids in butter brown beautifully, creating that nutty complexity that’s central to the recipe’s appeal. If you must avoid dairy, ghee (clarified butter) is an excellent substitute. Coconut oil can work but will impart its own flavor that changes the profile significantly.
How can I make fried apples less sweet?
Reduce brown sugar to two tablespoons and granulated sugar to one tablespoon. Increase spices, particularly cinnamon and nutmeg, to provide complexity without sweetness. Adding a pinch of sea salt also balances sweetness by engaging different taste receptors. Some cooks add a squeeze of fresh lemon juice at the end to brighten the flavor and reduce perceived sweetness.
Can fried apples be served cold?
While fried apples are primarily enjoyed warm, they’re perfectly edible at room temperature or chilled. Cold fried apples work well in parfaits or as a topping for snow cream and other frozen desserts. However, they lose some of their appeal when cold, as the caramelized exterior firms up and the spice aromatics become less pronounced.
What’s the difference between fried and baked apples?
Fried apples develop a caramelized exterior through direct contact with hot butter, creating complex Maillard reaction flavors. Baked apples cook more gently with moisture retention, resulting in softer texture and different flavor development. Fried apples are crispier and more intensely flavored, while baked apples are creamier and more delicate. The cooking method you choose depends on your desired outcome and time availability.


